Hello friends. I've been busy with my die cut machine cutting loads of festive florals from the Spellbinders Holiday Blooms die set. This set is full of beautiful flowers and foliage. They are perfect for holiday cards and projects and most can also be used for other seasons by simply changing up the colors.
The first thing I do when producing a large quantity of cards is all the die cutting. I choose my cardstock colors and cut loads of images. Then I glue multiples together usually two or three to create some dimension and texture on my cards. After I have them glued and stacked I start assembling my cards.
I embossed the backgrounds for these cards using the Scenic Poinsettias 3D Embossing folder from Spellbinders. This folder is currently out of stock ( at the time I'm writing this), but there are so many other backgrounds that would also work well for this card. I'll link them below in the product suggestions. After embossing the A2 panels, I glued them to my card bases.
I then got to work creating the JOY using the Joy Hot Foil Plate and coordinating die from PinkFresh Studios. Any bold holiday sentiment would work well here. After foiling the letters and cutting them out, I cut additional pieces from white cardstock to stack behind the letters. I love how the dimension looks.
Finally, I was ready to create my festive bouquets. I positioned the JOY on the front of the card and added bits and pieces from the pile of flowers and leaves I created. Each card is different, with the same basic layout | design. This keeps me from getting too bored.
Here's another version I created.
And a close up look.
I hope these inspire you to create something today.
-Cathy
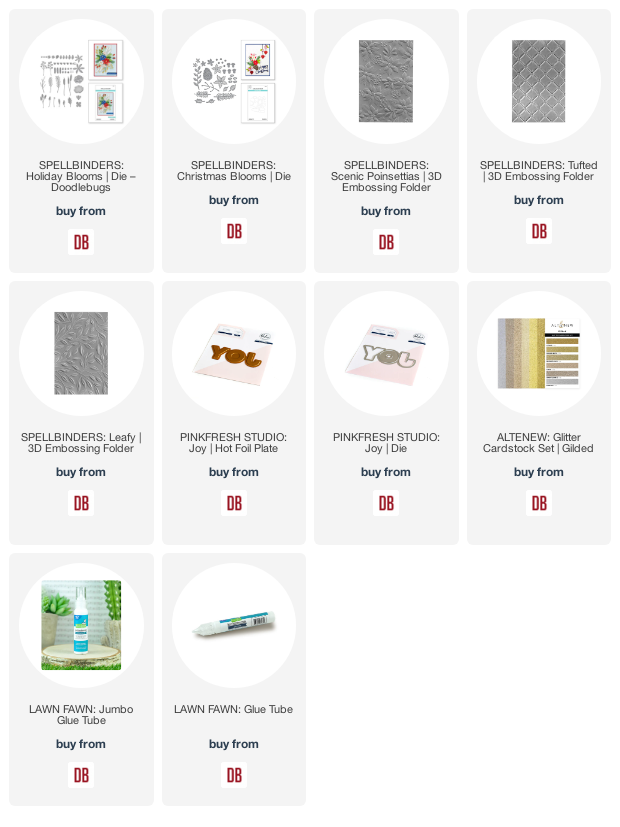
Links to products used or recommended are listed below:


No comments:
Post a Comment