Hello, Doodlebugs friends! Michele here and I
have a quick-and-easy Christmas card design to share with you today!
TOO EARLY for Christmas?? Not on your life!
I share hundreds with my friends at Bringing Smiles to Seniors each year!
Truth of the matter is I'm WAY behind! Let's go...

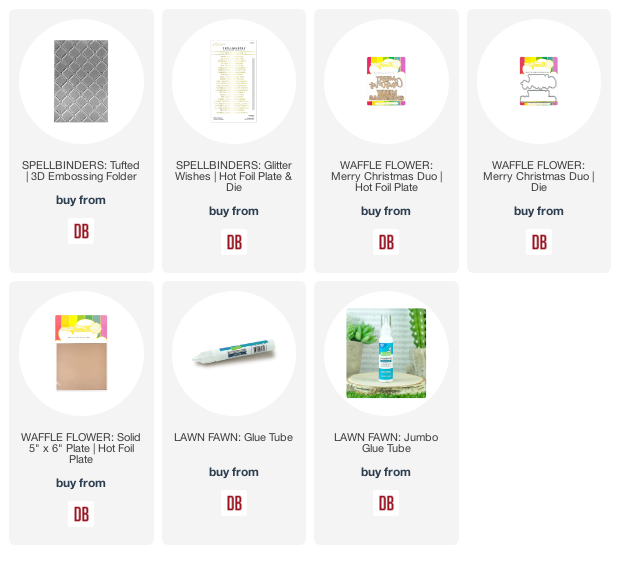
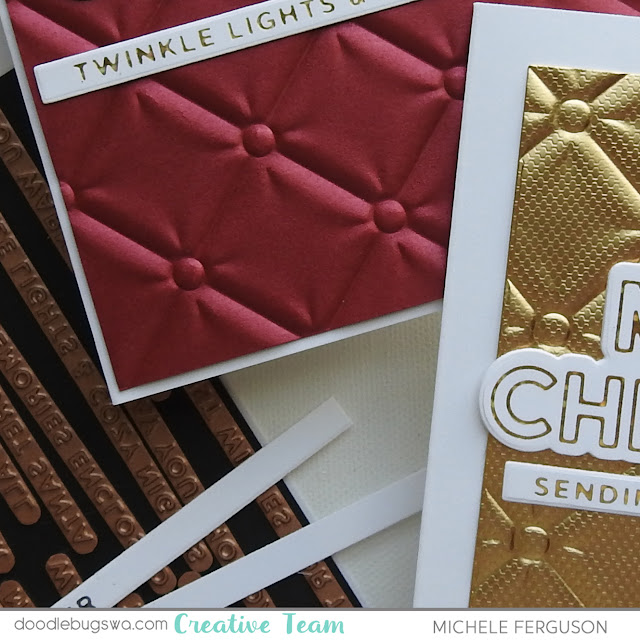
I've used this gorgeous new Spellbinders Tufted embossing folder that embosses a half-sheet of card stock at once! You do realize that's TWO card fronts at once, right? What a time saver!
Speaking of time savers, I added this fabulous hot foil set to
my Christmas shopping basket at Doodlebugs! It takes a minute [or twelve] to set up the die, but once they are foiled this clever little die [yes, it does come with] cuts the one you want to use just perfectly!

Don't forget to foil the negative, too! Just use one of these
solid plates, and heat it just a bit longer than normally for
the best results.
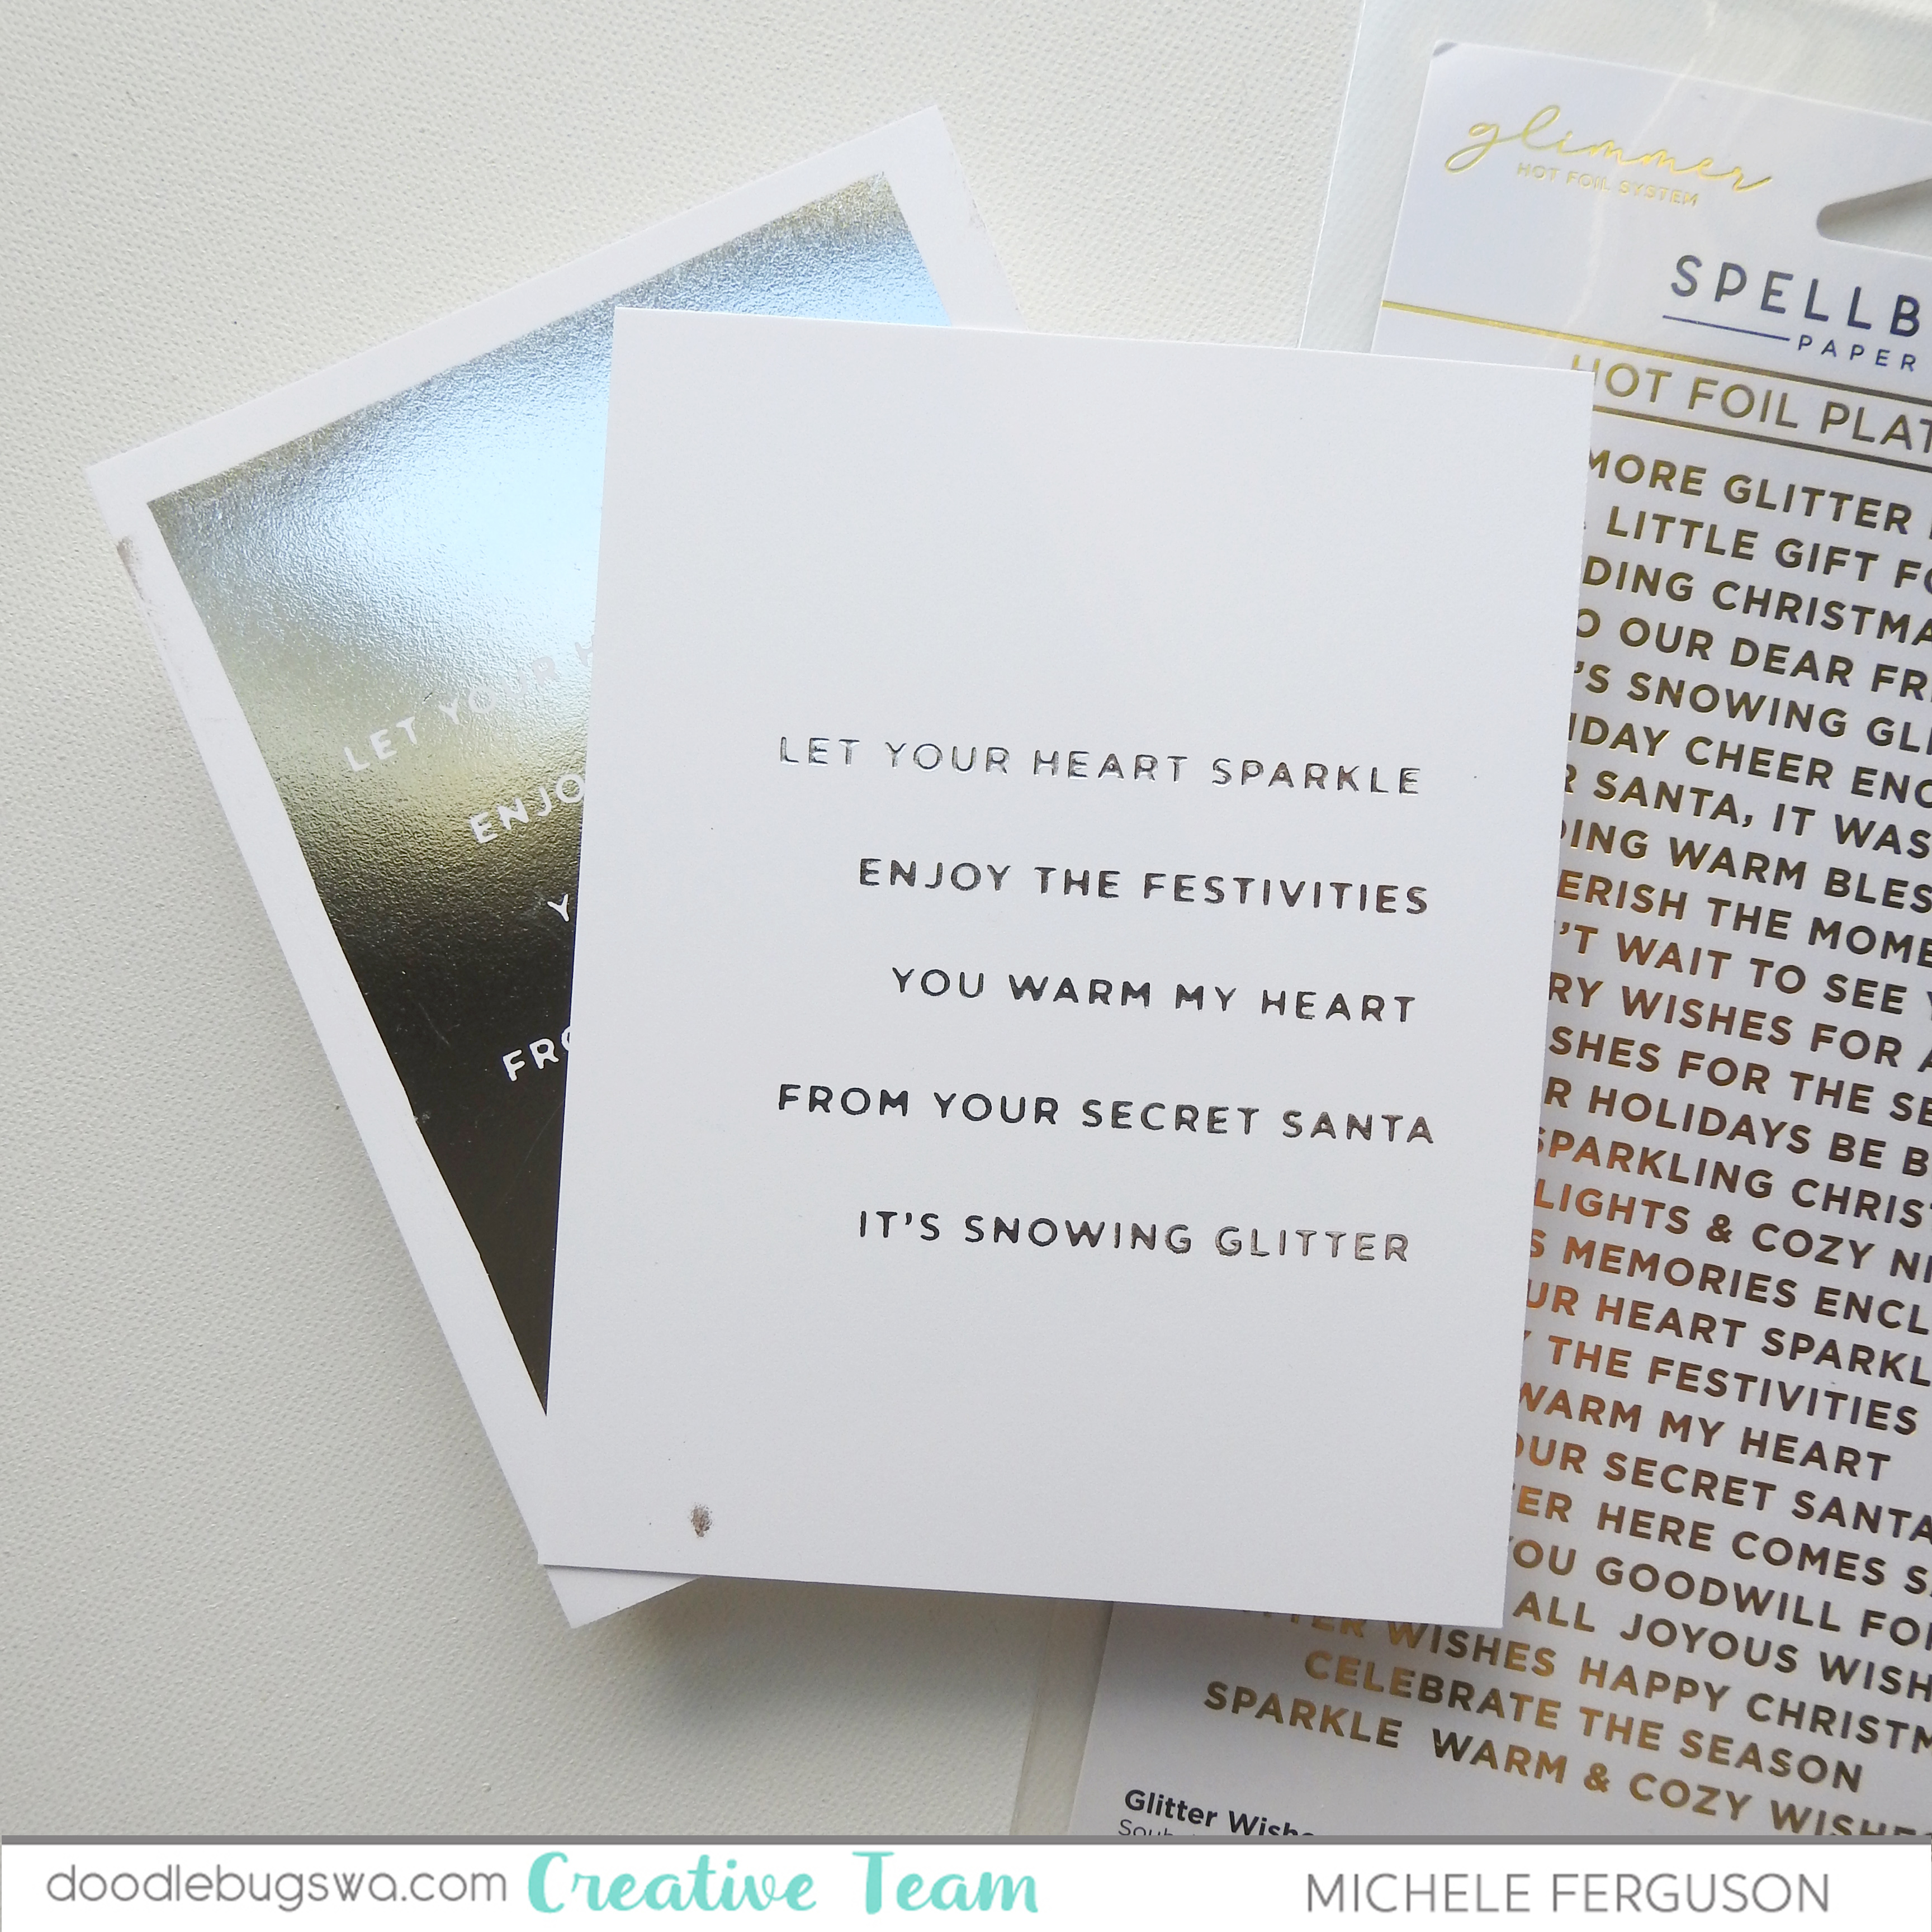
There are 30 sentiments in this set - I found a few that sounded cuddly
for my tufted embossed pieces!

They coordinate so well with these Waffle Flower Crafts Merry Christmas
hot foil plate and die duo!

I found this piece of cardstock in my stash - sure wish I knew who made it!
Isn't it the prettiest 'satin-y' finish?
For an elevated elegant look, I used a gold foil from Michael's next...

I cut this one down a bit to allow for a perfect white border.
I hope I've given you an idea for quick-and-easy card designs for Christmas! See you again soon!
=] Michele
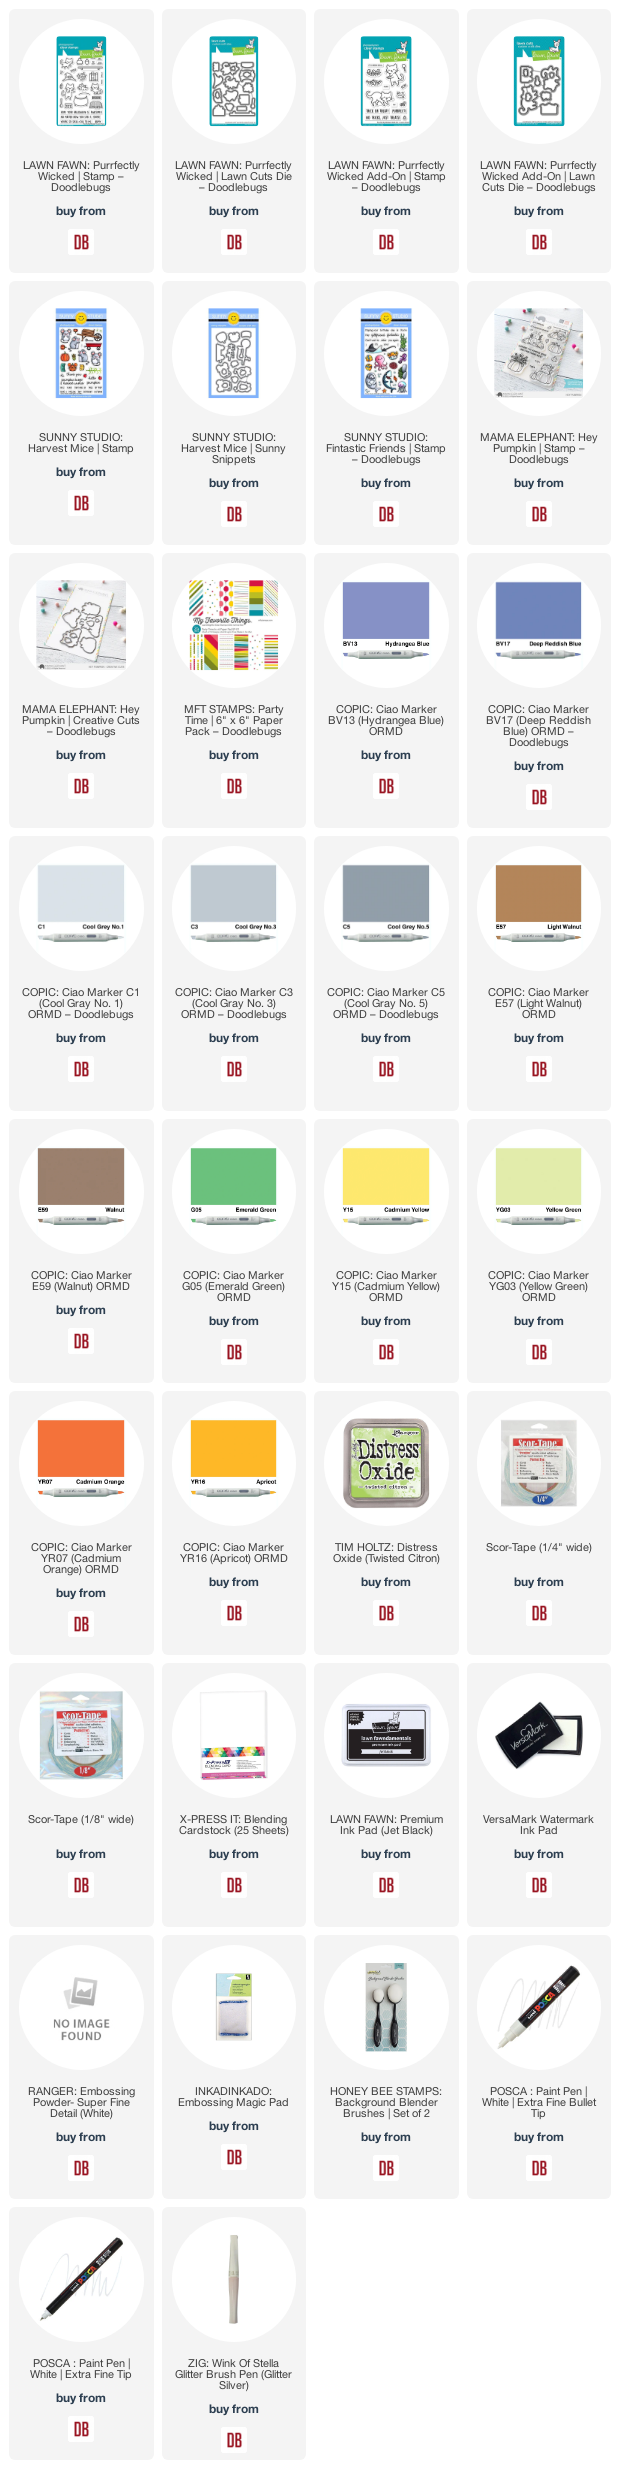
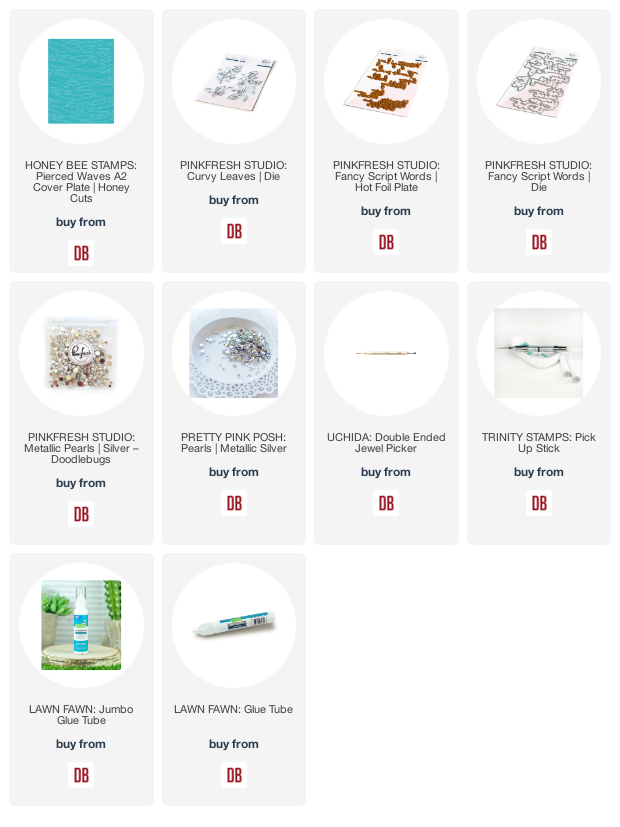
Links to products used or recommended are listed below: