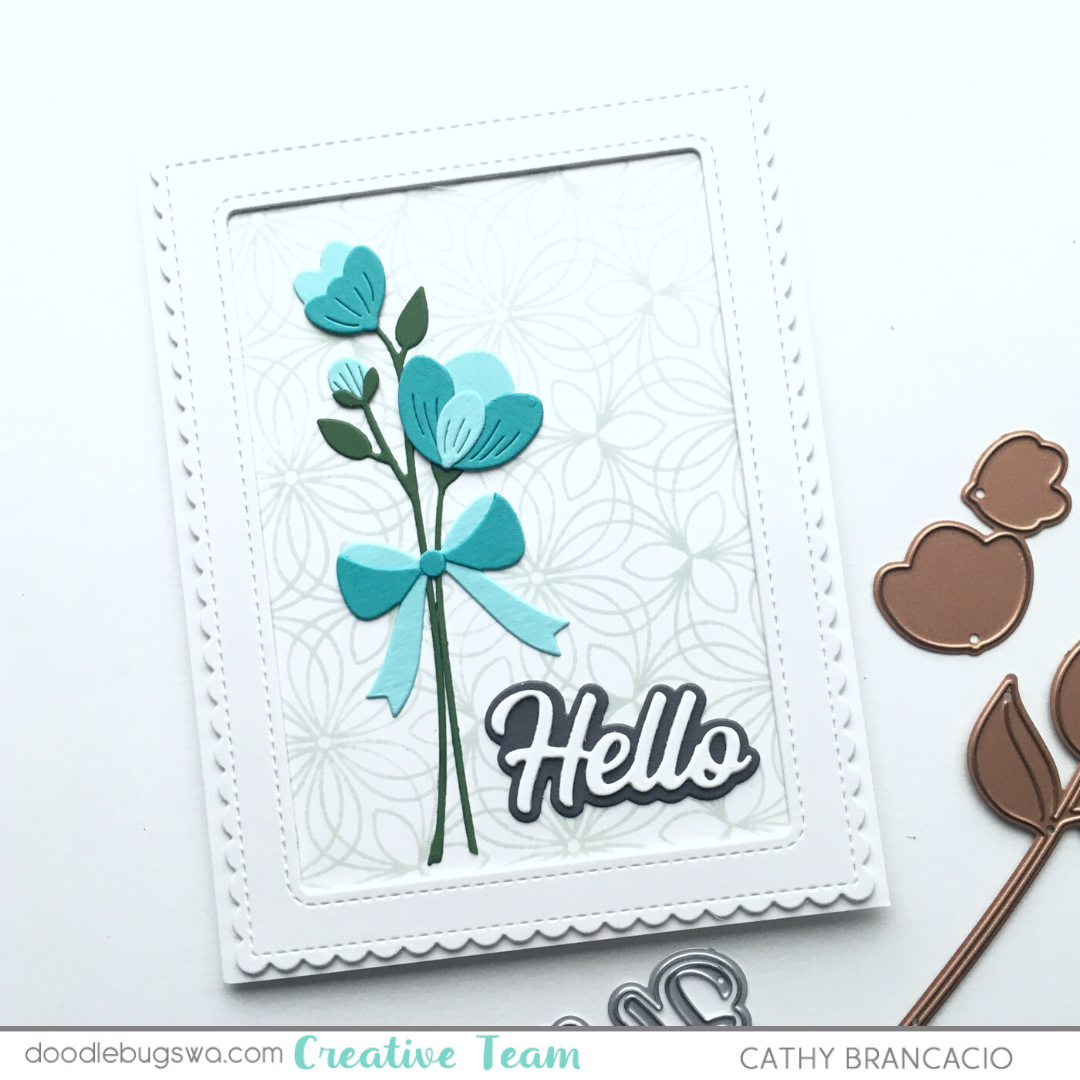
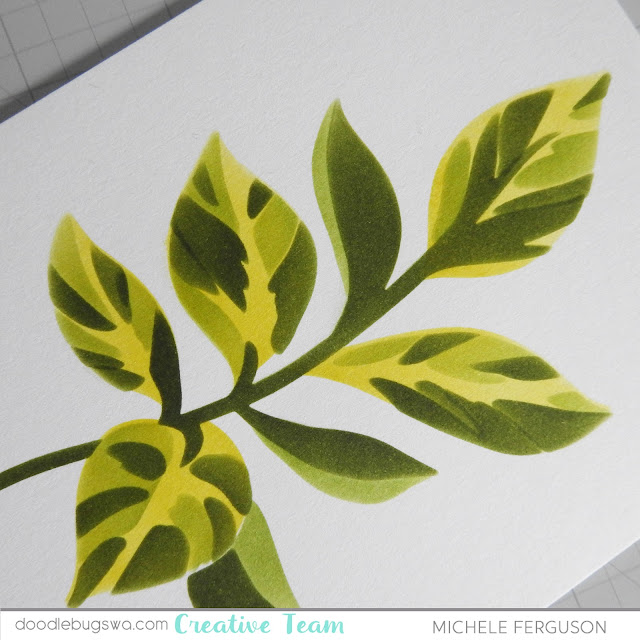
I wanted to use the Blended Petals stamp set again. I'm trying to challenge myself to use a set of stamps or dies several times in completely different ways. Earlier this month I used the Blended Petals stamp set and stencils to create a lovely, soft, ink blended card. If you'd like to take a look at that card you'll find the details in this post. Here's the link to another card I created using the same set.
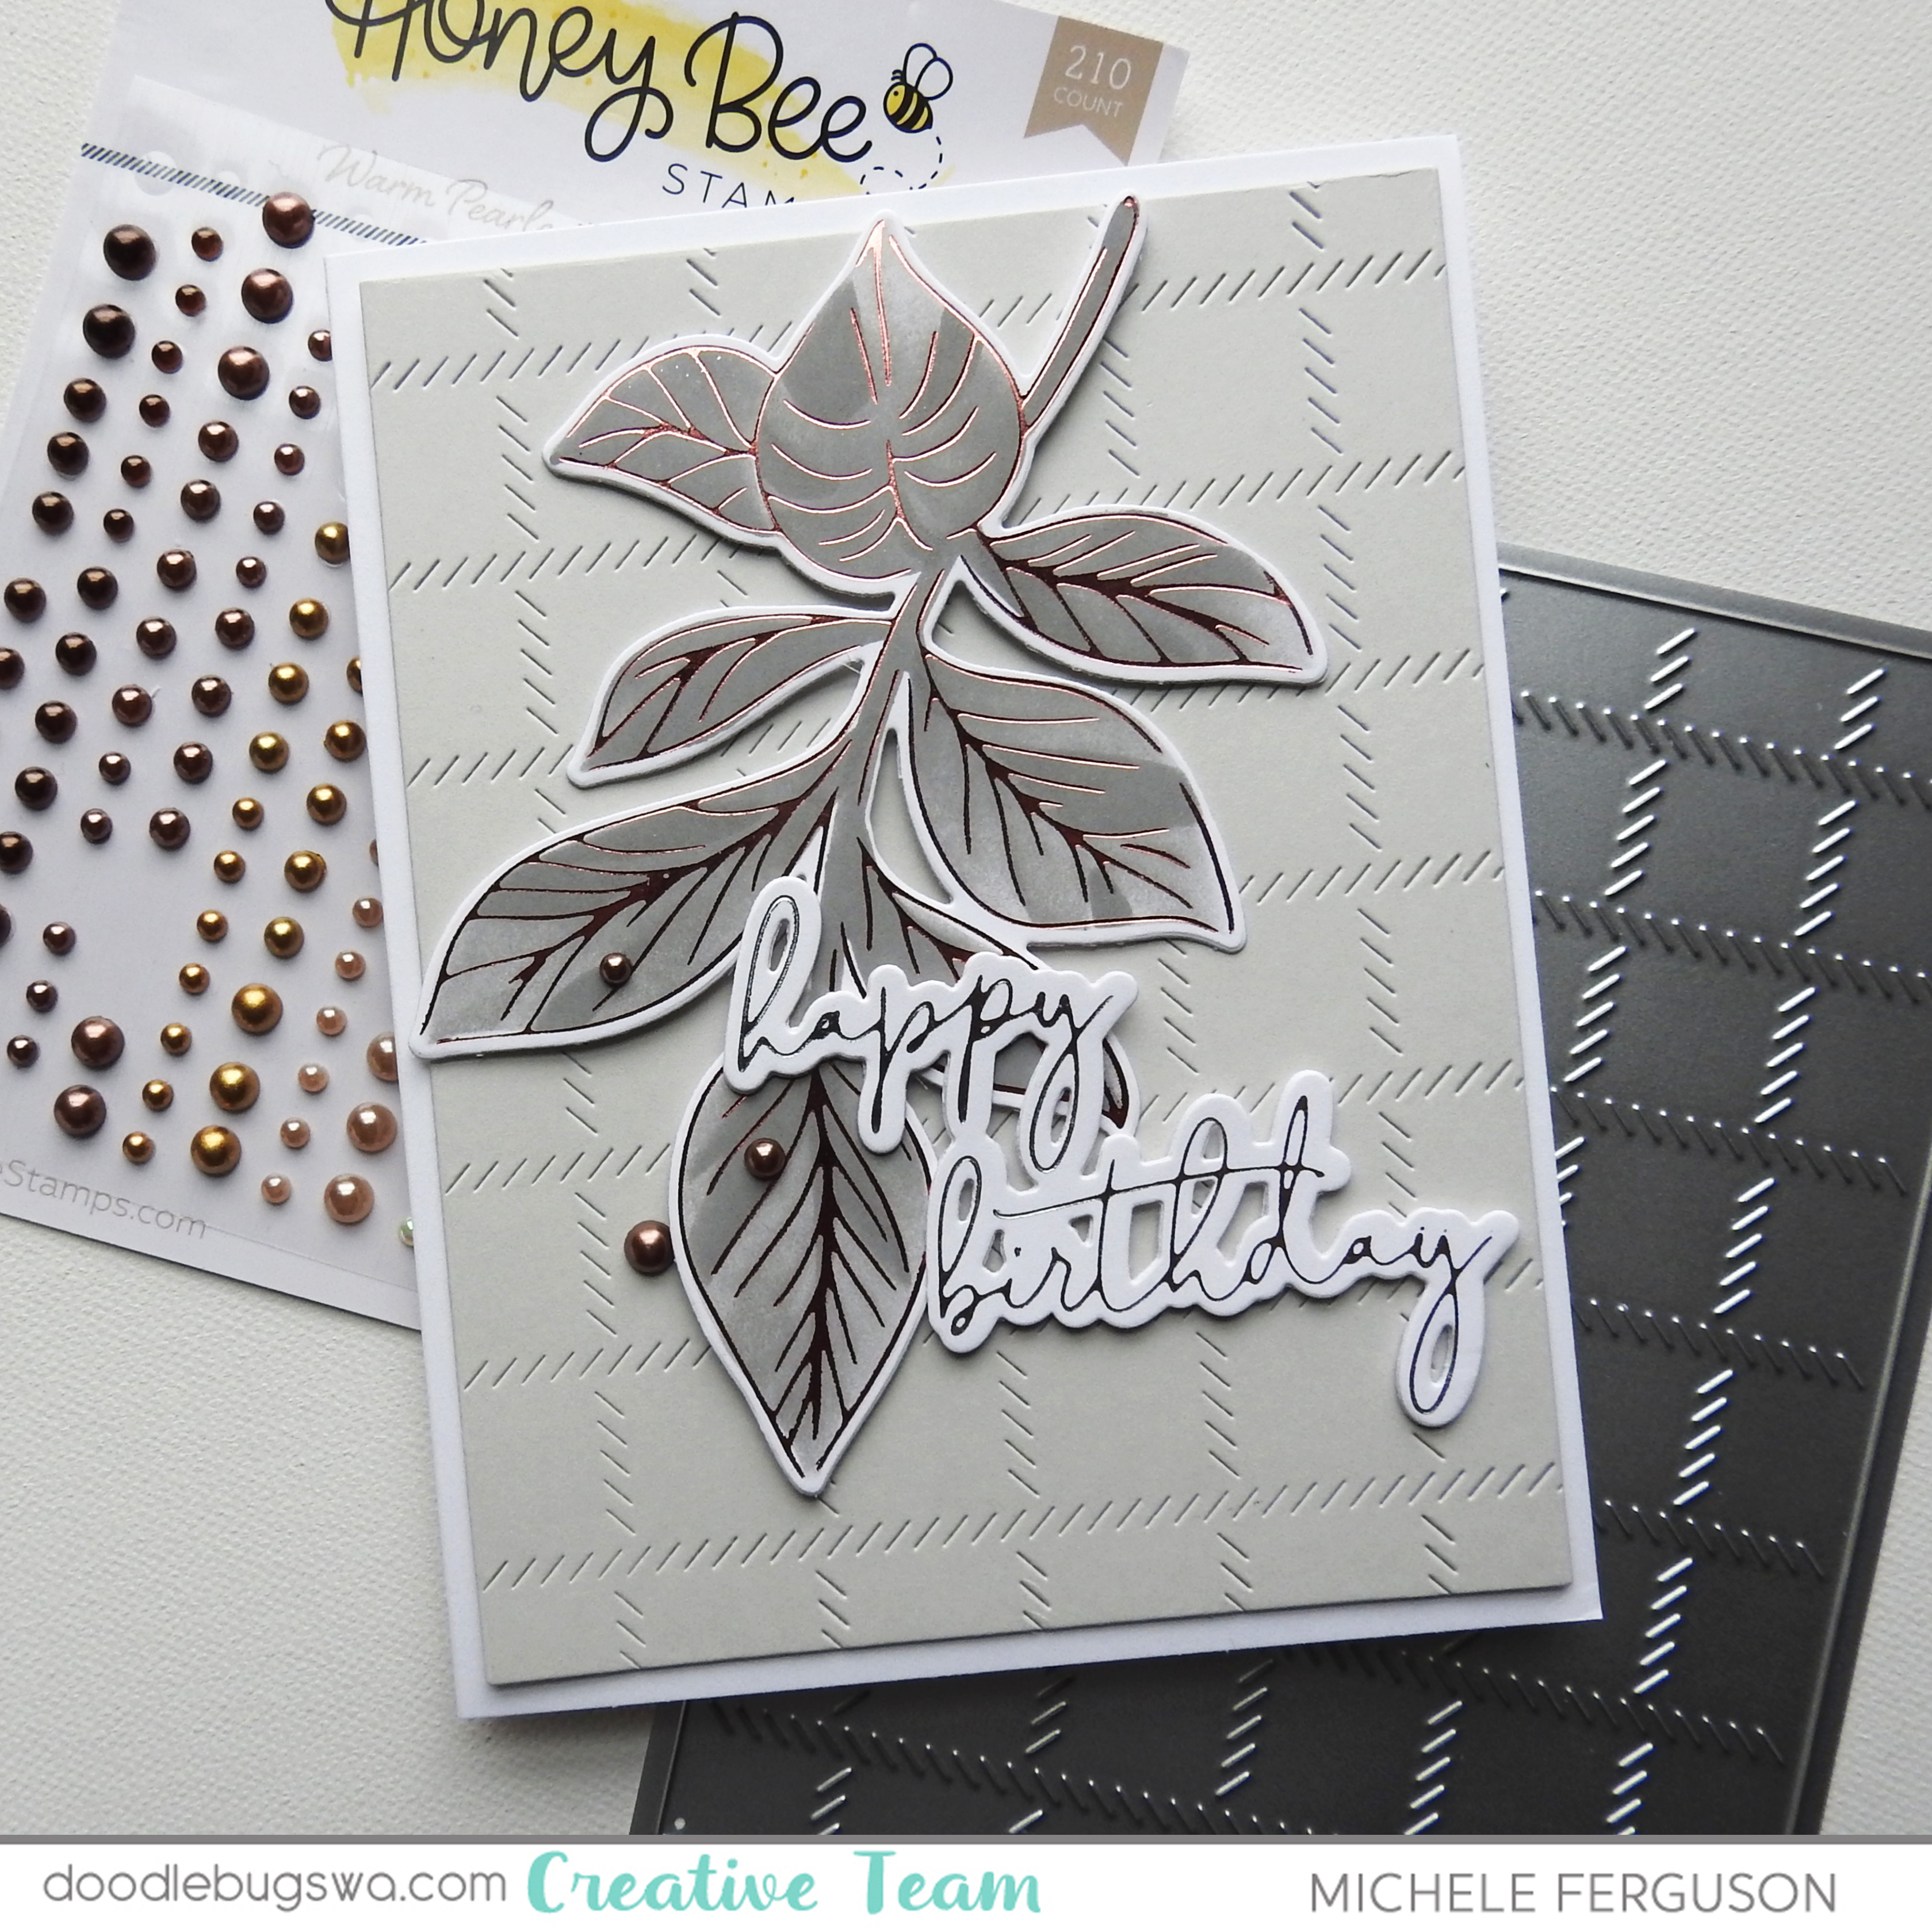
This time I thought bright and graphic would be fun. I cut and layered a bunch of sentiments from some bright colors.

I cut and scored several pieces of white cardstock to create side folding note cards. Then I set up my MISTI stamping tool and stamped the same images on each of them in a nice, black ink.

After creating all the card bases, I added the layered sentiments. That's it. Super simple, bright and fun.


I love all the dimension created when stacking multiple layers of dies. Are you a fan of the layers, or do you prefer to have just a single layer?

Hope I've inspired you to create something fun.
Cathy
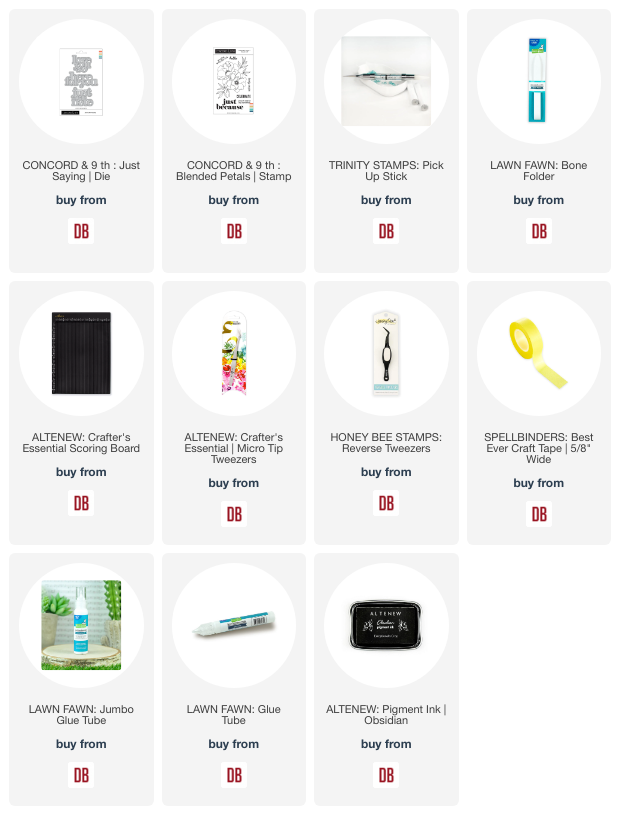
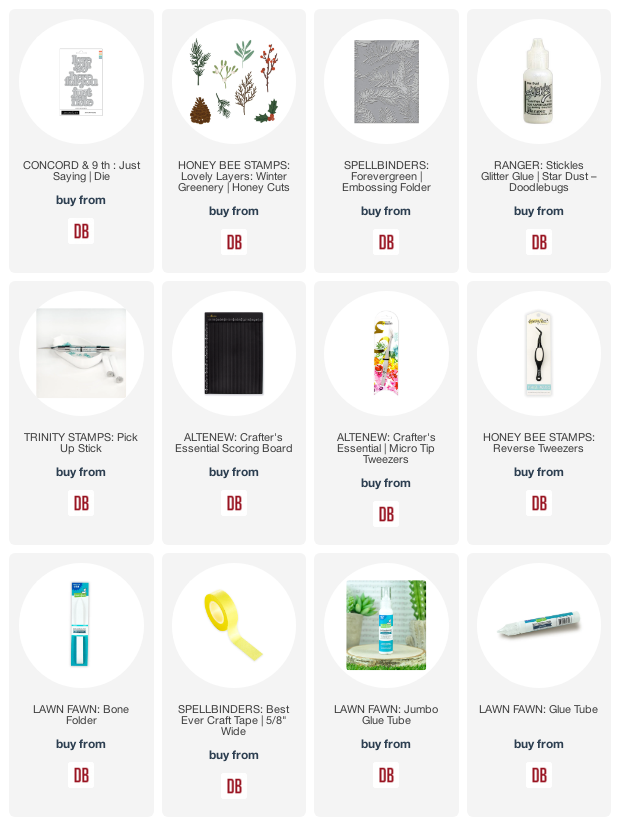
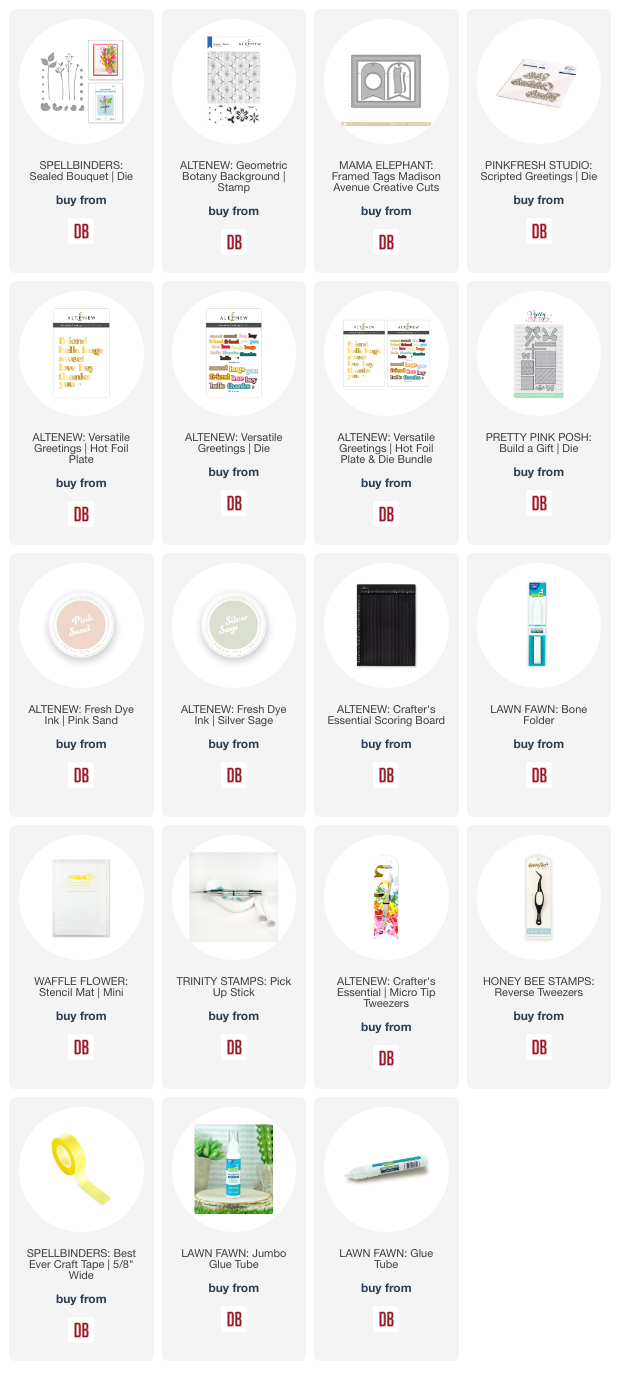
Links to products used or recommended are listed below: