I'm sharing another boxed set I gave as a gift for Christmas. I love making these throughout the year and then gifting them during the holidays. I've used the Pretty Sweet stamp set from Concord and 9th to create several, different sets. It's such a great stamp set!

After I finish stamping the yellow flower, I move on to the next flower. I remove the stamp, position it on the next flower using my sample sheet, repeating the steps until all the flowers and leaves are stamped.


Here's another version of the same card. This version included some die cut sentiments adding a bit more dimension.

Thanks so much for stopping by. I hope you've been inspired to create something.
-Cathy
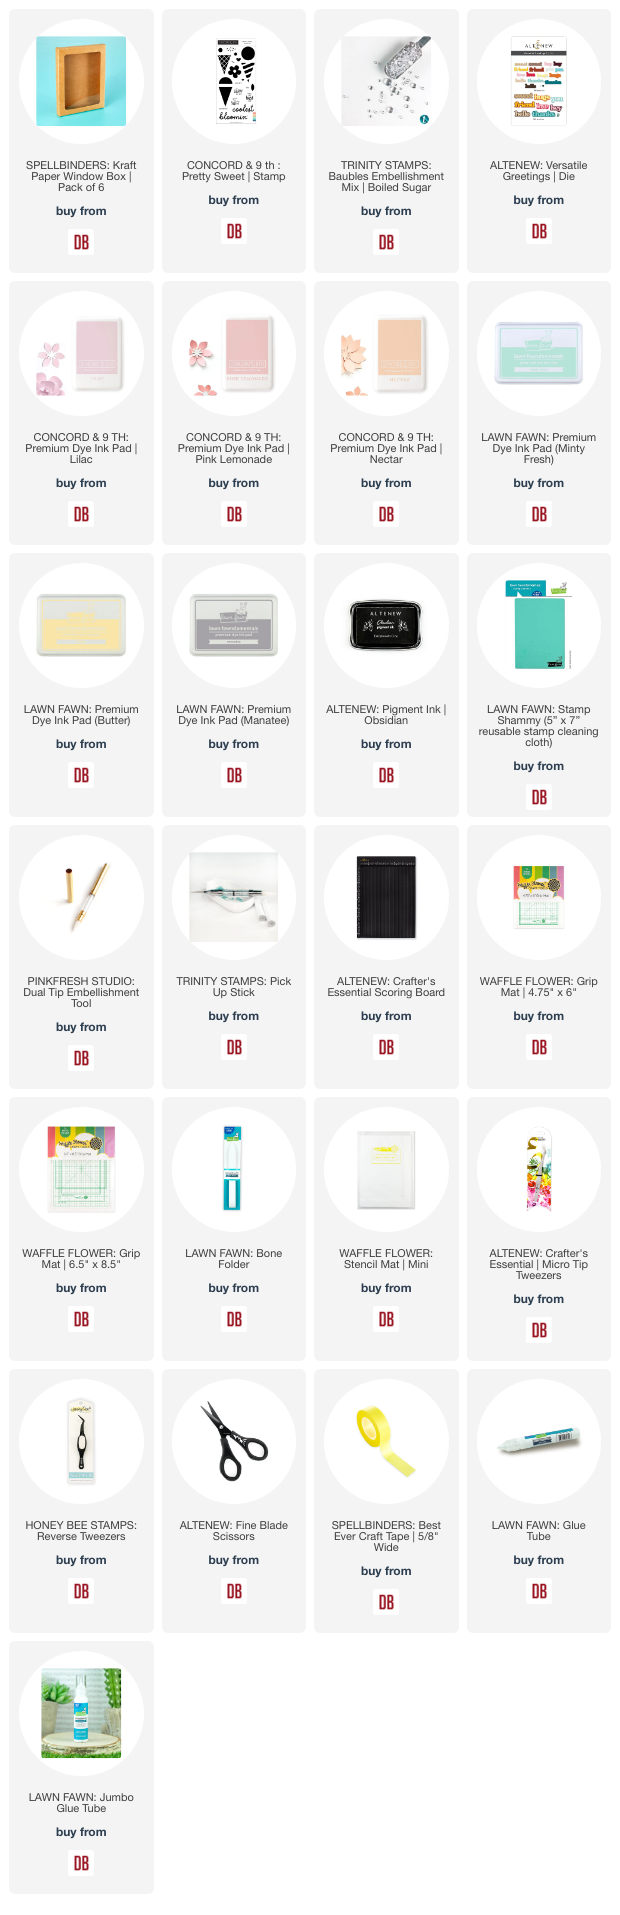
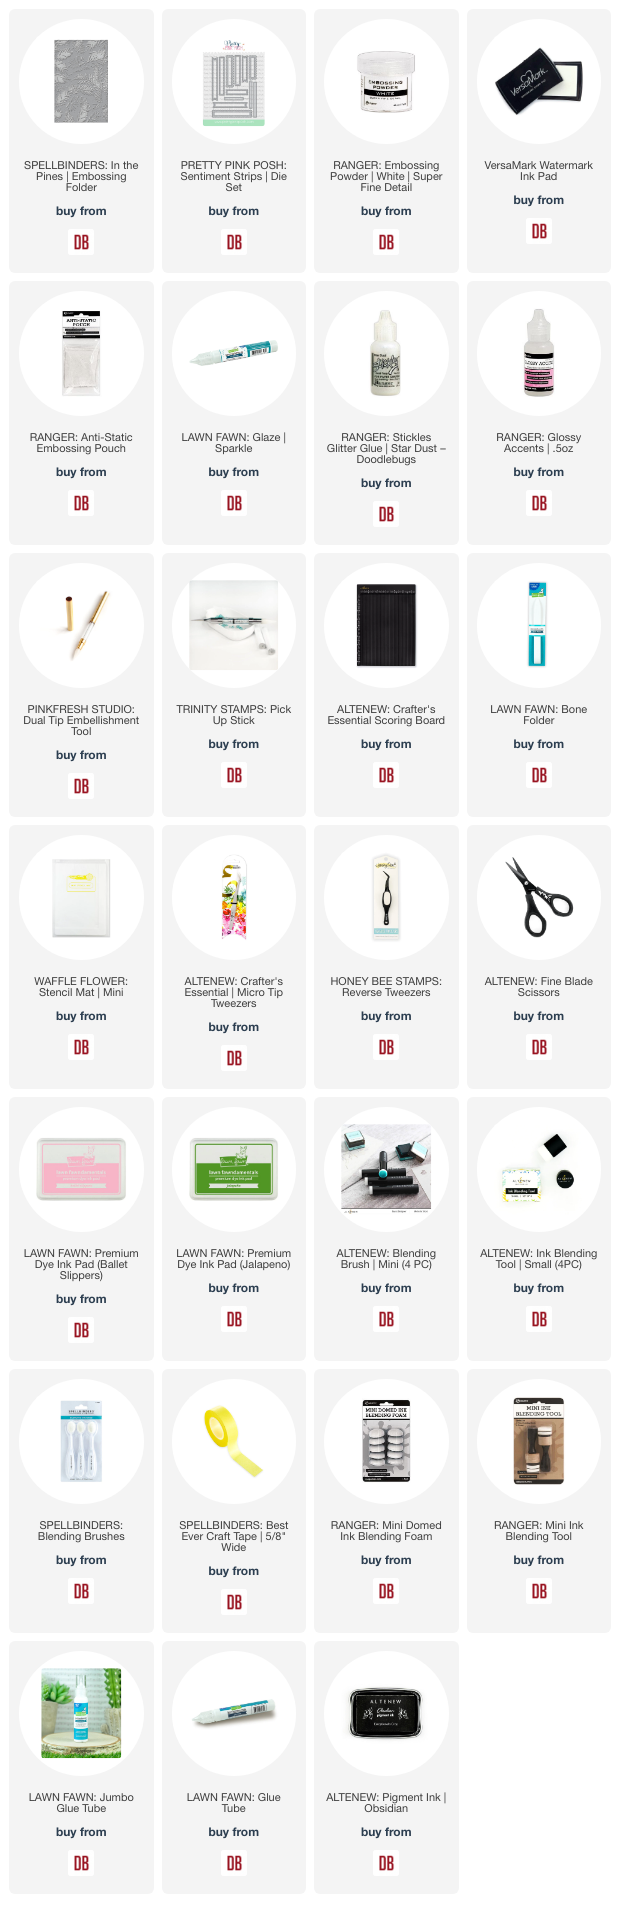
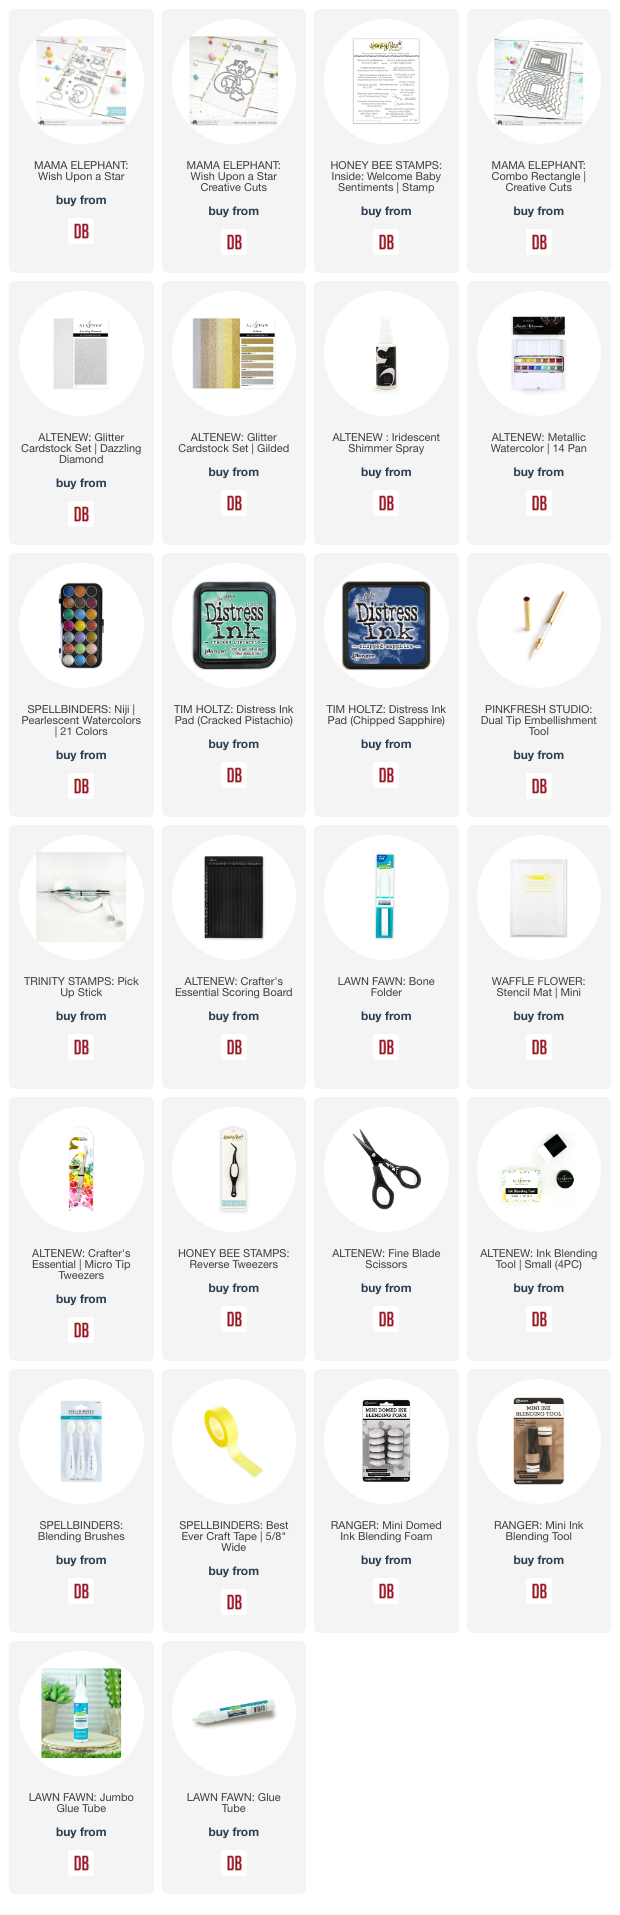
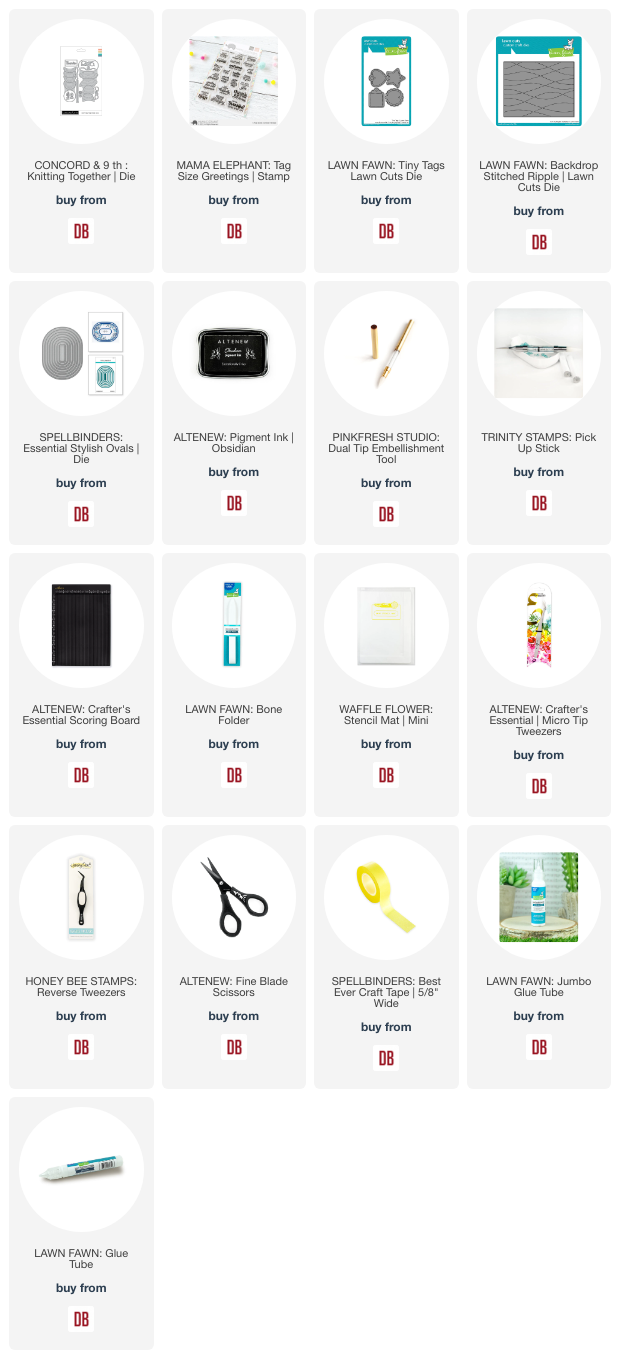
Links to products used or recommended are listed below: