Tuesday, August 29, 2023

Plane and Simple

Hello! Have you checked out the fun designs that Concord & 9th comes up with? I couldn't wait to play with their Plane Amazing collection:

Handmade card using the Plane Amazing die and stamp from Concord & 9th

If you follow my personal social media accounts, you might know that my husband is a hobby pilot.  It's a hobby I'm lucky to be a part of. We celebrated our anniversary this month and I knew that I wanted to use that big airplane window.

Handmade card using the Plane Amazing die and stamp from Concord & 9th

I don't typically work with blue but that is the hubby's favorite color.  I wanted to do something super fun with the design but with the sentiment I pieced together, I decided to fall back on my clean + simple style.

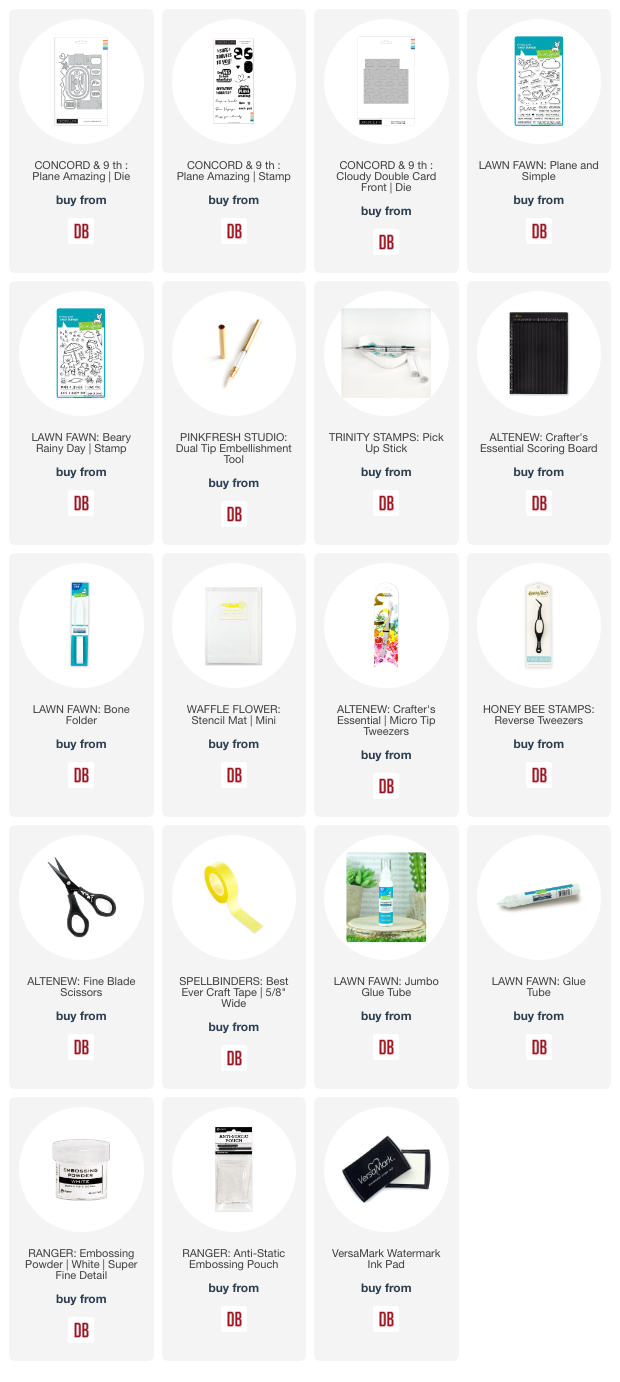
Here are the products I combined:
  • Concord & 9th - Plane Amazing | Stamp
  • Concord & 9th - Plane Amazing | Die
  • Concord & 9th - Cloudy Double Card Front | Die
  • Lawn Fawn -Beary Rainy Day | Stamp
  • Lawn Fawn - Plane and Simple | Stamp
Handmade card using the Plane Amazing die and stamp from Concord & 9th

The sentiment has been heat embossed in white.

Thanks so much for stopping by!
 
Links to products used or recommended are listed below:  

Monday, August 28, 2023

Repeat Die Cut Background with Crafty Critters Friends

Happy Monday crafty friends! This is Amanda from Twiddler's Nook sharing a fun idea to use repeated die cuts to create your background. Add some stenciling, adorable critters and a great sentiment and you've definitely got a winning card!

Pretty Pink Posh Crafty Friends Card with Spellbinder's Modern Ovals dies

Sometimes it's crazy making and sometimes it's fun when you have an idea and the creation of said idea does not turn out how it was going in your head. That's exactly what happened here but I still love it and really had fun creating this card!

Let's start by die cutting a bunch of the Spellbinders Modern Ovals - I chose the fourth one in from the smallest. I taped three of them to my work surface and ink blended the Pretty Pink Posh Trellis stencil using Lawn Fawn guava ink and a blending brush.

Pretty Pink Posh Crafty Friends Card with Spellbinder's Modern Ovals dies

I arranged them on my card front, originally planning to pop them all up, along with die cutting my sentiment. But as I started to play, I liked the idea of the sentiment on one of the ovals - it fits perfectly - and only popping that one up for a little added interest to that specific spot. So I glued everything down and popped that one up. Then I trimmed off the excess with my scissors.

Pretty Pink Posh Crafty Friends Card with Spellbinder's Modern Ovals dies

Next, I stamped and colored images from Pretty Pink Posh Crafty Critters with my copic markers. I used the coordinating dies to cut them out and added them above the sentiment with foam squares.

Pretty Pink Posh Crafty Friends Card with Spellbinder's Modern Ovals dies

Last, I decided to stamp the mini sentiment intro to the blank oval on the top for fun. I was quite smitten with myself when I thought of that. It's so fun! And finally, for finishing touches I just added black glaze pen to the mouse's eyes and glossy accents to his nose and parts of the crafty supplies.
 
I appreciate you sharing your time with me. Have a fabulous day!

Links to products used or recommended are listed below: 

Tuesday, August 22, 2023

Sending Big Hugs

Sympathy cards are a challenge for me.  I don't tend to design them with traditional somber colors.  They're especially difficult to make when they are for close friends and family.


Lawn Fawn Giant Sending Big Hugs

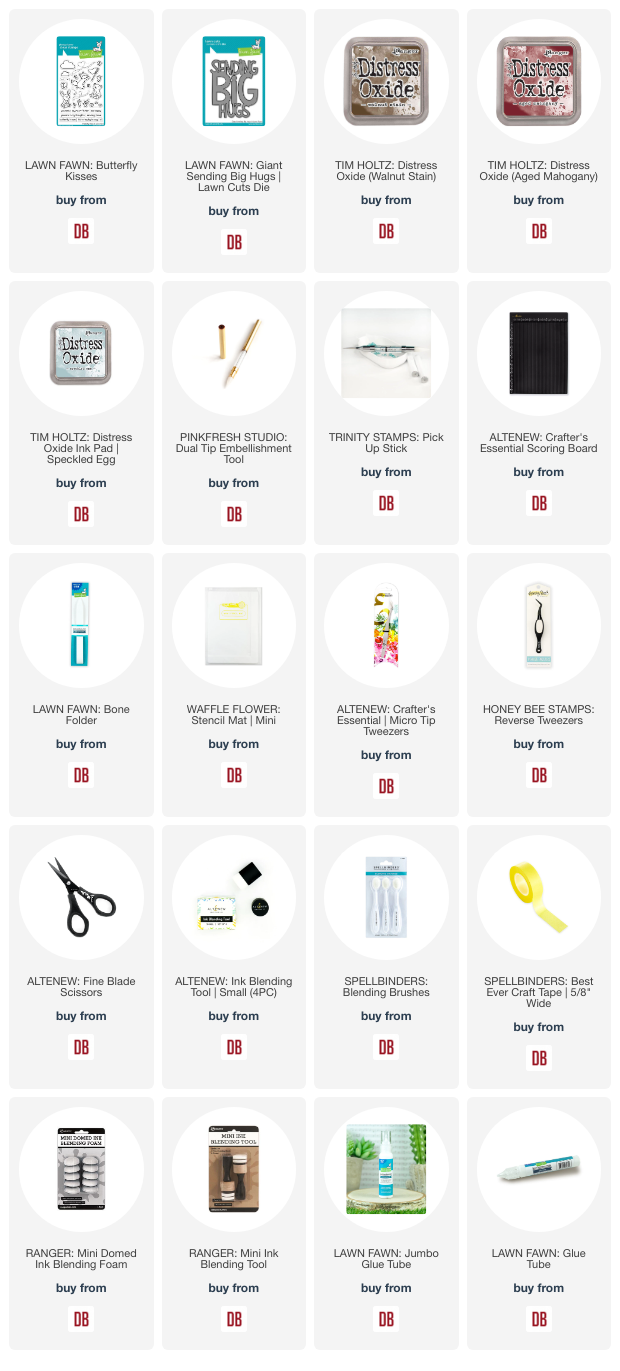
I decided that the best design to go with was a graphic look.  Here are the supplies I used:

  • Giant Sending Big Hugs | Lawn Fawn
  • Butterfly Kisses | Lawn Fawn

Lawn Fawn Giant Sending Big Hugs

I used watercolor paper for everything except for the sentiment strip.  I'm a huge fan of using watercolor paper teamed up with blending brushes.  The distress oxides I used:
  • Speckled Egg
  • Aged Mahogany
  • Walnut Stain
The Giant Sending Big Hugs has been adhered with foam dimensionals.

Lawn Fawn Giant Sending Big Hugs

The sentiment has been heat embossed in white on dark brown cardstock.  I generally use black but thought to use the dark brown for more of a seamless look.

The distress oxide trio is a play on one of #KristinasOxideCombos but instead of using Ripe Persimmon, I swapped it out for Aged Mahogany.  This color combo reminds me of my friend that I'm sending this card to.

Do you have any tips for designing sympathy cards?

Links to products used or recommended are listed below: 

Monday, August 21, 2023

I've Got You Covered

 Hi there! So happy you stopped by today. This is Amanda from Twiddler's Nook, sharing this super fun encouragement card featuring a combo of Mama Elephant and Spellbinders stamps and dies. I know it's summer and we're all roasting to death with the heat everywhere but I couldn't resist a little rainy day fun.

Spellbinders I've Got You Covered and Mama Elephant Rainy Days

I started by die cutting the elements for my umbrella which comes from the Spellbinders Umbrella Bloom die set. After using liquid glue to assemble it all, I pulled out the Mama Elephant Rainy Days stamp set to choose a critter to hold my giant umbrella. This little bunny was just the perfect fit!

Spellbinders I've Got You Covered and Mama Elephant Rainy Days

I stamped and colored him with copic markers, then used the coordinating die to cut him out. I used liquid glue to adhere the umbrella handle to his hand and lined the back of both with foam squares. Then I cut the Mama Elephant Raindrops cover from white cardstock and ink blended a little teal ink over the center portion.

Spellbinders I've Got You Covered and Mama Elephant Rainy Days

I went back and forth on the color to put behind the raindrops but landed on a textured teal cardstock from my stash. I used liquid glue to adhere the layers, plus add it to a white card base as well. Then I chose my sentiments from the Spellbinders I've Got You Covered stamp and die set. I pulled out the Lawn Fawn sentiment banner die for the smaller sentiment. Then I added foam squares to the back of these too.

Spellbinders I've Got You Covered and Mama Elephant Rainy Days

After adhering all the elements to my card front, I came in with glossy accents on the bunny's nose and coat buttons. Then I added stardust Stickles to the raindrops that are bouncing off the umbrella.

Wouldn't this totally lift your spirits if you got it in the mail? I think it would!
 
I appreciate you sharing your time with me. Have a fabulous day! 

Links to products used or recommended are listed below: 
Tuesday, August 15, 2023

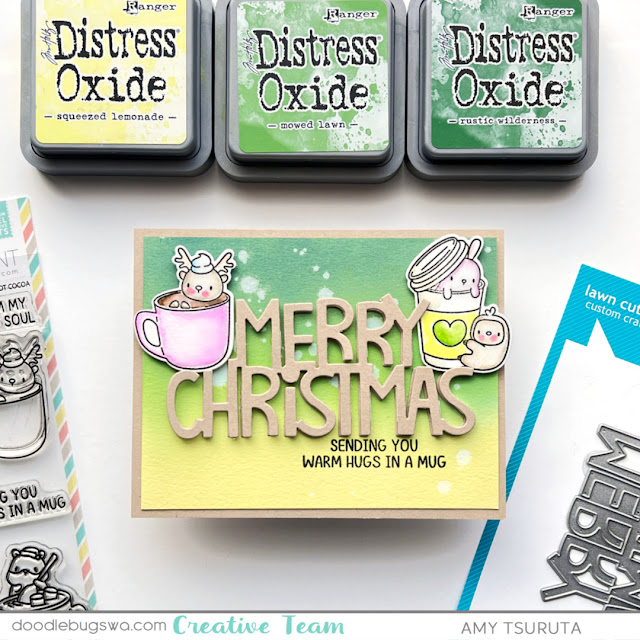
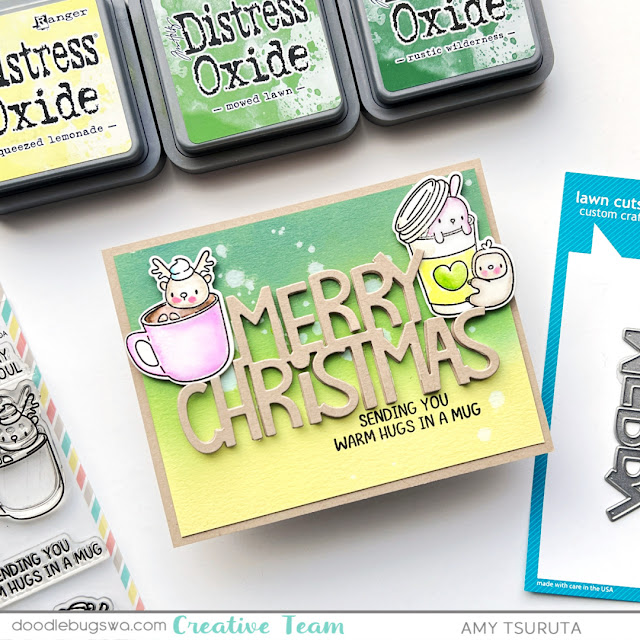
Sending Warm Hugs - Holiday Style

Have you started planning or designing your holiday cards yet? I've been making them year round so that my November + December are a bit less hectic.

Mama Elephant  Hot Cocoa and Lawn Fawn Giant Merry Christmas

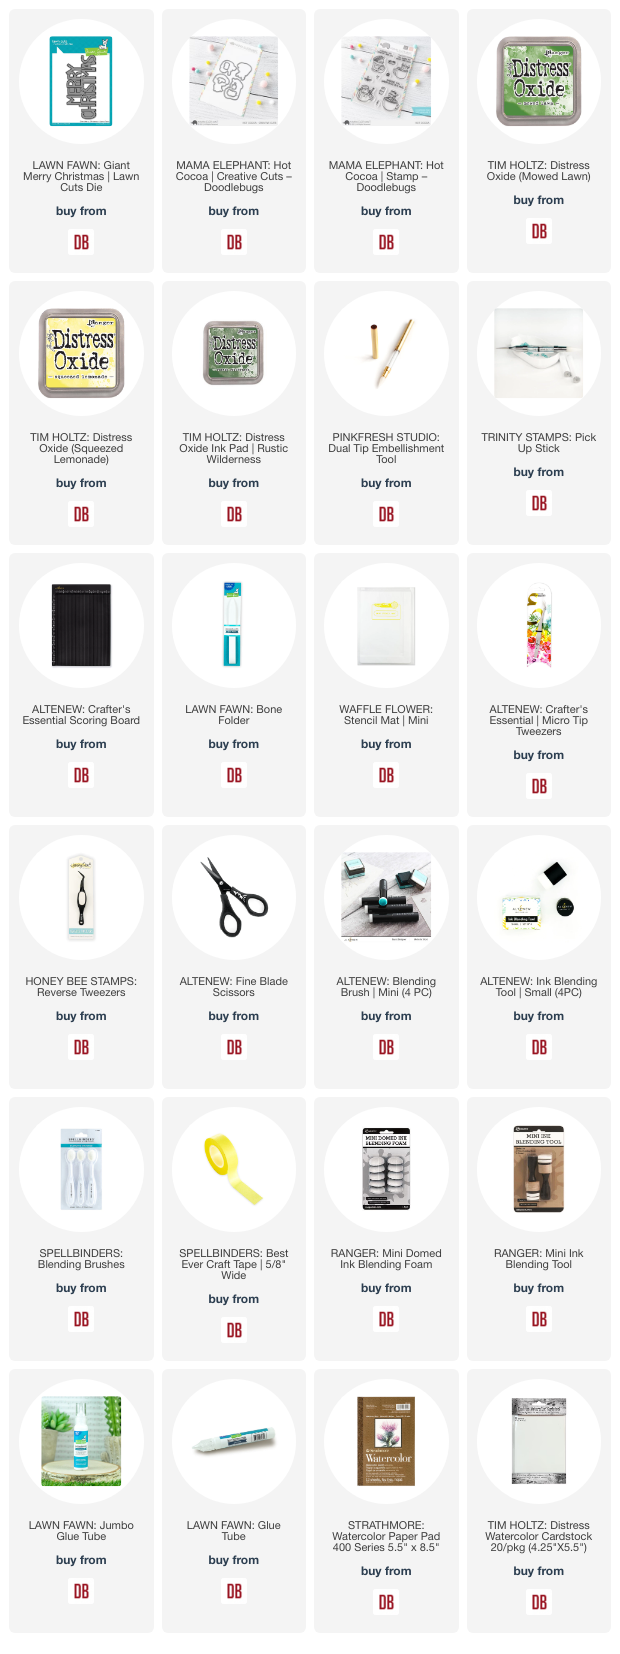
I've combined the following sets:
  • Mama Elephant - Hot Cocoa | stamps + creative cuts
  • Lawn Fawn - Giant Merry Christmas | lawn cut
The Mama Elephant images have been stamped on watercolor paper and colored with Zig Clean Color Real Brush Markers and their blender pen.

Mama Elephant  Hot Cocoa and Lawn Fawn Giant Merry Christmas

I've been really smitten with this #KristinasOxideCombos:

  • Squeezed Lemonade
  • Mowed Lawn
  • Rustic Wilderness
The images and the die cut sentiment are on foam dimensionals.  

Mama Elephant  Hot Cocoa and Lawn Fawn Giant Merry Christmas


Thanks for stoppin' by!

Links to products used or recommended are listed below:

Monday, August 14, 2023

Happy Birthday Hot Foiling and Stenciling

Welcome to another Monday everyone! This is Amanda from Twiddler's Nook sharing how to mix and match your favorite companies again! Today I have Mama Elephant stamps and dies with Spellbinders hot foil plates and coordinating stencil set! This card was super fun to create!

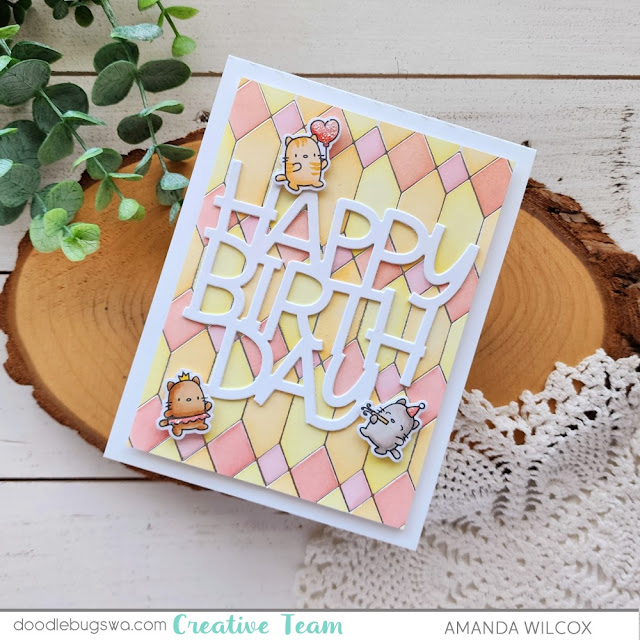
Happy Birthday card with Mama Elephant Little Cat Agenda

I started by hot foiling the Spellbinders Geometric Diamond plate with silver foil on white cardstock. Then I went to town with Lawn Fawn dye inks and blending brushes, using the coordinating stencil set to ink up the whole panel. I chose warm, summery colors today. Aren't they pretty?!? Then I trimmed the panel down to 4x5.25 inches.

Happy Birthday card with Mama Elephant Little Cat Agenda

Next, I die cut the Mama Elephant Big Happy Birthday from white cardstock 3 times and used liquid glue to adhere the layers. Then, I chose 3 different kitties from the Mama Elephant Little Agenda Cat and colored them with my copic markers. I used the coordinating dies to cut them out.

Happy Birthday card with Mama Elephant Little Cat Agenda

To put it all together, I added the foiled panel with foam tape to a white card base. Then liquid glue to adhere the sentiment die cuts and finally foam squares for those cute kitties!

For finishing touches I simply added stardust Stickles to the pink parts of each kitty - the balloon, shirt and party hat.
 
I appreciate you sharing your time with me. Have a fabulous day! 
 
Links to products used or recommended are listed below: 

Thursday, August 10, 2023

Just a Note and a Friendly Floral

I love making cards, but even more, I love gardening.  So, a card with a flower, combines two of my favorite things.

Today's card is quick and easy. 

 
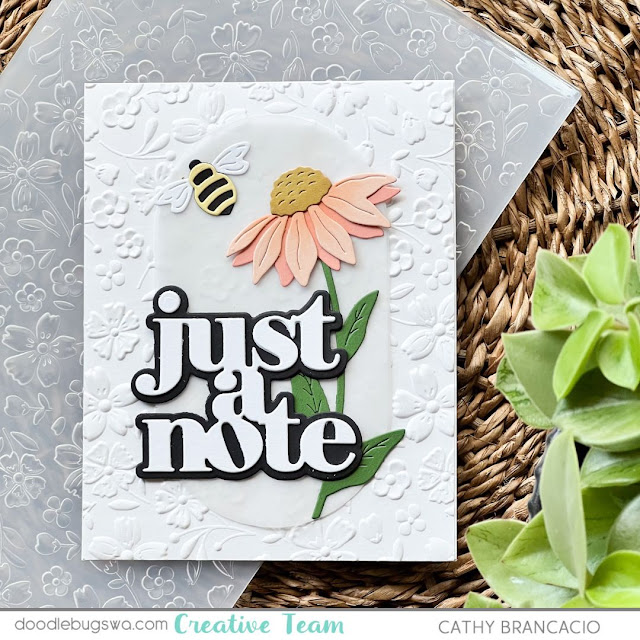
I created the flower and bee from Concord & 9th's Friendly Floral set.  Added just a touch of peach ink to the center of the petals for some shading.  I placed them on an oval I cut from vellum and then atop a white piece of cardstock that was embossed with the Flower Frenzy 3D embossing folder from Spellbinders.

Concord & 9th Friendly Florals and Just Saying dies with Flower Frenzy Embossing folder from Spellbinders

The sentiment is from the Just Saying die set from Concord & 9th.  It's a favorite of mine.

Thanks so much for visiting the blog.  I hope you found some inspiration.

Cathy

Links to products used or recommended are listed below: 

Tuesday, August 8, 2023

I Scream, You Scream...

There's nothing better than ice cream on a hot day.  I know that nationwide there are some hot temps out there. Here in the Pacific Northwest, it's been pretty warm and as I'm always telling people, I'm a fair weather gal.


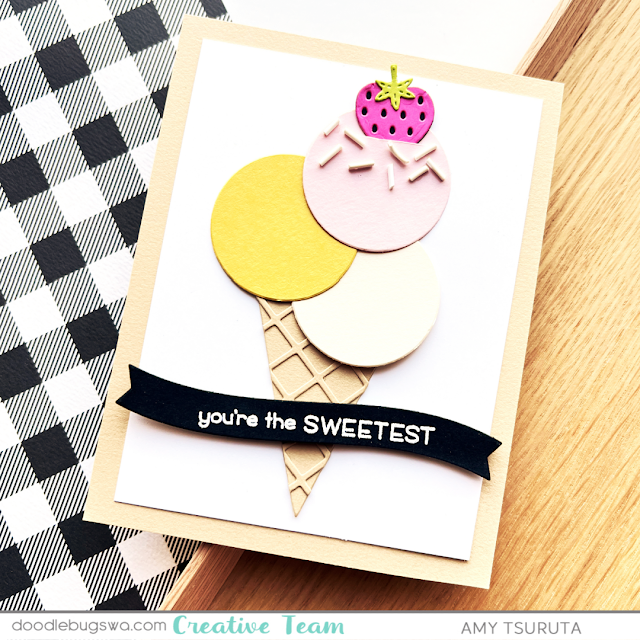
Concord and 9th Pretty Sweet die

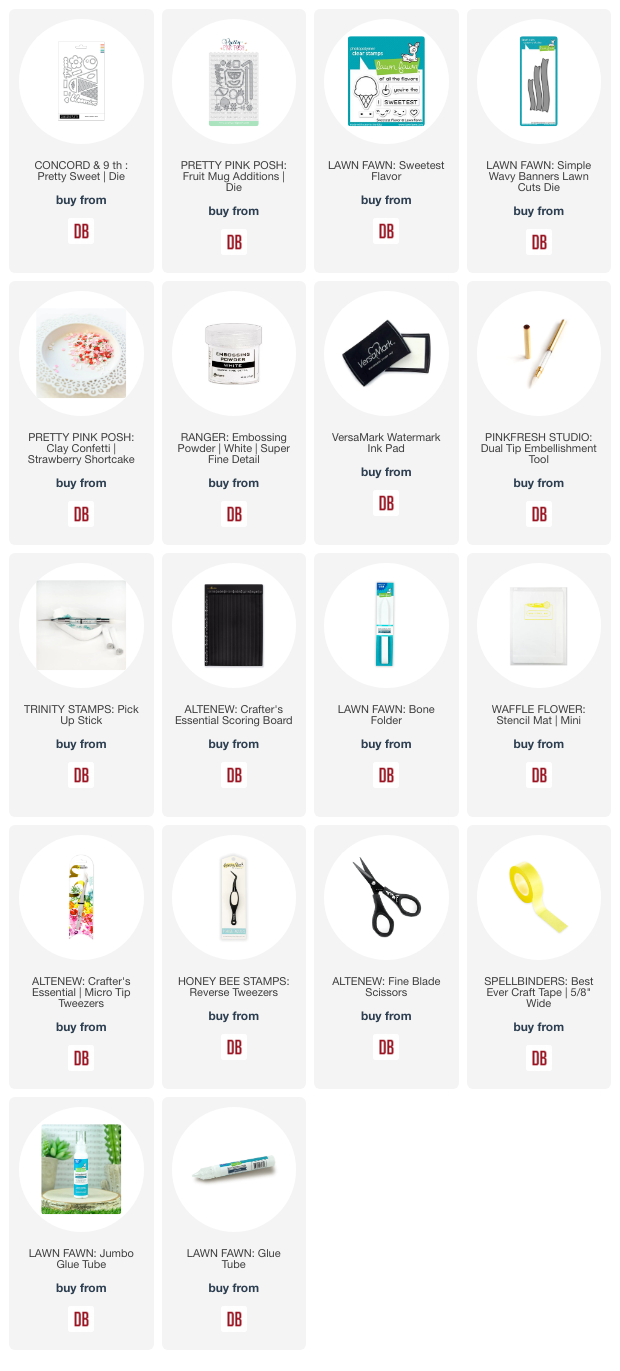
Today's project features the following products:
  • Concord & 9th - Pretty Sweet | die
  • Pretty Pink Posh - Fruit Mug Additions | die
  • Pretty Pink Posh - Strawberry Shortcake | Clay Confetti
  • Lawn Fawn - Sweetest Flavor | stamp
  • Lawn Fawn - Simple Wavy Banners | lawn cuts

Concord and 9th Pretty Sweet die

The sentiment has been heat embossed in white on black cardstock.  Don't you love the extra layer on the waffle cone?

Concord and 9th Pretty Sweet die

I hope you have the sweetest day!
 
Links to products used or recommended are listed below:  


Monday, August 7, 2023

Pretty Pink Posh Mini Note Cards Two Ways

Welcome back everyone! This is Amanda from Twiddler's Nook. I'm so glad you stopped by today. I'm here with a pair of mini note cards in two variations. Both are super cute but maybe one is more comfortable or to your bling level liking. Enjoy!

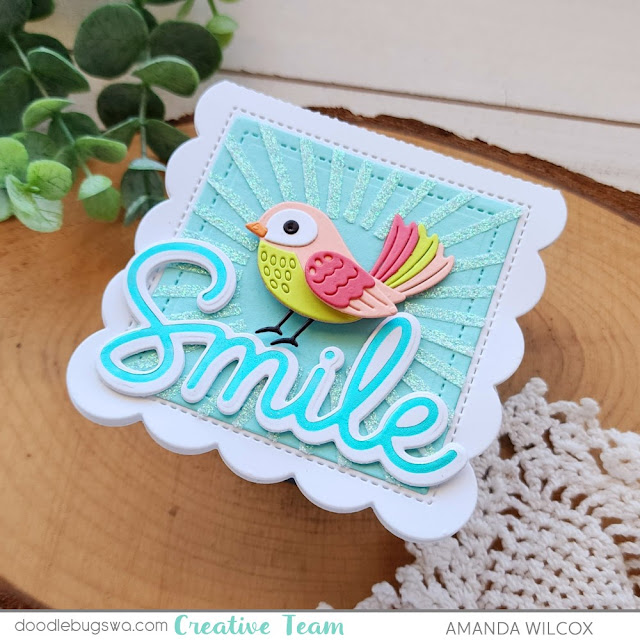
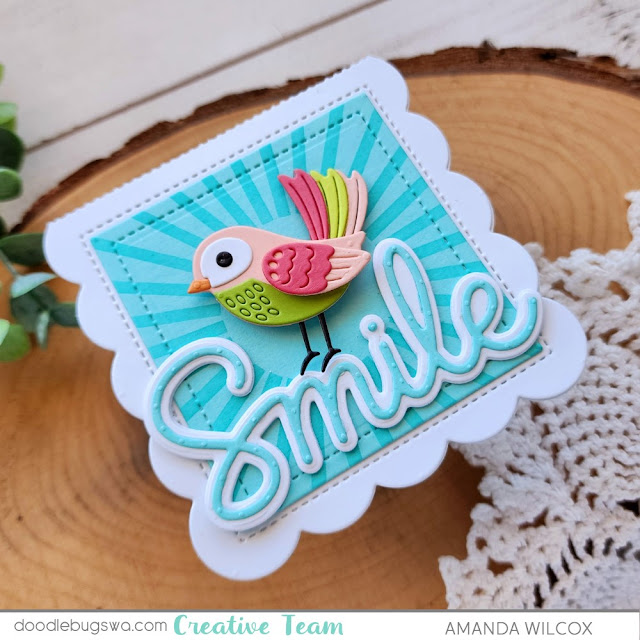
Pretty Pink Posh Mini Scallop Card and Spellbinders Little Birdie

First up, I went all things extra and hot foiled my sentiment, plus glitz gelled my stencil! Shiny and glittery and fabulous! This Pretty Pink Posh mini note die set is super fun and I'm going to be making a ton of these over time. They're fun for purses, lunch boxes and RAKs at the store too!

Pretty Pink Posh Mini Scallop Card and Spellbinders Little Birdie

I used the adorable Spellbinders Sweet Birdie die to adorn my card front and I love it! I used fun colored cardstock from my stash and liquid glue to assemble him. Then, after hot foiling my Pretty Pink Posh Smile sentiment, I die cut it, gluing and additional two layers to the back so it had a little dimension. The bird is popped up with a foam square so it stands out too.

Pretty Pink Posh Mini Scallop Card and Spellbinders Little Birdie

After creating that first card, I thought about people who don't hot foil or like to get messy like I do and wanted to create and equally adorable, but simpler version of the same card. So here we are! I used a blending brush and darker teal ink for my stenciling this time.

Pretty Pink Posh Mini Scallop Card and Spellbinders Little Birdie

Plus I used the regular die and shadow for my sentiment instead of the hot foil plate and shadow die. I did add two extra layers to the shadow on this sentiment just like the first one and popped my birdie up with a foam square again too.

Pretty Pink Posh Mini Scallop Card and Spellbinders Little Birdie

A little side-by-side action for you to see the differences at the same time. The impact is definitely more in person, with the light hitting the glitz gel and foiling but I really love both cards!

What's your vote?

I appreciate you sharing your time with me. Have a fabulous day!

Thursday, August 3, 2023

Spellbinders Poppin' Birthday and Color Blocked Balloons

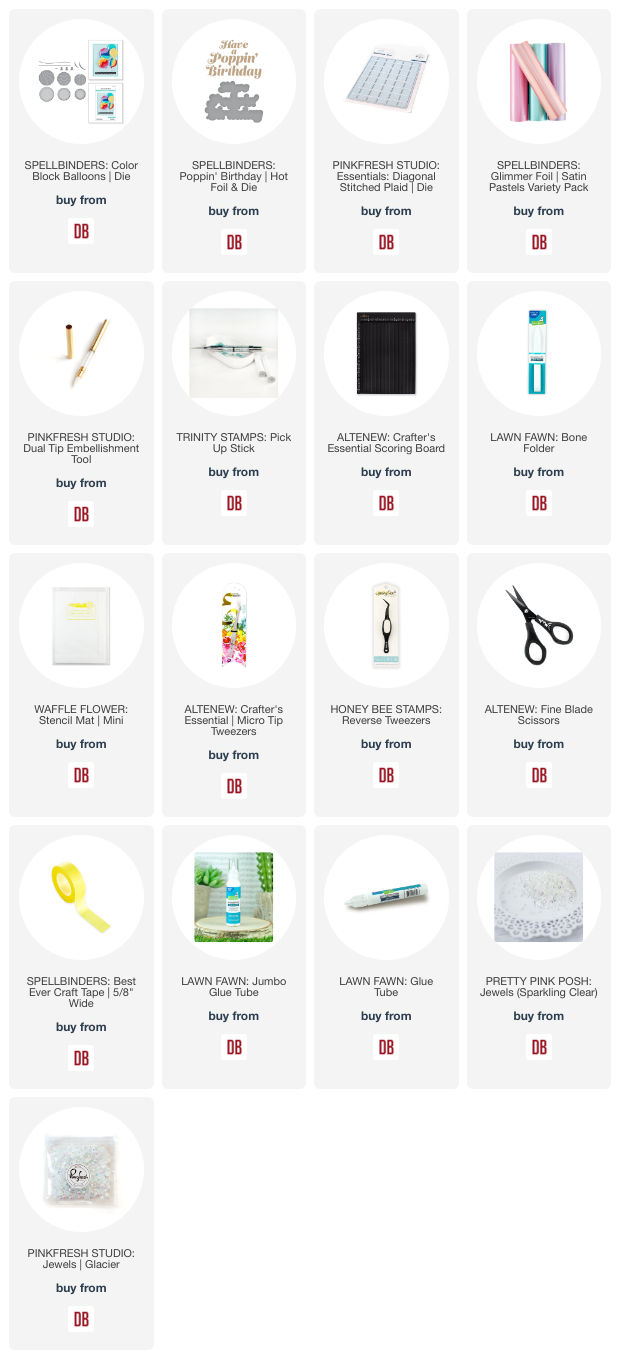
Here's to another Poppin' Birthday.  A couple weeks back I shared a birthday card using the Colorblock Balloons from Spellbinders and the Poppin' Birthday hot foil plate [also from Spellbinders].  While I was creating I decided to make more than one card.  I usually find it easier, and more enjoyable, to create multiple die cut pieces and then create several cards.

This card is my second version.  If you missed the previous card you can find it HERE.

Spellbinders Poppin' Birthday and Colorblock Balloons 
First I cut and layered all the balloons.  Then I hot foiled the sentiment using the teal / blue color from the Satin Pastels hot foil set.  I die cut the sentiment, and a few extras, to stack them up for some added dimension.

Spellbinders Poppin' Birthday and Colorblock Balloons
 

To create the background I used the Diagonal Plaid background die from Pinkfresh Studio.  It's a favorite of mine and perfect for a bit of added interest.

I embellished with a bit of bling and the card is done!

Spellbinders Poppin' Birthday and Colorblock Balloons


Thanks so much for stopping by.  I hope you enjoyed the card.

Cathy

Links to products used or recommended are listed below:
 

Tuesday, August 1, 2023

Berry Sweet

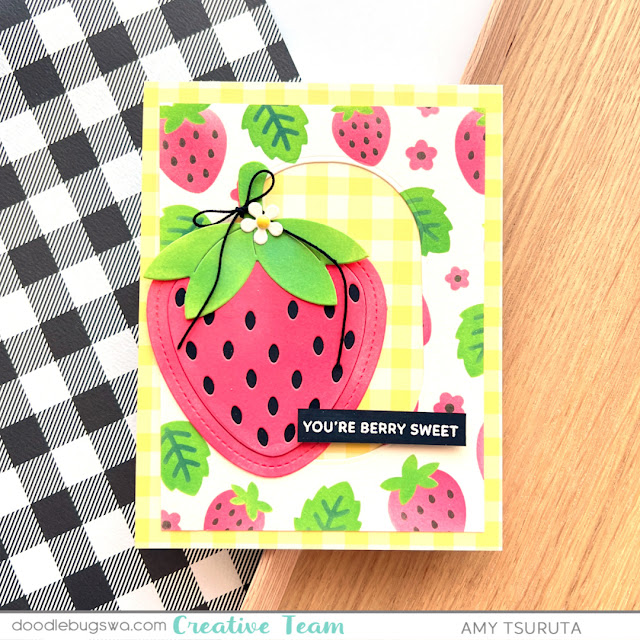
I'm absolutely loving all of the fruit themed products that are currently available.  I'm a total fruitatarian and combined some new with some old:
Pretty Pink Posh Strawberry Stencil and Lawn Fawn Stitched Strawberry

These are the products I'm featuring today:
  • Pretty Pink Posh - Fresh Berries | stamps + dies
  • Pretty Pink Posh - Strawberries | layered stencil 4 pack
  • Lawn Fawn - Outside In Stitched Strawberry | lawn cuts
  • Lawn Fawn - Stitched Strawberry Frame | lawn cuts
  • Lawn Fawn - Fruit Salad | 6x6
  • Spellbinders - Essential Stylish Ovals | dies
Pretty Pink Posh Strawberry Stencil and Lawn Fawn Stitched Strawberry

I'm a big fan of using watercolor paper when stenciling.  It makes it so smooth and quick to apply the different layers of distress oxides:
  • Festive Berries
  • Mowed Lawn
  • Rustic Wilderness
  • Black Soot
Pretty Pink Posh Strawberry Stencil and Lawn Fawn Stitched Strawberry

I used a yellow enamel dot from my stash for the center of the tiny bloom.

Are you Club Fruit or Club Veggies?

Links to products used or recommended are listed below: