Monday, May 31, 2021

Hello from Toni: Sunny Studio Beach Buddies


Hello, everyone!  Are you enjoying the warmer weather?  I'm not ready to expose myself at the beach (to COVID, you scamps!) but I'll be in the yard soaking up the rays as much as I can.


I used the Sunny Studio Slimline Nature Borders to form the landscape--fluffy white clouds, blue blue waves, and warm sand are perfect for my imaginary summer vacation.


I used the broad tip of my Copics to color the waves and the sand. The sand color was running out of ink creating streaks which was interesting so I kept it--plus, the reinkers are way over there and I'm over here--LOL.


I colored up the Sunny Studio Beach Buddies images using Copics too.  I added sentiments from the Sunny Studio Happy Hamster and Outback Critters on Mama Elephant Let's Chat speech bubbles.

I embossed the Sunny Studio Beach Buddies "Sunshine" with Wow embossing powder and added some sunny rays using the MFT Radiating Rays stencil with my Copic Airbrush.  A similar effect could be had using Distress Oxide Mustard Seed.


I'll see you again soon.  If you'd like to check out my other creations in the meantime, you can visit my blog, Frankie Helps Craft, my Instagram, or my Pinterest Board

Products Used and/or Recommended Include:

Wednesday, May 26, 2021

Miss You...with Altenew...


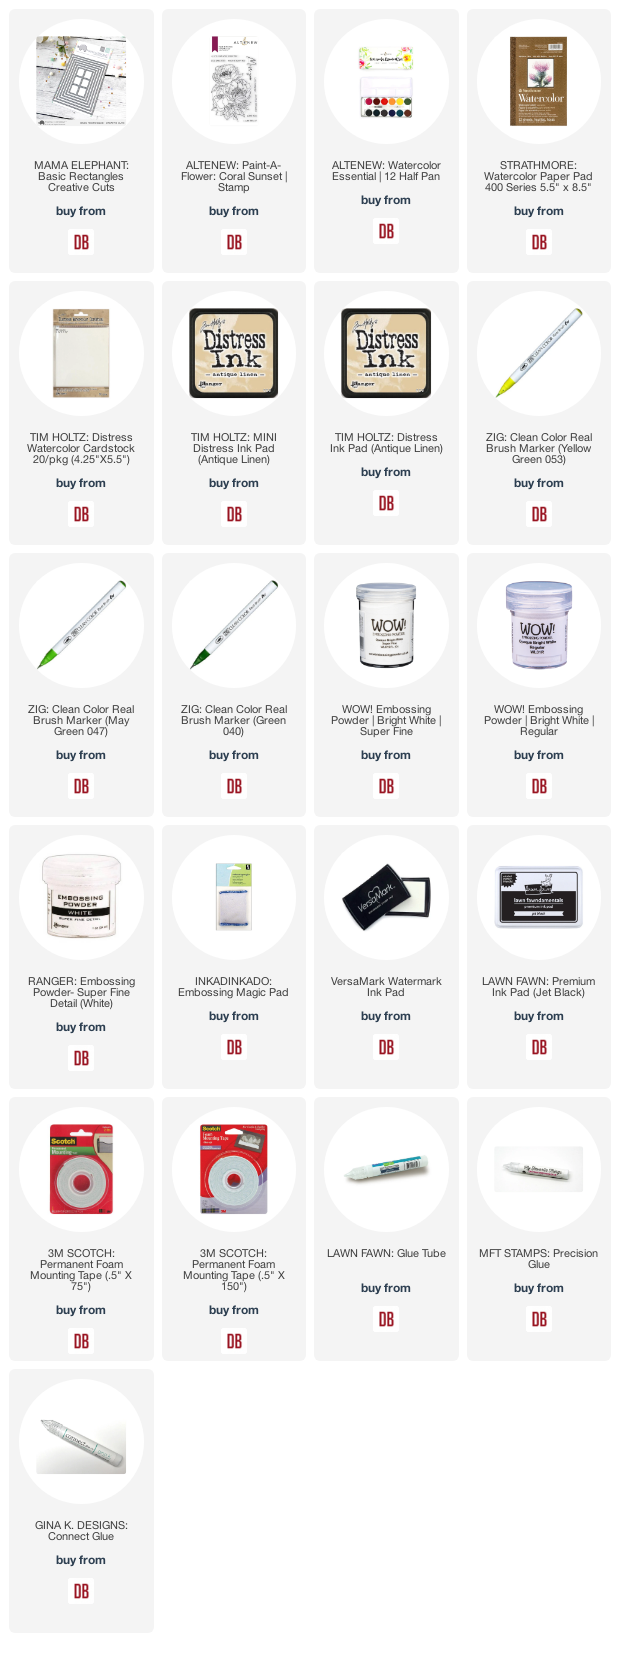
Hello everyone, happy Wednesday! Mayra here with you today. I am so happy to be here. I am sharing a watercolored card. I used the very beautiful Paint-A-Flower: Coral Sunset stamp set from Altenew

I started by die-cutting the panel I would use to stamp the image onto using Antique Linen Distress Ink. I used the Altenew Watercolor Essential 12 Half Pan set to color the image. I started by coloring the leaves, I used a mixture of the Forest Glade, Citrus Burst, Emerald, and Lagoon colors. Next, I colored the flowers using a mixture of Puffy Heart, Rubellite, and Deep Iris colors. To add a bit of brightness to the leaves I used Yellow Green, May Green, and Green Zig Clean Color Brush Markers over a couple of the leaves.

Next, I stamped the sentiments from the set I would be using onto a strip of white cardstock and black cardstock. On the black cardstock, I heat embossed the phrase using white embossing powder and Versamark ink.


I hope you enjoy the cards I created to share with you today. Thank you very much for taking the time to stop by. I hope you each have a wonderful and blessed day. Please feel welcome to visit me on my blogIG or Pinterest

Links to products used are listed below: 

Monday, May 24, 2021

Hello from Toni: Stand for Something


Hello, my lovelies. Today I created a mixed media card with a message that resonates with me on a deep level. Stand for something and make sure you realize what you're actually standing for.

I have three cards to share  now that I think of it.  The first two were my original idea using the Mama Elephant Leafy Cover and while doing so I was thinking about how I could use the individual leaf cuts.


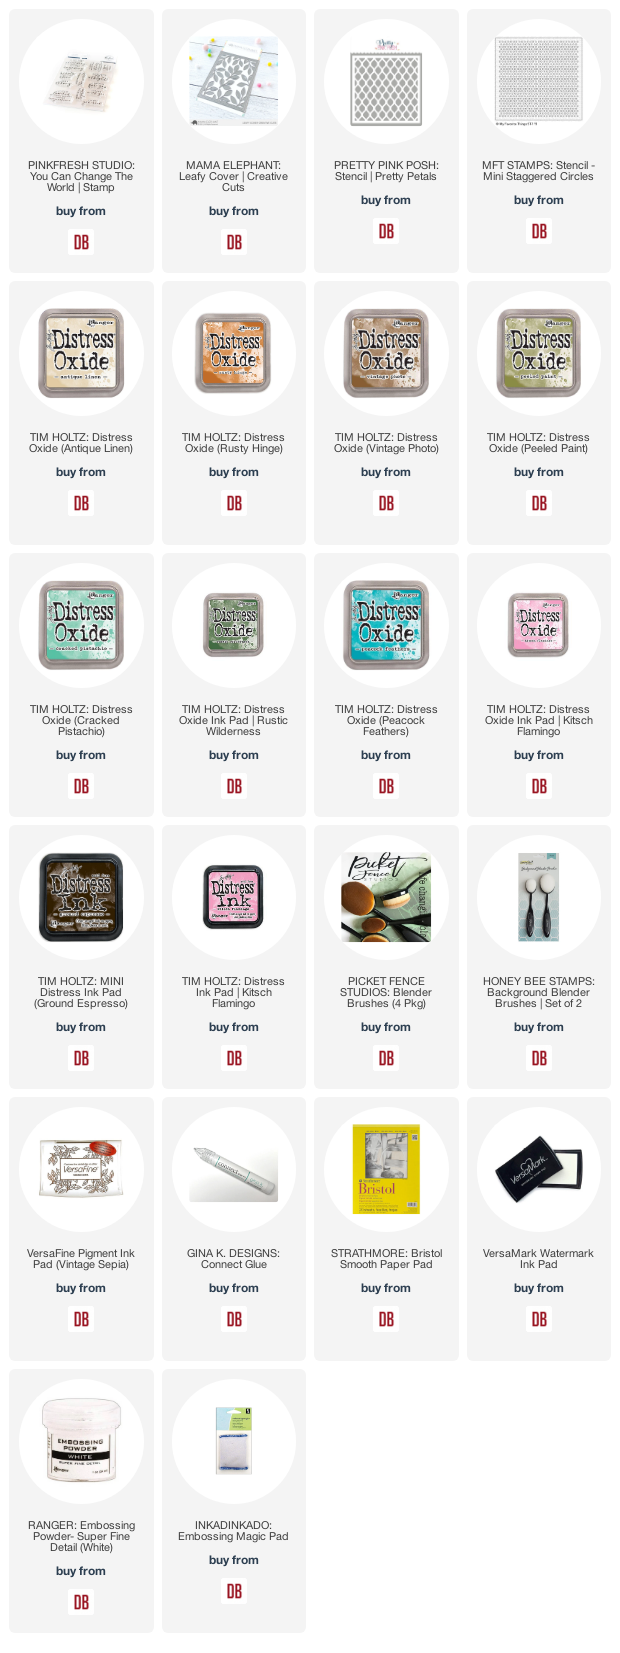
For the pink card, I sponged the Pretty Pink Posh Pretty Petals stencil using Distress Oxide Kitsch Flamingo after embossing the Pinkfresh Studio You Can Change the World sentiment in white.  I used Distress Ink Kitsch Flamingo along the perimeter as it shows darker.

The second card was even easier using quickly sponged Distress Oxide Cracked PistachioPeeled Paint and Rustic Wilderness on the background with the sentiment embossed in copper.


For the mixed media card, I used largely the same supplies.  I sponged the background in Distress Oxide Antique Linen and using the smooshing technique with the Pretty Pink Posh Pretty Petals stencil and Distress Oxide Peacock Feathers

Once that was dry I applied a thin layer of Liquitex Gesso then spattered with Distress Oxide Wild Honey, Vintage Photo, Rusty Hinge as well as Distress Ink Ground Espresso.  

I used the MFT Mini Staggered Circles stencil with Distress Oxide Vintage Photo and Peacock Feathers, mainly along the perimeter of the card. 


While that was drying I sponged the Mama Elephant Leafy Cover sprigs with Distress Oxide Antique Linen, Peacock Feathers and a touch of Rusty Hinge.

I used my MISTI to stamp the Pinkfresh Studio You Can Change the World sentiment with Versafine Vintage Sepia. I stamped it without reinking a few times on other parts of the card too.

I adhered the leaves to the card front and used hemp ribbon for the wrapped bow. 

It was at this point that I decided I needed more texture on the card so I used the MFT Mini Staggered Circles stencil with Dreamweaver crackle embossing paste in a few spots. 


I hadn't cleaned the stencil since using it with the Distress Oxides so the paste picked up those colors as I applied it.  Wondrous!

I'll see you again soon.  If you'd like to check out my other creations in the meantime, you can visit my blog, Frankie Helps Craft, my Instagram, or my Pinterest Board.  

Products Used and/or Recommended Include:

Wednesday, May 19, 2021

Lovely Florals with Pinkfresh Studio Stamps....

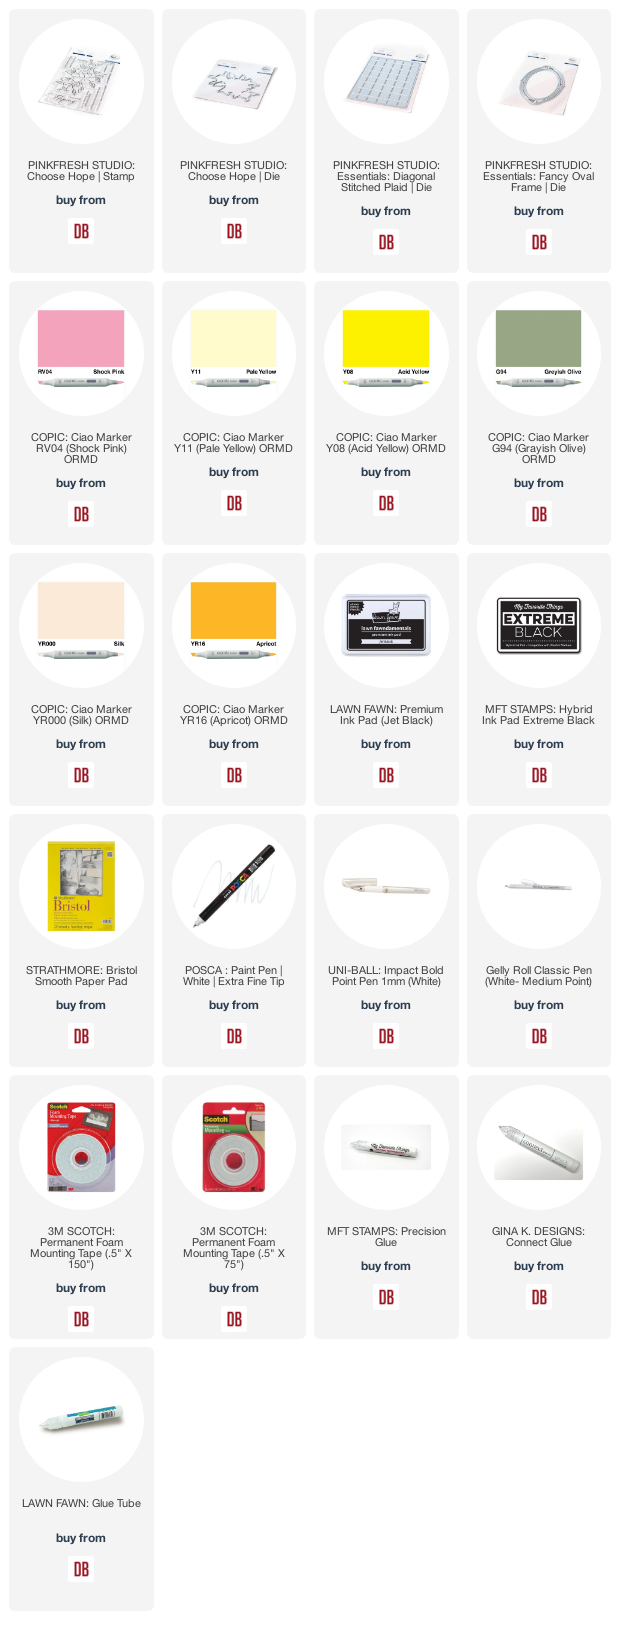
Hello everyone, happy Wednesday! Mayra here with you today. I am so happy to be here. I am sharing this sweet birthday card. I used the beautiful Choose Hope stamp set from Pink Fresh Studio once again.


I began by coloring the image using Copic markers. 

 For the pink areas, I used RV04, RV55, RV52, and RV17. For the yellow areas, I used Y11Y08, and Y19. For the green areas, I used YG01, G29, G94, and G46.  For the orange areas, I used YR000, YR14, YR16, YR24, E97, E99, and YR12. 


I then used the Diagonal Stitched Plaid die to die cut the base panel from orange-colored cardstock. Next, I used the Fancy Oval Frame die to cut a decorative oval to go on the center of the card. 


I hope you enjoy the cards I created to share with you today. Thank you very much for taking the time to stop by. I hope you each have a wonderful and blessed day. Please feel welcome to visit me on my blogIG or Pinterest


Links to products used are listed below: 
 

Monday, May 17, 2021

Hello from Toni: Mama Elephant Superheroes


Hi, everyone!  I hope you're having a great day and a great start to your week. Perhaps a little cuteness will help!

Today I'm using the Mama Elephant Little Superhero Agenda set with the Tri-Window Cover to create a little comic book scene.  


I sponged Distress Oxide Peacock Feathers in each window then adhered 3 Tri-Window diecuts together for depth.

In the first comic panel I snuck in the Space Needle; for the second, I used the HUGS that come with the Tri-Window Cover set.


I colored up the critters using Copics. 

They're ever so cute, aren't they? You've got the one guy flying over Seattle, the bunny coming in for a landing--perhaps to break up the superhero fight in the last panel before the innocent bystander gets hurt. Like I said, cuter than cute!


I added additional sentiments using the Mama Elephant Let's Chat speech bubble dies and Comic Sayings set.

I've been using the Let's Chat dies a lot lately as you've probably noticed.  They are so versatile.

I'll see you again soon.  If you'd like to check out my other creations in the meantime, you can visit my blog, Frankie Helps Craft, my Instagram, or my Pinterest Board.  

Products Used and/or Recommended Include:
Wednesday, May 12, 2021

You Make Me Smile with Lawn Fawn...

Hello everyone, happy Wednesday! Mayra here with you today. I am so happy to be here. I am sharing this sweet card with you using the cute Den Sweet Den bears. 


I began by coloring all of the images I would use to create the card. The rocks are from the Mermaid For You set, the mushrooms are from the Oh Gnome set, the bubbles are from the Bubbles Of Joy set, the ice cream cone is from the Unicorn Picnic set, the picnic blanket is from the Crazy Antics set and the grass accents from the Ocean Shell-fie and You are Sublime stamp sets. 


I used Copic markers. For the bears, I used  E50, E51E41E31, E55, and E35. For the purple areas, I used RV91, V95, and V99. For the peach areas, I used R02, Y21, Y32, and YR31. For the rust-colored areas, I used YR27, E97, and E53.  For the green areas, I used BG99, BG96, and BG90.


I then die-cut the beautiful Fancy Lattice Backdrop to place over a colored panel. To add color to the base panel I used Lawn Fawn ink. I started with Peach Fuzz, then added a bit of Fresh Lavender, then Apricot, and Grape Jelly. For the die-cut grass, I used Sage Leaf and Freshly Cut Grass


I hope you enjoy the cards I created to share with you today. Thank you very much for taking the time to stop by. I hope you each have a wonderful and blessed day. Please feel welcome to visit me on my blogIG or Pinterest

Products Used and/or Recommended Include:

Monday, May 10, 2021

Hello from Toni: Sunny Studio Happy Hamsters


Hello, everyone.  Are you ready for some rainbow cuteness today?  I know I am!


Check out that fun rainbow paper from Waffle Flower! I used MFT Poppin' Polka Dots paper for the narrow strip.

Normally I like using blender brushes but for dots I prefer using sponge daubers. Plus they're fun to put on your fingers like Freddy Krueger without the sharp ends--LOL.


I coated the MFT Happy Birthday circle frame with Clear Wink of Stella too. I had been planning to use the wheel that's in the Sunny Studio Happy Hamster set but then remembered the MFT die.

I colored up the hamsters with Copics (those chubby cheeks!). I stamped the sentiment onto a Mama Elephant Let's Chat speech bubble with the little dangly snipped off. I really dig those rounded edges.

I'll see you again soon.  If you'd like to check out my other creations in the meantime, you can visit my blog, Frankie Helps Craft, my Instagram, or my Pinterest Board.  

Products Used and/or Recommended Include:

Wednesday, May 5, 2021

You Are A Hero with Avery Elle...


Hello everyone, happy Wednesday! Mayra here with you today. I am so happy to be here. I am sharing two cards with you today, a Mother's Day and a Father's Day themed card using the same stamp set. I used the super,'SUPER' cute Superheroes stamp set from Avery Elle


I began by die cutting the larger rectangle from the Wonky Stitches Elle-ments die set. I die cut it twice, one using Bristol Smooth Cardstock and the second one from plain white cardstock. I then added color to the panel cut from the Bristol Smooth paper using Distress Oxide inks. I used Cracked Pistachio, Dried Marigold, Abandoned Coral and a bit of Salty Ocean


Next, I colored the images from the set. I used Copic markers to color them. For the green areas, I used YG01, G40, YG23, and a bit YG17. For the mint colors, BG10, BG11, BG23, and BG34. For the soft orange, I used YR000, YR12, YR14, and YR02. For the ink/coral color, I used R00, R02, R20, and R32. For the Father's Day card, I used R05 instead R32.  To color the bear, bunny, koala, and mice, I used E50, E81, E31, and E55. 


I then stamped the sentiments from the sets onto the speech bubbles from the Speech Bubbles stamp set using Lawn Fawn Jet Black ink. I hope you enjoy the cards I created to share with you today. Thank you very much for taking the time to stop by. I hope you each have a wonderful and blessed day. Please feel welcome to visit me on my blog, IG or Pinterest

Products Used and/or Recommended Include:

Monday, May 3, 2021

Hello from Toni: PPP Peonies


Hello, my lovelies!  Today's card is soft and pretty and I just love it.

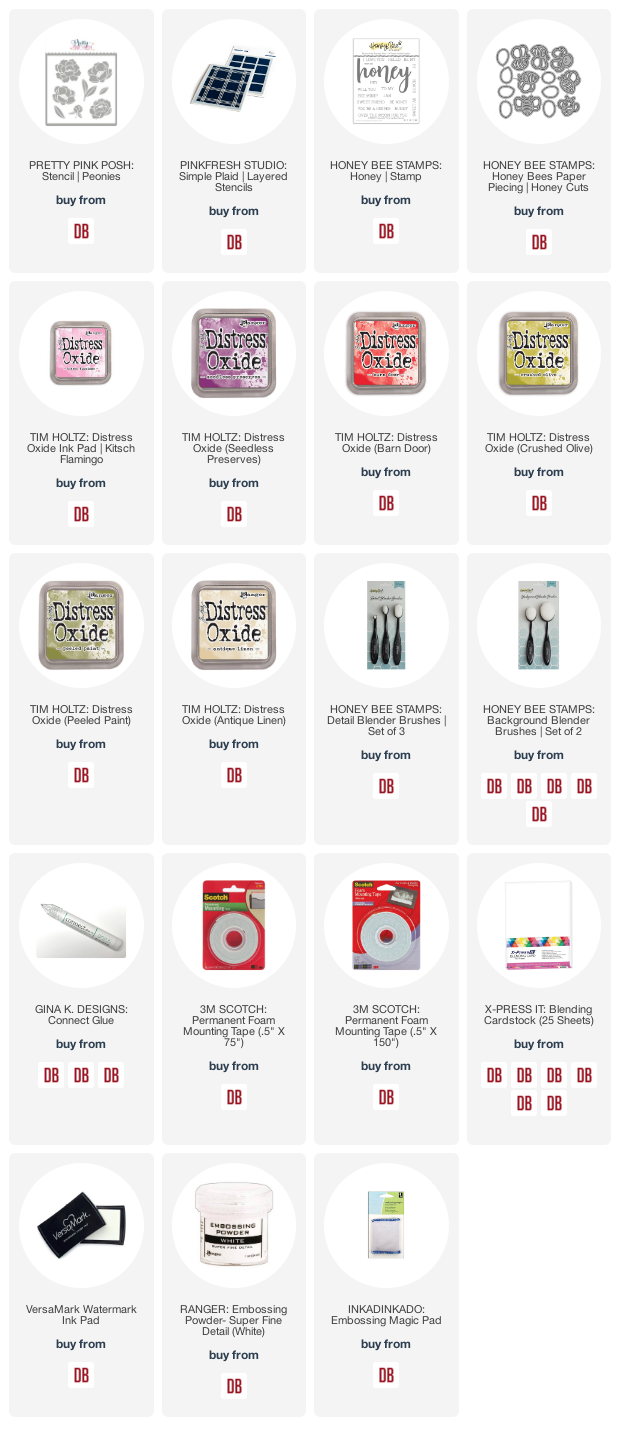
I sponged the Pretty Pink Posh Peonies stencil a few times using Distress Oxide Kitsch Flamingo, Seedless Preserves, and Barn Door. I cut those out by hand and set them aside while I worked on the background.


I sponged one part of the two-part Pinkfresh Studio Simple Plaid Layered stencil with Distress Oxide Antique Linen. 

Then I figured out where the flowers were going to go and sponged a some of the Pretty Pink Posh Peonies stencil leaves directly onto the background using Distress Oxide Peeled Paint and Crushed Olive. I sponged a few on scrap paper and fussy cut them.


I used a combination of foam tape layers for the flowers and leaves so they would be really dimensional. 

The bee and sentiment are from Honey Bee, naturally:  Honey and Honey Bees.  I added black Enamel Accents for the stamens as the yellow Copic I had originally used just didn't pop enough. Now, bam!


I'll see you again soon.  If you'd like to check out my other creations in the meantime, you can visit my blog, Frankie Helps Craft, my Instagram, or my Pinterest Board.  

Products Used and/or Recommended Include: