Tuesday, April 30, 2019

Mama Elephant Little Fairy Agenda

Happy Tuesday friends! Toni is back and she's sharing a cute fairy card today.  Don't you just love the little mushrooms?   We hope you enjoy it!

 *****


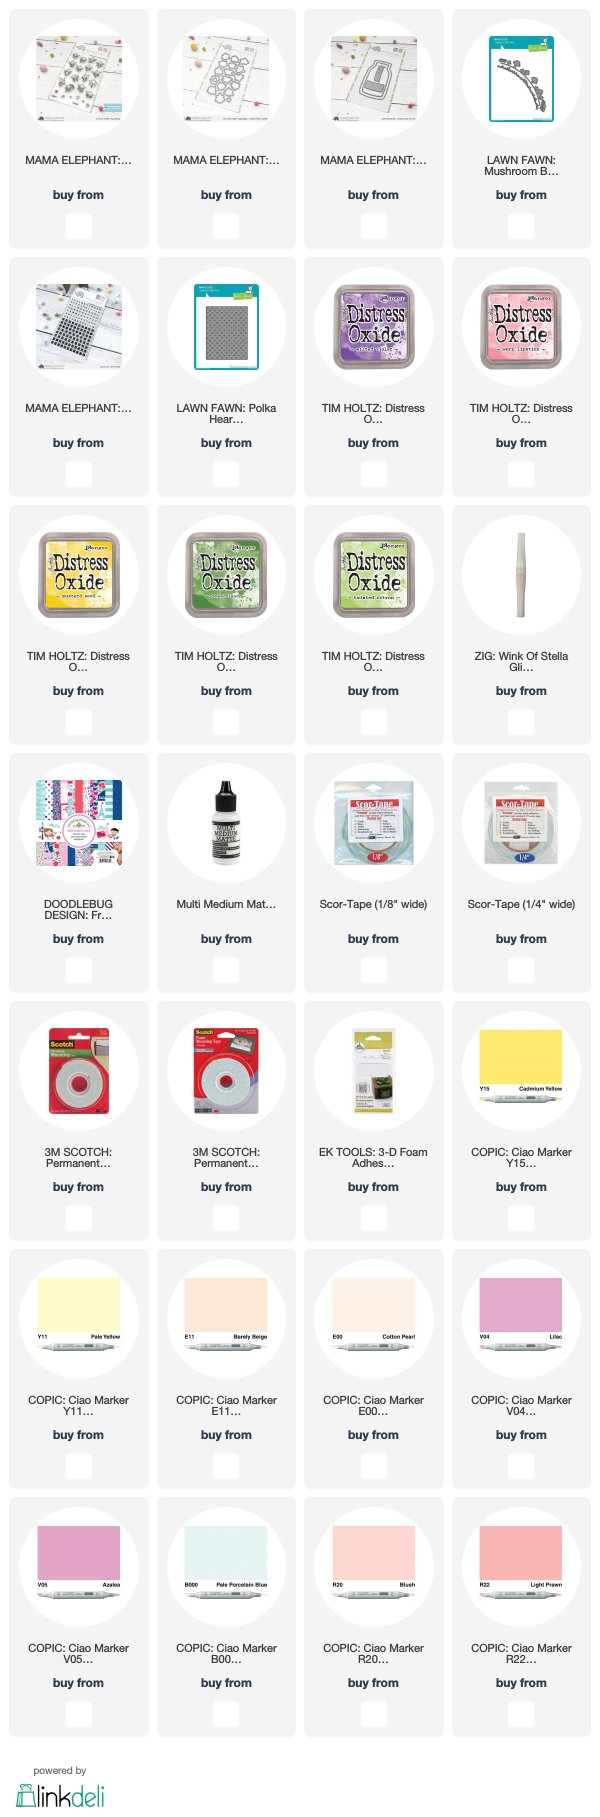
Hi, all!  Toni here with you on what I hope is a fine day, made all the brighter and more colorful with this fairy jar using the Mama Elephant Little Fairy Agenda and Jar Shaker dies. I sort of feel bad about trapping the fairies in the jar but just look how cute they are! Not like those "sea monkeys" from childhood. LOL.

I started the card by diecutting the Lawn Fawn Polka Heart Backdrop Die and sponging that with Distress Oxide Wilted Violet. I spattered that with water and set it aside to dry.


Next I worked on the Jar, sponging the base with Distress Oxide Worn Lipstick and Mustard Seed. I cut the Lawn Fawn Mushroom Border dies next, sponging the grass with Mowed Lawn and Twisted Citron. The mushroom caps are cut from Doodlebug Design French Kiss 6x6 paper.

The jar lid is cut from a heavy silver vellum I've had in my stash from the mid-2000s.  Shopping my own stash! Everything is adhered with my favorite adhesives, Ranger Multi Medium Matte and Scor-Tape.


Finally, I stamped some of the Mama Elephant Little Fairy Agenda with Memento Tuxedo Black and colored them with Copics.  I brushed their wings with Clear Wink of Stella. The fairies are adhered with either Ranger Multi Medium Matte or EK Tools Thin Foam Squares (I love that these don't pop things up too too far!)

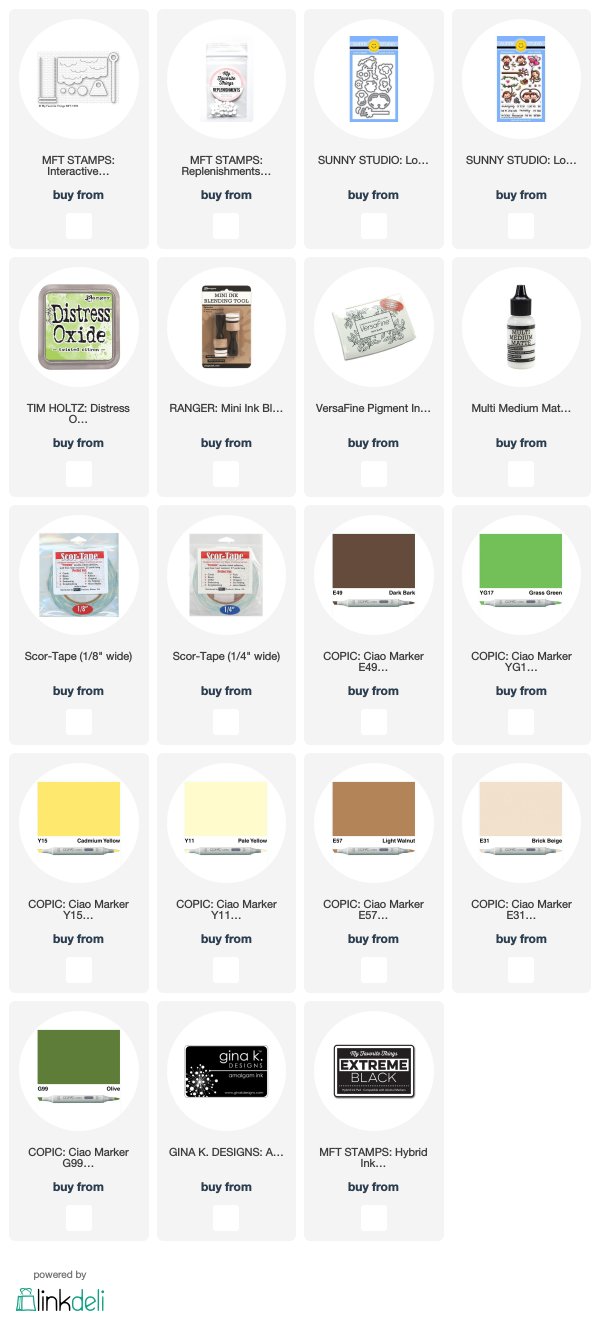
Did you notice the sentiment at first? The Mama Elephant Lots of Letters set is perfect for adding tiny messages.  If her sign had been a little bigger, I would have used "help" instead--LOL.


Flutter on over to my blog, Frankie Helps Craft, or follow me on Instagram to see more of my creations.

Links to products used are listed below:

Friday, April 26, 2019

Interactive Swing Die with Sunny Studio Monkeys

We have another interactive card from Toni today!  So fun! We hope you enjoy it.

 *****


Guess who has a bonus post for you this week? This girl! LOL.  Toni here featuring another MFT Interactive Swing card. This time we'll explore the simpler of the two swing options (and my favorite!).

  1. I recommend you watch the MFT video about this die.  It's really helpful.
  2. You can see this card in action on my Instagram or at the bottom of this post.

I started the card by sponging the Newton's Nook Tropical Leaves stencil onto the card base with Distress Oxide Twisted Citron and Mowed Lawn. I then stamped the Sunny Studio Love Monkey sentiment with Versafine Onyx Black and a few hearts with Catherine Pooler Party Dress.


Next I cut out the MFT Interactive Swing elements using Echo Park Jungle Safari 6x6 paper for the trees and acetate for the swing. Acetate?!  Yes!  Notice how the vine looks like it's free-hanging? Cool, huh?!

The banana monkey is nestled within the jungle canopy using Ranger Multi Medium Matte. The swinging monkey was adhered to the acetate using Scor-Tape

Both monkeys were stamped with Memento Tuxedo Black and colored with Copics.


Here are both swing cards together.  I personally prefer the single swing for greater design possibilities but both are super cute and easy to use.


You can see both cards in action on my Instagram account.  

Feel free to stop by my blog, Frankie Helps Craft, to see my other creations as well!


Links to supplies used are listed below:

Tuesday, April 23, 2019

MFT Stamps Interactive Swing Die

Oh my! I just love the card Toni is sharing today! We hope you enjoy it as well!!

 *****

 Hello again, lovelies!  Toni with you today, sharing one of two cards this week that focus on the MFT Interactive Swing Dies.  If you haven't watched the MFT Interactive Swing video, I recommend you do.


For today's card, I first masked the card base and lightly sponged Distress Oxide Twisted Citron and Salty Ocean over it. I spattered this with water. Before removing the mask, I went ahead and added Copic grass to the bottom. The masking tape helped keep my sometimes enthusiastic flicks from getting out of control.


Next I stamped one of the MFT It's a Mice Time to Celebrate images using Memento Black and colored him with Copics. Doesn't he fit perfectly on the swing? I adhered him to the swing using Ranger Multi Medium Matte on his ears and butt.


Now let's take a look at the innards.  Notice the size of the pendulum mechanism? It's quite large so I positioned it on the back of the tree then built a Scotch Foam Tape wall for support.

  • This is also your opportunity to use the foam tape to control the width of the swinging motion. This is especially important if your swing has any parts that might get caught on the card front (like his tail!).
  • It's also a good time to add a coin to the back of your image as suggested in the video. I used a penny adhered with Scor-Tape.


You can also see here that I emphasized the inner cuts of the MFT Interactive Swing Dies tree with Distress Oxide Mowed Lawn. The tree itself is cut out of Lawn Fawn Speckles 6x6 paper

I did the sentiment last.  It's from MFT Polynesian Paradise, stamped in Versamark then embossed with Ranger Detail White Embossing Powder.

Super fun, right?  I do have a brief video over on Instagram you can check out to see it in action!  You can also check out my blog, Frankie Helps Craft, to see my other creations.


Links to supplies used are listed below:


Tuesday, April 16, 2019

MFT Stamps Best in Show

Happy Tuesday friends. We have Toni, from Frankie Helps Craft sharing, not one, but two cards on the blog today. We're thrilled you stopped by and hope you like the cards!  Let us know what you think in the comments below.

*****


Hello, Friends!  Toni here today with two cards featuring the MFT Best in Show set. This set is so so cute, isn't it?  Have you seen the movie Best in Show? I loved it and couldn't help but think of it as I worked on these cards. LOL.

For the first card, I stamped the images with Memento Tuxedo Black and colored them with Copics. I then masked the images using my favorite masking paper by Inkadinkado.


I  sponged Distress Oxides Wilted Violet and Shaded Lilac on the card front. I spattered this with water, Distress Oxide Twisted Citron and Peacock Feathers. Once dry, I diecut the panel and adhered it to the card base which I had lightly sponged with Distress Oxide Mustard Seed.  I stamped the sentiment in Versafine Onyx Black and used Ranger Glossy Accents to add a few Pretty Pink Posh clear sequins.


I intended my first card to be one layer but I forgot to stamp the middle pillar first. Oops!  No big deal though as the pole appears more dimensional being adhered with Ranger Multi Medium Matte in front of the corgi.

Now the second card looks like it's one layer but it's not.  This time I changed my mind about layout so the first pole is the one I should have stamped first then masked. Apparently you can't teach a dog new tricks--LOL!


I sponged the bottom of the card front with Distress Oxide Twisted Citron then stamped the sentiment with Versafine Onyx Black. I masked the peke and one of the poles (accidentally ripped the second pole's mask and didn't feel like making another) when I sponged Distress Oxide Peacock Feathers on the MFT Ray of Light stencil.

It seemed a bit ho-hum so I spattered water and Distress Oxide Peacock Feathers through the stencil as well. I really like the effect and will definitely use it again in the future!


To see my other creations, feel free to stop by my blog, Frankie Helps Craft, or follow me on Instagram!

Have a great rest of your week!

Links to products used are listed below:

Tuesday, April 9, 2019

Lawn Fawn Easter Reveal Wheel

Hello friends! It's Tuesday, and that means Toni, from Frankie Helps Craft, is sharing with us today. She's created a fun, interactive, Spring card! We hope you like it!!

*****


Hello, Friends!  I am so egg-cited about today's card! It has me hopping for joy! Okay, okay, enough with the puns. I don't want to annoy you so let's hop right in! ;-)

First things first. I combined elements from four different interactive die sets: 
I know, right!  The LF Reveal Wheel Square Add-on allowed me to include the MFT Interactive Swing clouds above since it takes up less card front space. Yay!


Also, it was my first time using the Lawn Fawn Reveal Wheel Templates which allowed me to position the Lawn Fawn Reveal Wheel Spring Sentiments so so easily! As an added bonus, the set includes 4 different templates depending on the aperture. Good thinking (and great value)! The heart I used between the sentiments is from the Lawn Fawn Oh Gnome set, stamped in Catherine Pooler Party Dress.


Okay, so I've applied a bit of Distress Oxide Twisted Citron to the Reveal Wheel Square and cut out the remaining elements, including the Avery Elle Spring Scene Builder grass and tree, the Lawn Fawn Picket Fence, MFT Bubble Over with Joy bunnies and the Mama Elephant Little Chickie Agenda chick which I colored with Copics.


The bunny outfits and tree are cut from Lawn Fawn Perfectly Plaid Spring 6x6 Paper. The clouds from Doodlebug Design Fairy Tales 6x6 Paper and the card base from what I assume is also Doodlebug paper. I did add a bit of clear Wink of Stella to the clouds. So glamorous! :-p

Final steps included stamping the  Lawn Fawn Reveal Wheel Spring Sentiments with Versafine Onyx Black on the Lawn Fawn Slide on Over die negative I used as the banner. I also stamped the directional arrow from the original Lawn Fawn Reveal Wheel Sentiments in Catherine Pooler Party Dress. I prefer the stamped arrow over the diecut one as it's flat and won't hamper wheel scrolling.


Aren't all of the layers luscious?  I count 5:  jelly bean paper, reveal wheel, fence, grass/bunny, bunny arm. Wait, 6 including the chick/bouquet layer.  Wow!

If you'd like additional instructions for assembling / creating the Reveal Wheel card, watch the video listed below.  It's from Lawn Fawn and demonstrates how to assemble and use these dies.


I had such fun with this card and hope you enjoyed it too.  To see more of my creations, check out my blog, Frankie Helps Craft, or follow me on Instagram.  See you next week!

Links listed below to products used:

Tuesday, April 2, 2019

MFT Stamps Rain or Shine

I think most of us are ready for Spring, right? This fun, interactive card is the perfect way to celebrate Spring!  Love the festive and colorful shaker cloud Toni created for this week's project.

*****


Well, hello there! It's that time again, isn't it?!  Yay!  

Spring is full of rain and clouds so I thought I would brighten up someone's day with this happy number using MFT Rain or Shine along with the MFT Cloud Shaker Dies and coordinating Pouches.


The MFT Cloud Shaker Dies are quite versatile in how you can use them. I chose to stamp the sentiment in Versafine Onyx Black on the card base and adhere the Cloud Shaker Pouch directly to it with Ranger Glossy Accents. I used a variety of sequins and added a sprinkling of sponged raindrops using Distress Oxide Broken China.


I colored up the MFT Rain or Shine images using Copics and adhered them to the card front using Ranger Multi Matte Medium and Scotch Foam Tape. Did you notice I paper-pieced her rain coat? Fun!


If you'd like to see my other creations, feel free to stop by Frankie Helps Craft.  Have a great day!

Supplies used are linked below: