Friday, August 30, 2019

Friday with Amy: Sunny Studio Stamps | Fall Fun


I love my Doodlebugs weekly posts.  It has me on my toes and mixing and matching sets.  It also means that it is FRIDAY!  Today I'm sharing a couple of Sunny Studio Stamps cards.  I'm in a bit of a fall mode so these had me happily crafting.


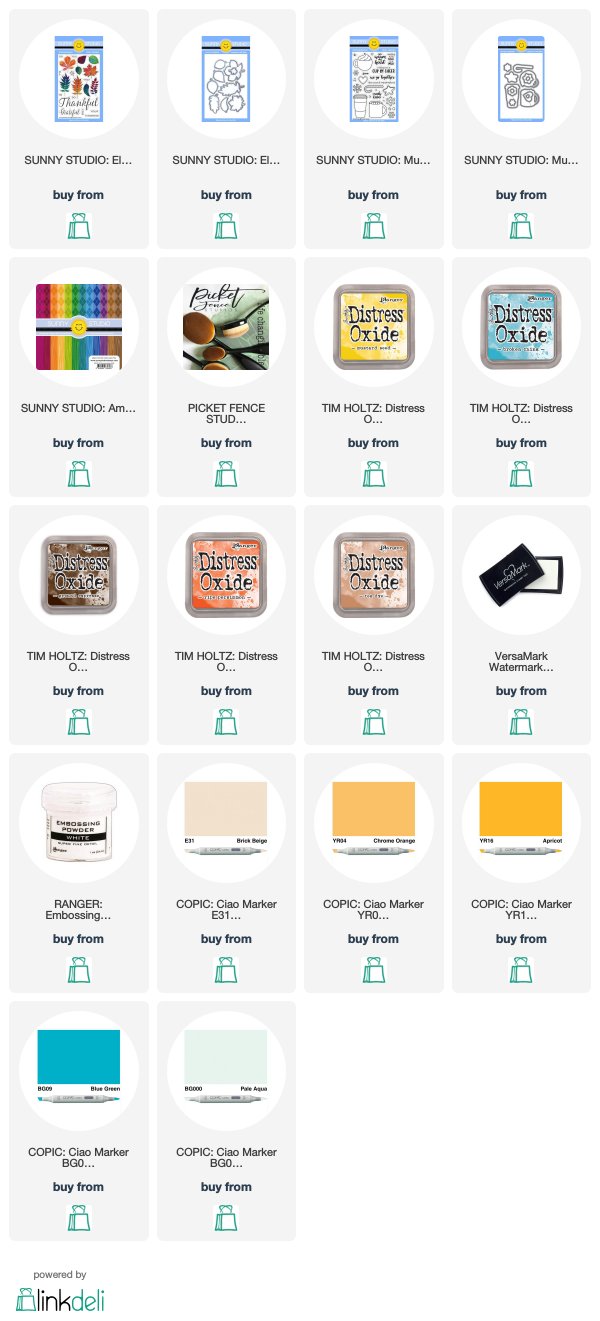
I went a bit crazy and stamped out the Sunny Studio Stamps Elegant Leaves set 4 times in 4 different Oxide Inks:


That's why you see all those leaves scattered on both of my projects.  Let's chat about my 'Thankful' card first:


I started off with a kraft 4.25 x 4.25 panel.  I trimmed down a white panel to 4.0 x 4.0.  I did some light stencil work with a stencil I had in my stash using Distress Oxide Tea Dye.  

I stamped the Thankful sentiment in Broken China and fussy cut it out.


I'm loving this color combo for fall inspired designs, how about you?


If you've been following me for any amount of time, you know that I'm a coffee-a-holic.  I love the liquid form and all things caffeinated in stamps.   I combined Sunny Studio Mug Hugs with Elegant Leaves.


I started with another 4.25 x 4.25 kraft panel.  I used a 4.0 x 4.0 panel from the Sunny Studio Amazing Argyle Paper Pad.  I used an oval die and ran it through my die cut machine.


I heat embossed the sentiment in white on the kraft panel.  

I stamped and copic colored the two coffee cups.  I used various copics:

YR04 | YR14 | YR16
BG07 | BG09
E44
TO | T2


I played around with the different leaves that I had left over and manage to place them in a manner that made me happy.  I topped off the blue mug with sprinkles on the foam.

Thanks so much for stopping by!

Links to products used can be found below:
Thursday, August 29, 2019

Love you Deeply - Friends with Fins


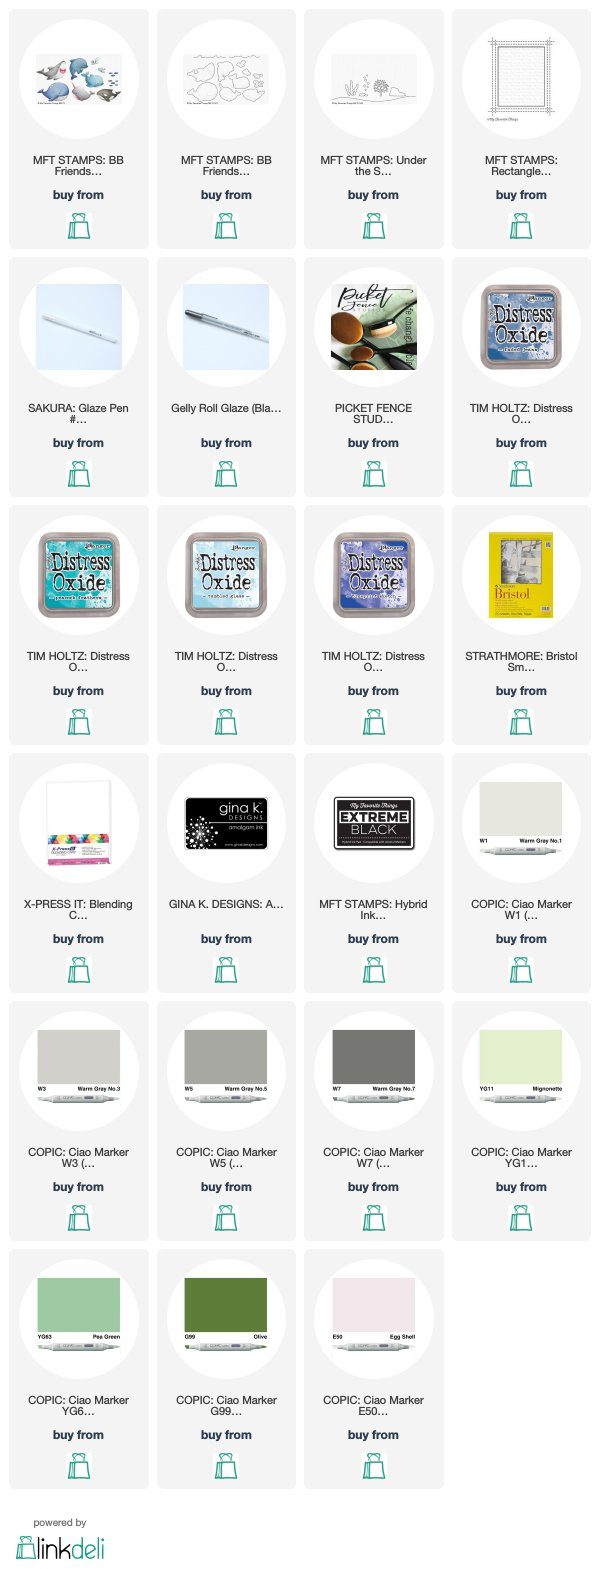
Hello friends.  I'm back again this week with another card using the Friends with Fins set from MFT Stamps.  I was inspired by Toni's pop-up card a few weeks back, and had to try out that die!  The Slider Surprise die is super easy to assemble, especially for an interactive card / die.

I'm offering a discount to our readers for $5 off the Slider Surprise die.  Use the discount code:  SLIDER when checking out or use the link to hop over to our online store where the discount will be applied automatically during the checkout process.


I used the Ray of Light stencil from MFT Stamps to ink up an underwater scene on the pop-up portion of the card.  I used Blueprint Sketch and Faded Jeans Oxide Inks to create the deeper portion of my underwater scene.  Then, I added the lightest blue ( Tumbled Glass ) to the top.  Once I had everything blended nicely, I layered the stencil on top and inked the rays with Peacock Feathers Distress Oxide Ink.  I like how it looks as if light is shining down from the surface.


The rest of the scene was created using Under the Sea die set from MFT Stamps.  I die cut the pieces and colored them with my Copic Markers.  The shark is also colored with Copic Markers and added to the front with some foam tape.  Note:  Don't add any adhesive above the fold line (peak) on the sliding portion of the card.  This will create a problem when trying to slide the card open.

It's really hard to see in the photographed images, but I added some white Glaze pen to the teeth of the shark, black Glaze pen to his eye, and the clear Glaze pen to the tongue.  It's just a little detail that adds quite a bit to the overall image.

I hope you enjoyed the card and that it inspired you to give this fun die a try.  You can watch a video from MFT Stamps featuring the assembly of the Slider Surprise die HERE.


Links to supplies used can be found below:
 

Tuesday, August 27, 2019

Tuesday with Toni: MFT Spooktacular Friends


Happy fall, y'all!  Well, getting there anyway! My card today features an ultra cute mashup between the recent MFT Spooktacular Friends set and Lawn Fawn.


I started by diecutting the Lawn Fawn Mushroom House and sponging the base using Distress Oxide Mustard Seed and MFT Red Hot Ink.

Side Note: I love how smoothly the MFT ink blends!


Next I colored up the MFT Spooktacular Friends and Lawn Fawn Oh Gnome! images using Copics. She has a candy corn hat, people!!!!


Once I figured out the layout, I cut out the MFT Fun & Frolic 6x6 Paper and Lawn Fawn Spring Fling 6x6 Paper. For the latter I used grass from the Lawn Fawn Mushroom Border. The little pathway is MFT Spring Scene Builder. Aren't the patterns and colors fabulous together?!


I assembled the card using Gina K Connect Glue and Scotch Foam Tape.  The MFT Spooktacular Friends sentiment is stamped with Versamark and embossed with Ranger White Super Fine Detail Embossing Powder.

If you'd like to check out my other creations, you can visit my blog, Frankie Helps Craft, my Instagram, or my Pinterest Board.

Products Used Include:

Friday, August 23, 2019

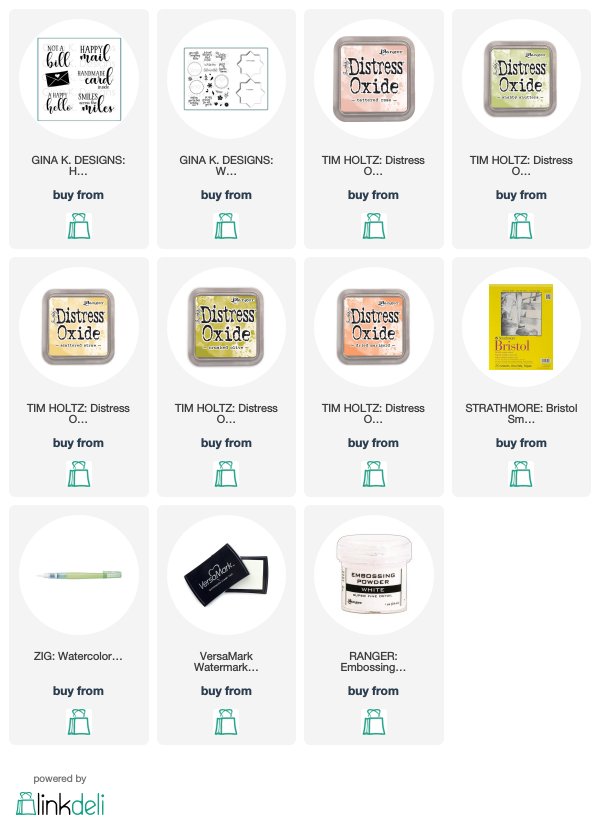
Friday with Amy: Gina K Designs | A Happy Hello


Happy Friday!  My first full week back to work after being off for a week!  I have a fun card that features Gina K. Designs.  I combined Happy Mail with the Wreath Builder Bundle.   

The Wreath Builder Template comes with the Wreath Builder Stamp set in the Bundle.  Those templates are truly magical.  It's so fun to see the end result of all the stamping.  I was inspired by Cathy Zielske's YouTube.  I used her overall stamp design but switched out the color palette.


I combined:


My base cardstock panel and circle are the same color.  Do you spot the gold glitter panel?  I stamped out a sentiment from the Happy Mail set on the mailing envelope.  Super easy and fast.


 All my stamping is on a bristol panel.  I quickly ran my watercolor brush and water on the images giving it an overall softer look.


The sentiment from the Happy Mail set has been heat embossed in white.


Links to supplies used can be found below:


Wednesday, August 21, 2019

Thanks a Ton - Friends with Fins


I spent a little time at my crafty table this month and wanted to share.  I had a few extra Copic colored images from the Friends with Fins stamp set from MFT Stamps so I thought I'd put them to good use.

I simply loved Amy's cards from her More Furry Friends Post in July.  It was the inspiration for this card.  If you missed her post you can find it HERE.


I used some Distress Oxide Inks and the Ray of Light stencil from MFT Stamps to create a blended background to use behind my die cut window.  I used the Bristol Smooth cardstock for this.  I love how the inks blend on this paper.


I added some seaweed from the Under the Sea die set from MFT Stamps and stamped a few extra fish to my underwater scene.


I grabbed my Clear Glaze pen to add some extra shine to the little fish.  I love the control of this pen vs. Glossy Accents.  It dries quicker and I have more control when applying it.  It's great for adding shine to small areas.  I also "dotted" the whale's eye with the Black Glaze pen.

Hope you enjoyed the card.  I had a few more colored images, so I'll be back next week with another card.

Link to the supplies used can be found below:

Tuesday, August 20, 2019

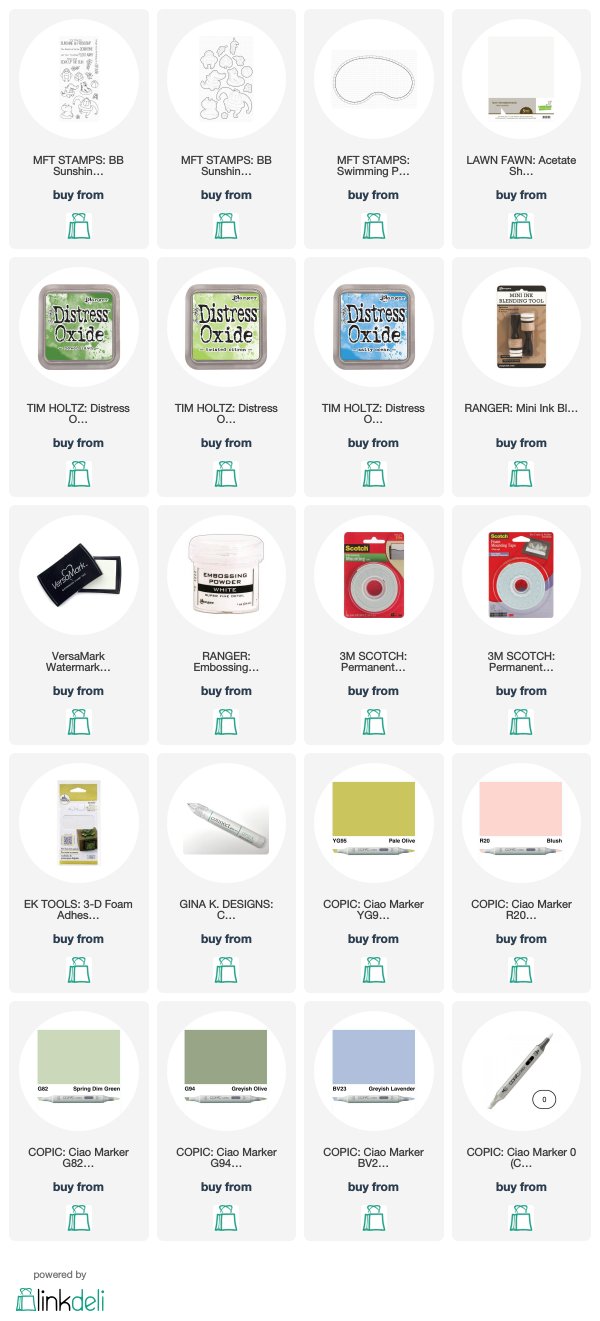
Tuesday with Toni - MFT Sunshine & Friendship


Hello, friends! We're nearing the end of summer so I hope you're squeezing in as much sun and pool time as you can. Look, even the animals are doing it!


I started my card by cutting the MFT Swimming Pool out of the card front.  I then stitched the edges along with a piece of acetate behind to create the top layer of my flat shaker.

I sponged the card base with Distress Oxide before piling on a few sequins. I then glued down the card front to the base, making sure to put extra adhesive around the pool for sequin containment.


I stamped the MFT Sunshine and Friendship images and colored them with Copics. I added lots of dots for texture.

I stamped the inner tubes on Doodlebug Design Spring Things 6x6 Paper and fussy cut those out. So cute.


I had originally planned for the card front to be white but it lacked oomph so I used a stencil with Distress Oxide Twisted Citron and Mowed Lawn. Ahh, much better.

I stamped the sentiment with Versamark and embossed with Ranger White Super Fine Detail Embossing Powder.


I popped up the crocodile using Scotch Foam Tape but everywhere else I used Gina K Connect Glue. There you have it!

If you'd like to check out my other creations, you can visit my blog, Frankie Helps Craft, my Instagram, or my Pinterest Board.


Links to supplies used can be found below:

Friday, August 16, 2019

Friday with Amy: My Favorite Things | Soak up the Sun


Hello and Happy Friday!  Today I'm sharing a project that features a bunch of My Favorite Things.


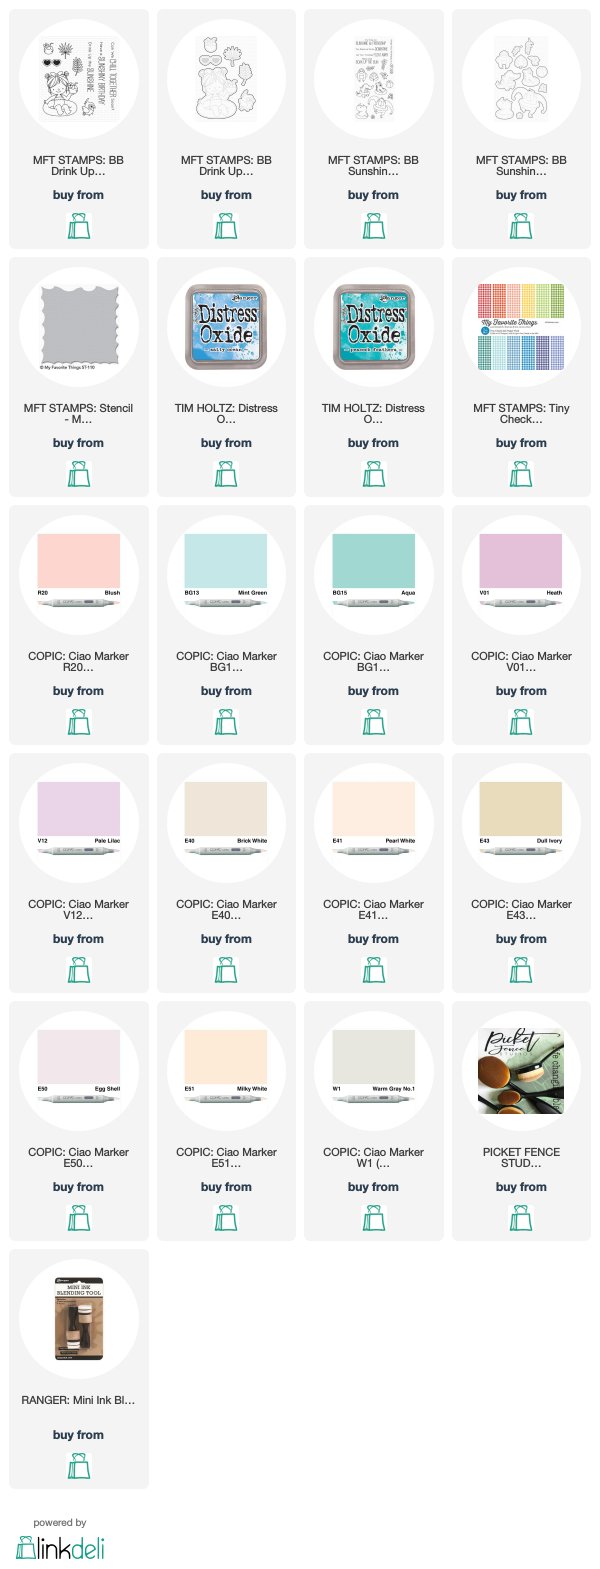
The BB Drink Up the Sunshine set is so adorable!  I've teamed her up with the BB Sunshine & Friendship.  I used Jennifer McGuire's Offset Ink Layering with the Make Waves Stencil.


I haven't paper pieced in a while and thought those floaties would be so cute in the Tiny Check 6x6 Paper Pad.


I finished off the card with a sentiment from the BB Sunshine & Friendship set.

Here are the copics I used:

R20
BG13 | BG15 | BG32
V01 | V12
E40 | E41 | E42 | E43
E50 | E51
N0 | N2 | N5 | N7
W00 | W1

Thanks so much for spending some time with me, I'll be back next Friday!

Links to supplies used can be found below:


Tuesday, August 13, 2019

Tuesday with Toni - MFT Sweet Celebration


Hello! Last week was the birthday of my friend, Amy, who also happens to be a member of the Doodlebugs Creative Team. It was so hard to wait until after her birthday to post this so she wouldn't get a sneak peek of the card!


I sponged the card base with Distress Oxides using a Picket Fence Studios Blender Brush. The smallest size was perfect for making these narrow bands of color.

I next stamped and colored the MFT SY Sending Sweet Celebration Wishes images with Copics.  They are soooo cute!


I wanted to create a scene (always! lol) so used a variety of the Sunny Studio Comic Strip Sunny Snippets dies.

These have so many coordinating pieces--a brilliant set to have on hand for sure. I especially love the speech bubbles.  I like the different shapes and sizes.  I stamped the MFT SY Sending Sweet Celebration Wishes onto two of them using Versafine Onyx Black.


I adhered everything else down with Gina K Connect Glue. Notice how the banner is popped up?  I did that just by gluing down the two ends a bit close together so the paper would pop up naturally.  It lays perfectly flat in the envelope but pops right back up. Cool!


If you'd like to check out my other creations, you can visit my blog, Frankie Helps Craft, my Instagram, or my Pinterest Board

Links to products used are listed below:
Friday, August 9, 2019

Friday with Amy: Paper Smooches | Choose to Shine


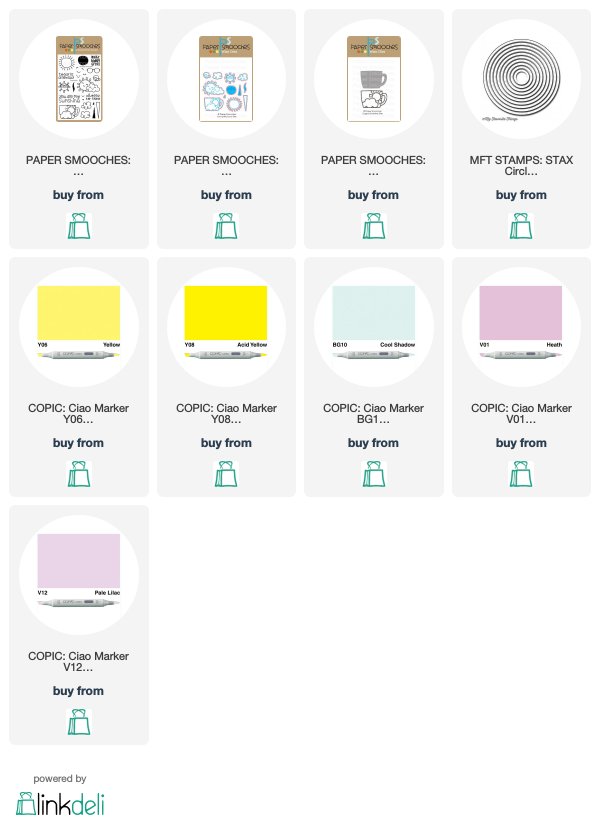
Hey, Happy Friday to you!  Did you see that the shop is carrying some of the super cute Paper Smooches products?  Today I'm featuring:


Let's start with the Cuppa Sunshine die.  I cut it several times because I have the habit of misplacing some of the smaller parts.  I colored everything with the following copics:

Y06 | Y08
V01 | V12

My white panel was made using different shaped circle dies.  


If you know me, I love any caffeinated designs and this particular Paper Smooches releases makes me a happy crafter.

The Sunnyville set has so many fun images and sentiments.  Who can resist that sweet sun with sunglasses?


That's it for me today!  I hope you have a fantastic weekend!

Links to products used are listed below: