Hello and happy Wednesday everyone. I am sharing this summer-themed birthday card with you today. I used the cute new Pool Party stamp set from Lawn Fawn.

I began by using the largest rectangle from the Basic Rectangles Creative Cuts die set to die-cut the base layer of the card from kraft-colored cardstock. I then used the Tropical Leaves Background Layering Stencils set to add the tropical leaves to the die-cut base. I used Distress Oxide inks along with a deeper colored ink from Lawn Fawn in order for the colors to show up on the kraft cardstock. I used Twisted Citron, Mowed Lawn, Rainforest, Spiced Marmalade, Dried Marigold, Lucky Clover, Broken China, and Mermaid Lagoon inks to add the color to the leaves.
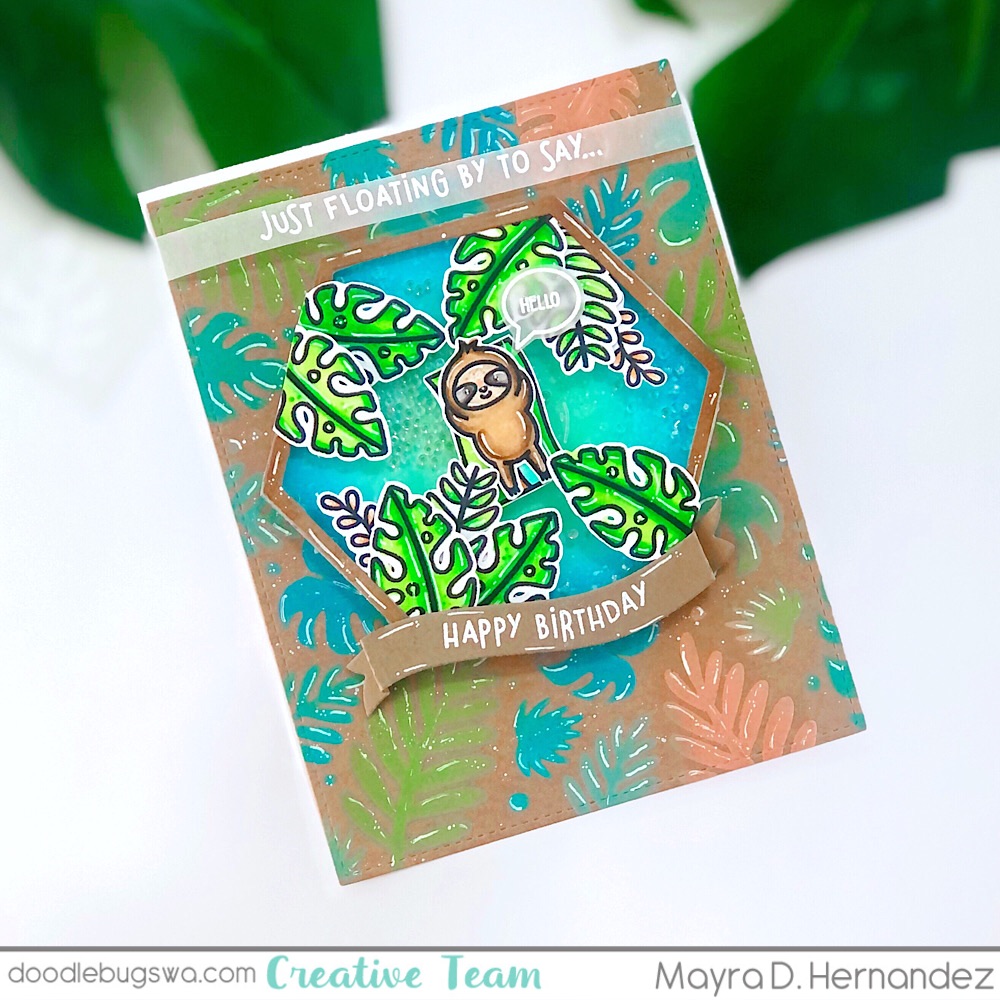
I then used the Nesting Hexagons die set from Waffle Flower to create the tropical swimming area for the little sloth. I added color to the die cut using Cracked Pistachio, Mermaid Lagoon, and Rainforest ink. Next, I used Copic markers to color the images from the Pool Party stamp set and the leaves from the Toucan Do It stamp set.

I then heat embossed the sentiment from the stamp set using Versamark ink and WOW! White Embossing Powder.
I hope you enjoy the card I created to share with you today. Thank you so much for taking the time to stop by. I hope you each have a wonderful and blessed day. Please feel welcome to visit me on my blog, IG or Pinterest.
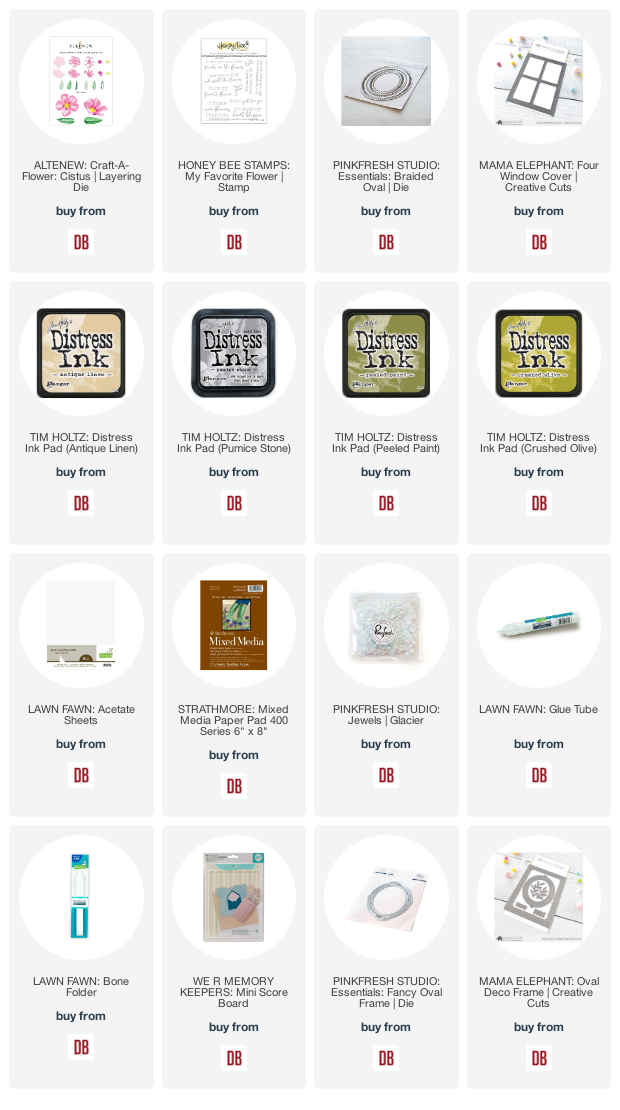
Links to products used or recommended are listed below: