Tuesday, March 26, 2024

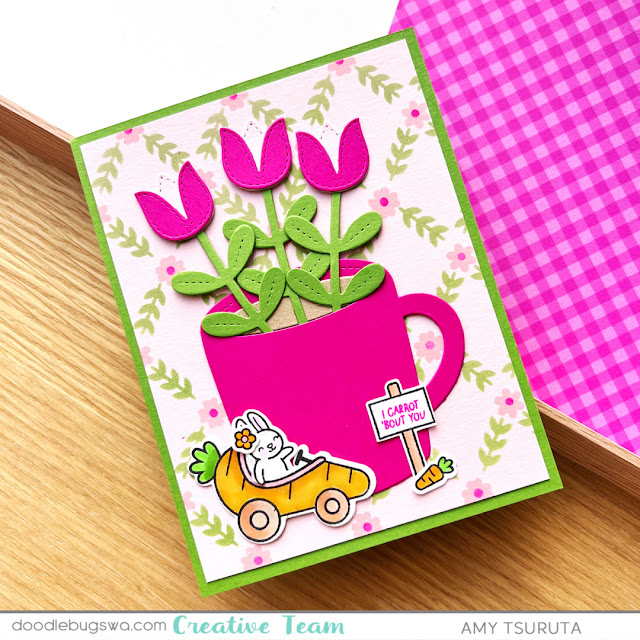
I carrot 'bout you

 I'm trying to squeak in as many Easter themed cards this week.  Here's how I was inspired today:

Carrot 'bout You stamp from Lawn Fawn and Spring Mug Addition die from Pretty Pink Posh

These are the products I'm featuring:
  • Pretty Pink Posh - Winter Mug | die
  • Pretty Pink Posh - Spring Mug Additions | die
  • Pretty Pink Posh- Layered Floral Vines | stencils
  • Lawn Fawn - Carrot 'Bout You | bundle
Carrot 'bout You stamp from Lawn Fawn and Spring Mug Addition die from Pretty Pink Posh

I can't seem to get enough of that sweet bunny and her carrot mobile! I adore the Layered Floral Vines stencil.  I used the Waffle Flower Grip Mat for all my stenciling.  These are the inks I used:

  • Concord & 9th - Ballet Slipper
  • Concord & 9th - Dragonfruit
  • Concord & 9th - Parsley
Carrot 'bout You stamp from Lawn Fawn and Spring Mug Addition die from Pretty Pink Posh

Thanks so much for stopping by!
 
 Links to products used or recommended are listed below:   

Monday, March 25, 2024

Embossing Your Ink Blending - Floral Fun for Spring

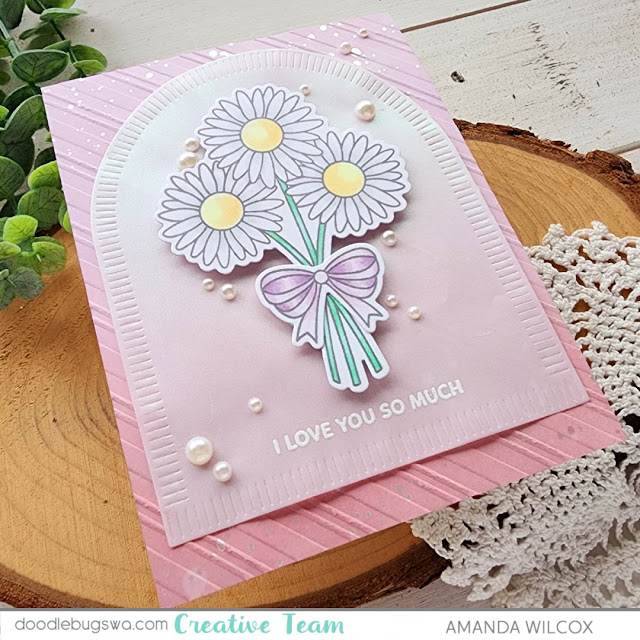
Happy Monday friends! This is Amanda from Twiddler's Nook. I have a pretty floral card to share with you today featuring some of the March Pretty Pink Posh release plus some previously released goodies from Pretty Pink Posh and Spellbinders.

Pretty Pink Posh Daisies

I started by stamping and coloring images from Pretty Pink Posh Daisies with copic markers. I chose a gray copic-friendly ink to soften the look of everything too. Once they were colored, I used the coordinating dies to cut them out and liquid glue to adhere the bow in place.

Pretty Pink Posh Daisies

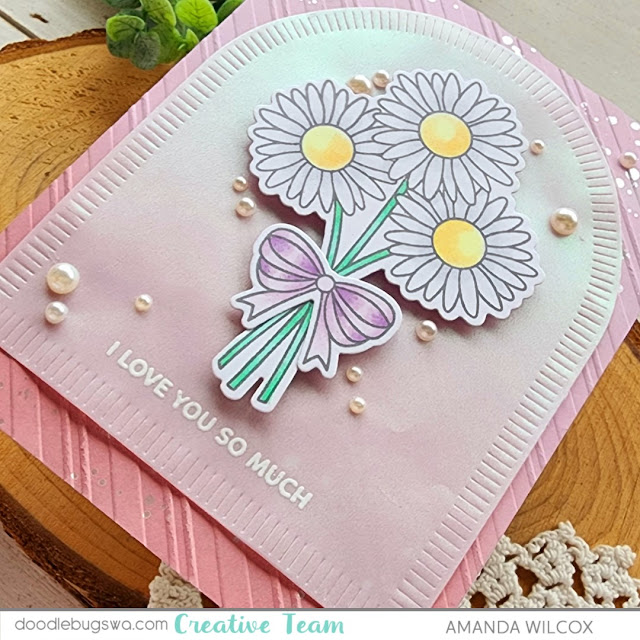
Next I ink blended a white cardstock panel with distress oxide inks, fading from milled lavender to victorian velvet. I spritzed the panel with water and flicked pearl water color on it for interest. While that was drying I cut the next-to-largest Spellbinders Make a Wish Arch Labels from iridescent vellum. Using the florals as a guide, I stamped and heat embossed my sentiment at the bottom. This came from the Pretty Pink Posh Sentiment Strips | Valentine stamp set.

Pretty Pink Posh Daisies

When I started layering things together, my inked background felt too plain, so I ran the panel through my die cutter in the Spellbinders Candy Stripe embossing folder. This gives a little texture to the background without taking away from the florals in the foreground.

Pretty Pink Posh Daisies

To assemble everything, I added foam squares to the florals and attached it to the vellum panel. Then I hid tape runner behind that to adhere the vellum to the embossed panel. The edges started to curl so I smeared a layer of liquid glue on the corners and a few places around the arch and held it down while the glue dried. If you use your finger or a dauber to spread the glue really thin on vellum, it doesn't show through.

For finishing touches, I added a scattering of white pearls across the design. They're soft and elegant, which I thought was perfect for the feel of this card.

I appreciate you sharing your time with me. Have a fabulous day!
 

 Links to products used or recommended are listed below: 

Thursday, March 21, 2024

Using Your Paper Scraps For Cards

I've been on a mission to use up some of my paper scraps.  So, today I'm sharing another card idea for using your paper scraps. 

Concord and 9th Markered Messages

I used the Simple Strips die from Pretty Pink Posh to cut quite a pile of strips.  I like that this die will cut strips with different widths.  This allowed me to cut multiple strips with one pass on the die cutting machine making the process quick.

Pretty Pink Posh Simple Strips die

Once I had the strips cut I glued them to a sheet of copy paper to create a striped pattern.  Then I used the Markered Messages die to cut the word thanks.

Concord & 9th Markered Messages Die

I placed the word thanks onto the the shadow layer I cut from white cardstock and then onto the front of my card after stamping a sentiment.

Concord & 9th Markered Messages Die

Thanks so much for stopping by.  I hope you're inspired to used up some of your scraps!

-Cathy


  Links to products used or recommended are listed below: 

Tuesday, March 19, 2024

Bobaa

If you've been following me for a bit, you know that I love a pun.  I wanted to design a fun boba themed card for someone and this is how I was inspired:


Mama Elephant Lunar Animals and Lawn Fawn Mason Jar

Doesn't that just crack you up? I wanted to make a light hearted design for someone.  These are the supplies I combined for this project:
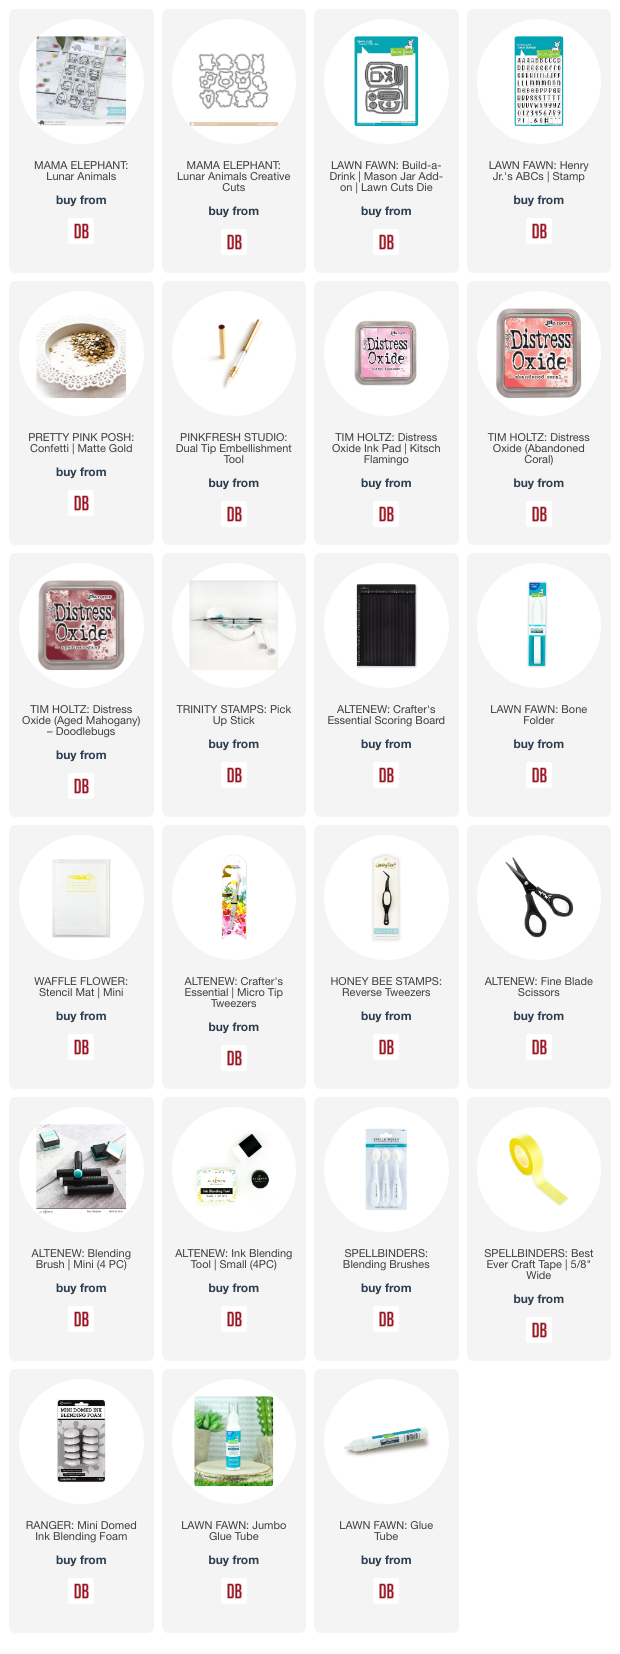
  • Lawn Fawn - Build A Drink Mason Jar Add-On | lawn cuts
  • Lawn Fawn - Henry Jr.'s ABCs | stamps
  • Mama Elephant - Lunar Animals | stamps and dies
Mama Elephant Lunar Animals and Lawn Fawn Mason Jar

I used the Pretty Pink Posh - Matte Gold | confetti mix for the boba.

The distress oxide trio:
  • Kitsch Flamingo
  • Abandoned Coral
  • Aged Mahogany
Mama Elephant Lunar Animals and Lawn Fawn Mason Jar

Thanks for stopping by!

 Links to products used or recommended are listed below: 

Monday, March 18, 2024

See-Through Tags to Make Your Gifts Extra Special

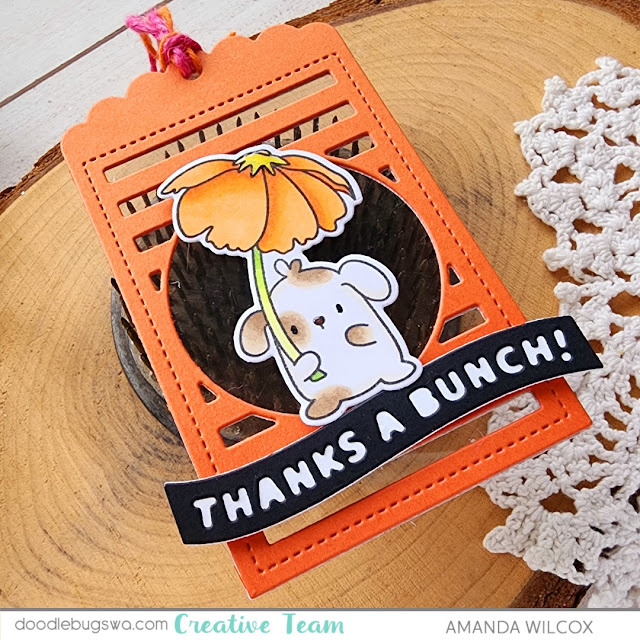
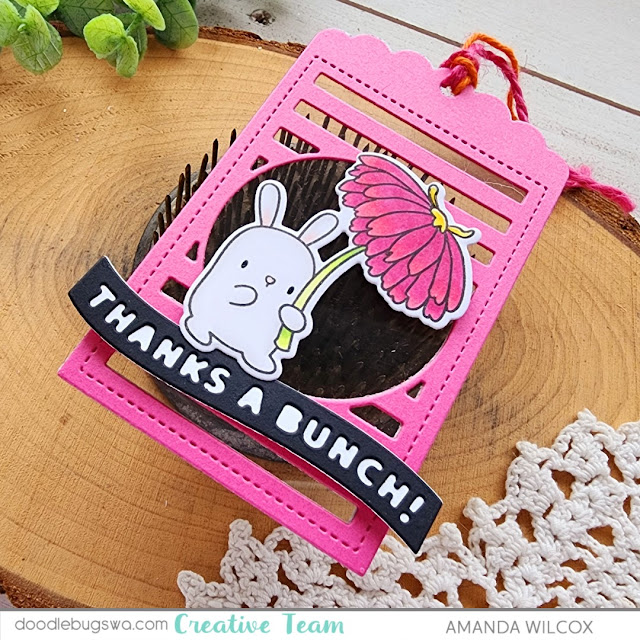
Welcome to another Mix it up Monday for the Doodlebugs blog! It's Amanda from Twiddler's Nook and this time I needed a couple of tags for thank you gifts I was giving at work. The gifts were really pretty candles, one pink and one orange, so I pulled my color inspiration from that. It's a great little trick to remember if you're stuck for palette inspiration.

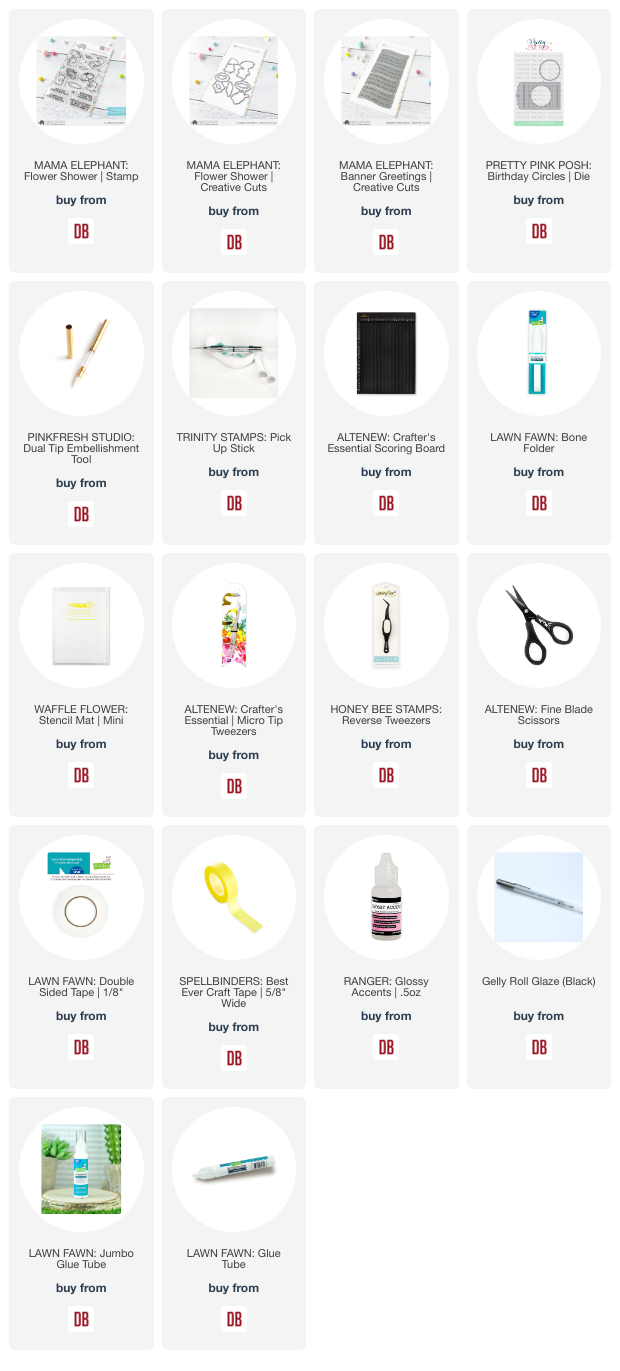
Mama Elephant Flower Shower stamp and dies

I dug through all my fun tag shapes and landed on this awesome see-through tag from Pretty Pink Posh. I cut one orange and one pink, then two white for the back layer. I sandwiched acetate between the layers so I had somewhere to adhere my images.

Mama Elephant Flower Shower stamp and dies

Trying to decide what images to use, I came across the adorable Mama Elephant Flower Shower set and thought these flowers would be perfect colored in the deep colors I was going for. So I chose two, stamped and colored them, then used the coordinating dies to cut them out.

Mama Elephant Flower Shower stamp and dies

Next, time to choose a sentiment. Obviously, I needed a thank you style but which one? I felt super punny when I read "thanks a bunch" in the Mama Elephant Banner Greetings die set and couldn't resist. I cut the solid banner from white and the sentiment layer from black, adhering them with liquid glue.

Mama Elephant Flower Shower stamp and dies

After popping the sentiment banners and images up with foam on the tag shapes, I tied twine through the holes in coordinating colors and added glossy accents to critter noses and flower centers. Last I added black glaze pen to the critter eyes to help them shine.

These tags added just enough to a simple gift to make it feel special and that little extra. 
 
I appreciate you sharing your time with me. Have a fabulous day!  

 Links to products used or recommended are listed below: 

Tuesday, March 12, 2024

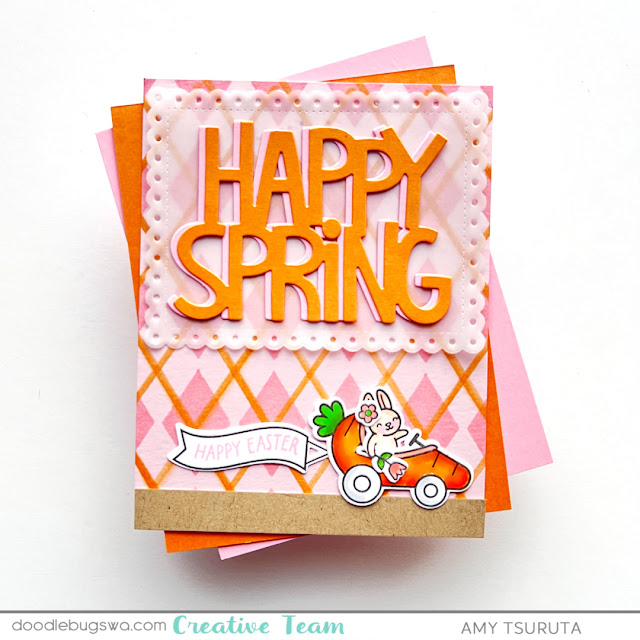
Some Bunny Loves Spring

What are you favorite seasons of the year? I love Spring + Fall.  When Easter rolls around, I always think of Easter Egg hunts, egg dying and it was also about the time of year that my daughter was born.  She received so many bunnies when she was born.


Lawn Fawn Carrot 'Bout You stamp and die

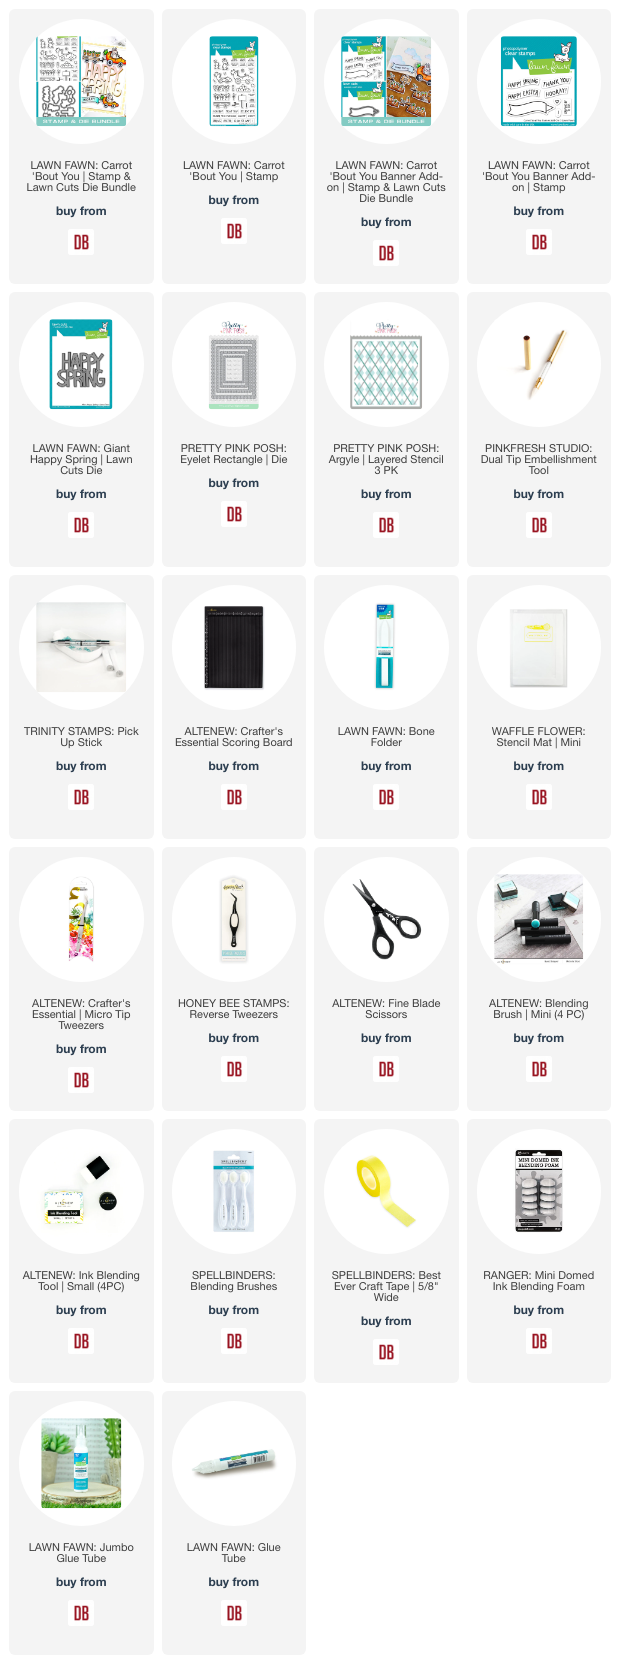
These are the products I'm featuring today:

  • Lawn Fawn - Carrot 'bout You | stamps + lawn cuts
  • Lawn Fawn - Carrot 'bout You Banner Add-on | stamps + lawn cuts
  • Giant Happy Spring | lawn cut
  • Pretty Pink Posh - Eyelet Rectangles | dies
  • Pretty Pink Posh - Argyle | layered stencil
Originally I was going for a clean + simple design.  Then I spotted the argyle stencil, I love how it looks!

Lawn Fawn Carrot 'Bout You stamp and die

I added the two flowers after I put my card together.  I think it gives that bunny such a carefree look!

Lawn Fawn Carrot 'Bout You stamp and die

Thanks so much for stopping by!
 
 Links to products used or recommended are listed below:  

Monday, March 11, 2024

Hip Hip Hooray Hot Foiling

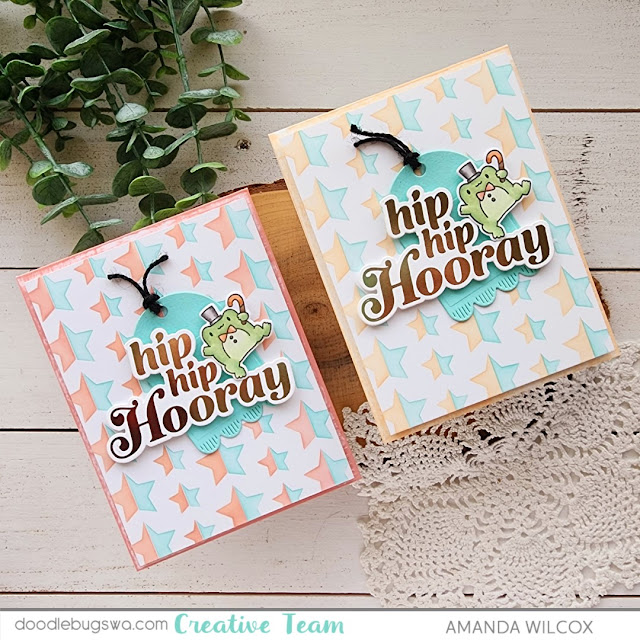
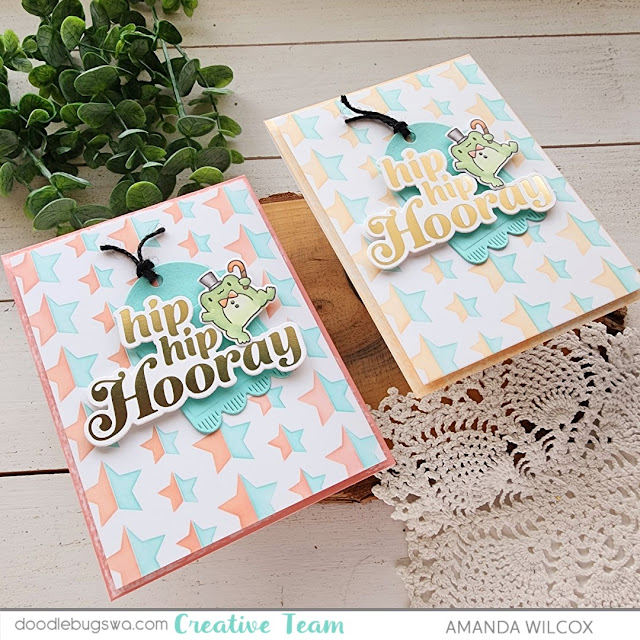
Happy Mix it up Monday everyone! I had so much fun mixing so many companies together to create these fun cards! It all started with the backgrounds and quickly grew from there. Do you ever have that with a new layered stencil? You have to try it in a billion color combinations just to see what you actually like together...or maybe you love them all and you just keep going? The second thought was more what happened to me this time.

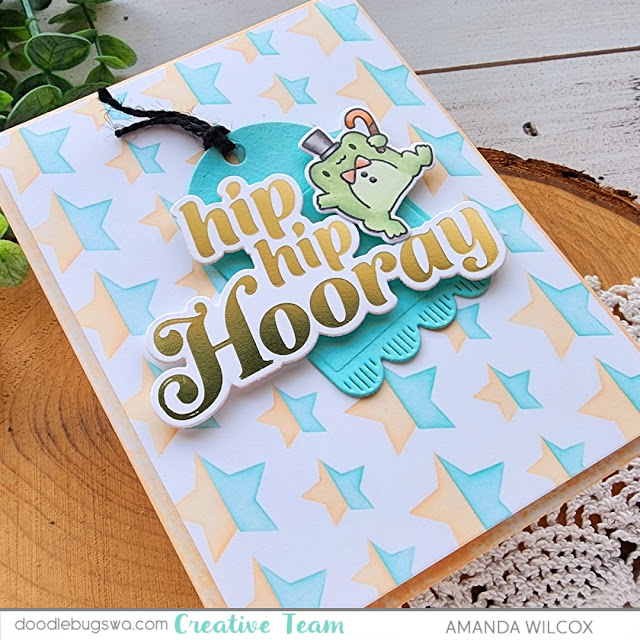
Mama Elephant Hello Froggy and Pretty Pink Posh Half Stars Stencil

After creating my stenciled backgrounds with the Pretty Pink Posh Half Stars stencil set, I took one of the ink pads (peach fuzz and peachy keen) and drug it across two card fronts so they color matched my ink blending.

Mama Elephant Hello Froggy and Pretty Pink Posh Half Stars Stencil

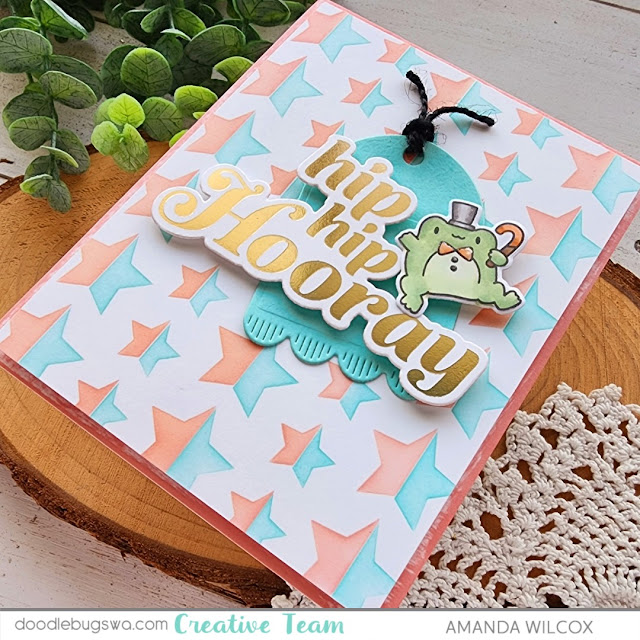
Next, I hot foiled two "hip hip hoorays" from Spellbinders using gold hot foil and the coordinating die to cut them out. When I was looking for my hot foil plates, I found the Spellbinders Make a Wish Arch Labels and thought the tag in that set would be perfect to add to my design. I cut two of those from teal cardstock in my stash and threaded black twine through the holes.

Mama Elephant Hello Froggy and Pretty Pink Posh Half Stars Stencil

You all know how I love my critters so it was inevitable that when I felt like my design was missing something, I went digging for a cutie to add. The Mama Elephant Hello Froggy set came out a year or so ago but I just recently ordered it so I was more than excited for the chance to use it! I stamped my dapper froggy and colored him with copics before using the coordinating die to cut him out.

Mama Elephant Hello Froggy and Pretty Pink Posh Half Stars Stencil

With all my elements laid out and ready to go, I started assembling with foam tape, squares and liquid glue. Then I finished the design off with a bit of glossy accents on the froggy's bowtie and buttons.

I forgot to take a picture but on the inside of each card I stamped a sentiment from Hello Froggy that says "You're Froggin Awesome" because I thought it went so perfectly with the front. 
 
I appreciate you sharing your time with me. Have a fabulous day! 
 
Links to products used or recommended are listed below:  

Thursday, March 7, 2024

Quick and Easy Thank You Cards

Just some quick cards I created using the Blended Petals stamp and coordinating stencil from Concord & 9th. Those coordinating stencils make creating these cards quick and easy!!  So, while I had everything out, I created several.

Concord & 9th Blended Petals stamp and stencils

To create these, I stamped the images on several panels of white cardstock and used the coordinating stencil and ink blending brush to add the ink to the paper.  Once I was finished, the next step was to cute the panels down so they were slightly smaller than the front of my A2 card.  I used the A2 Layers die for this.  It's a great die set and one of my most used dies.

Concord & 9th Blended Petals stamp and stencils

The next step was to cut and assemble the sentiments.  For those of you who follow the blog, you know I cut several of each piece and glued them together in a stack for some added dimension.  Since this was a pretty flat card, the extra dimension was perfect!

Concord & 9th Blended Petals stamp and stencils

I secured the sentiment to the front to complete the card.

Thanks so much for stopping by.  I hope you're inspired to create something today.

Links to products used or recommended are listed below: 

Tuesday, March 5, 2024

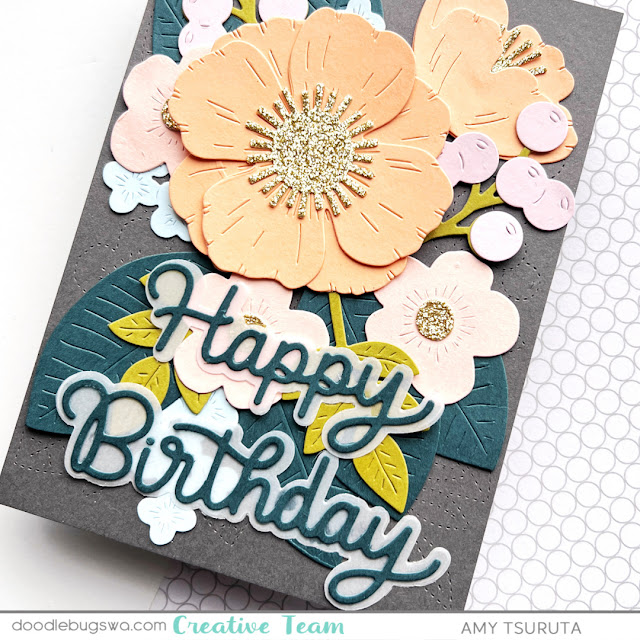
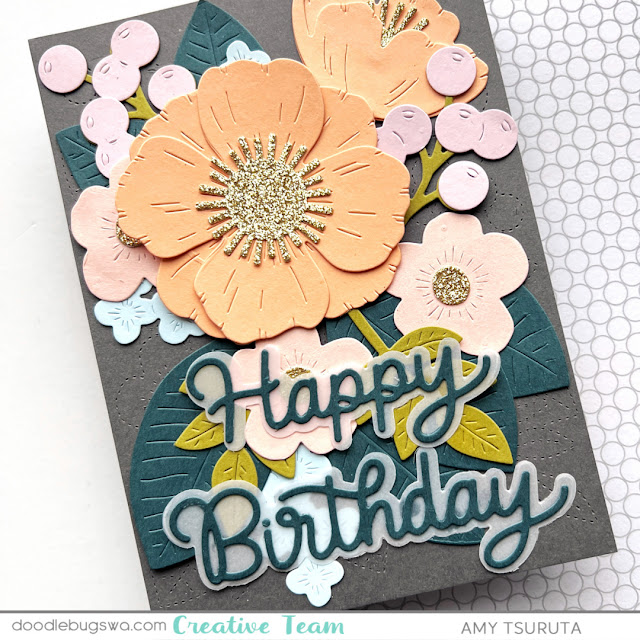
Floral Happy Birthday

Have you checked out the new Concord & 9th color yet? I managed to use a couple of them in my project today.

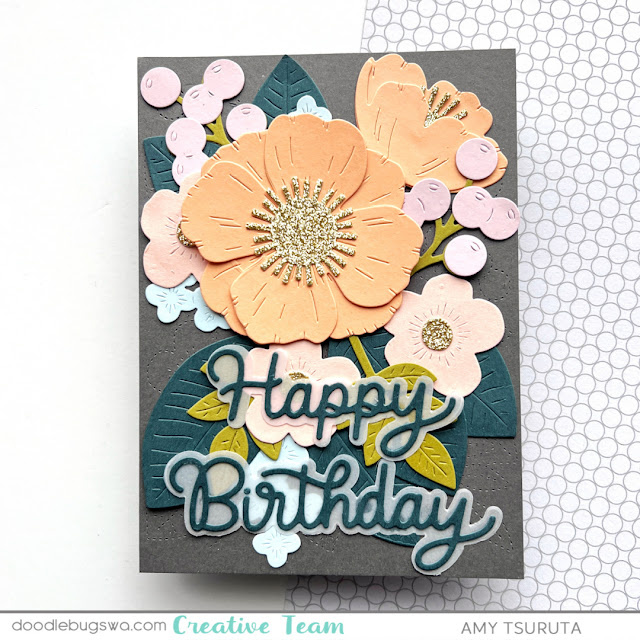
Concord & 9th Primrose Garden

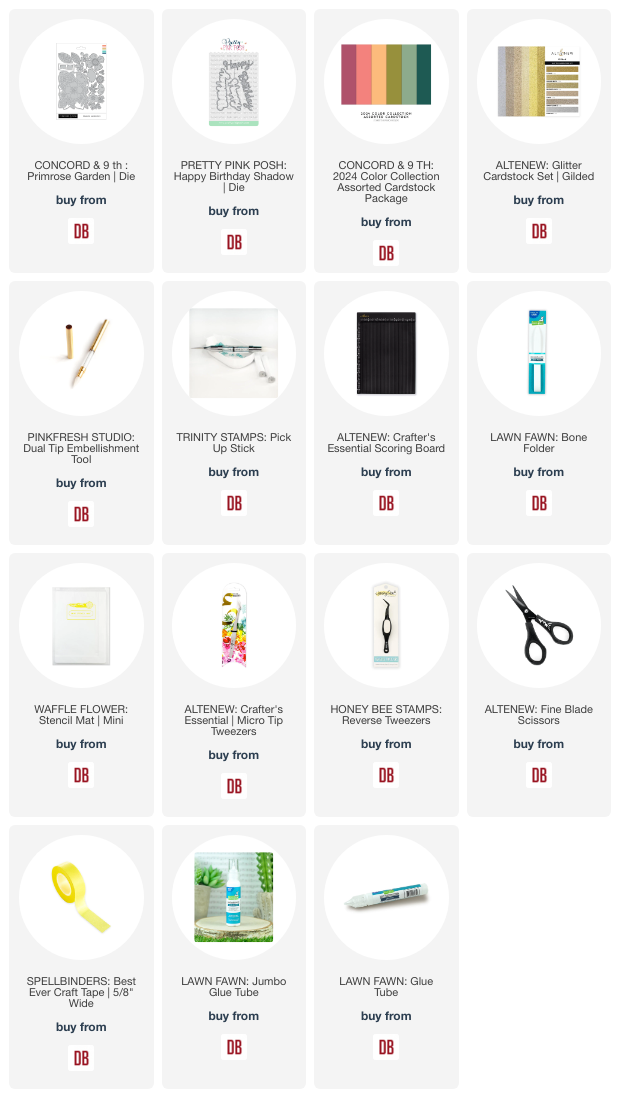
I combined these products today:
  • Concord & 9th - Primrose Garden | die
  • Pretty Pink Posh - Happy Birthday Shadow | die

I'm a big Rifle Paper Co fan and this design was inspired by their gorgeous florals. Here's a look at the new colors:


The Colors:
Wildberry
Watermelon
Creamsicle
Grasshopper
Eucalyptus
Rainforest

Concord & 9th Primrose Garden

I did combine the new colors with some other colors they previously released but here are the newest:

center bloom + other large bloom = Creamsicle
stems + foliage = Grasshopper
large leaves = Rainforest

Concord & 9th Primrose Garden


Thanks so much for stopping by!

Links to products used or recommended are listed below: 

Monday, March 4, 2024

Mass Producing Birthday Cards with a Few Tips

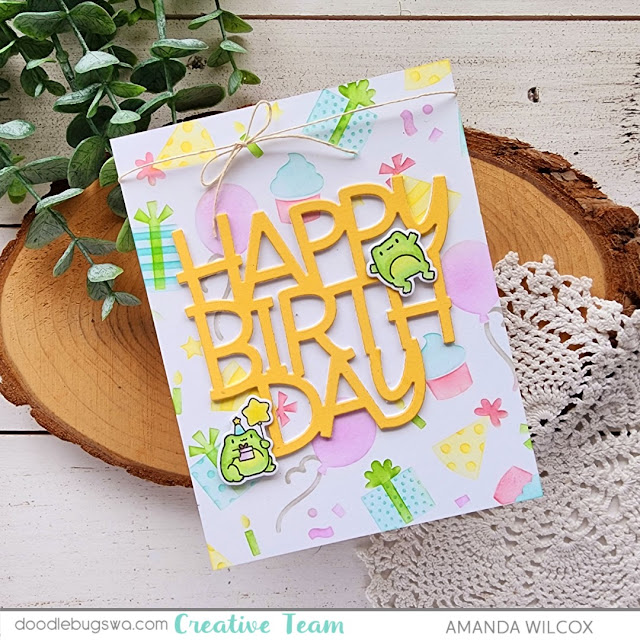
Hey friends! This is Amanda from Twiddler's Nook and it's Mix it up Monday! I'm mass producing some birthday cards because I need a bundle coming up soon. The way I did these made it easy to create a quick set of four cards but still gave them some individuality too.

Mama Elephant's Little Agenda stamps and Big Happy Birthday die

I started with the new Pretty Pink Posh Birthday Wreath layered stencil set, blending brushes and pretty much the rainbow of my Lawn Fawn inks. These stencils were designed brilliantly so it was easy to ink the different parts in different colors with my regular blending brushes. I think the only small brush I used was for the candle flames. Anyhow, I inked up four backgrounds the exact same and set them aside.

Mama Elephant's Little Agenda stamps and Big Happy Birthday die

Next, I pulled out the Mama Elephant Big Happy Birthday die. I cut four sets of three from white cardstock and glued each set together with liquid glue. Then I chose four colors of cardstock from my stash that went with the colors of the background and cut one from each, gluing those to the top of the stacked white die cuts.

Mama Elephant's Little Agenda stamps and Big Happy Birthday die

Next, I went through all my Mama Elephant Little Agenda sets and found the ones with my favorite birthday images. I stamped two from each of the four that I chose and colored everything with copic markers. I used the coordinating dies to cut them all out and matched them with a different colored sentiment so I could start assembling my cards.

Mama Elephant's Little Agenda stamps and Big Happy Birthday die

I used liquid glue to adhere each background to a card base and then added the sentiment dies to the center of each one. Then I added the two little agenda images to each card front with a combination of foam squares and liquid glue depending where they overlapped the sentiment.

Mama Elephant's Little Agenda stamps and Big Happy Birthday die

Once everything was assembled I pulled some twine from the stash and tied it around the top of each card, tying them in a small bow. Then I added glossy accents and stardust Stickles to parts of the images on each card. Usually party hats, balloons and bows. Just a little sparkle and shine for each card front.

Voila! I have four completed birthday cards that are pretty much to same but really different because of the different critters on each. Everyone has their favorites and that makes it special for them.
 
I appreciate you sharing your time with me. Have a fabulous day!