Tuesday, October 29, 2019
Tuesday with Toni: Altenew Layered Snowflake Stars
Happy, happy, happy Tuesday to you all! Today I have 3 cards for you using the Altenew Layer Snowflake Stars Cover Die A!
For the first card, I had intended to use the Altenew Layer Snowflake Stars Cover Die A die cut as a stencil. I sponged Distress Oxide Frayed Burlap and Antique Linen through it, leaving part of the card front light. Notice how the shadowy areas give the boxes a 3-dimensional appearance, so there's another idea for you right there.
Next I stamped the Sunny Studio Elegant Leaves "Thanks" onto the card front with Versafine Onyx Black. I followed that up with some of the Sunny Studios Elegant Leaves stamped in Distress Oxide Ripe Persimmon, Mermaid Lagoon and Peacock Feathers.
My second card used the Altenew Layer Snowflake Stars Cover Die A as stencil as well but this time I used Delicata Golden Glitz. My other idea for a card had the die cut itself golden so why waste the excess ink (sounding like my mom--LOL).
I masked the circle and impressed it with a Lawn Fawn Just Stitching Double Circle. I then stamped part of the MFT Floral Focus image with a Copic-friendly ink and colored it up with Copics.
That cobalt blue against the gold is dreamy. I like the glitter effect of the gold so I embossed the Mama Elephant Paola's Wishes using Versamark and Ranger Watering Can embossing powder for shine.
The final card uses the die cut as a die cut, sponged in gold. Yum!
I sponged the card base with Distress Oxides and Distress Ink in ombre pink. I love the combo of gold and pink too!
I adhered the Altenew Layer Snowflake Stars Cover Die A gold die cut with Gina K Connect Glue. That fine tip worked like a treat.
I stamped the MFT More Essential Sentiment Strips with Versamark and embossed with MFT Skinny Strips. I cut the width down by hand if necessary.
If you'd like to check out my other creations, you can visit my blog, Frankie Helps Craft, my Instagram, or my Pinterest Board.
Links to products used are listed below:
Friday, October 25, 2019
Friday with Amy: Mama Elephant | Hello
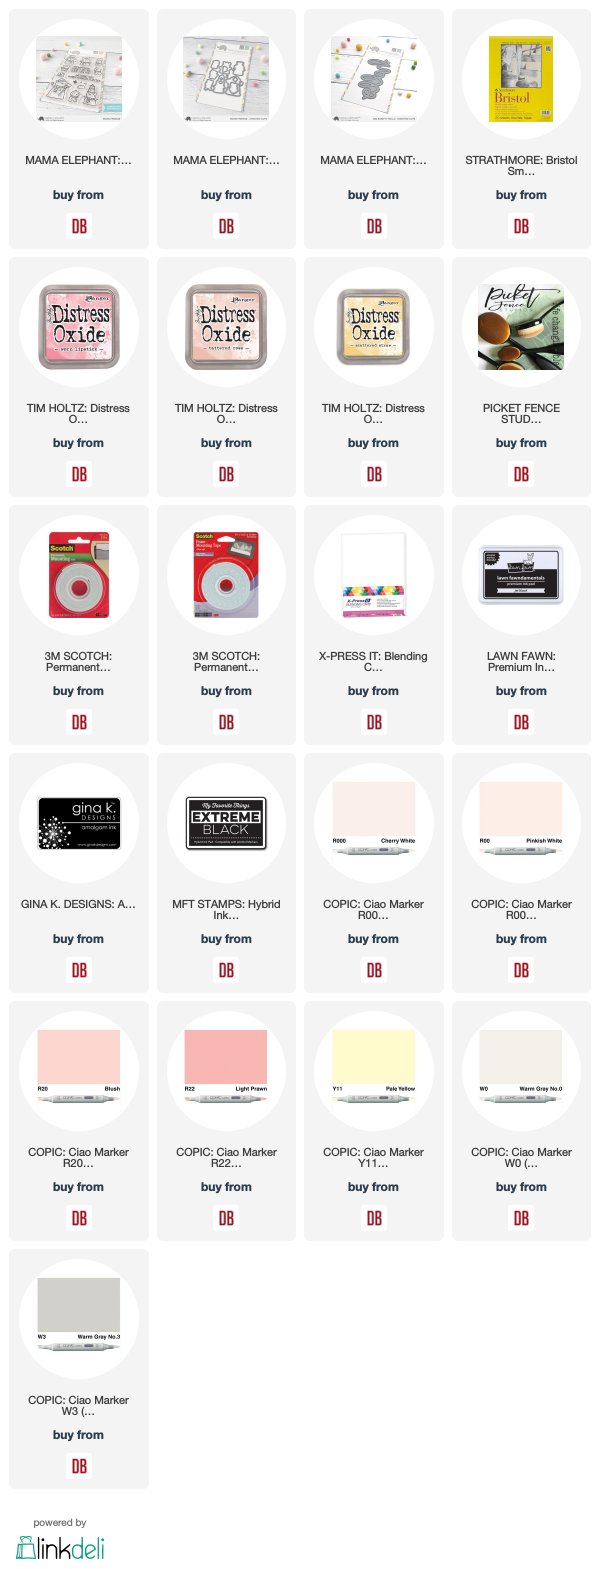
Yay for Friday! Hey, it's Amy and I'm sharing a Mama Elephant duo today that features:
I'm smitten with gold and pinks:
I always mean to share a photo of my card bases. That gold glitter panel has the hello cut out of the middle. I hate to waste any of that pretty cardstock. As always, I kept with the same copic color palette for both cards:
Y11 | Y13
N3
I love the size of that Big Scripty Hello Creative Cuts!
I think 'hello' cards are probably the most popular category that I design, how about you?
Next is my Distress Oxide version:
I blended the inks on a Bristol panel and then die cut it out. It's been mounted on a Neenah Solar White 110 panel.
Oh my goodness, I love all those critters lined up. They make me a happy crafter. Last week I shared 2 brightly colored projects, this week I'm back to my new norm, soft and pastel.
Which version is your favorite, gold or distress oxide?
Links to supplies used are listed below:
Tuesday, October 22, 2019
Tuesday with Toni: Lawn Fawn Peacock Before & Afters
Hello, everyone! I had this idea the moment I saw the Lawn Fawn Peacock Before 'n Afters set. Peacock: sure. Turkey: why not!
I stamped the peacock/turkey and colored it up with Copics. I then centered it in the Lawn Fawn Magic Picture Changer exterior die (the largest one) and diecut it.
Now, I do not have a roasted turkey stamp so I found clipart online, printed the image and colored it up with Copics. I then used the smaller interior die to die cut it.
Now the really fun part! I cut out a piece of Lawn Fawn Fall Fling 6x6 Paper for the card front as well as for the Lawn Fawn Magic Picture Changer Add-On. I added a scalloped rectangular panel below that just because.
The final step was stamping the Hero Arts Offbeat Holiday Messages sentiment onto one of my leftovers from the Lawn Fawn Speech Bubble Backdrop. I had planned on a typical Happy Thanksgiving or some such but when a sentiment is this perfect, it must be used!
You can check out this card in action on Instagram.
If you'd like to check out my other creations, you can visit my blog, Frankie Helps Craft, or my Pinterest Board.
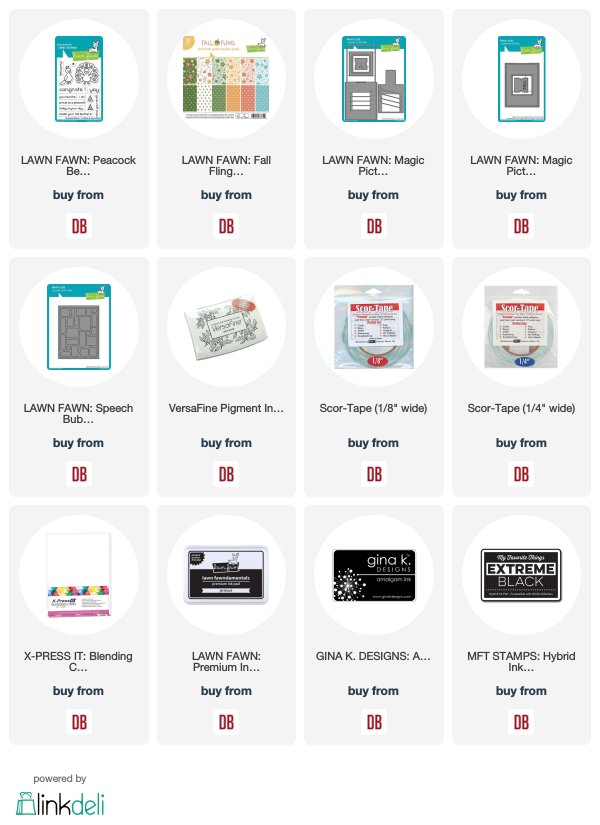
Links to products used are listed below:
Friday, October 18, 2019
Friday with Amy: Sunny Studio Stamps | Feeling Frosty
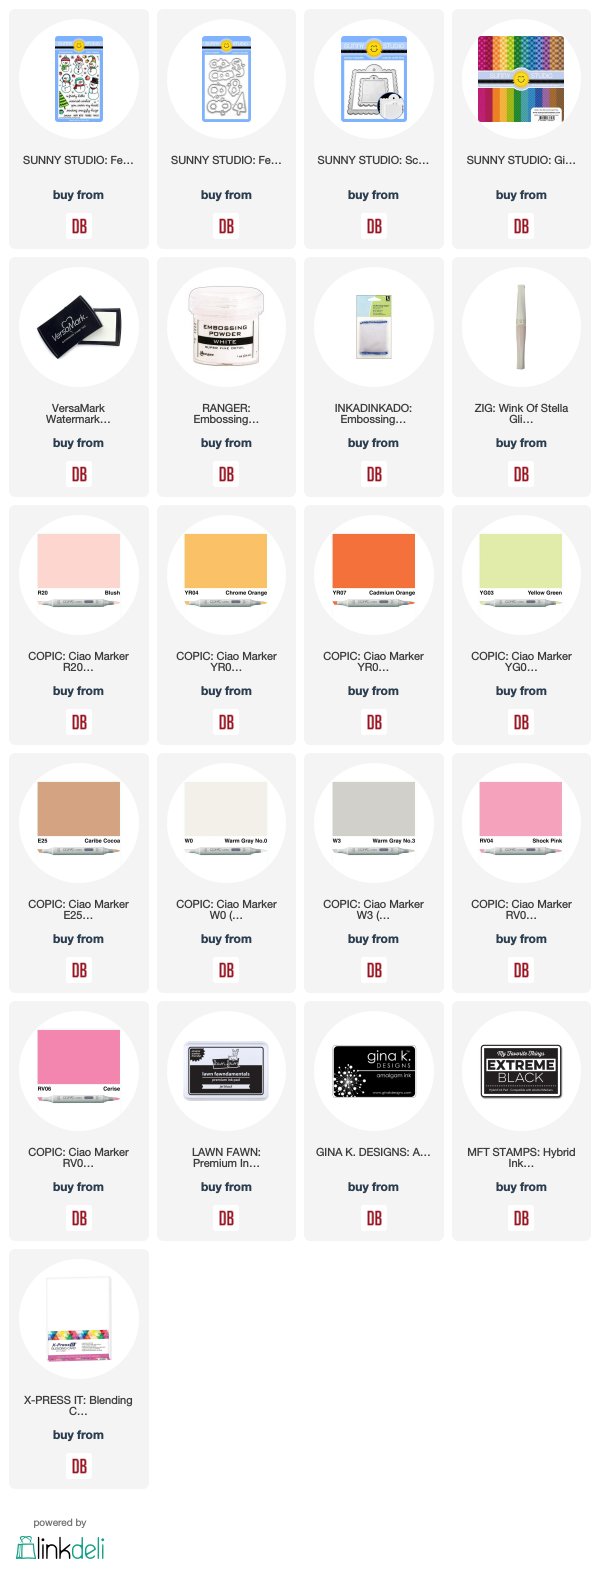
Hey there! It's Amy here sharing a couple of Sunny Studio Stamps tags! They feature:
It's become a habit with me to stamp out all the images and see what I come up. That's why I generally have two projects to share. Those snow peeps are so cute, aren't they?
I make it easy on myself and use the same color palette for each tag. That means paper and copics.
YG03 | YG25
E23 | E25
I'm smitten with the lime and berry color. A fresh non-traditional color palette. I've been using pastels lately and thought I'd shake things up a bit.
The scallop tags are so fun. I just cut the gingham panel to fit in the center. Originally I cut some bristol paper squares and was going to blend some Distress Oxides but thought I could use the beautiful Gingham Jewel Tones Paper Pad.
Did you know that green is my favorite color? This might be my favorite tag because:
green | coffee
Doesn't get much better than that, does it? [wink]
I have heat embossed both of the sentiments in Hero Arts white embossing powder.
So are you wondering what I'm going to do with the tags? I'm probably going to mount them on A2 card panels but wanted to leave that option until it gets closer to the holidays.
I've loaded each of the snow peeps up with Wink of Stella. I don't know about your Wink of Stella but I always lose mine and then when I find it again I use it a ton. Yes, I just found it...don't ask.
Are you a tag maker? I love them, such fun little canvas to work on. Thanks so much for joining me today!
Links to supplies used can be found below:
Thursday, October 17, 2019
Bonus Thursday with Toni: MFT Piles of Fun
Happy Tuesday! Toni here with you today sharing another card made using the MFT SY Pile of Fun set paired with the Lawn Fawn Leafy Tree Landscape Backdrop.
I stamped the images with a Copic-friendly ink then colored them with Copics. Notice I fussy cut the pile of leaves?
For the card base, I sponged it lightly with Distress Oxide Peacock Feathers and spattered it with water.
I used Gina K Connect Glue and Scotch Foam Tape to adhere the elements, including the sentiment stamped on an MFT Skinny Strip with Distress Oxide Candied Apple.
If you'd like to check out my other creations, you can visit my blog, Frankie Helps Craft, my Instagram, or my Pinterest Board.
Links to products used are listed below:
Tuesday, October 15, 2019
Tuesday with Toni: Honey Bee Fall
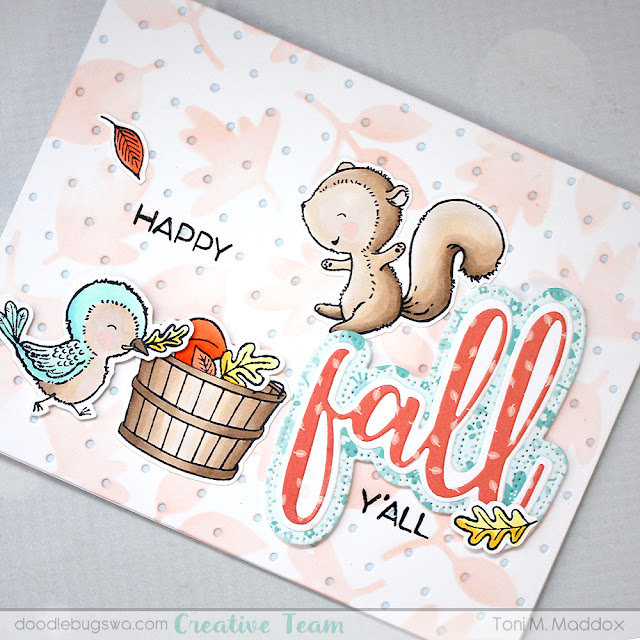
Howdy, y'all. Today's card is a soft, pretty and cute (and pretty cute!) fall card.
I started by diecutting the Lawn Fawn Itsy Bitsy Polka Dot Backdrop and sponging it with the Pretty Pink Posh Autumn Leaves stencil and Distress Oxide Ripe Persimmon.
I mounted that onto the pale blue card base using Gina K Connect Glue.
Next I diecut the Honey Bee Fall Dies using Lawn Fawn Fall Fling 6x6 Paper. This die set is so versatile--use just the word, the first matte, the second or a combination of them to create exactly what you're looking for--LOVE it.
I mounted the word diecut on the card front with Scotch Foam Tape.
I stamped the MFT SY Piles of Fun images using a Copic-friendly ink and colored them with Copics. I chose a really soft palette, inspired by my friend and co-designer, Amy.
These are mounted on the card front with either Gina K Connect Glue or Scotch Foam Tape. For the leaves in the basket, I used an Exacto knife to cut a small slit and tucked the leaves inside.
I stamped the Honey Bee Fall sentiment with Versafine Onyx Black.
If you'd like to check out my other creations, you can visit my blog, Frankie Helps Craft, my Instagram, or my Pinterest Board.
Links to supplies used are listed below:
Friday, October 11, 2019
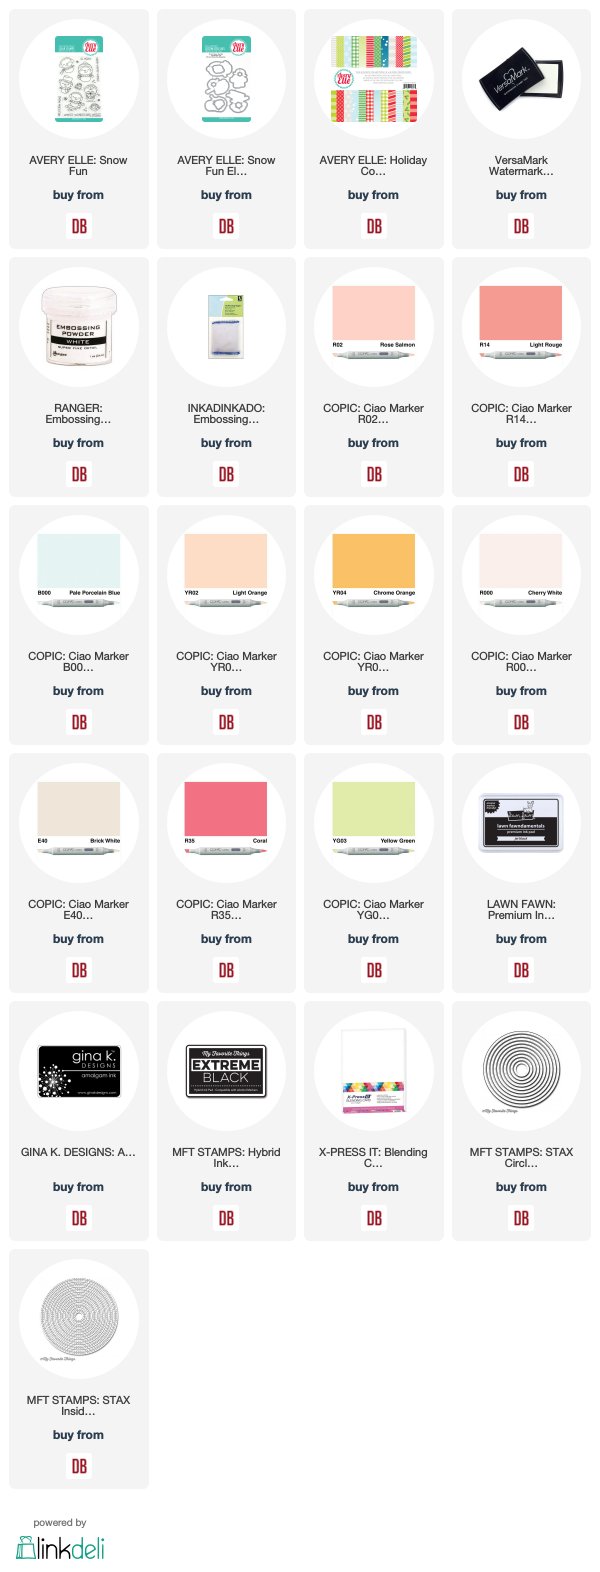
Friday with Amy: Avery Elle | Snow Fun Duo
Hello and Happy Friday! It's Amy with a Snow Fun Duo featuring Avery Elle! I've teamed the Snow Fun set with their Holiday Collection 6x6 Paper Pad.
First up is the red stripe panel:
I've been gravitating to retro color palettes for the holidays. These sweet guys have been colored with the following copics:
B000 | B41
BG70
E40 | E42
The sentiment has been heat embossed in white on black cardstock. The frame around the circle was made using nesting circle dies.
This design makes me smile, I adore the gingham with the holly pattern, how about you?
I did it again. I stamped out all the images in the set and had more than enough to design two different cards. Using the same overall color palette and the same paper pad makes everything super easy.
These guys were colored with the following copics:
R24 | R35
YR02 | YR04
YG01 | YG03
G03 | G05
R00000
BG70
E40 | E42
When I started taking photos, I noticed that the gingham card didn't have a sentiment. I went back to add the sentiment strip not realizing I picked the same sentiment from my first card.
Happy to add these to my holiday stash. Have you started yours yet?
Links to supplies used can be found below:
Subscribe to:
Posts (Atom)