Monday, August 30, 2021

Hello from Toni: Pretty Pink Posh Toucans


Hi, everyone!  Today is all sorts of tropicali with the cute cute Pretty Pink Posh Tropical Toucans set.
 

I sponged the background with Distress Oxides, starting at the bottom:  Blueprint Sketch, Salty Ocean, Peacock Feathers, and Salvaged Patina. 

So vibrant!  I spattered that with a bit of water and set aside to dry before embossing the Pretty Pink Posh Thoughtful Greetings sentiment in white.


I colored up the PPP Tropical Toucans with Copics, keeping the colors really vibrant.  And, yes, I did have Fruit Loops in mind as I colored this up. LOL.

That Posca White Paint Pen really makes things pop, doesn't it? 


I thought I would show you the challenge card I made as well so you can see how different this set can look. 

The Mama Elephant Leafy Cover die would easily substitute for what I used here. Impressing the paper with our coverplates stretches supplies quite nicely.


I'll see you again soon.  If you'd like to check out my other creations in the meantime, you can visit my blog, Frankie Helps Craft, my Instagram, or my Pinterest Board.  

Products Used and/or Recommended Include:

Wednesday, August 25, 2021

Have A Sweet Day with Avery Elle....


Hello everyone! Happy Wednesday, Mayra here with you today. I am sharing this sweet card using the adorable Sweet Day stamp set. I adore this set so much. I am also excited for the newest Avery Elle release!!! 


I started by coloring the images using Copic markers. 
Violet: B60, V000, V01, V12, V15, BV11, BV00
Pink: R000, R30, R20, R21
Mint: BG000, BG10, BG11
Soft Brown:E30, E50, E51, E41, E31, E55


Next, I used the largest rectangle from the Basic Rectangles Creative Cuts die set for my base panel. 
I then die cut the word 'Hooray' using the Hooray Elle-ments die from pink cardstock. I added color to the bottom of the die-cut using Distress Oxide ink. I used Shaded Lilac and Dusty Concord


I then stamped the sentiment onto the banner from the Wonky Stitched Elle-ments die set. I hope you enjoy the card I created to share with you today. Thank you so much for taking the time to stop by. I hope you each have a wonderful and blessed day. 


Links to products used or recommended are listed below:

Monday, August 23, 2021

Hello from Toni: Lawn Fawn Underwater Birthdays


Hello, friends! Today I have another set of birthday cards, this time with an underwater theme. Bloop, bloop!

I knew I wanted to use both the negative and positive of the Lawn Fawn Happy Birthday to You die so sponged the panel prior to cutting.  I used Distress Oxide Salvaged Patina, Salty Ocean and Blueprint Sketch which I spattered with water.


I die cut the card front and adhered an acetate panel behind the resulting negative.  It was easy to reposition the little bits. I sprinkled some sequins onto my card base which I had sponged with Distress Oxide Mustard Seed and used 1/8" Scor-Tape to adhere the acetate card front down. 


I next colored up the Lawn Fawn You Are Sublime and Lawn Fawn Mermaid for You images using Copics. I added diecut coral from my stash as well as a bunch of Pretty Pink Posh sequins.


The second card came together very quickly.  I sponged some waves onto the card base using Distress Oxide Salty Ocean then stamped some Lawn Fawn Mermaid for You plants onto the base using DO Mowed Lawn, Twisted Citron, Abandoned Coral and Wilted Violet.

The Lawn Fawn You Are Sublime submarine is coming up behind the Lawn Fawn Happy Birthday to You while the Lawn Fawn Mermaid for You mermaid watches on.  Ever so cute!


I'll see you again soon.  If you'd like to check out my other creations in the meantime, you can visit my blog, Frankie Helps Craft, my Instagram, or my Pinterest Board.  

Products Used and/or Recommended Include

Wednesday, August 18, 2021

Let's Toast with Lawn Fawn....


Hello everyone. Happy Wednesday!!  Mayra here with you today.  I am sharing this s'mores-themed card. I used the wonderful and super cute new Smiley's S'more die. I couldn't wait to use this set. It is truly adorable. 

I began by die cutting the layers for the s'mores, along with the Smiley's S'more die, I also used the Backdrop Forest die along with the Backdrop Stitched Woodgrain, the fire, and the mini marshmallows from the Build a Campsite die set, the grassy border from the Mushroom Border die set, to create the ground I used the Slimline Simple Stitched Hillside Border die set.


Next, I added a bit of color to each of the die-cut layers using Lawn Fawn Ink, and Distress Inks. For the green areas, I used Jalapeno and Noble Fir. For the brown areas, I used Pizza Crust, Gathered Twigs, Brushed Corduroy, and Ground Espresso. For the blue area, I used Blue Jay and Deep Sea. I used the Cloudy stencil to add cloudy layers to the base panel. 


To create the yellow frame for the card I used the biggest and medium-sized dies from the Basic Rectangles Creative Cuts. For the sentiment, I used the new awesome S'more the Merrier stamp set. 

I hope you enjoy the card I created to share with you today. Thank you very much for taking the time to stop by. I hope you each have a wonderful and blessed day. Please feel welcome to visit me on my blogIG or Pinterest

Links to products used and/or recommended are listed below:

Monday, August 16, 2021

Hello from Toni: Lawn Fawn Tropical Birthday


Hello, everyone! Let's fiesta and get a bit tropical today, shall we?!


Let's start with the card on the right.  I used the Lawn Fawn Tropical Leaves Background Layering Stencils with Distress Oxides on the card base.  Next, I outlined the edges of the card base with 1/8" Scor-Tape, sprinkled a few flat sequins and applied a sheet of acetate on top to create a flat shaker.


Next I cut out the Lawn Fawn Tropical Leaves Backdrop and used Scor-Tape along the edges to adhere it on top of the acetate.

I colored up the Lawn Fawn Toucan Do It images and nestled them among the the backdrop greenery.  The birthday hats are fro the Lawn Fawn Wild for You set.  


For the second card I masked the card base and sponged the Lawn Fawn Tropical Leaves Background Layering Stencils with Distress Oxides.

I adhered a couple of Lawn Fawn Tropical Vine Borders in white onto the card and added the Lawn Fawn Toucan Do It image and sentiment. 


Both cards are reallly quite different but both ever so fun and colorful!

I'll see you again soon.  If you'd like to check out my other creations in the meantime, you can visit my blog, Frankie Helps Craft, my Instagram, or my Pinterest Board.  

Products Used and/or Recommended Include:

Friday, August 13, 2021

Hello from Toni: Bonus ME Flower Shower


Hi, everyone!  I'm sharing a bonus card this week using Mama Elephant Flower Shower and MFT Scene Builder images.  

I swear this card took me 10 minutes--okay, 15 with the coloring.  There is certainly something to be said for clean and simple!


Have a great weekend!  If you'd like to check out my other creations in the meantime, you can visit my blog, Frankie Helps Craft, my Instagram, or my Pinterest Board

Products Used and/or Recommended Include:

Wednesday, August 11, 2021

You Make Me Smile with Lawn Fawn...

Hello everyone, happy Wednesday! Mayra here with you today.  I am sharing this fun, awesome thinking of you-themed card. I used the wonderful and super cute new I Like Naps and Toucan Do It stamp sets. The inspiration for this card was my 3 year old niece Lyric Hope, she is one year younger than her sister Ava Rose, who I created a birthday card for last week. I learned a while ago that it is a nice surprise to create a card for her as well. 


I began by coloring all of the images using Copic markers. Along with the I Like Naps, and Toucan Do It sets, I also used the Magic Messages, One in a Chameleon, and Butterfly Kisses stamp sets.

Next, I die cut the layers and base for the card. I used my new favorite dies the Backdrop Tropical Leaves, the  Slimline Tropical Leaves Border, and the  Backdrop Sunburst die. I then added color to the green layers using Lawn Fawn ink. I used Celery StickFreshly Cut Grass, and Jalapeno. Next, I added color to thebase panel, I used PeacockMerman, and Minty FreshThen, I used the stitched circle from the Shutter Card Snow Globe Add-on to create a frame around the heat embossed sentiment from the Magic Messages stamp set. To create the frame for the card in coordinating pink, I used the biggest and medium sized dies from the Basic Rectangles Creative Cuts.


I hope you enjoy the card I created to share with you today. Thank you very much for taking the time to stop by. I hope you each have a wonderful and blessed day. Please feel welcome to visit me on my blogIG or Pinterest

Links to products used or recommended are listed below:

Monday, August 9, 2021

Hello from Toni: Sunny Studio Looking Sharp


Hi, Doodlebugs fans! I have an ultra cute birthday card to share with you today.


I cannot recall the last time I used the Lawn Fawn Flippin' Awesome interactive dies but am so glad I did for this card featuring images from Sunny Studio Stamps Looking Sharp.


I used paper from Honey Bee Birthday Bash 6x6 pad for the card base, flipper panels, pull tab and the Lawn Fawn Flippin' Awesome Add-On scalloped base.

I used pearlescent paper for the scalloped panels but you can't tell so much in the pics.  It adds a really fun touch though.


I colored up the Sunny Studio Stamps Looking Sharp images based on the paper--ombre pots, yes, please!


And additng those adorable expressions included in the stamp set along with the birthday hats was a must.


I added some Mama Elephant Comic Sayings on Let's Chat speech bubbles for even more fun. How cute is that?!!


I'll see you again soon.  If you'd like to check out my other creations in the meantime, you can visit my blog, Frankie Helps Craft, my Instagram, or my Pinterest Board.  

Products Used and/or Recommended Include:

Friday, August 6, 2021

Hello from Toni: Waffle Flower Poinsettia


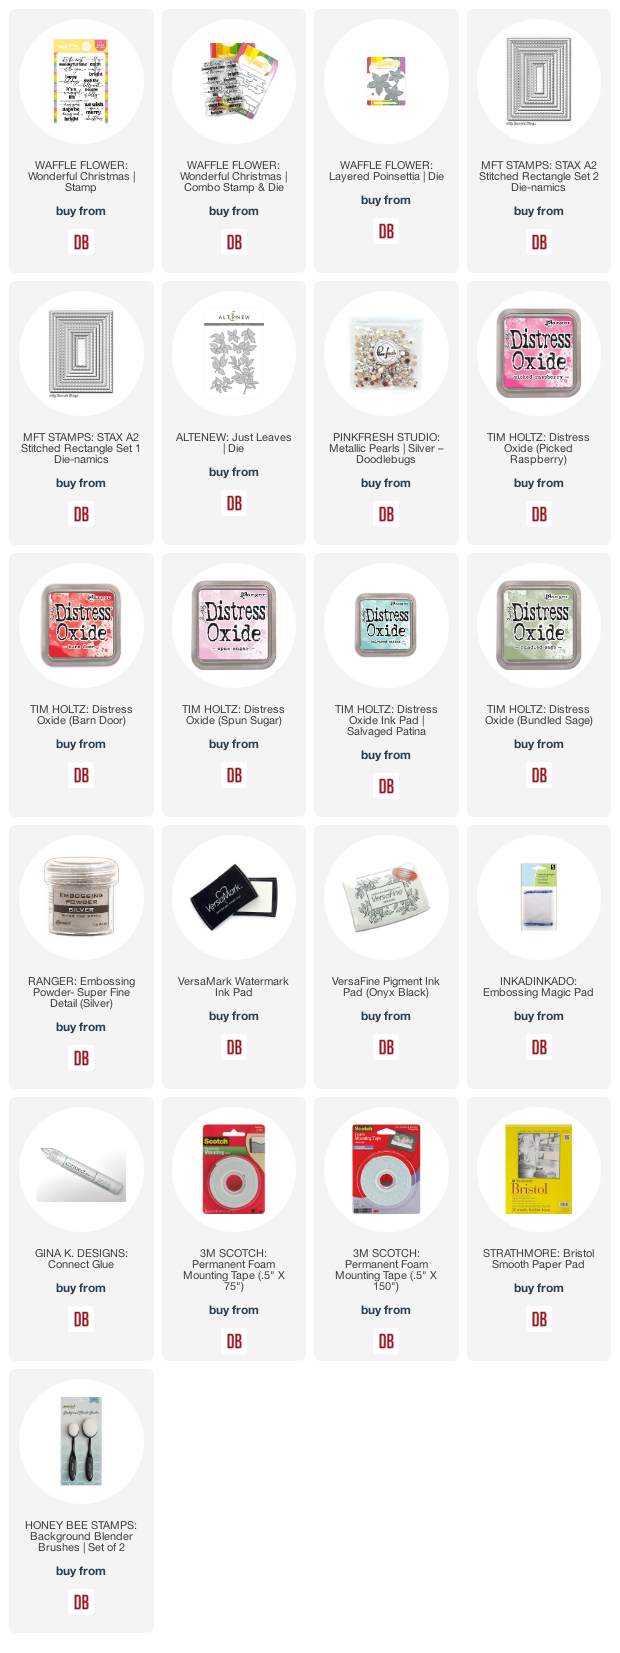
Hello, friends! I am really loving the Waffle Flower Christmas release, including the Layered Poinsettia Die and Wonderful Christmas sentiments. Heck, I even bought the Wonderful Christmas dies.


Look at that Waffle Flower Wonderful Christmas sentiment embossed in silver and cut out with the coordinating dies. Hot damn! If you haven't looked at the other sentiments in the set, please do. They are just as amazing.

Now that gorgeous sentiment needs an equally lovely backdrop, don't you think?


I used the Waffle Flower Layered Poinsettia Die to cut out apertures in the card front. 

I sponged Distress Oxide Barn Door and Picked Raspberry onto the card base and adhered the card front onto that. I cut out additional poinsettia layers out of vellum--the penultimate layer is sponged with Distress Oxide Spun Sugar; the last left as is.


I adhered the layers only in the middle and bumped up the sentiment on foam tape so this should remain dimensional but still mailable. Swoon!

I added Pinkfresh Studio Silver Metallic Pearls and Pretty Pink Posh Sequin accents.


I made a couple of other cards using the Waffle Flower Layered Poinsettia Die and Waffle Flower Wonderful Christmas sentiments. I LOVE the versatility of this combination and hope you will too!

I'll see you again soon.  If you'd like to check out my other creations in the meantime, you can visit my blog, Frankie Helps Craft, my Instagram, or my Pinterest Board.  

Products Used and/or Recommended Include:

Wednesday, August 4, 2021

Have A Wild Day with Lawn Fawn...

Hello everyone, happy Wednesday! Mayra here with you today. I am so happy to be here. I am sharing this fun, awesome summer-themed birthday card using the cute Toucan Do It stamp set from Lawn Fawn. My oldest son and niece love animals. I thought this set would be perfect for my niece's 5th birthday card, and my son who turned 20 (where does the time go, lol). 

I began by coloring all of the images using Copic markers. Along with the Toucan Do It stamp set, I also used images from the Scootin' By (birthday hat, and balloons), the Virtual Friends Add-On(banner), the Elphie Selfie (elephant), Really High Five (striped birthday hat), Giant Birthday Messages (present),  Bubbles of Joy (bubbles), Virtual Friends (little bird), Elphie Selfie Flip-FlopYeti or Not (birthday hat), Say What Pets (cat), and Flamingo Together


Next, I die cut two layers of the Magic Iris Tropical Leaves Add-on, and a grassy border using the Slimline Grassy Hillside Border die set, I then added color to the green layers using Lawn Fawn ink. I used Celery Stick, Freshly Cut Grass, and Jalapeno. Next, I die cut the base panel using the Backdrop Sunburst die from yellow cardstock. I used No. 2 Pencil, and Sunflower colored ink to add color to the base panel. For the sandy area, I used the die from the Slimline Simple Stitched Hillside Border.  To create the frame for the tropical magic Iris cut out I used the stitched circle from the Shutter Card Snow Globe Add-on. For the water area, I used the wavy border from the Slimline Stitched Hillside Border die. I then added color to the water area using Lawn Fawn inks, Peacock, Merman, and Minty Fresh


Next, I heat embossed the sentiment from the Magic Messages stamp set 
onto vellum. To create the frame I used the largest of the two rectangles from the Basic Rectangles Creative Cuts set. 

I hope you enjoy the card I created to share with you today. Thank you very much for taking the time to stop by. I hope you each have a wonderful and blessed day. Please feel welcome to visit me on my blogIG or Pinterest

Links to products used or recommended are listed below: