Hello and happy Wednesday everyone. I am sharing this mermaid-themed bookmark with you today. I used the pretty Mermazing Mermaid die from Lawn Fawn.

I love reading (in case you didn't know that about me, lol) so creating fun and interactive bookmarks is something I love to do. I began by die-cutting the layers to create the mermaid. I used Copic markers to add colors to each section of the mermaid.
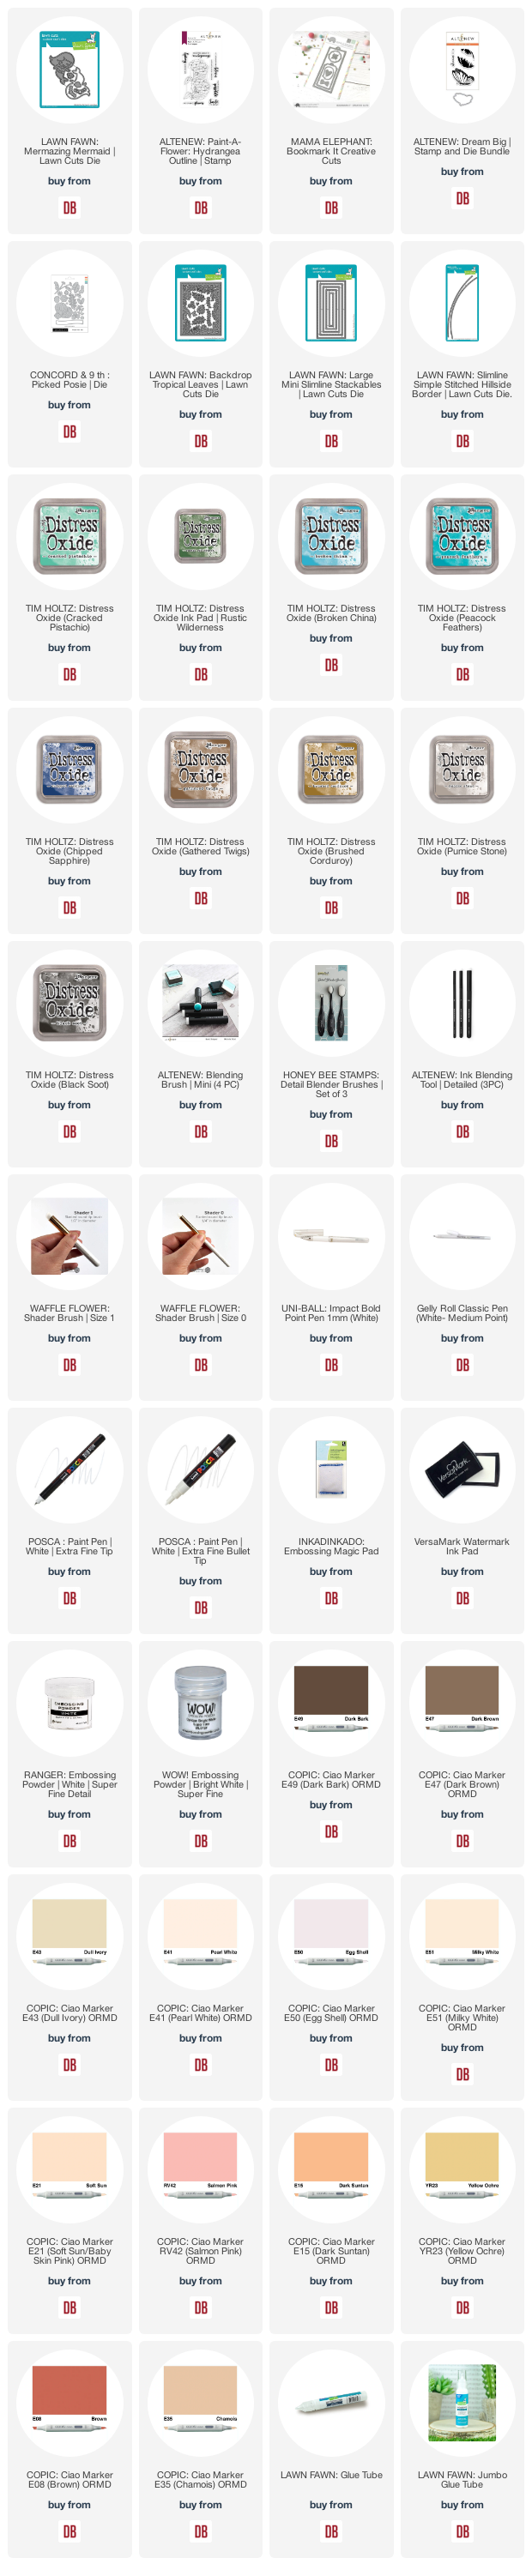
Copics Used:

I then used the Bookmark It die set to create the bookmark base. I added color to both layers using Distress Inks. I used Cracked Pistachio, Peacock Feathers, Broken China, and Chipped Sapphire. For the sand area, I used Gathered Twigs and Brushed Corduroy.

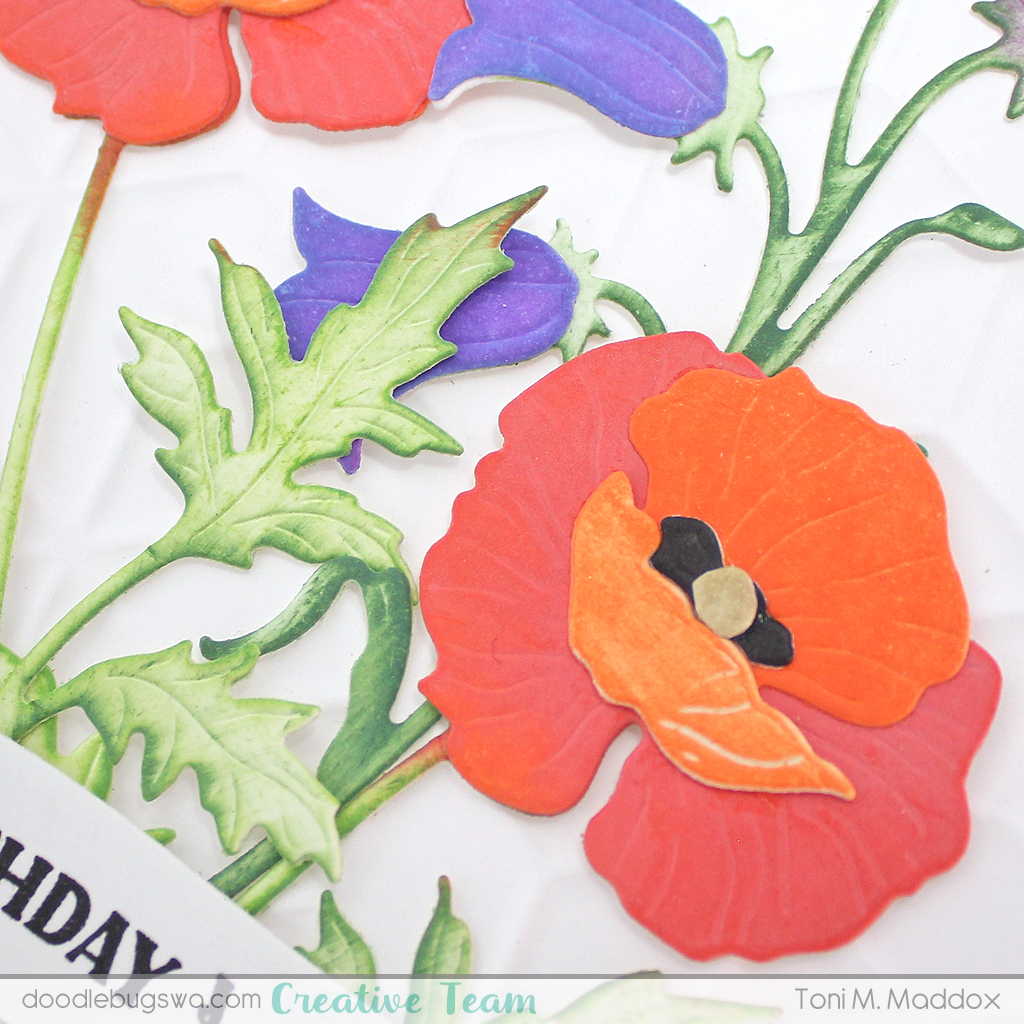
I then used the flower layers from the Picked Posie die set from Concord & 9th to create the clamshell and the seaweed around the mermaid along with the greenery from the Backdrop Tropical Leaves die set. I added a bit of color to the 'clamshell' and the seaweed using Rustic Wilderness Distress Ink.

To create the frame I used one of the smaller rectangles from the Large Mini Slimline Stackables dies set to die-cut the opening from one of the layers created using the Bookmark It die set.

I then heat embossed the sentiment from the Paint-A-Flower Hydrangea stamp set onto the bottom layer of the bookmark. Next, I heat embossed the sentiment from the Dream Big stamp set onto a vellum speech bubble die cut using the speech bubble from the Bookmark It dies set.
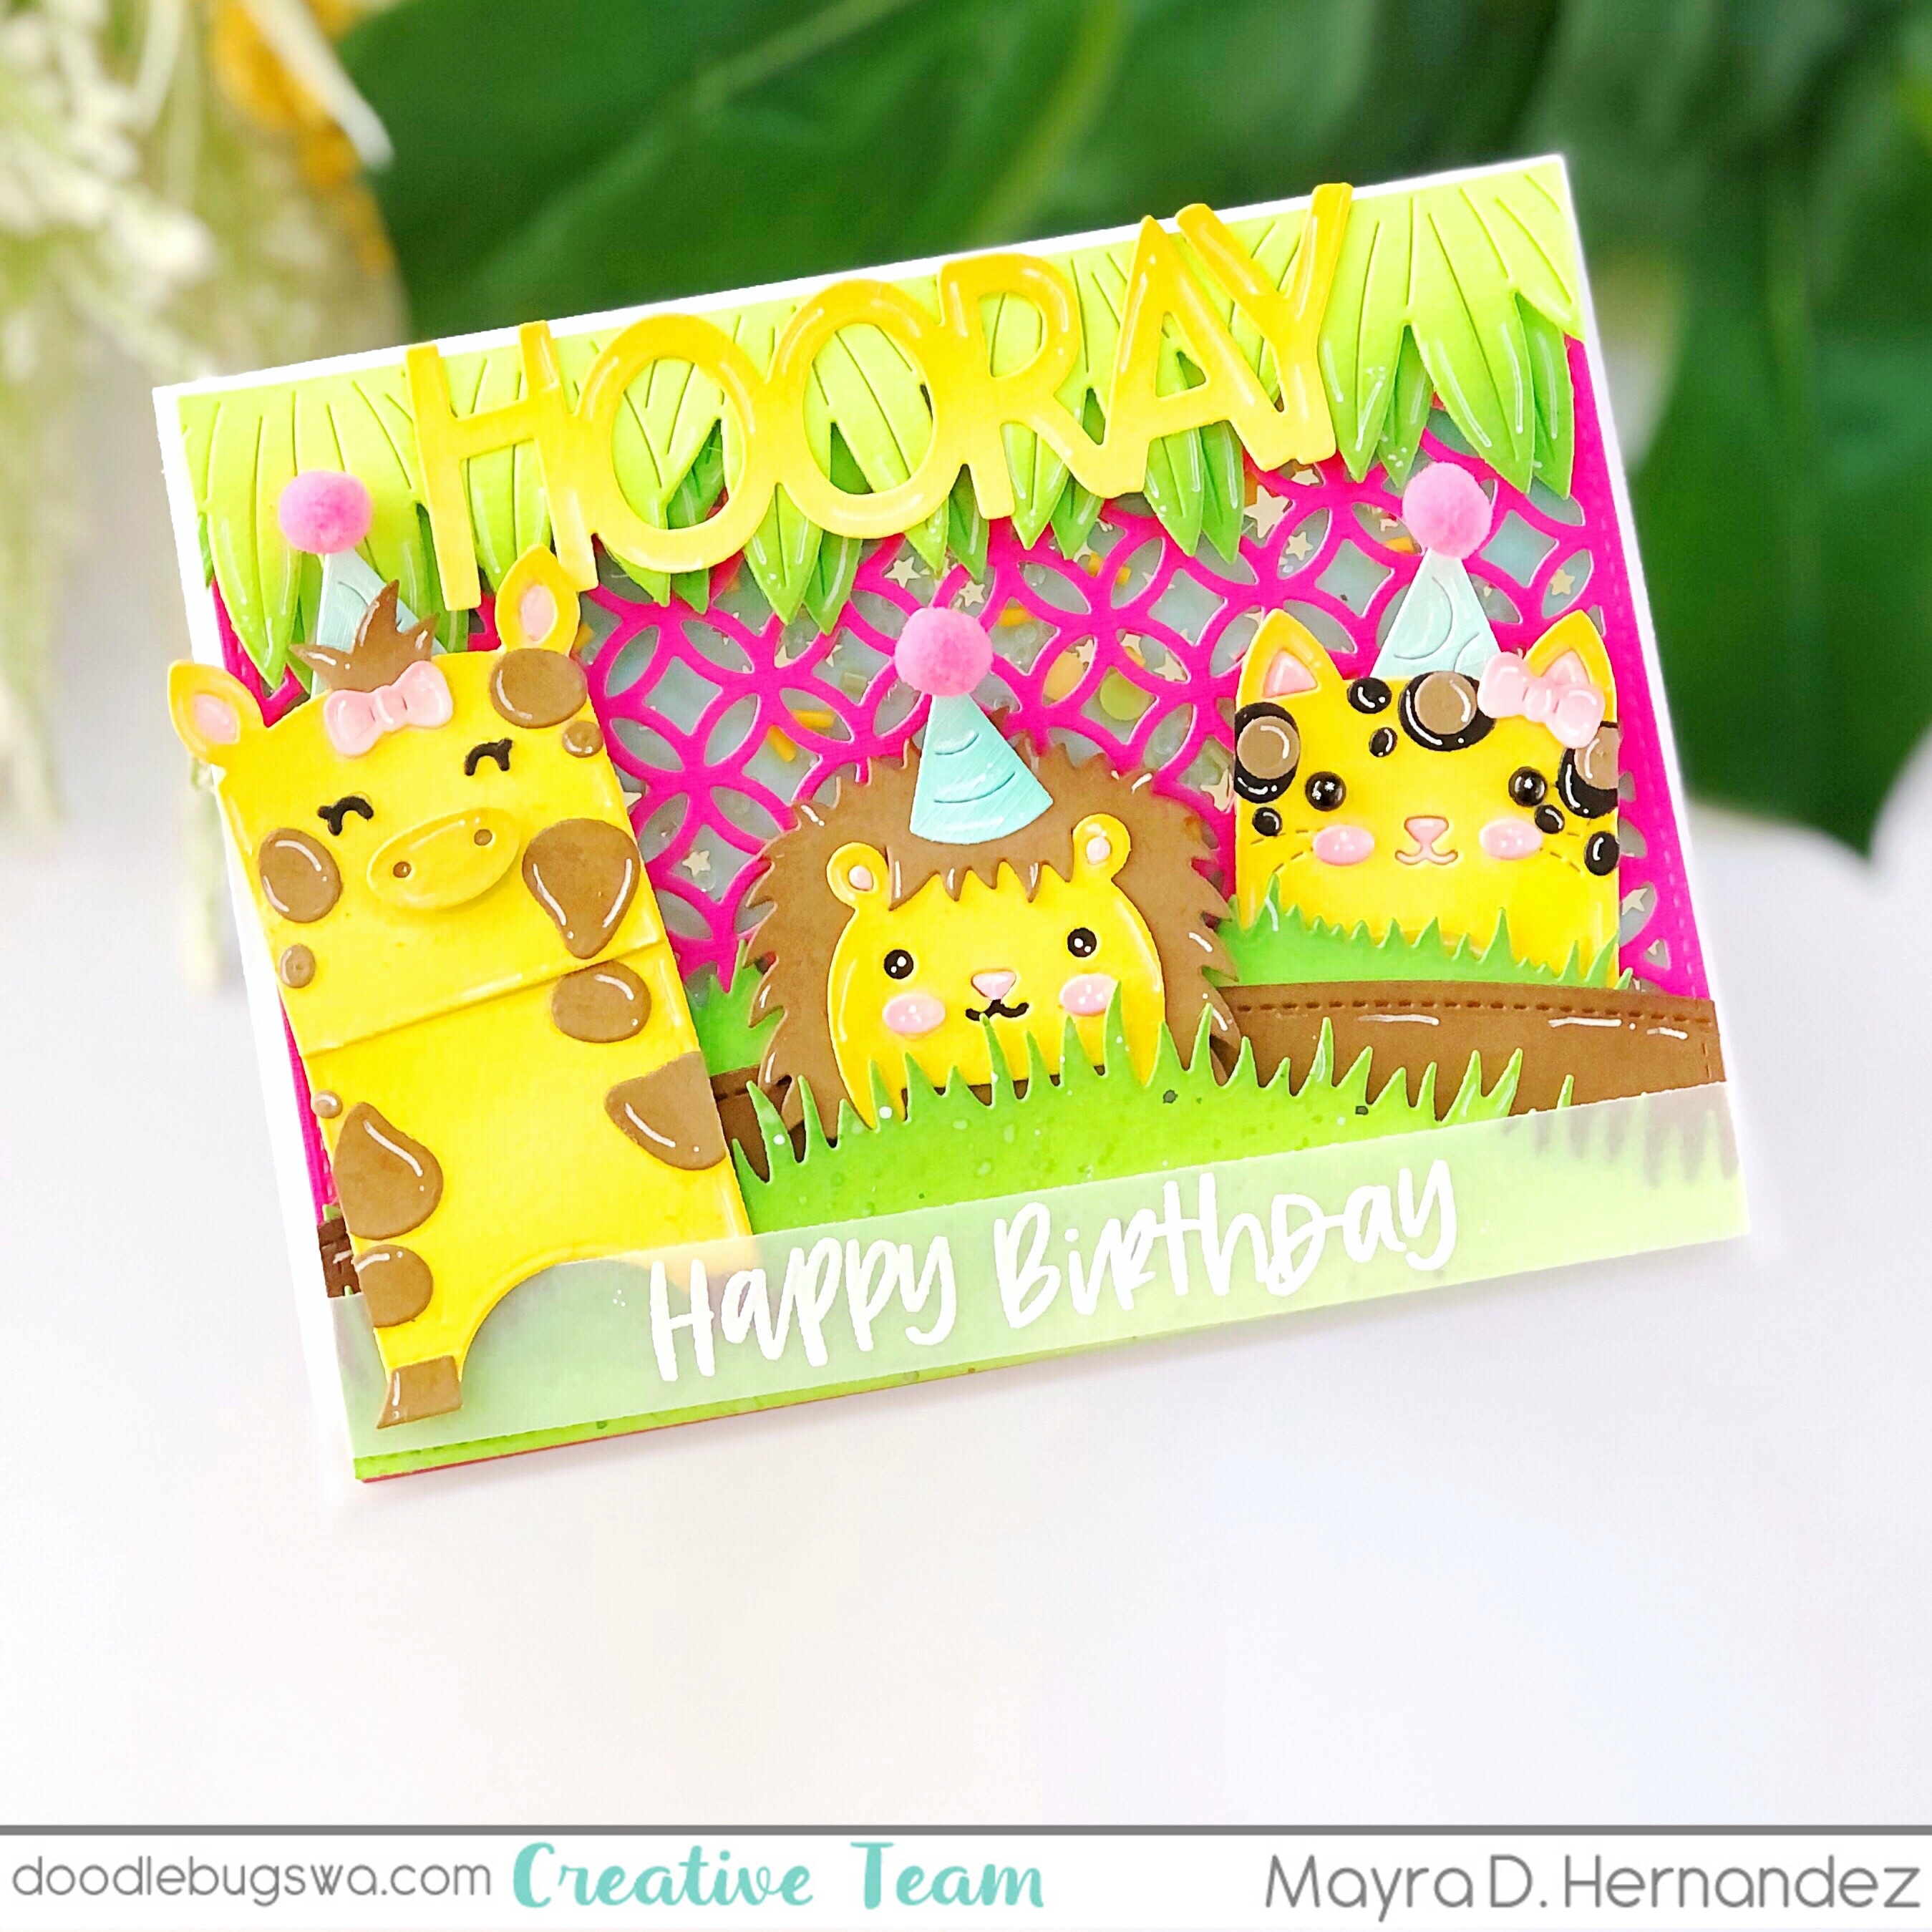
I hope you enjoy the card I created to share with you today. Thank you so much for taking the time to stop by. I hope you each have a wonderful and blessed day. Please feel welcome to visit me on my blog, IG or Pinterest.
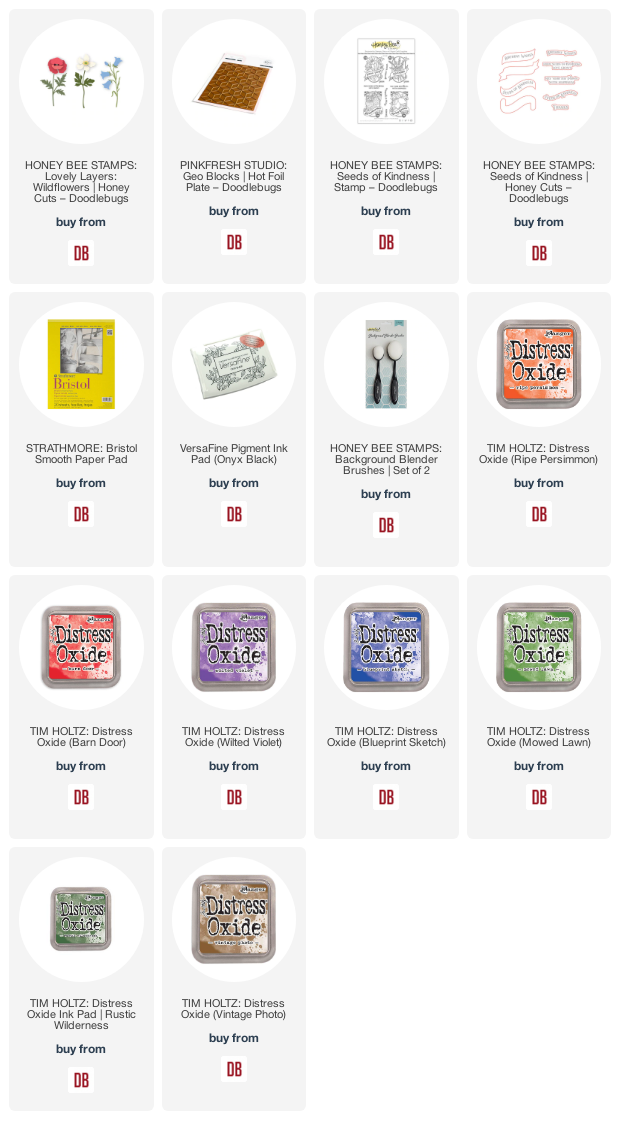
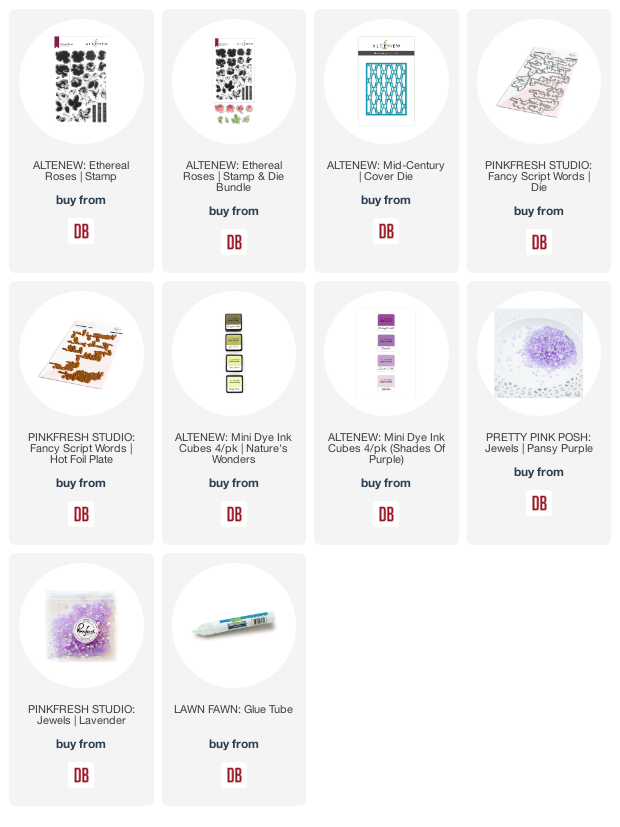
Links to products used or recommended are listed below: