Wednesday, March 31, 2021

Hoping Your Birthday is Wonderful...


Hello everyone! Happy Wednesday. I am sharing a watercolored card with you today. I used the super pretty, new Choose Hope stamp set from Pink Fresh Studio. 


I started by stamping the image onto watercolor paper using Distress Ink in Antique Linen for the no-line effect. I then used Zig Clean Color Real Brush markers to color the image. 


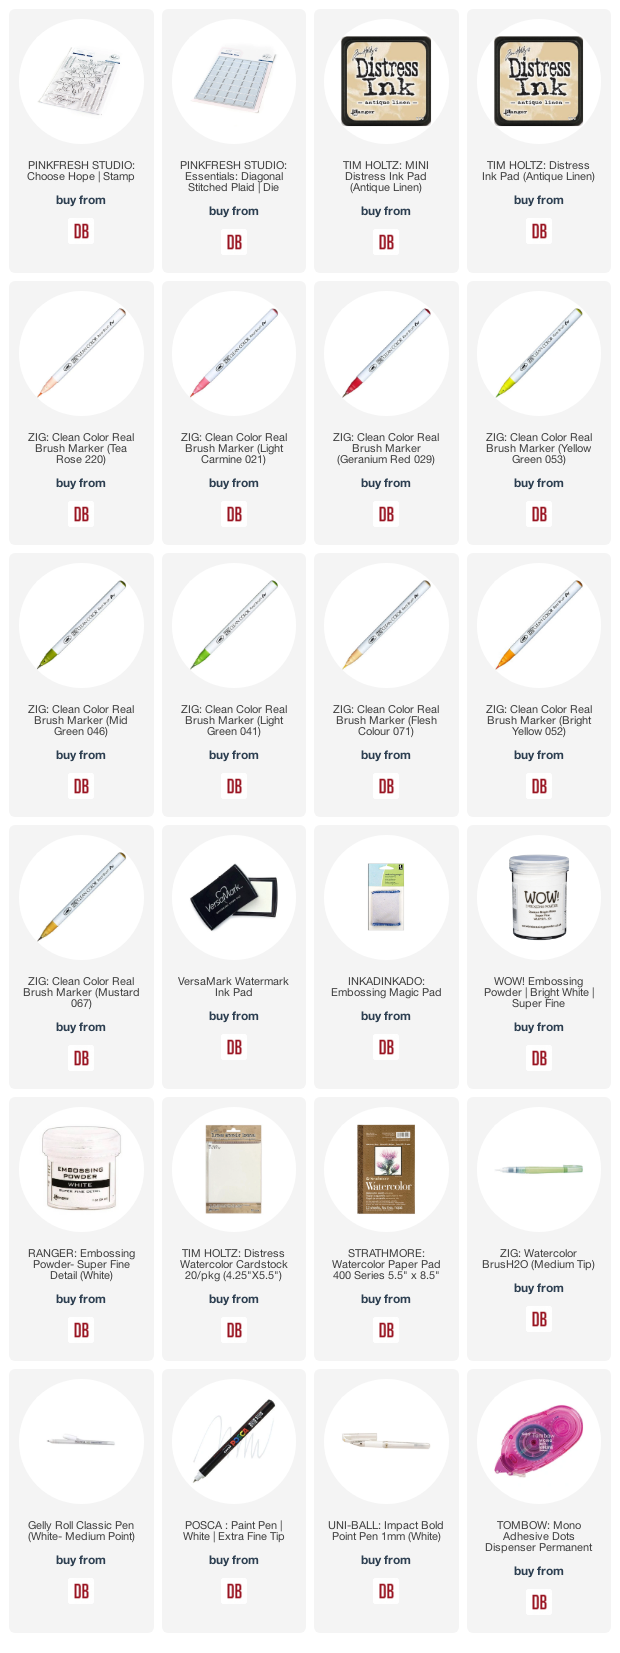
I began with the smaller pink florals. I used Tea Rose, Light Carmine, and a bit of Geranium Red. Next, I colored the leaves I used Yellow Green, Mid Green, and Light Green. For the main flower I used, Flesh Colour, Bright Yellow, Geranium Red, and a bit of Mustard

I then used the Essentials Diagonal Stitched Plaid die for the base of the card. To finish the card I heat embossed the sentiment onto a strip of vellum. 

I hope you enjoy the card I created to share with you today. Thank you so much for taking the time to stop by. I hope you each have a wonderful and blessed day. Please feel welcome to visit me on my blog, IG or Pinterest

Links to products used are listed below:

Monday, March 29, 2021

Hello from Toni: Hoppy Birthday


Hi, everyone! Today I have a cute little birthday card that just makes me smile.  The frog is so cute! Quite an accomplishment as frogs are weird, sticky things. I'm a toad girl myself.


I stamped the Sunny Studio Country Scenes pond image on watercolor paper, shortening it so it would fit in portrait orientation. That was easy peasy to line up.

Next I used the MFT Mini Cloud Edges stencil with Distress Oxide Wilted Violet--just a touch so the purple was quite light.


I used Zigs to color up the scene, adding a bit of Clear Wink of Stella to the waves. I cut the front panel using the Sunny Studio Frilly Frame Eyelet Lace die before adhering the Sunny Studio Feeling Froggy image. 

For the sentiment, I used words from both Sunny Studio Best Fishes and Feeling Froggy. I love that the sets are sized so they're interchangeable.  Thanks, Sunny Studio!

And, naturally I had to use googly eyes on the frog. Duh!


I'll see you again soon.  If you'd like to check out my other creations in the meantime, you can visit my blog, Frankie Helps Craft, my Instagram, or my Pinterest Board.  

Products Used and/or Recommended Include: 

Wednesday, March 24, 2021

Sending Virtual Hugs with Lawn Fawn...


Hello everyone. Happy Wednesday. Mayra here with you today. I am sharing a card using the new super fun Pop-up Desk die from Lawn Fawn. 


I started by die-cutting all of the pieces I would use to create the card. I used the new shutters from the Build a House Spring add-on, the bunny in the laptop image is from the Build a Basket-Easter die set, the scalloped rectangle "rug" is from the Fancy Scalloped Rectangle Stackables set. 


Next, I colored the bunny from the Butterfly Kisses set, the little bird and flowers from the Eggstra Amazing Easter set, the plants are from the Simply Celebrate Summer set, and the sentiment is from the new Long Distance Hugs set.

I used Copic markers to color them. For the bunny, I used E41, E25, E55, E31, E43, and R30. For the yellow areas, I used YR30, Y11, Y08, Y19, and a bit of YR24. For the green, I used G94 and YG13. 


I hope you enjoy the card I created to share with you today. Thank you very much for taking the time to stop by. I pray you each have a wonderful and blessed day. Please feel welcome to visit me on my blogPinterest or Instagram

Products Used and/or Recommended Include:

Monday, March 22, 2021

Hello from Toni: Meet the Flintstones


Hello, Doodle Bugs fans!  Today's card is a throwback to childhood for me. I remember watching The Flintstones cartoon reruns in the 1970s. You too? Or have I totally dated myself? LOL.


I used Distress Oxide Peacock Feathers on the card base, just at the top since the rest of the front was going to be covered.  I then used the Mama Elephant Slim Card Basics Cloud and Hill dies.


I used the MFT Mini Cloud Edges stencil along with Peacock Feathers to add more clouds. I used a bit of DO Mowed Lawn and Vintage Photo for the hill.

I colored the Mama Elephant Me and My Dinosaur and Little Dino Agenda images with Copics. I would love to think pterodactyls and brontosaurus were so brightly colored.


Of course, I had to use purple in honor of Dino from The Flintstones as well as coloring the little people a bit like Pebbles and Bam Bam. So cute!

For the sentiments I used the speech bubbles from Mama Elephant Stackable Cuties stamped in Distress Ink Carved Pumpkin. Whenever I want the color to be brighter, I use Distress Ink rather than Oxide.

Btw, I used the grass from Sunny Studio Country Scenes as it looks like grass that's a bit extra.


I'll see you again soon.  If you'd like to check out my other creations in the meantime, you can visit my blog, Frankie Helps Craft, my Instagram, or my Pinterest Board.  

Products Used and/or Recommended Include: 

Friday, March 19, 2021

Spring | Summer Coffee Lover's Blog Hop

It's that time of year again, and we are very excited to be a Super Sponsor for the Spring | Summer Coffee Lover's Blog Hop.  We're featuring a few of our favorite past, coffee themed projects and a discount code for all of our readers!  So, be sure to scroll through the whole blog post for all of the details!

You'll want to visit the Coffee Lover's Blog Hop for all the details on how you can participate for a chance to win one of the many prizes.  You'll find all that information HERE.

We're also offering a great discount.  Click on the image below and start shopping.  Be sure to enter the discount code COFFEE15 when you check out to save 15% on your entire purchase.

If you're looking for coffee themed products.  Click the image below and link over to our COFFEE INSPIRED COLLECTION.


Finally, I've listed a few past coffee inspired projects.  I hope they inspire you to pull out your coffee themed products and create a project to participate in the hop!  Thanks so much for stopping by!

Click on the image if you'd like to visit the original blog posts with all the details.


Links to main products used for these projects are listed below:

Wednesday, March 17, 2021

Congrats with Waffle Flower Stamps...


Hello everyone. Happy Wednesday. Mayra here with you today. I am sharing a card using the beautiful Tender Blooms stamp set from Waffle Flower stamps. 


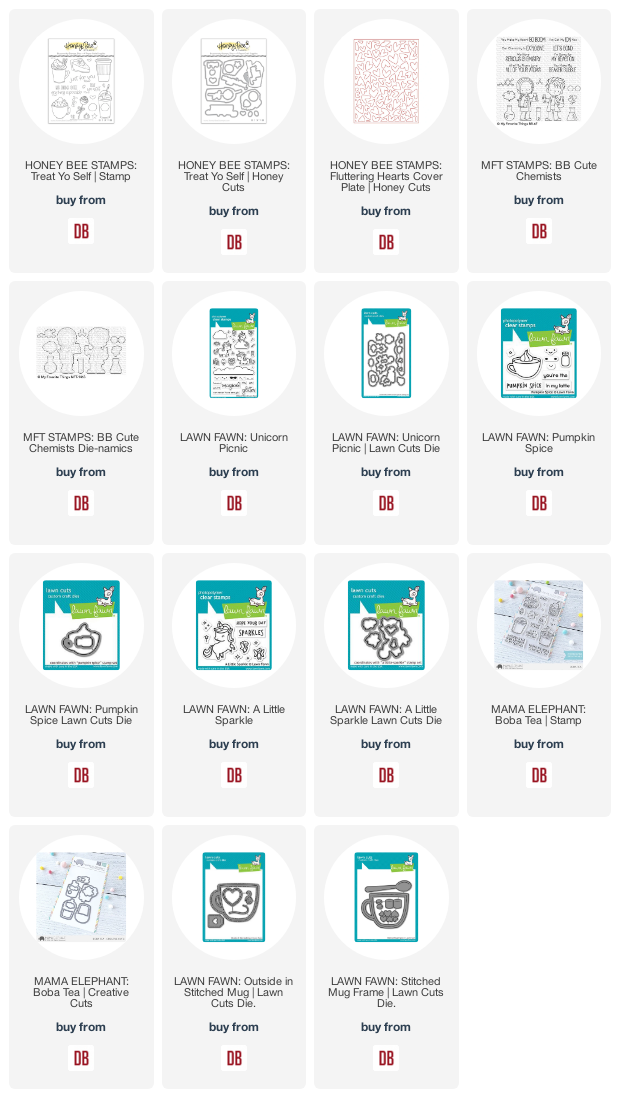
I started my card by stamping the image onto watercolor cardstock using Antique Linen Distress ink. Next, I colored the image using Zig Clean Color Real Brush markers. I used Tea Rose, Geranium Red, Pale Rose, Deep Violet, Oatmeal, Beige, Yellow, Yellow Green, and Olive Green.


I then used the largest of the stitched rectangles die from the A2 Lacy Layers die set to die cut the panel with the watercolored image. Next, I stamped the sentiment from the Classic Sentiments stamp set onto the card using Lawn Fawn Jet Black ink. 


I hope you enjoy the card I created to share with you today. Thank you very much for taking the time to stop by. I pray you each have a wonderful and blessed day. Please feel welcome to visit me on my blog, Pinterest or Instagram

Products Used and/or Recommended Include:
Monday, March 15, 2021

Hello from Toni: Altenew Tulips


Hello, Spring! And hello to you Doodlebugs WA fans too! 


Today's card features the Altenew Paint-a-Flower Tulips Outline stamps.  Isn't it gorgeous?  I don't have tulips quite yet in the garden but a few of the daffodils are saying hello.  Yay!


I stamped the image and colored it with Copics. Now I was giving this card to my partner who likes cards where every inch is filled with something.  Ugh!  

Loving crafter that I am, I added some gold and sequins which are always winners with me. He was suitably impressed so win-win.


I painted a glue that remains tacky when dry onto the card edges using a fan brush so it would be streaky when I added the gold foil. I really liked how that turned out so I added some gold dots too.

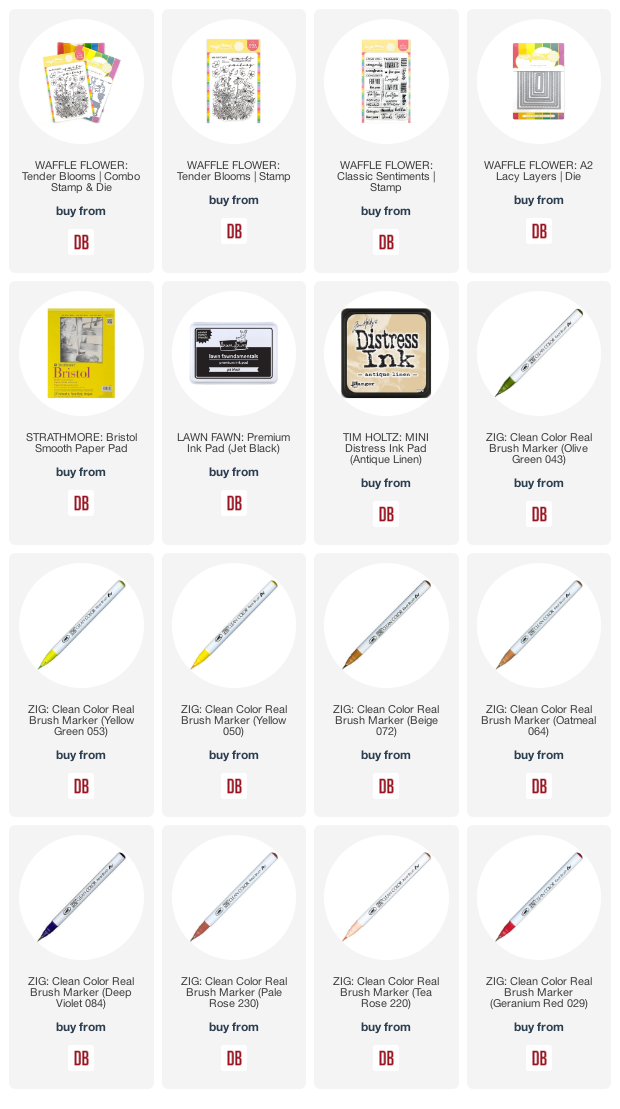
In the product listing below I've added some other gold options that could be used to create a similar effect like Versamark and embossing powder, washi, and gold ink.  I'm all about using what you've got!


I'll see you again soon.  If you'd like to check out my other creations in the meantime, you can visit my blog, Frankie Helps Craft, my Instagram, or my Pinterest Board.  

Products Used and/or Recommended Include:

Wednesday, March 10, 2021

Hello Beautiful with Lawn Fawn...

Hello everyone! Happy Wednesday. Mayra here with you today. I am sharing this bright peacock-themed birthday card with you. I used the super pretty Tiny Gift Box Peacock and Turkey Add-on from Lawn Fawn. 


I started by die-cutting a panel using the Fancy Lattice Backdrop from Kraft colored cardstock. I then added color to the panel that would show underneath the die-cut layer. I used Lawn Fawn inks. I started with Peacock, then I used Blue Jay, then  Fresh Lavender, Grape Jelly, Celery Stick, and Jalapeno. I also added a bit of the color Juice Box over the Blue Jay to deepen the blue. Next,  I used the colors Sunflower and Fake Tan to add color to the die-cut orange and yellow pieces for the little peacock. I also added a bit of  Peacock and  Blue Jay to the main area and tail. 


Next, I glued all of the layers together. Then, I die cut the speech bubble and frame. I heat embossed the sentiments onto vellum. I used the Swan Soiree, How You Bean?, and Offset Sayings: Birthday stamp sets for the sentiments.  


I hope you enjoy the card I created to share with you today. Thank you so much for taking the time to stop by. I hope you each have a wonderful and blessed day. Please feel welcome to visit me on my blog, Instagram or Pinterest.

Links to products used are listed below:

Monday, March 8, 2021

Hello from Toni: Mama Elephant Little Mermaiden


Bloop, bloop, everyone!  I hope you're having a good day filled with lots of cuteness, including this little shaker card I made for my sister's birthday.

I reserve shakers for special people for special occasions as they can be quite time-consuming as you know.  Good thing my sister is worth the effort!  Do you do the same?


I started the card by sponging the card base with Distress Oxides and spattering with water. While that dried I cut out the Mama Elephant Grid Window die and adhered clear acetate to it. I was quite proud of myself for remembering to do that before adding the sparkly innards. I cannot tell you how many times I have forgotten--argh!


Next I colored up the Mama Elephant Little Mermaiden Agenda images with Copics. They're so darn cute!  I hope they come out with a little sea creature agenda some day.  Are you with me?

I figure out the placement of the images and adhered them to the card base.  Then I applied foam tape to the grid, placed it face down with the foam tape up and added the sparkly bits. 


Talk about cold sweat while I was removing that foam tape backing. That's also why I decided not to add glitter. I don't care how careful I am, I always get glitter on the foam tape, ruining its stickiness. Bah!

Now I did mess up in terms of forgetting to emboss the sentiment before adding the foam tape. It turned out okay tho.  I was afraid I wouldn't get a clear impression since there wasn't anything solid beneath but all good.

IMPORTANT NOTE:  I use old school copier transparency film for my shakers.  This stuff is meant to withstand the heat of a toner copier and works just fine with my heat gun.  I suspect that regular acetate marketed for shakers would melt but haven't test that.


I'll see you again soon.  If you'd like to check out my other creations in the meantime, you can visit my blog, Frankie Helps Craft, my Instagram, or my Pinterest Board.  

Products Used and/or Recommended Include: