Friday, January 31, 2020

Friday with Amy: Perking Me Up | My Favorite Things


Happy Friday!  It's Amy and I have a sweet non-traditional Valentine's Day card that features My Favorite Things:


It's almost deceiving how many supplies went into this card.  


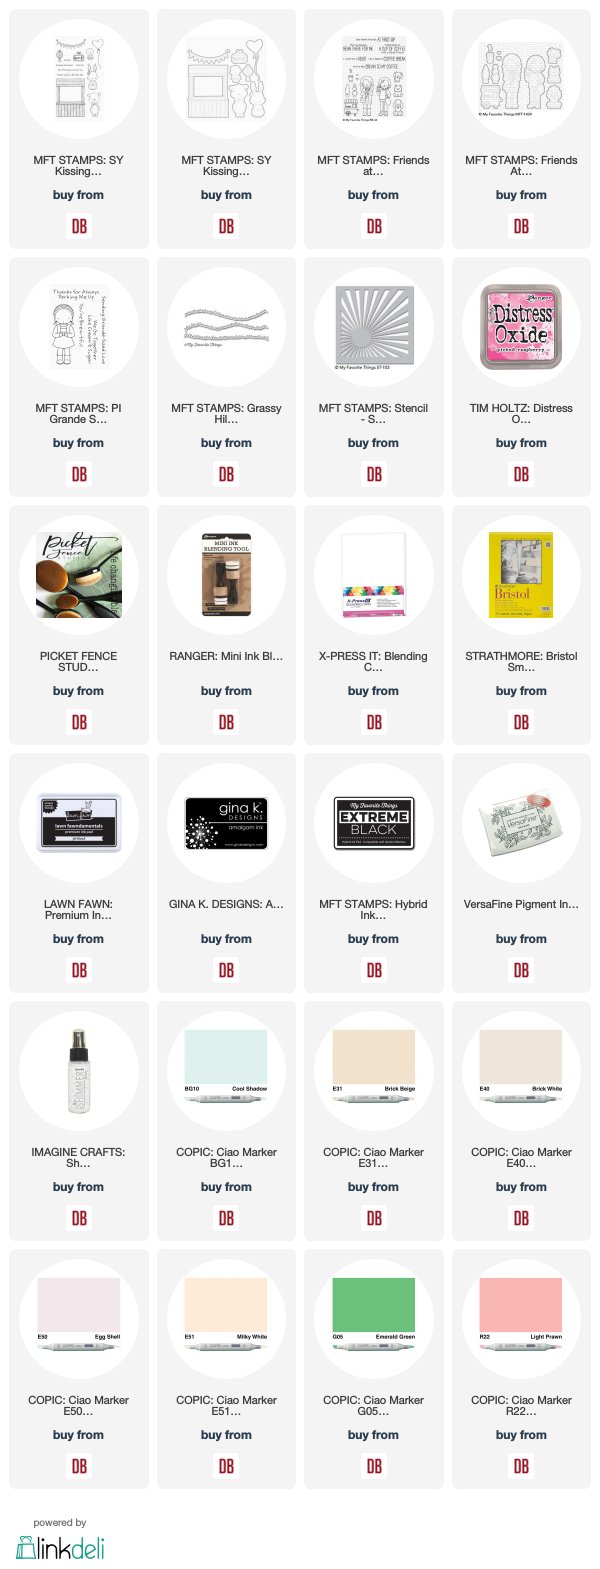
I knew that I wanted to use the SY Kissing Booth as a Coffee Booth.  I've seen it teamed up with the oh so adorable Sweater Weather sets so I challenged myself to use something else.  The Friends at First Sip fits PERFECTLY with the Booth in scale.  While I'm thinking of it.  I highly recommend the coordinating Di-namics for the SY Kissing Booth.  They cut the interior of the booth.


I used the Picked Raspberry Distress Oxide with the Sunrise Radiating Rays Stencil and Blender Brushes on Bristol.  I used a bright green cardstock with the Grassy Hills Die-Namics.

The sentiment is from PI Grande Sized Love.


Do you see that I sprayed the stenciled background?  I picked up a shimmer mist at the last CK event that is probably like the Imagine Crafts Sheer Shimmer Spritz (Sparkle).  

Any guesses how many copics I used?  24!

R21 | R22
RV17 | RV19
G03 | G05
B34 | B37
E30 | E31
E40| E42
E50 | E51
C00 | C1
C4 | C6
W00 | W1
W7 | W9

Thanks so much for stopping by!

Links to supplies used are listed below:


Thursday, January 30, 2020

Bonus Day with Toni: Pinata Mashup


Hello, friends!  I'm back with some cold-loving critters and another fun interactive Mama Elephant Pinata Party card.


This time I've paired the ME Pinata Party set with the Lawn Fawn Magic Picture Changer dies and the Add-On. Just pull that tab and out comes the candy!  I wish pinatas were that easy.  I remember taking a swing at one once and not being the lucky kid to make the breaking hit--boo, hiss!


I used the Doodlebug Design Winter Wonderland 6x6 paper for the LF Magic Picture Changer bits as well as for the Sunny Studio Eyelet Lace Frilly Frame. Notice how I used the die cut as well as the negative for the card base. Matchy matchy!


Now all that fun winter paper just screamed from some winter critters so I used MFT Beast Friends and Mama Elephant Snow Friends. Aren't they cute?  I love coloring yetis and polar bears (not much to color!). I do love how the pup turned out--sort of a husky.  LOL.

I also love the vellum snowy hill.  I didn't want to detract from the interactive mechanism so used up a leftover piece of vellum. The yeti and bear are hiding the tape marks I used to adhere the hill to the card front.


That's it for me this week.  I hope you have a great, crafty weekend! See you next week!

In the meantime, if you'd like to check out my other creations, you can visit my blog, Frankie Helps Craft, my Instagram, or my Pinterest Board.  

Products used and recommended include:

Tuesday, January 28, 2020

Tuesday with Toni: Mama Elephant Pinata Party


I seem to be in a partying mood lately as evidenced by my MFT Let's Stick Together card last week and now this fun number using the new Mama Elephant Pinata Party set.


I used a bunch of new products for this card including the ME Pinata Party set I mentioned above along with one of the Pretty Pink Posh Layered Birthday Stencils and the Sunny Studio Eyelet Lace Frilly Frame.


I love that the Pretty Pink Posh Layered Birthday Stencils and Sunny Studio Eyelet Lace Frilly Frame dies comes in two parts so you can use one or the other or both.  I used one part of each for this card. I'll save using both (big guns!) for a really special card later!


I sponged the Pretty Pink Posh Layered Birthday Stencil with Distress Oxides Salty Ocean, Picked Raspberry and Mustard Seed. I did the same with the MFT Card Sized Confetti Stencil.

Did you notice that some of the dots are actually cut out?  Notice the green dot directly over the penguin's hat. 


I colored up the critters with Copics, turning the cat on its side so she can play with the ribbons as the pinata swings by--tee hee!  I used an old-school mini brad for the swinging mechanism. I popped up the Fiesta diecut with foam tape so that there'd be room for brad arms beneath. I did trim those a bit so completely hidden.


I'll be back on Thursday this week with another pinata card--a mash up of old and new goodies. My favorite!

In the meantime, if you'd like to check out my other creations, you can visit my blog, Frankie Helps Craft, my Instagram, or my Pinterest Board.  

Products used and recommended include:

Friday, January 24, 2020

Friday with Amy: Pretty Pink Posh | Thanks


Happy Friday Doodlebugs Fans!  Today I'm sharing a card that features Pretty Pink Posh:


Here's how I was inspired:


I started off with a Bristol panel and used the following Distress Oxides:


The Blender Brushes make the process so easy!  I always use Bristol when I blend Distress Oxides.


I cut the frame out of gold glitter cardstock that I had in my stash and heat embossed the sentiment in gold.

Those beautiful hummingbirds have been stamped on Bristol with Versafine Onyx and colored with Zig Clean Color Real Brush Markers:


Links to supplies used can be found below:

Thursday, January 23, 2020

Bonus Day with Toni: Lawn Fawn Oh Gnome Valentine


Good day, everyone! I'm trying to pretend Spring is just around the corner today despite the days and days of dreary we've had. The other day I noticed some of my daffodils are nearly a foot tall, I kid you not! Yay!


For this card, I'm using the Lawn Fawn Mushroom House cut from LF Spring Fling 6x6 Paper. So cheery and cute! I nestled the house between some Lawn Fawn Stitched Hillside Border hills on a base of glitter cardstock and the Lawn Fawn Polka Hearts Portrait Backdrop.


Next I stamped out the Lawn Fawn Oh Gnome images and colored them up with Copics. Aren't they such a cute couple?


I stamped the Lawn Fawn Oh Gnome sentiment onto one of the Lawn Fawn Simply Wavy Banners. I love that the wave is like one of the hillsides--just more visually interesting.


That's it for me today.  I hope you have a great rest of your week!

In the meantime, why don't you check out my other creations by visiting my blog, Frankie Helps Craft, my Instagram, or my Pinterest Board.

Products Used and Recommended Include:

Tuesday, January 21, 2020

Tuesday with Toni: MFT Let's Stick Together


Hello, everyone! I assume you've seen the January MFT release set Let's Stick Together?  It's so cute!  I especially love the cacti that have their "hair" done. Tee hee!

I made this into a combined birthday/Valentine card for a friend who has a February birthday. How timely!  Thanks for being born, Johnny! LOL.


My first step was to stamp out a bunch of the cute cacti and color them up with Copics. I hadn't chosen the base paper at that time so the matching was kismet.


I really wanted to use the MFT Fun & Frolic 6x6 paper but the cacti stack could hardly be seen because of those sassy stripes so I add a piece of thick vellum. I was able to tack the vellum down in hidden places except for the top right corner where I applied a small dot of glue after I spilled water on it and it warped. Remind me to be more careful when drinking water while crafting.


I did still want to feature that fun paper tho so used the LF Candy Hearts to cut out a couple to stick on top.

I embossed the sentiment on black and used Scor-Tape to adhere it. I love all of the layers and texture of this card yet still easily mailed. Woo hoo!


That's it for me today.  Have a great rest of your week!  In the meantime, be sure to check out the shop as there are lots of new products being released--yay!

If you'd like to check out my other creations, you can visit my blog, Frankie Helps Craft, my Instagram, or my Pinterest Board.

Products Used and Recommended Include:

Friday, January 17, 2020

Friday with Amy: Warm Winter Wishes | Honey Bee Stamps


Yay for Friday!  It's Amy and I have a winter card duo that features Honey Bee Stamps:


Looks like the Honey Bee Stamps Holiday Traditions 6x6 paper pad is out of stock.  This can be substituted with any of the many other 6x6 paper pads that are available in the shop!

Here's how I was inspired:


I decided to challenge myself and not use any copic markers on this project.  Not everyone uses markers on their projects so as a shout out to those people, this card set is for you!

The Honey Bee Stamps' Coffee Break set is perfect for paper piecing.  Their thick lines make it super easy to stamp images out and paper piece. 


Do you see the added hearts?  They're available in the Coffee Break honey cuts set.  I used one to finish off the 'i' in Winter and the other one in the middle of the to go cup's coffee sleeve.  The Winter Die Set is out of stock but you could easily use the stamp set and heat emboss it or even stamp and add glossy accents.


I added the hearts because these are going postal as caffeinated Valentine's Day cards!


The sentiments Warm + Wishes have both been heat embossed in white.


This design could also easily work for a general Winter card and a holiday card too.


Do you send out Valentine's Day cards?  I think it's a great way to catch up on people that didn't get a holiday card.


Thanks so much for stopping by!

Links to supplies used (and suggested substitues) are listed below:


Tuesday, January 14, 2020

Tuesday with Toni: MFT Kissing Booth


Hellllllo, everyone! I've been a bit under the weather but thankfully my mojo came back in time to play with the MFT Kissing Booth set when it landed in my mailbox this weekend.  Whew!

I really like the sentiments of this set as they increase the versatility a LOT.  I have two cards this week--a Valentine and a birthday card.


I made the birthday card a bit on the masculine side. I don't know about you, but masculine can be hard.  When I work one up, I generally stick to neutral colors and patterns. The Sunny Studio Subtle Grey Tones 6x6 paper is the perfect backdrop. Cute but not too cute (I know--as if).


I chose the more grey-toned Copics, except for that jazzy red and blush. Oh, darn, I just realized I forgot to blush up the bird.  I'll be sure to do that along with adding the Posca Paint Pen freckles before mailing. No, no, better do that now.  Done!


I was able to add some color and shine to the card using Doodlebug Design Lots of Love Enamel Hearts (love the tiny size!) as well as one of the Doodlebug Design Heart to Heart Enamel Hearts as a balloon.

Btw, did you notice the white enamel hearts?  Thank goodness for those. as I was coloring with R05, it blurped out and dripped to the left of the bear. The white heart covered that up nicely but didn't pull muck with the visual balance of the card!


Finally, I embossed the sentiment in red and cut it out with an MFT Skinny Strip.


Now the Valentine card is the polar opposite of masculine--LOL.  I used MFT Sweet Stack 6x6 papers and based my Copic colors off of them. So girlie girl!


Again, I used the Doodlebug Design Lots of Love Enamel Hearts on the banner. I also added a layer of Ranger Glossy Accents over the candy jar as glass.


That's it for me today.  Have a great rest of your week!  In the meantime, be sure to check out the shop as there are lots of new products being released--yay!

If you'd like to check out my other creations, you can visit my blog, Frankie Helps Craft, my Instagram, or my Pinterest Board.

Products Used and Recommended Include: