Wednesday, January 31, 2024

Clean and Simple Cards for Love and Friendship

A Beary Good Day stamp and die set from Mama Elephant has quickly become a current paper crafting favorite of mine.  Those sweet little bears are easy to color and so darn cute.  The set is perfect for Valentine, friendship, love, and get well.  Wouldn't this bear, with all those hearts, be a perfect get well card?

A Beary Good Day stamp and die from Mama Elephant

I've also been loving the clean and simple look lately.  Minimal supplies, quick clean up, and quick assembly is just what I need right now.

Here's how I quickly created these cards:

  •     Use a stencil, your favorite ink and a blending tool to blend a subtle pattern on white cardstock.  Then cut with a stitched rectangle die. 
  •     Die cut the word love several times and stack together for some added dimension.  I added a bit of ink on one of the words for some added interest.
  •     Color the stamped images with your favorite coloring medium [I used Copics]
  •     Assemble the card and add some adorable heart embellishments.

A Beary Good Day stamp and die from Mama Elephant

I hope you're inspired to create a card with these cute little bears or another image that you're loving right now.

Thanks so much for stopping by!

-Cathy

Links to products used or recommended are listed below: 

Tuesday, January 30, 2024

You are Sweet

 I mixed old and new on this project and love how it turned it out:

Lawn Fawn Scent With Love

Today I'm featuring:
  • Pretty Pink Posh - Sweet Chocolates | stamp
  • Pretty Pink Posh - Sweet Chocolates | stamp & die bundle
  • Pretty Pink Posh - Eyelet Hearts | die
  • Pretty Pink Posh - Pierced Hearts Cover Plate | die
  • Lawn Fawn - Scent with Love | stamp
  • Lawn Fawn - Scent with Love | die
  • Lawn Fawn - Scent with Love Add-On | stamp
  • Lawn Fawn - Scent with Love Add-On | die
Lawn Fawn Scent With Love

I'm always a happy crafter when I can mix old and new.  The Sweet sentiment has been heat embossed in white.

The copics I used:
  • RV52
  • YR20 | YR61
  • E13 | E23
  • N4 | N6
Lawn Fawn Scent With Love

Thanks so much for stopping by today!


Links to products used or recommended are listed below: 


Monday, January 29, 2024

Valentine Train with Stenciled Background

Choo! Choo! We're boarding the sweetest train you'll ever see on the blog today. This is Amanda from Twiddler's Nook. It's mix it up Monday and I'm excited to share my ideas for today's post.

Pretty Pink Posh Valentine Train

I was recently playing with the newest Pretty Pink Posh release, coloring this adorable Valentine Train set and brainstorming what I could add to the empty train car. I love that it's included in the set because it immediately makes this a set for all occasions. Today I was happy to keep with the valentine theme and pull in some adorable Mama Elephant Little Agenda Bears to the mix.

Pretty Pink Posh Valentine Train

I used the coordinating dies to cut everything out and liquid glue to assemble it all. Then I inked up the new Pretty Pink Posh Half Hearts stencil using Lawn Fawn ballet slippers ink. After the panel was inked, I splattered it with watercolor paints and let it dry.

Pretty Pink Posh Valentine Train

For assembly, I glued the panel to a white card base and added the train track to the bottom. Then I added the train with foam squares and the puffs of smoke with liquid glue. Last, I popped up my couple of bears in the sky with foam squares too. I placed the card in my MISTI and stamped a sentiment from Pretty Pink Posh Sentiment Strips | Valentine in a light gray ink.

Pretty Pink Posh Valentine Train

For finishing touches I added black glaze pen to the bears eyes and noses and glossy accents to things like random hearts and train wheels. Not too much but a little shine here and there to go with the shimmer in the watercolor.
 
I appreciate you sharing your time with me. Have a fabulous day!

Links to products used or recommended are listed below: 
 

Thursday, January 25, 2024

A Card for a Sweet Friend

Today I'm sharing a card using Mama Elephant's Beary Good Day.  The images on this set are adorable and can be used for so many occasions.  This card is for a sweet friend.

mama elephant beary good day stamp and die

The images are colored with Copic markers and die cut with the coordinating dies.  As usual, I cut some extra pieces and layered them behind the images for some added dimension.  

mama elephant beary good day stamp and die

I die cut a stitched rectangle and then blended on some Peacock Feathers Distress Ink so it would sit behind the bear.  My sentiment is, unfortunately from a stamp set this in no longer stocked.  But I did find another set that is very similar if you're wanting to add it to your collection.  It's linked below in the supply list.

mama elephant beary good day stamp and die

I was tempted to add some gems or Sparkle Glaze to the flowers, but ultimately decided to keep it simple.

Thanks so much for stopping by.  I hope you're inspired.

-Cathy

Links to products used or recommended are listed below: 

Wednesday, January 24, 2024

Budget Friendly, Quick and Easy Cards

Today I have two cards to share.  I have a budget friendly friendship card and a stepped up version of that card with a Valentine message.  Sometimes stamps and dies are sold and titled with a Valentine message.  However, so many of these sets can be used for friendship, love, and other occasions.

Lawn Fawn Cutie Pie

This card came together so quick.  I stamped and colored the pie image from the Cutie Pie stamp set from Lawn Fawn.  I cut the image with the coordinating die and stacked and glued it together with additional layers cut from the same die.  This gives it the dimension I love on my cards.

Lawn Fawn Cutie Pie

To finish the card I used my blending brush to add a touch of Nectar ink from Concord and 9th to the front of my folded card.  I stamped the sentiment, added the cute pie and some embellishments.  All done.

For the second card I followed the same steps only I added the ink and sentiment to a die cut rectangle panel in the center of the card.   This time I used Sea Glass ink from Concord and 9th.

Lawn Fawn Cutie Pie

I used the Valentine Words stencil from Pretty Pink Posh to add some color to the front panel of my folded note card.  Then I assembled the card. This card was quick and easy as well, but included a few additional steps.

Lawn Fawn Cutie Pie

Thanks so much for stopping by.  I hope you're inspired to look at your Valentine stamps in a different way.

-Cathy

Links to products used or recommended are listed below:  

I forgot to link up the Sentiment Strips Valentine's Day that I used for part of the sentiments.

Tuesday, January 23, 2024

You're Waffle-y Cute!

To be able to combine my love of food and puns makes me a happy crafter.  My friend and former teamie, Mayra inspired today's project:


Lawn Fawn Heart Pouch Die

Today's project features:

  • Lawn Fawn - Heart Pouch | lawn cuts
  • Lawn Fawn - A Waffle Lot | stamp
  • Pretty Pink Posh - Fruit Mug Additions | dies
  • Pretty Pink Posh - Sentiment Strips | dies
  • Pretty Pink Posh - Heart Lattice | layered stencil 2 pk

Lawn Fawn Heart Pouch Die


I used the Heart Lattice to transform the Heart Pouch into a waffle.  I used the following inks with the Waffle Flower 6x6 Grip Mat:

  • Concord & 9th - Dragonfruit
  • Distress Oxide - Tea Dye

The strawberries are from the Pretty Pink Posh - Fruit Mug Addition.  I used bronze glitter paper that I had in my stash.

I love to give/send the kids treats for various holidays.  This will be so cute tucked away in a Happy Mail Box.


Lawn Fawn Heart Pouch Die

Thanks so much for stopping by!
 
Links to products used or recommended are listed below:  

Monday, January 22, 2024

Simplified Birthday Card Designs

Hey friends, this is Amanda from Twiddler's Nook. We had another birthday in our family and I'm excited to be able to share the card I made to celebrate the occasion. I'm fairly obsessed with the detail this embossing folder gives and I think it's such a fabulous backdrop for birthdays and big celebrations, I am reaching for it over and over again!

Mama Elephant Little Line Agenda and Spellbinders Floating Balloons

Today I embossed a panel and then ink blended over the embossing so the ink really grabbed the highs and skipped the lows of the images. I chose Lawn Fawn peach fuzz and butter inks for my background, then splattered it with blue metallic watercolor.

Mama Elephant Little Line Agenda and Spellbinders Floating Balloons

I chose the Mama Elephant Little Line Agenda stamps for my images. I colored those with copic markers and used the coordinating die to cut it out. Then I used the Mama Elephant Easy Sentiments stamps and coordinating die for my sentiment strip.

 
Mama Elephant Little Line Agenda and Spellbinders Floating Balloons

Now that I have all my elements, I trimmed the embossed panel down to 4x5.25 inches and popped it up on a white card base. Then I popped the line image and sentiment strip up as well. I finished everything off with glossy accents on the critter noses and the bubble balls in front of all the gifts.

This is a really simple design that would be fun and great to recreate for the masses as a gift or to have cards on hand.
 

I appreciate you sharing your time with me. Have a fabulous day!
 
Links to products used or recommended are listed below: 

Thursday, January 18, 2024

Budget Friendly Valentine's Day [or Birthday] Card

Today I've been inspired to create a card with minimal or budget friendly supplies.  Most paper crafters have ink and paper readily available.  So, I chose an inexpensive stamp with the coordinating die, and an affordable word die.

Here's what I created.  It's a cute birthday card for my husband, but it can also  be used for a Valentine's Day card.

Lawn Fawn Stud Puffin

I love getting all my supplies out and making a huge mess creating.  However, sometimes it's nice to create with minimal supplies....and the mess is so much easier to clean up.

I started by stamping and coloring those adorable puffins from the Stud Puffin stamp set. I used my Copic markers to color them and then cut them out with the coordinating die.  As always, I cut several additional pieces from white cardstock, gluing them together and stacking them up for more dimension.

I repeated the process for the Scripty Love die using red cardstock for the top layer.

Lawn Fawn Stud Puffin
 

To finish the card I used my blending tool to add some Peacock Feathers Distress Ink to the center of a rectangle I cut.  I wanted this piece to be slightly smaller than my A2 card front.  This can easily be done with a die or by simply cutting it on your paper cutter.

I stamped my sentiment and added the puffins and the word love.  Then secured everything to the front of my folded note card.

Lawn Fawn Stud Puffin

Thanks so much for stopping by and taking a look.  I hope you're inspired to create today.

-Cathy


Links to products used or recommended are listed below: 

Wednesday, January 17, 2024

Love You So Valentine

Today's inspiration can be a Valentine card, or it can be just because....I love you so.  I recently colored several of the owl images from the Owl Are You stamps set from Mama Elephant with my Copic Markers.  They are so darn cute!

I decided this one fit perfect a top the Love You So die from Concord & 9th's Just Saying set.

Mama Elephant Owl Are You  stamp and die set


I cut a small rectangular mat and applied a light amount of soft green ink for a background.  I used some low tack tape to mask off about a 1/4 inch along the edges and used my blending brush to apply the ink.  After applying the ink, I removed the tape to reveal a small white border.

I used the Fancy Lattice die for the background adhering it to the folded base of my card.  I also cut several of the Love You So sentiment and stacked them together for some extra dimension. Then I assembled the rest of the card.

I finished the card with some glitter glue on those tiny hearts.

Thanks so much for stopping by the blog.  I hope I've inspired you to get creative today.

-Cathy


Links to products used or recommended are listed below: 

Tuesday, January 16, 2024

Don't forget!

I love a good die set and there are tons of them out there.  I'm no die cutting diva, you know, those crafters that have so much patience with teeny tiny pieces.  I absolutely appreciate their work but it never fails I lose die cut pieces. Here's how I was inspired today:

Concord and 9th Don't Forget Die

I had so much fun designing this one.  I'm gravitating away from coloring so this one makes me a happy crafter.  

Today I'm featuring:
  • Concord & 9th - Don't Forget | stamp & die
  • Concord & 9th - Double Stripe Card Front | die
  • Pretty Pink Posh - Simple Sentiments | stamp
Concord and 9th Don't Forget Die

I'm continuing with my love of  the pink & green color duo!  I actually ended up cutting 3 of the hands and adhered the different nail lengths. The nail that I used on this project is the medium length one.  

Concord and 9th Don't Forget Die

I trimmed down the height of the card down to 4.75 inches.  The stamped sentiment is by Pretty Pink Posh.  I use their Simple Sentiments set a lot.  

Thanks for stopping by.
 

Links to products used or recommended are listed below: 

Monday, January 15, 2024

From Me to You - Not Always Stitching with Stitching Dies

Welcome everyone. I'm so glad you're here. It's Amanda from Twiddler's Nook and it's Mix It Up Monday. Today we're playing with Spellbinders and Pretty Pink Posh today. I decided to NOT stitch on some glorious stitching dies to show you that you don't always have to, even if it feels like it.

I tend to be an all or nothing girl and when a die set comes with options, I feel like I need to use them all or I'm not doing something right. However, the stitching portion of this Spellbinders die set is optional...as in, it's a separate die, and today I didn't use it. What do you think?

Spellbinders Kaleidoscope Arch stamp and die

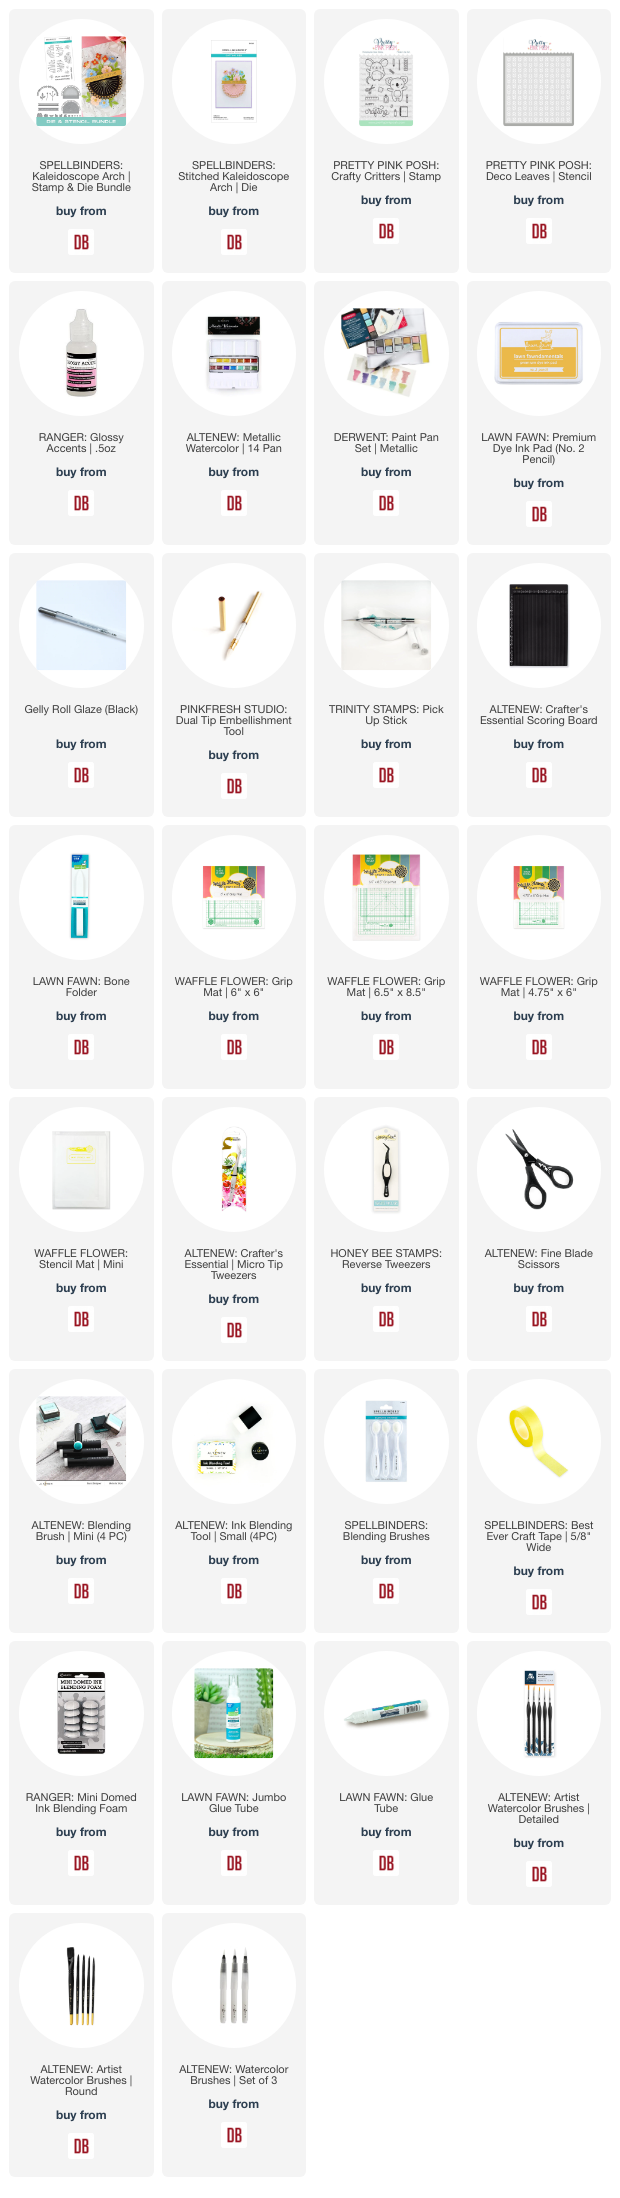
The Spellbinders die set in question is called Kaleidoscope Arch and it happens to have a coordinating stamp set too. Today, instead of cutting the stitching holes, I added some detail with tone-on-tone stamping using the floral image in the stamp set. I cut all the layers from yellow cardstocks in my stash and glued them together with liquid glue, including the sentiment banner. Then I popped the whole thing in my MISTI and stamped the floral image with yellow ink.

Spellbinders Kaleidoscope Arch stamp and die

Next, I chose orange cardstocks and a good green to die cut all of my floral pieces. These are also included in the Kaleidoscope Arch dies. I used gold metallic paper for the flower centers and adhered everything together with liquid glue. You all know I love my critters, so I went digging and found this sweet koala from Pretty Pink Posh Crafty Critters to color and die cut. When I was playing with placement for the florals and koala I thought it would be cut if he help a flower so I cut another one and glued everything in place...again, liquid glue. I really value that wiggle room time you get with that versus a tape runner that adheres immediately.

Spellbinders Kaleidoscope Arch stamp and die

For my background, I took a piece of white cardstock cut to 4x5.25 inches and layered the Pretty Pink Posh Deco Leaves stencil at an angle. I blended No. 2 Pencil ink with a blending brush, removed the stencil and added more of the same color focusing on the center and fading out. Then I splattered the panel with gold watercolor and let it dry.

Spellbinders Kaleidoscope Arch stamp and die

Okay, now that everything is dry we can layer everything together. I added foam tape to the stenciled panel and popped it up on a white card base. Then I added foam squares behind the koala and the flower he is holding but that's all. Everything else has layers behind so this little bit of foam keeps everything the same height. I removed foam release paper and added liquid glue to everything else and popped my focal image in the center of the card front.

For finishing touches I added Sakura black glaze pen to the koala's eyes and glossy accents to his nose. Isn't it the cutest!?!
 
I appreciate you sharing your time with me. Have a fabulous day!


Links to products used or recommended are listed below: 

Friday, January 12, 2024

Owl Are You Valentine?

I love making Valentine cards.  I challenge myself to create cards and use products that can be used for a Valentine, as well as other occasions.

Today I chose to use these sweet little owls.  Aren't they so cute?

Mama Elephant Owl Are You stamp and die set

I colored the images from the Owl Are You stamp set, created by Mama Elephant, with my Copic Markers.  After coloring these sweet images, I die cut them and stacked several additional die cuts behind them.  I really love the dimension this creates.

Mama Elephant Owl Are You stamp and die set

I used an ink blending tool and some Broken China Distress Ink to add just a light "glow" of ink to my die cut panel before adding my sweet owl and the sentiment.

Mama Elephant Owl Are You stamp and die set

The stitched rectangle was added to a die cut, pierced, background before adding it to my folded card base.

Mama Elephant Owl Are You stamp and die set

I added a few die cut hearts to finish the cards.

Thank you so much for stopping by.  I hope you're inspired to create something today.

Links to products used or recommended are listed below: