Hello everyone, happy Wednesday!! I am sharing this sweet fall-themed card using the adorable Fall Picnic stamp set from Avery Elle. I love the images in this set.

I started by coloring the images from the set, and the tree from the Mr. & Mrs. Claus stamp set using Copic markers. I also used the tree from the Peek-A-Boo Christmas Train stamp set.
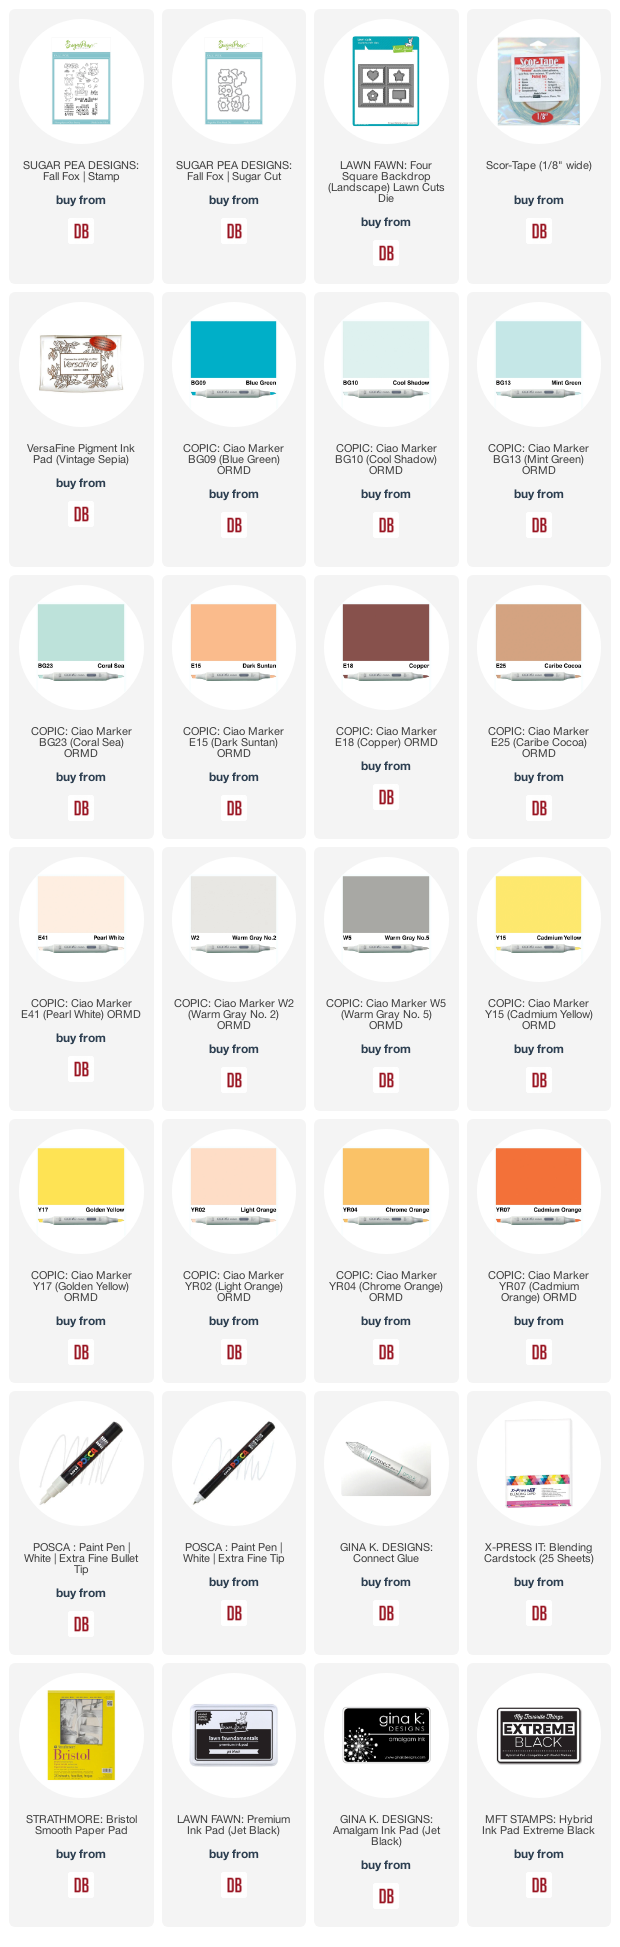
Copic Markers Used:

I then die-cut the base layer for the card using the Basic Rectangles Creative die. I also die-cut a frame using the two largest dies from the set. Next, I die-cut a grassy border using the grass border from the Mushroom Border die set, and the hill border using the hillside from the Slimline Simple Stitched Hillside Borders set. I added color to the grassy border using Lucky Clover Distress ink, and Noble Fir Lawn Fawn ink. For the ground area, I used Brushed Corduroy, Gathered Twigs, and Ground Espresso inks.

I then embossed the sentiment onto a strip of vellum using Versamark ink and white embossing powder.
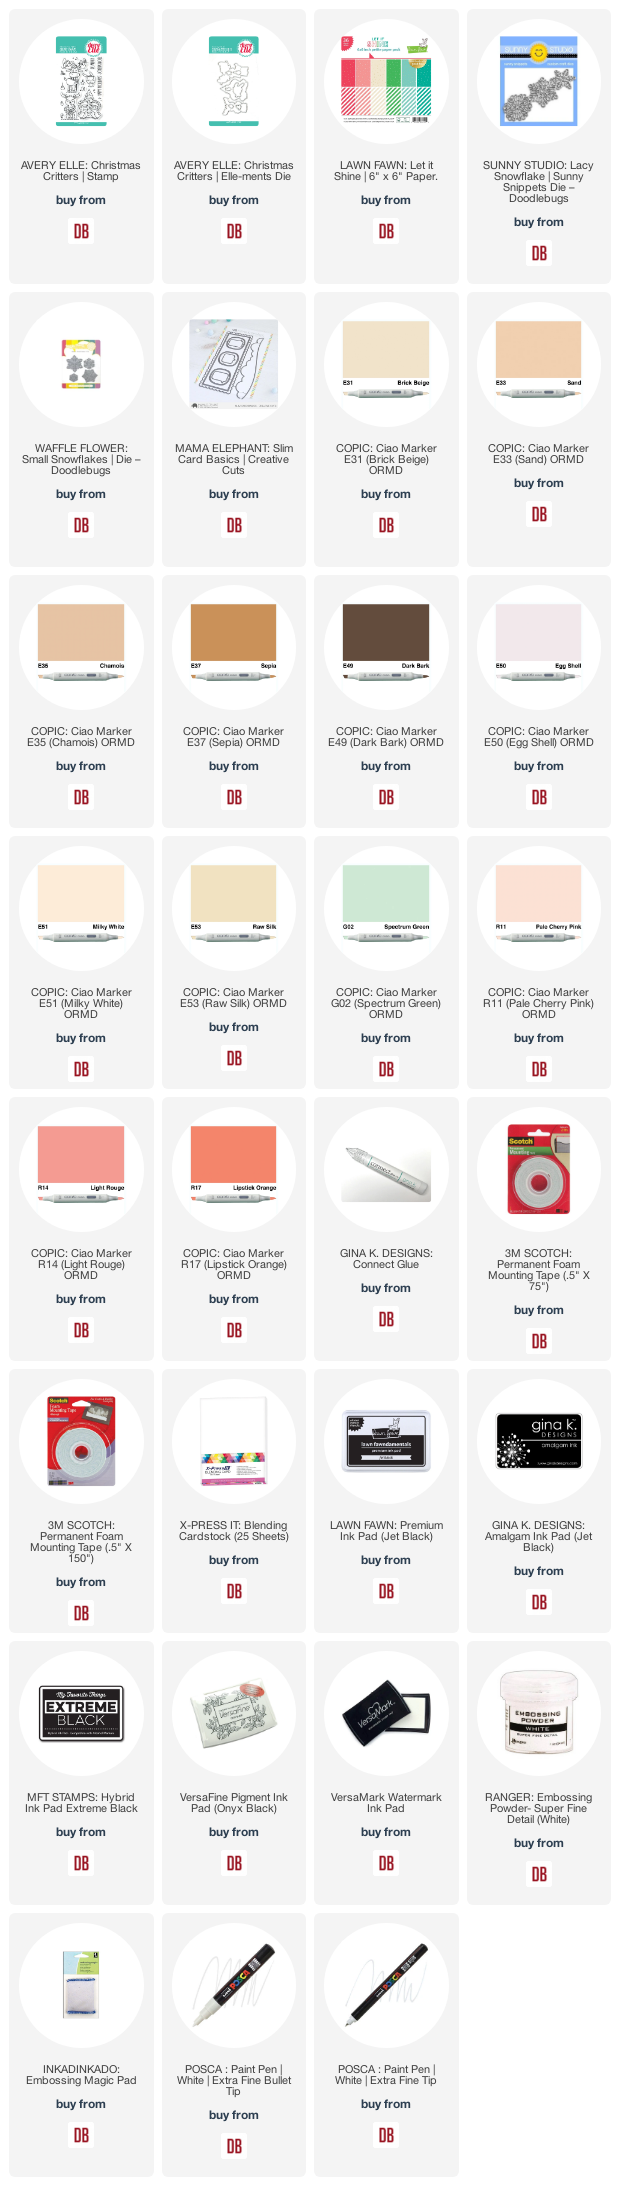
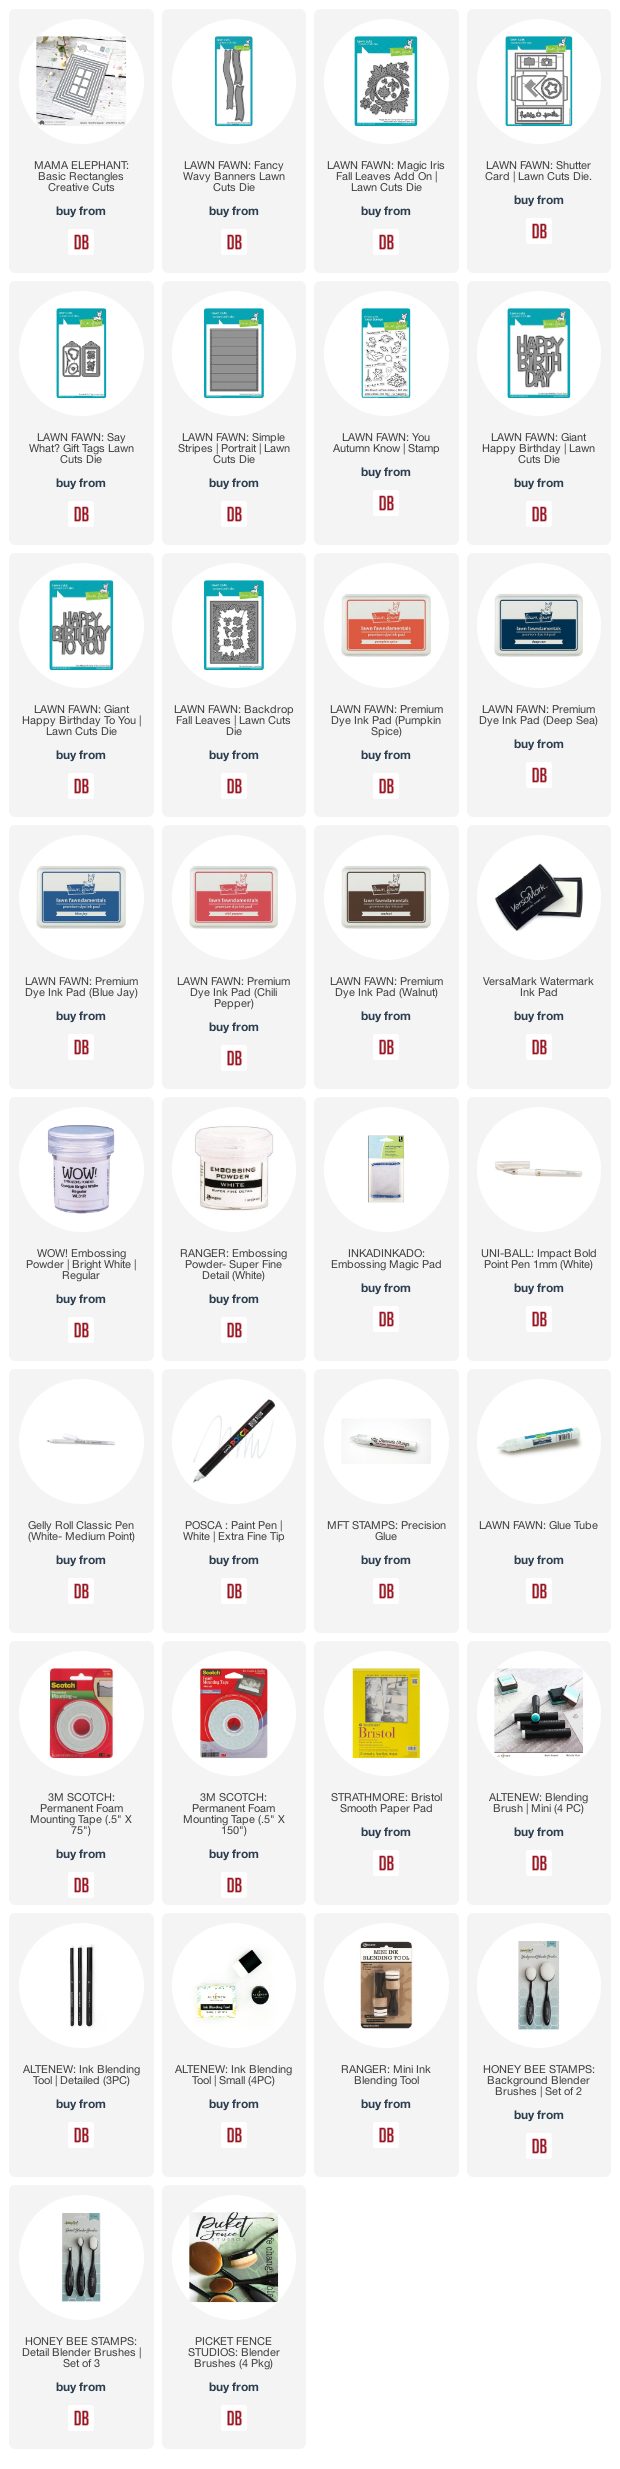
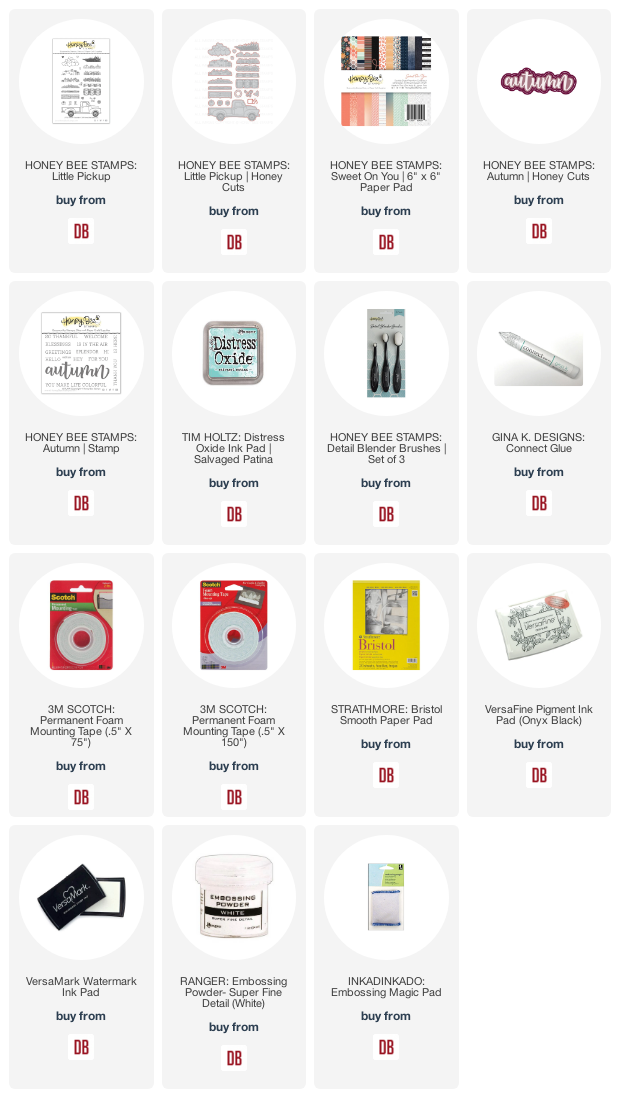
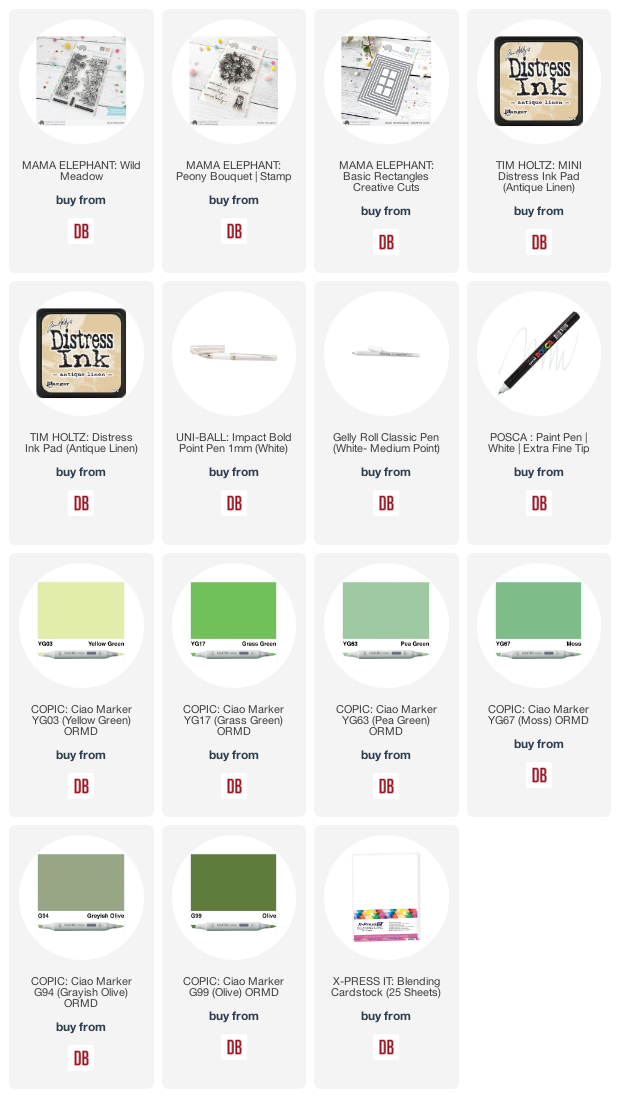
Links to products used and/or recommended are listed below: