Friday, December 30, 2022

New beginnings!

 Spellbinder Holiday Blooms PinkFresh Ornate Frame

Are you ready to countdown to midnight and a fresh start in the New Year?

I found some lovely items that paired together for just such a celebration!

Spellbinder Holiday Blooms PinkFresh Ornate Frame

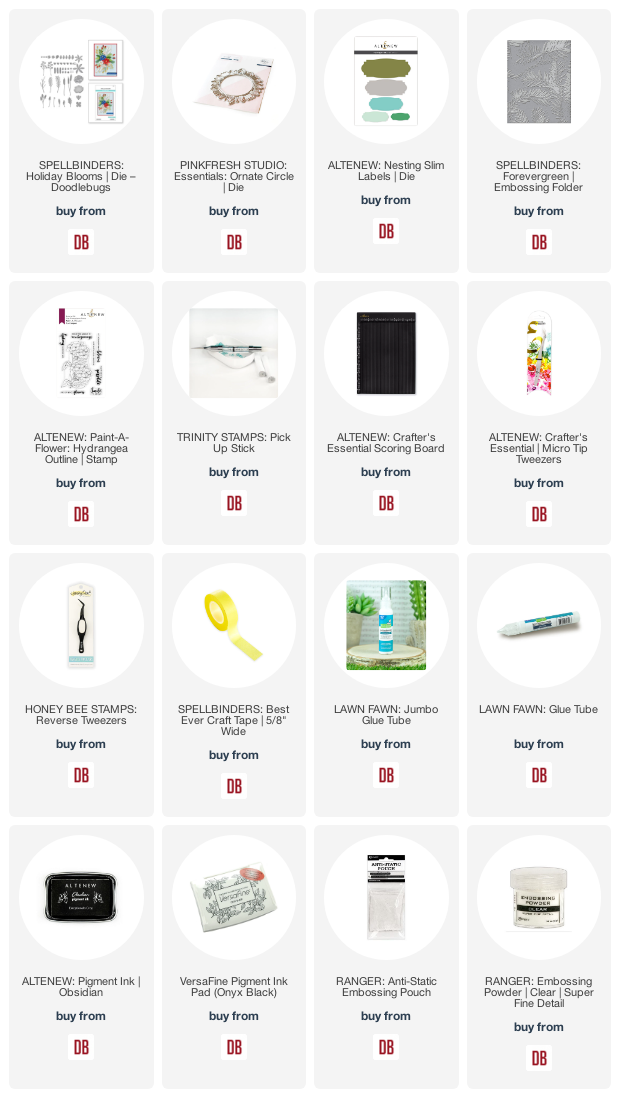
Let's start with the cover panel, shall we?  I had my eye on this Pinkfresh Ornate Circle for quite some time - so happy to finally make it my own.  Doesn't it make the greatest jumping off point for lots of the details?  

Speaking of details - check out how I added a bit of embossing to the center circle - yes, it does cut out from the frame.  Thanks, Cathy for adding that Spellbinder Forevergreen embossing folder to your shop - it is a favorite for sure!

I cut a few of the greenery and one more Poinsettia from Spellbinders' Holiday Blooms for my floral arrangement and found just what I wanted to say in the Altenew Paint-a-Flower: Hydrangea set.  Love when that happens!  I stamped my sentiment onto the smallest of the Slimline Labels in black, then clear embossed it.

Spellbinder Holiday Blooms PinkFresh Ornate Frame

I'm looking forward to the New Year and fresh starts - aren't you?!  
We are wishing you all good luck, good health and yes, some magic, too!

=] Michele

Links to products used or recommended are listed below: 
Wednesday, December 28, 2022

Valentine's Day-Themed Tags


Hello and happy Wednesday everyone. I am sharing these Valentine's Day-themed tags with you today. I used the cute Candy Hearts die set from Lawn Fawn. 


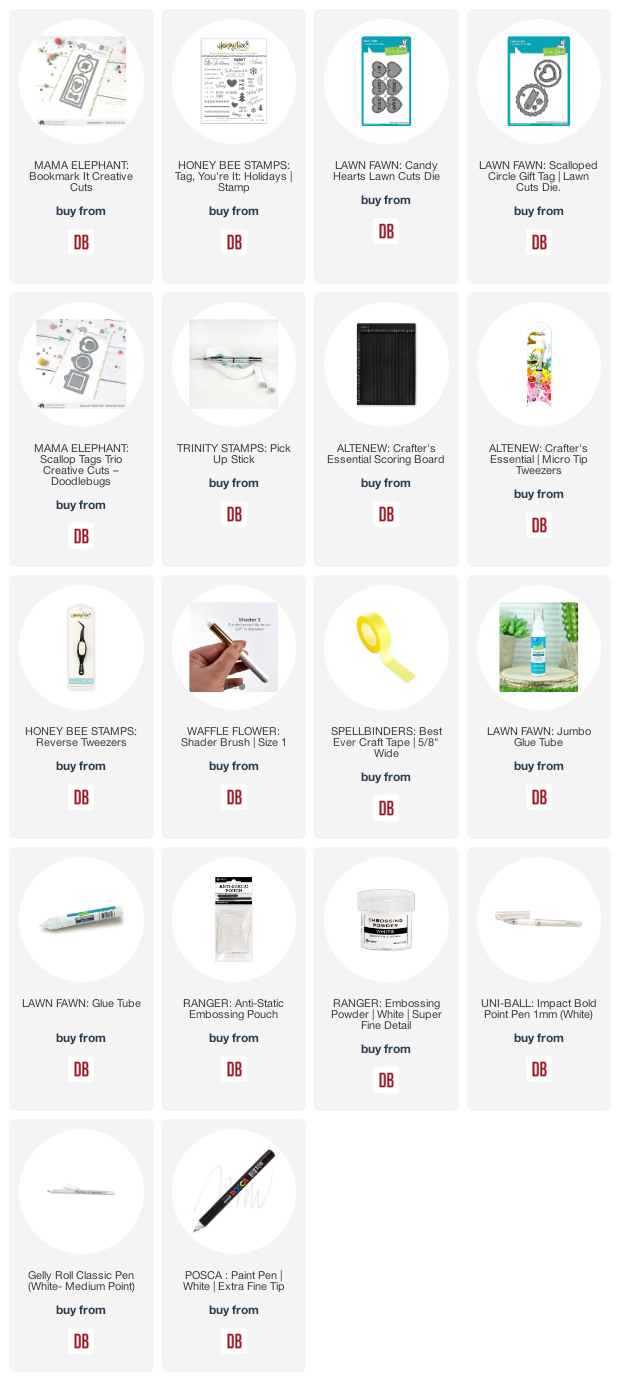
I began by using the Scalloped Circle Gift Tag die set to die-cut the scalloped circles for each of the tags. I then used the  Candy Hearts die to die-cut the hearts for the center of each tag.

Next, I used the small tag from the  Scalloped Circle Gift Tag die set to add the sentiment from the Tag, You're It: Holidays stamp set, you can use the Tag, You're It Celebrations stamp set.


I hope you enjoy these Valentine's Day-inspired tags I created to share with you today. Thank you so much for taking the time to stop by. I hope you each have a wonderful and blessed day. Please feel welcome to visit me on my blogIG or Pinterest.

Links to products used or recommended are listed below: 

Monday, December 26, 2022

Onward, Soldier!

 
Hi, everyone!  Toni here with you today sharing my last card as a design team member.  It's been three years, I think, and I've had a fabulous time creating projects to share with you. I'll miss you all!

I've put out a lot of holiday makes these past two months but I'm not tired of making them; 'tis the season, I guess. :)  


I used a variety of goodies I've picked up from the shop rather recently, including the Honey Bee Stamps Plaid A2 Hot Foil Plate and Spellbinders Essential Arches.

I used the SB Arches to create a layered tag to showcase those adorable Concord & 9th Winter Wonderland Stamps soldiers. 

For the background I used Spellbinders Black Glimmer Hot Foil which did rather well with the red cardstock I used considering it wasn't particularly smooth.  I used a Copic 100 to color in any missing bits and it looks just fine.


I'm sure I'll still see you around the Doodlebugs Community FB group or IG.

In the meantime, if you'd like to check out my other creations, you can visit my blog, Frankie Helps Craft, my Instagram, or my Pinterest Board.  Have a great rest of 2022!

Products Used and/or Recommended

Friday, December 23, 2022

Why, yes! There IS another Poinsettia!

We're counting down to Christmas day, my friends!  Hello there - it's me, Michele!  Those of you who know me well also know that I seldom pass on adding another new Poinsettia to my collection!  Oh, is she a beauty!  No messing around today - let's get to my card!

Here's how it came together:
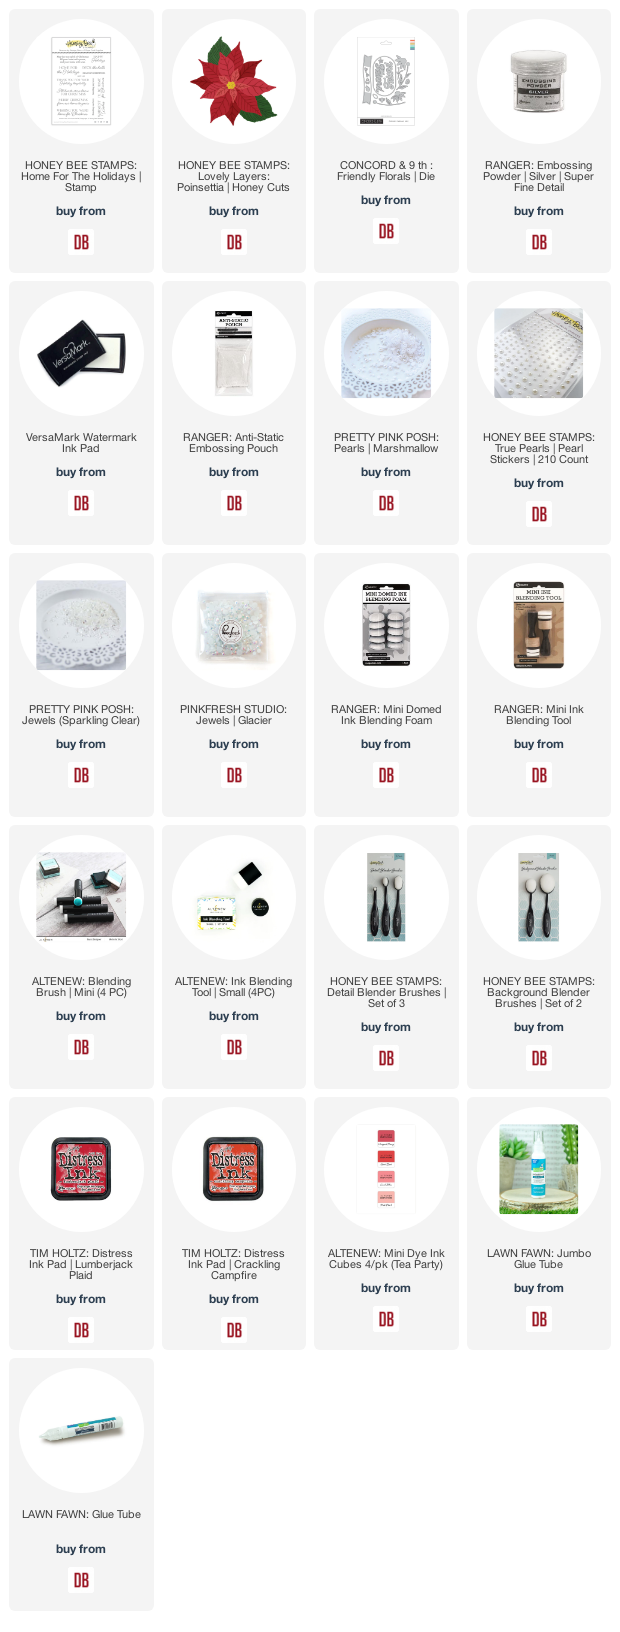
I cut all the layers of this Honey Bee Lovely Layers Poinsettia from 
white cardstock.  Blended some bright pink ink with a little extra on the edges and
nooks and crannies... the detail in this die is incredible!


I gave them all a good splattering of water-down gesso
then waited patiently for that to dry!


While waiting, I pulled out a piece of giftwrap that I'd hoarded saved for 
just the right card - this was the time! 


I partially dry-embossed this sweet little die-cut panel from the
Concord & 9th Friendly Florals set - scoring just above where I placed my silver heat embossed
wonderful sentiment - also HoneyBee - Home for the Holidays.
A few seed beads for the center and my work here is done - with pleasure!

May I take this opportunity to wish you all a Merry Christmas, and all the best in 2023!
Thanks so very much for your support this year!

<=] Michele

 
Links to products used or recommended are listed below:  
 

Wednesday, December 21, 2022

Snowflake-Shaped Tag Set...


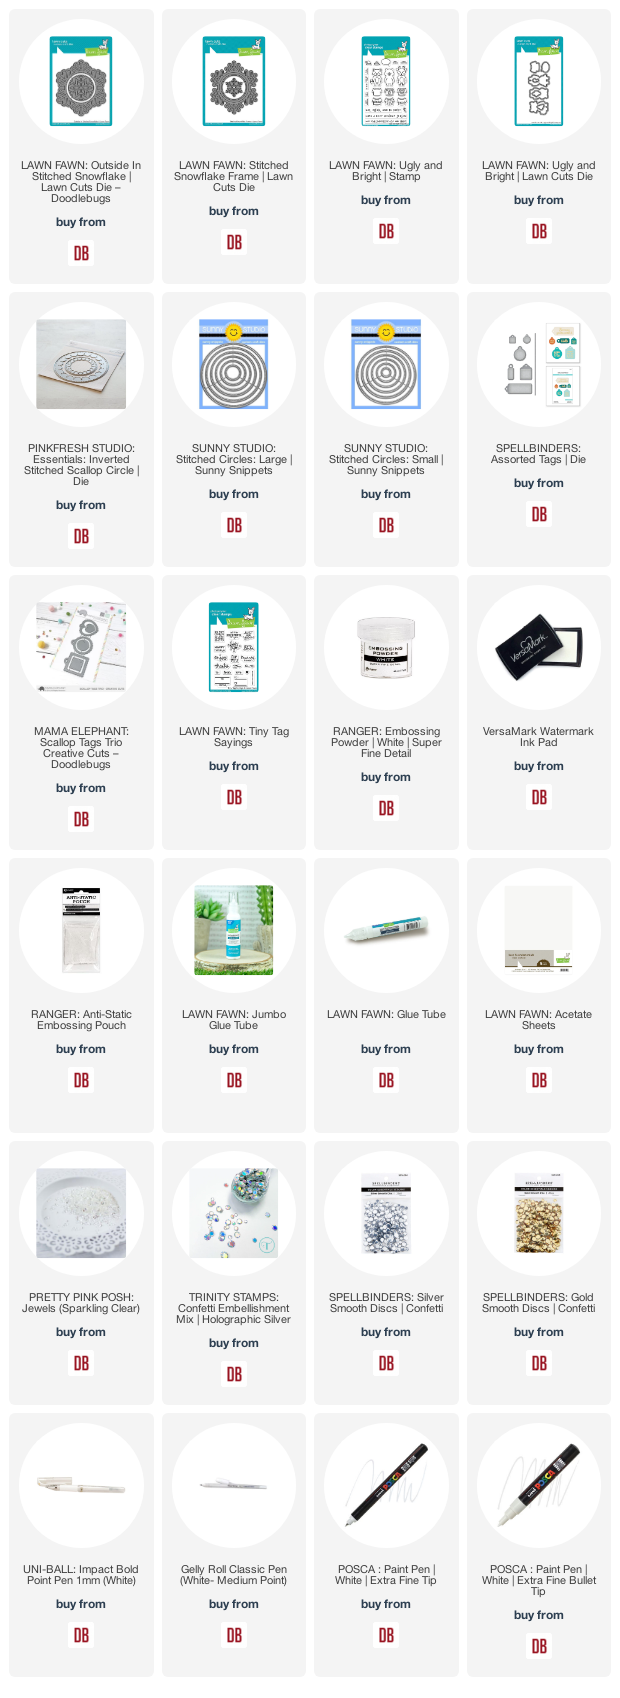
Hello and happy Wednesday everyone. I am sharing a fun set of snowflake-shaped tags with you today.


I began by die-cutting the snowflakes and layers to create the design for each of the tags. I used the Inverted Scallop Circle die set to create the frame for each of the reindeer from the Ugly Sweater stamp set. I colored the images using Copic markers. 
Brown: E50, E31, E55, E35, E59
Black:W3 , W5, W7, N8
Pink: E93


I then used the Assorted Tags die set to die-cut the smaller tags. I die-cut two layers of each color along with the stitched circle that fit the tag using the Stitched Circles Small die set. 

I then stamped the sentiment from the Tiny Tag Sayings stamp set onto each of the small die-cut circles. I hope you enjoy this tag set I created to share with you today. Thank you for taking the time to stop by. I hope you each have a wonderful and blessed day. 

Please feel welcome to visit me on my blogIG or Pinterest.

Links to products used or recommended are listed below: 

Monday, December 19, 2022

Interactive Gift Tags


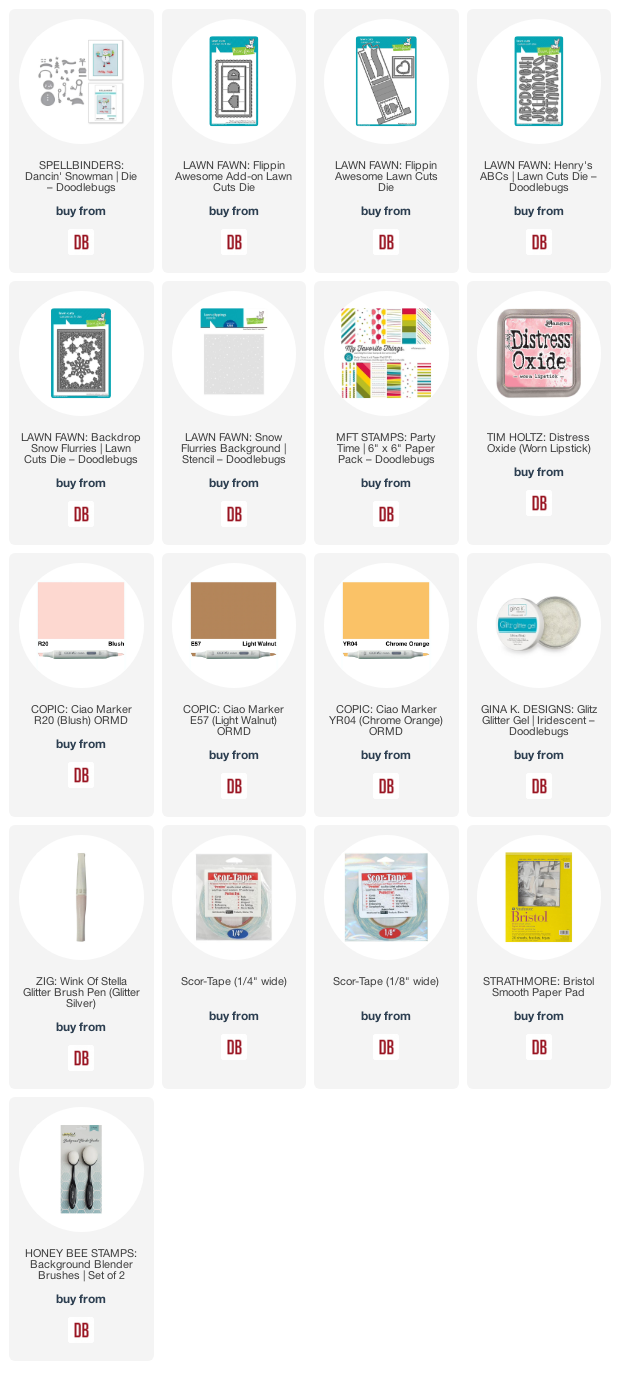
Hi, everyone!  Toni here with you today sharing a happy little interactive gift tag perfect for the holidays or a winter occasion.

I used the Lawn Fawn Flippin' Awesome Add-on as the tag, cutting it from MFT Party Time 6x6 Paper, and the Lawn Fawn Flippin' Awesome  pull tab to hold the twine.


I added a few Lawn Fawn Snow Flurries Backdrop snowflakes to that and layered a blue panel on top which I had cut from Flippin' Awesome, using the Lawn Fawn Snow Flurries Background Stencil to add glittery snow.

Next I assembled the Spellbinders Dancin' Snowman, sponging the elements with Distress Oxide Worn Lipstick, or coloring with Copics.  Isn't it adorable?  Like with the other Spellbinders Dancin' line, I do recommend doubling up on the swinging legs to add some weight.


I finished off the tag using Lawn Fawn Henry's ABCs cut from kraft cardstock in keeping with the brown paper I used to wrap the box. Nifty!  

I'll see you again soon.  If you'd like to check out my other creations in the meantime, you can visit my blog, Frankie Helps Craft, my Instagram, or my Pinterest Board.  Have a great rest of your day!

PRODUCTS USED AND/OR RECOMMENDED

Friday, December 16, 2022

A million and one Thanks!


The cards are made and sent.  My little 'closet tree' is out of the closet [stays decorated all year long] Fritz and Friend are on the front porch - I'll try to remember to share a photo.   Time to say thank you to all my wonderful friends who send me cards, and those who stop by each week to leave me encouragement and love on my posts at I Card Everyone and here at the Doodlebugs blog.  I appreciate it, so very much! so, THANKS A MILLION sweet friends!

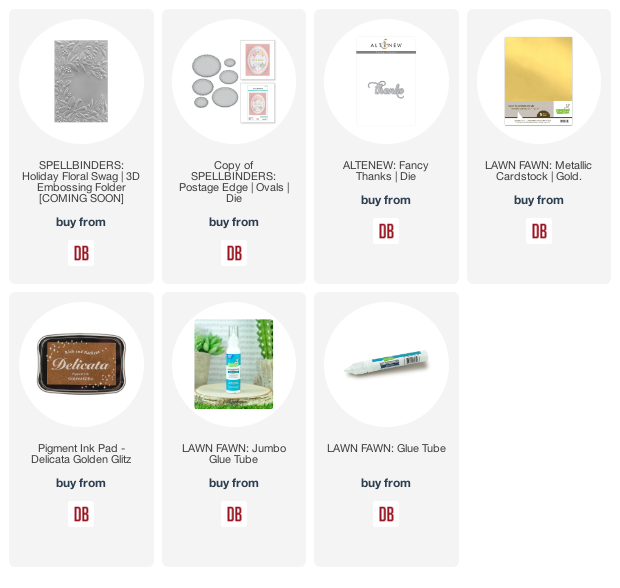
Here is how I used my newest embossing folder from Spellbinders:
Holiday Floral Swag...

First, I emboss a half-sheet of cardstock to get the full story -


Then I use an A2 panel to see what other options I have:


A light bulb moment when I decide to use a Spellbinder Postage Edge die to cut an oval instead:


... and create a card base using the same die ...


... mount the embossed oval and add some glam with Foundry Wax* [from the friend who will actually GET this card] and a 
Fancy Thanks from Altenew!


By snipping a bit of the oval off of the back panel, it
will stand on its own - pretty cool, right?

Thanks a million, and one times!
=] Michele

Here's Fritz and his little Friend! No. I did NOT make him!


Links to products used or recommended are listed below:  

Wednesday, December 14, 2022

Polar Bear-Themed Tags...

Hello and happy Wednesday everyone. I am sharing these polar bear-themed tags with you today. I used the cute Boba Shaker Combo die set from Mama Elephant.


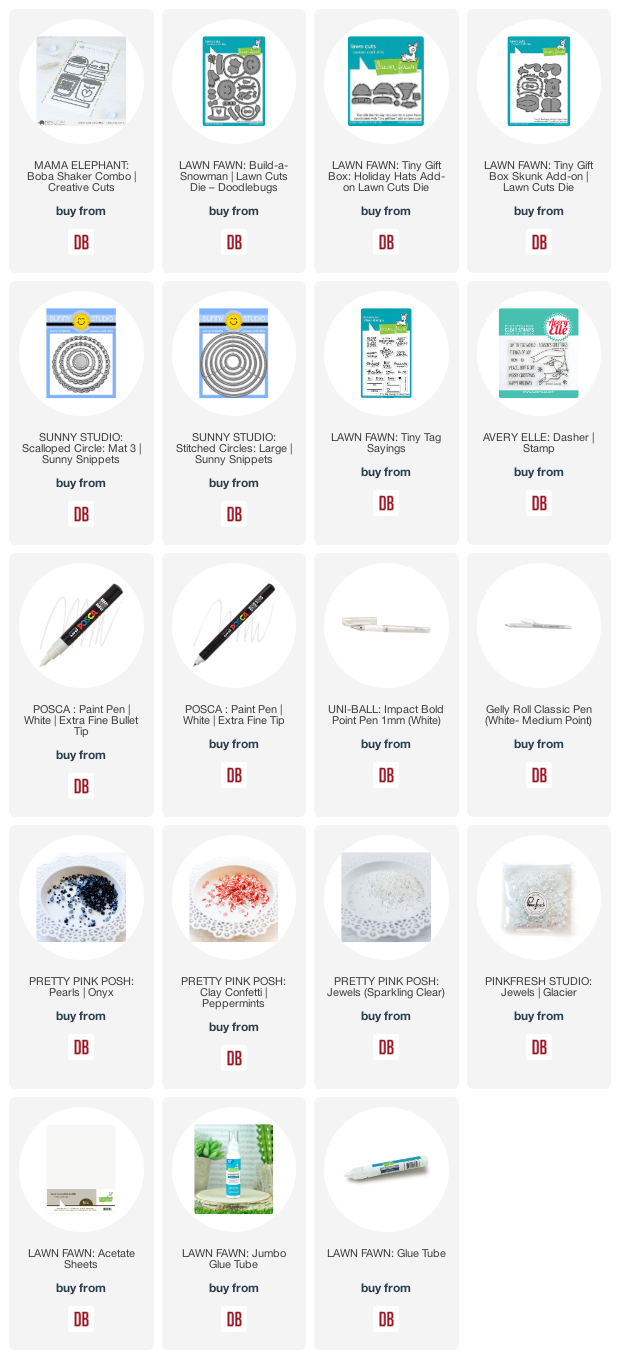
I began by die cutting the layers to create the two tags. I also used the scarf and bow from the Build-A-Snowman die set and the hat from the Tiny Gift Box Holiday Hats Add-on die set. The nose,mouth and cheeks are from the Tiny Gift Box Skunk Add-on die set. 


Next, I used the Scalloped Circle Mat 3 die set and the Stitched Circles Large die-set to create the smaller tags. I then stamped the 'to' and 'from' using the Tiny Tag Sayings and Dasher stamp sets. 


I hope you enjoy the tag set I created to share with you today. Thank you very much for taking the time to stop by. I hope you each have a wonderful and blessed day. 

 Please feel welcome to visit me on my blogIG or Pinterest.

Links to products used or recommended are listed below: 

Monday, December 12, 2022

Using Tags to Support Focal Elements


Hi, everyone!  Toni here with you today sharing a card that uses tags as a background for the focal point sentiment and poinsettias.

I used the Spellbinders Scenic Poinsettias Embossing Folder to create a slimline panel which I then lightly sponged with Distress Oxide Bundled Sage, Worn Lipstick, Vintage Photo, and Evergreen Bough. I used Copic Y15 to color the stamens.


I then cut out the tags, using one to hot foil in gold the Spellbinders Christmas Mailbox Greetings.  On the others I added Waffle Flower Layered Poinsettias sponged with DO Worn Lipstick.  

I used the greenery from the Waffle Flower Layered Winter Bird dies cut in gold (swoon) in keeping with the gold foil used for the sentiment and the Pinkfresh Studio Gold Metallic Pearls.


I'll see you again soon.  If you'd like to check out my other creations in the meantime, you can visit my blog, Frankie Helps Craft, my Instagram, or my Pinterest Board.  Have a great rest of your day!

PRODUCTS USED AND/OR RECOMMENDED

Friday, December 9, 2022

Spellbinders SEW much fun!

My friends, I have such a fun duo of cards for you today! Am I the last person in our community to jump onto the stitching wagon??  Perhaps so!  But [thanks to a sweet friend] I had all the supplies I needed to complete my first ever stitched card!
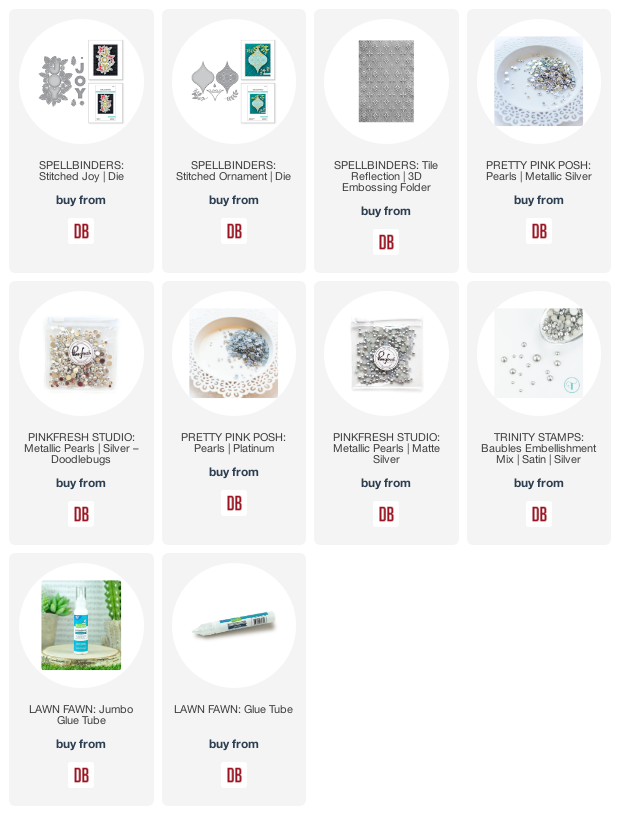


You might just know by now that JOY is a favorite word of the Season!  this is Stitched Joy - Isn't she lovely??  

I couldn't wait to try another - here is 
Spellbinders Stitched Ornament in navy and red, topped off with a few metallic pearls, and hung in front of this gorgeous panel embossed with the Spellbinder Tile Reflection embossing folder.


Even if you've already ticked off all of your 2022
holiday cards - there's always 2023!!
thanks for dropping in!
=] Michele

Links to products used or recommended are listed below:   

Wednesday, December 7, 2022

CAS Set of Christmas Tags...

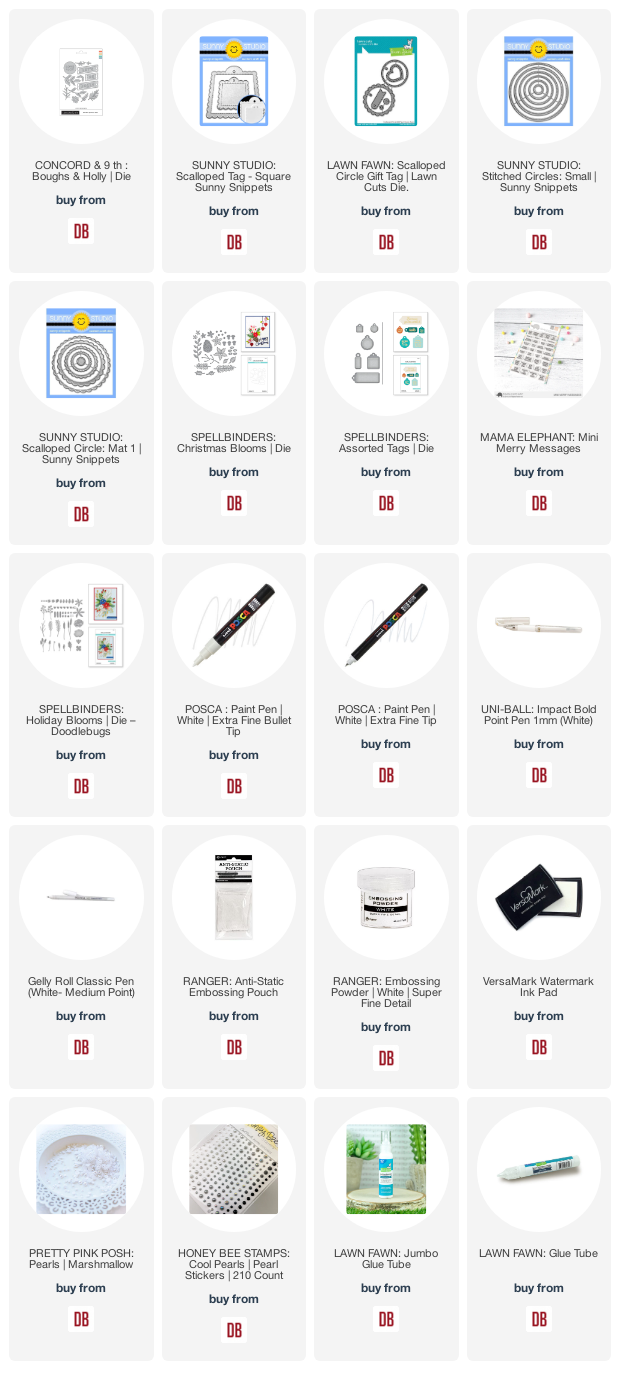
 Hello and happy Wednesday everyone. I am sharing this set of tags with you today using the lovely Boughs & Holly die set from Concord & 9th. 


I began by using the Scalloped Tag-Square Sunny Snippets die to die-cut the large and small tags. Next, I used the Scalloped Circle Gift die along with the Stitched Circles Small die set and the Scalloped Circle Mat 1 die set to create the scalloped circles for each of the tags. 


I then used the Christmas Blooms die set to die-cut the poinsettias for each tag. Next, I used the Assorted Tags die set to die-cut the small tag for the larger tag. I then heat embossed the sentiment from the Mini Merry Messages stamp set onto the small tag. 


I hope you enjoy this tag set I created to share with you today. Thank you so much for taking the time to stop by. I hope you each have a wonderful and blessed day. Please feel welcome to visit me on my blogIG or Pinterest.

Links to products used or recommended are listed below:  

Tuesday, December 6, 2022

Concord & 9th Layering Stencils


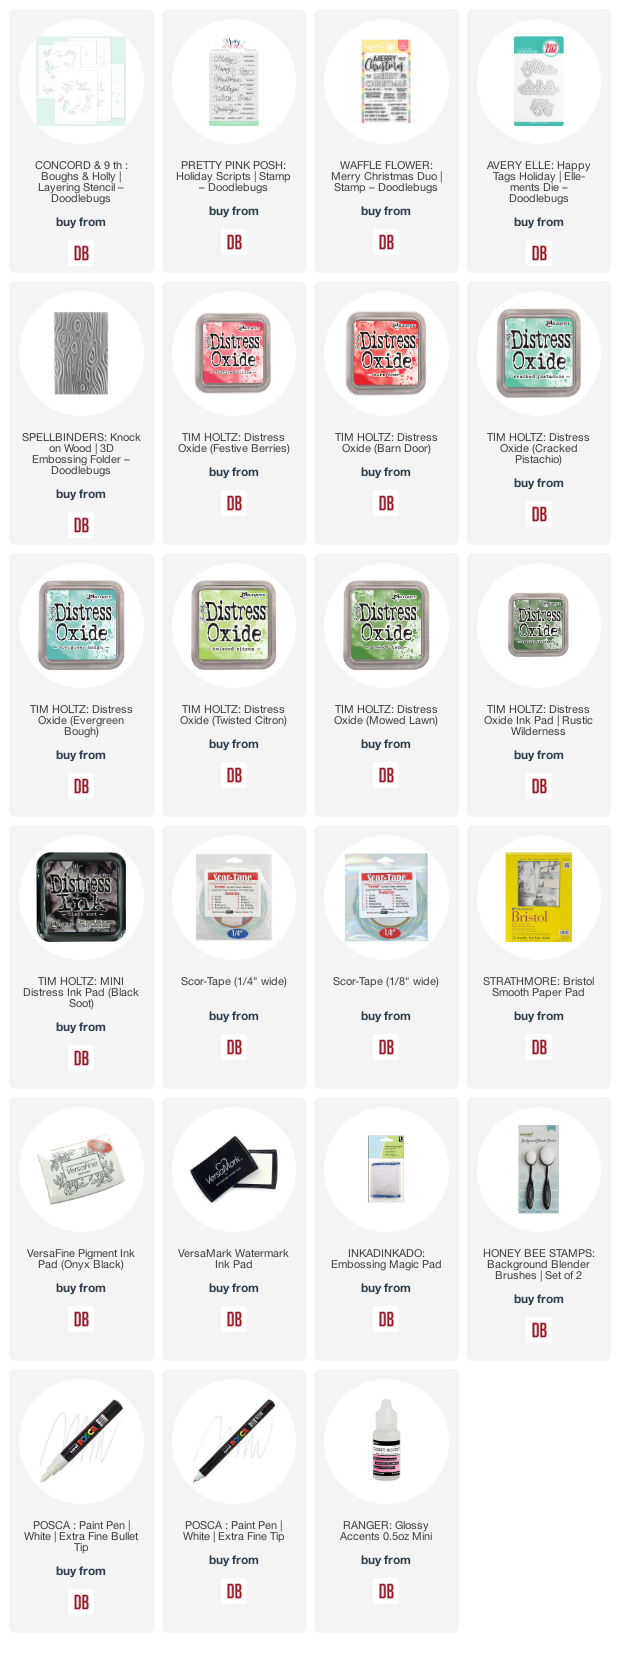
Hi, everyone!  Toni here with you today sharing a color experiment using  Concord & 9th Boughs & Holly Layering Stencils.

I tend to like bright colors so went with these for the first card:  Distress Oxide Mowed Lawn, Twisted Citron, Cracked Pistachio, Festive Berries and Barn Door.  I really like the results, especially on the Spellbinders Knock on Wood Embossing Folder with the Avery Elle Happy Tags Holiday joy nested in the middle.


However, for the next round I went a bit bolder, switching out the Twisted Citron for Rustic Wilderness and some of the Mowed Lawn with Everegreen Bough.  At first I used Rustic Wilderness for the last stencil layer, the leaf veins. With the darker colors I had used overall it just didn't pop so I decided I had nothing to lose trying Black Soot. Wow!


Talk about statement! I used this combo for the remaining cards as well, mixing up the designs by embellishing with Glossy Accents or adding different sentiments like Waffle Flower Merry Christmas Duo on an oval diecut and Pretty Pink Posh Holiday Scripts for a one layer card.


I'll see you again soon.  If you'd like to check out my other creations in the meantime, you can visit my blog, Frankie Helps Craft, my Instagram, or my Pinterest Board.  Have a great rest of your day!

PRODUCTS USED AND/OR RECOMMENDED