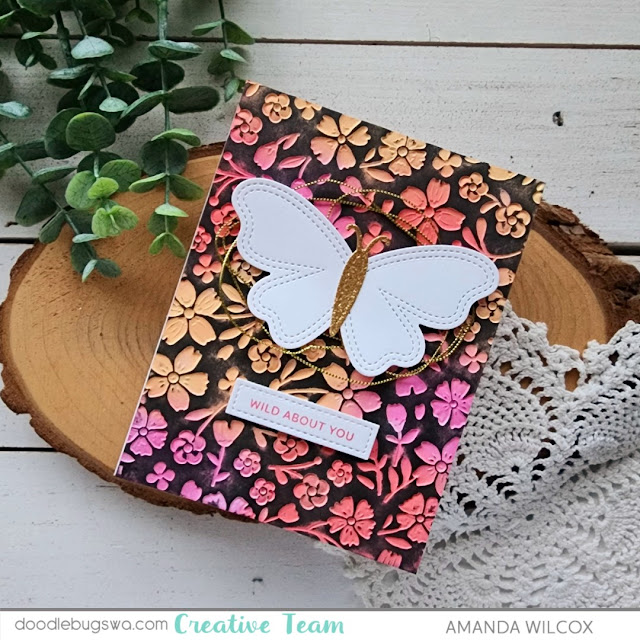
Hey friends! This is Amanda from Twiddler's Nook. Today I'm playing with reverse embossed backgrounds today and LOVING the outcome! It's simple to do but looks complex which makes it all that much cooler!
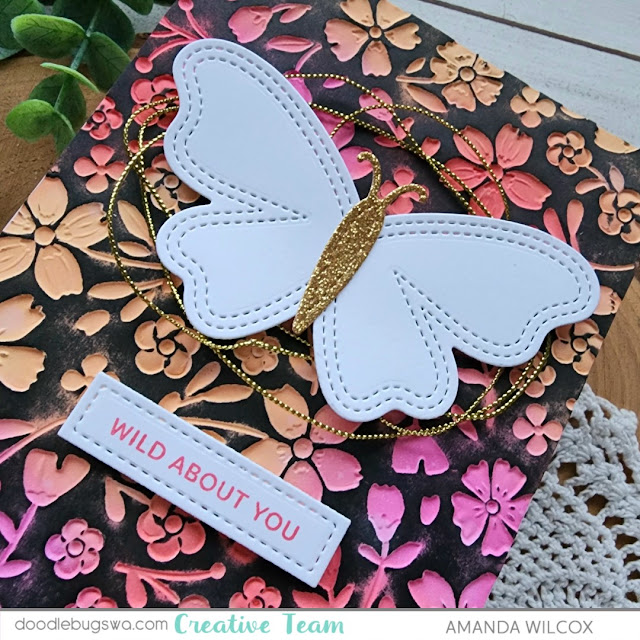
I started with a piece of white cardstock and ink blende it randomly with distress oxide inks. Today I chose picked raspberry, abandoned coral and wild honey for my colors. There was very little blending involved, mostly just getting color coverage on the panel. Then I put the panel in my Spellbinders Flower Frenzy embossing folder with the color side touching the protruding flowers. This way the flowers are inset into the panel instead of popping up.
After running that through my die cut machine, I inked up my brayer roller with black ink and carefully rolled ink over the panel. As long as you don't push your embossing flat with the roller, the ink will stick to the top of the panel and not go in the flower indents.
I glued the panel to a white card base and pulled out the Pretty Pink Posh Stitched Butterflies dies. I chose a simple one to cut from white cardstock with a gold glitter body. I used liquid glue to adhere the pieces, wrapped some gold thread behind the butterfly and popped it up with foam squares on my card front. Last, I chose a sentiment from the Pretty Pink Posh Sentiment Strips | Valentine stamps to ink up with Lawn Fawn guava ink on a sentiment strip, also from Pretty Pink Posh.
Isn't this technique so cool?!? I can't wait to try it with different color combos. Maybe even leaving the embossing white and rolling a color over the top. So many possibilities!
I appreciate you sharing your time with me. Have a fabulous day!
Links to products used or recommended are listed below:


No comments:
Post a Comment