

Hi, everyone! Toni here with you today sharing an underwater scene with a little chompy surprise courtesy of the Lawn Fawn Flippy Flappy interactive die set.
I encourage you to watch the Lawn Fawn video demonstrating how to use the dies. I found it most informative and really just a must-see in order to use them.
Step 1 for me was planning how I wanted to use the flippy flappy portion since I knew I didn't want to use a gift card. Once I settled on an underwater scene, I sponged the background with Distress Oxides and colored up my images with Copics.

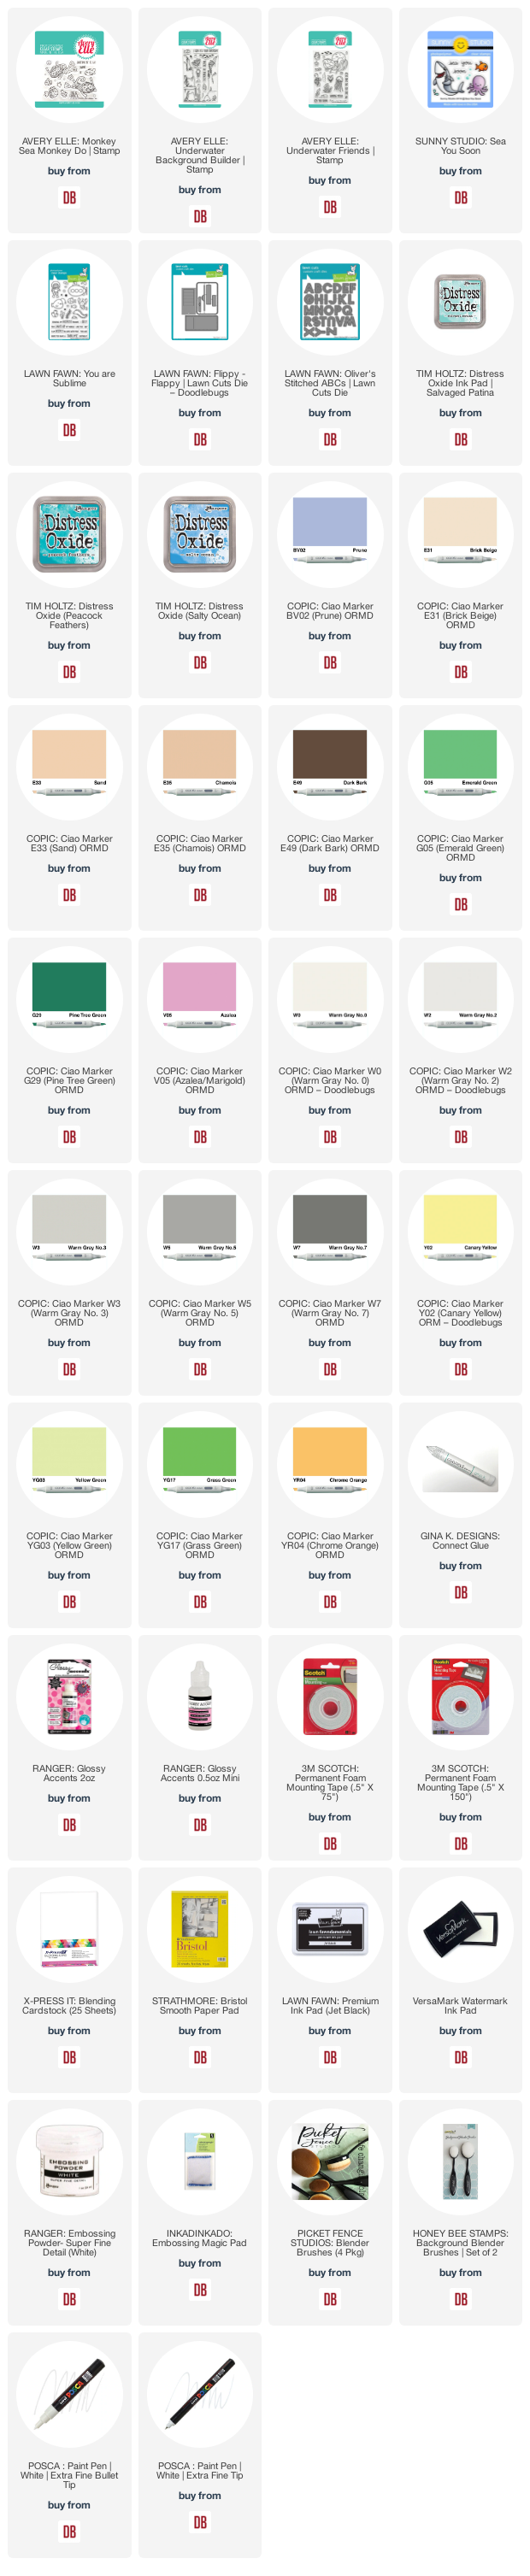
I used images from Sunny Studio Sea You Soon, Avery Elle Monkey Sea Monkey Do, Avery Elle Underwater Friends, Avery Elle Underwater Background Builder, and Lawn Fawn You Are Sublime.
How fantastic is it that the eel from Lawn Fawn You Are Sublime has a similar swoopy shape as the shark from Sunny Studio Sea You Soon. Notice how my scene looks complete with either the eel or shark visible.

Now let's talk about the shark. One of the examples demonstrated in the LF video uses acetate (in such a cute and clever way!!). What I discovered is that the acetate portion tended to stick up off the card by quite a bit since it didn't have the weight a gift card has.
I got around the weight issue by adding a penny and some scraps from the magnetic sheets I use to store my dies to the back of the shark. I found that a penny and dime worked really well but the dime was visible around the shark's head so magnetic sheets saved the day. I cut out another shark and added it to the back of the colored one to hide the weights.

With the added weight, when the tab is pulled the shark pops out and lays nicely on the card front.(Btw, I did test a gift card which worked perfectly as is with the Flippy Flappy.)
The thickness of the shark piece has no problem sliding in and out because there is a double layer of foam. The embossed Sunny Studio Sea You Soon and Lawn Fawn Oliver's Stitched ABCs sentiment didn't hamper the mechanism at all either.

Another alteration I made, although by necessity because I can't follow directions apparently, was to offset my card front to the left rather than centered as in the video. I designed my card front on a full A2 rather than the recommended size found in the video. I did trim the panel down a bit, 1/4" maybe, so my scene would remain intact.
I'll see you again soon. If you'd like to check out my other creations in the meantime, you can visit my blog, Frankie Helps Craft, my Instagram, or my Pinterest Board. Have a great rest of your day!
PRODUCTS USED AND/OR RECOMMENDED
No comments:
Post a Comment