Hey friends! I'm over on the Doodlebugs blog for our weekly Mix it up Monday but today is seriously the ultimate mix and match with so many companies together and you'd never know. They just work so great!

Isn't this just the cutest!!! So easy too! Any order really, you just need that sweet Sunny Studios penguin colored and die cut. The awesome Lawn Fawn candy canes die cut and assembled. I started with red and white but didn't love it until I added the pink. Be sure to play with this die set! I think I'll try some mint green next.
Now, use liquid glue to adhere your candy canes crisscross and then add the penguin to the top.

Then stamp and heat emboss your sentiment of choice - the Pretty Pink Posh sentiment strips dies and coordinating stamp sets for the win as usual. I'm tell you, you'll get your moneys worth from these. There is always something that works!
Now, add foam squares and strips behind your images and sentiment strip.

Now, we're going to switch to Concord & 9th for an awesome background die. Trim your panel to 3.5x4.75 inches and cut it twice with the Double Stripe Card Front die - once landscape and then again portrait. Then you get this awesome plaid stitching.
I used green cardstock and then ink blended the edges with shabby shutters distress oxide for a little shadow and flicked forest moss ink across the panel for extra interest.

Finally, to assemble it all, I popped the background panel up with foam tape on a white card base and then adhered the images and sentiment strip on that. For finishing touches I added black glaze pen to the penguin's eyes and glossy accents to his beak.
Can you believe it? We mixed 4 companies together today and they created the cutest holiday card!
I appreciate you sharing your time with me. Have a fabulous day!
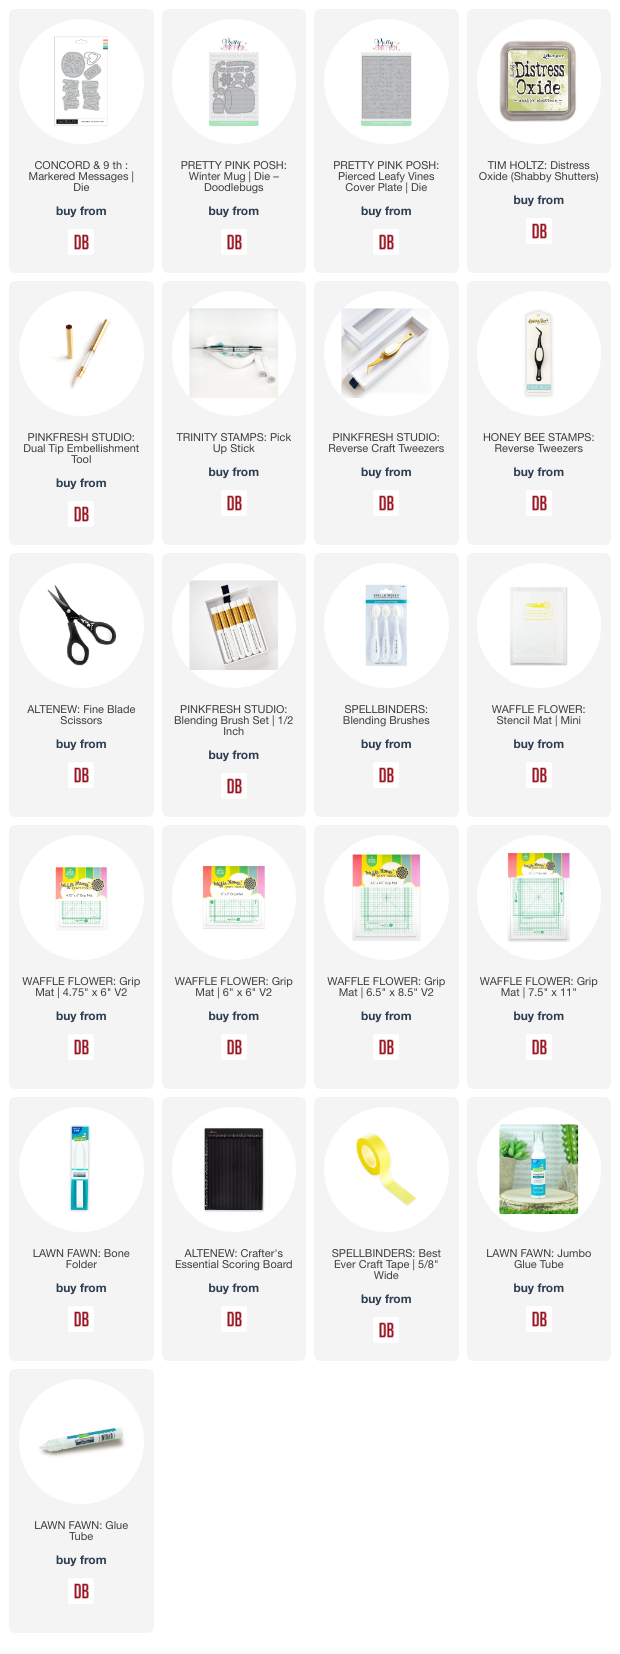
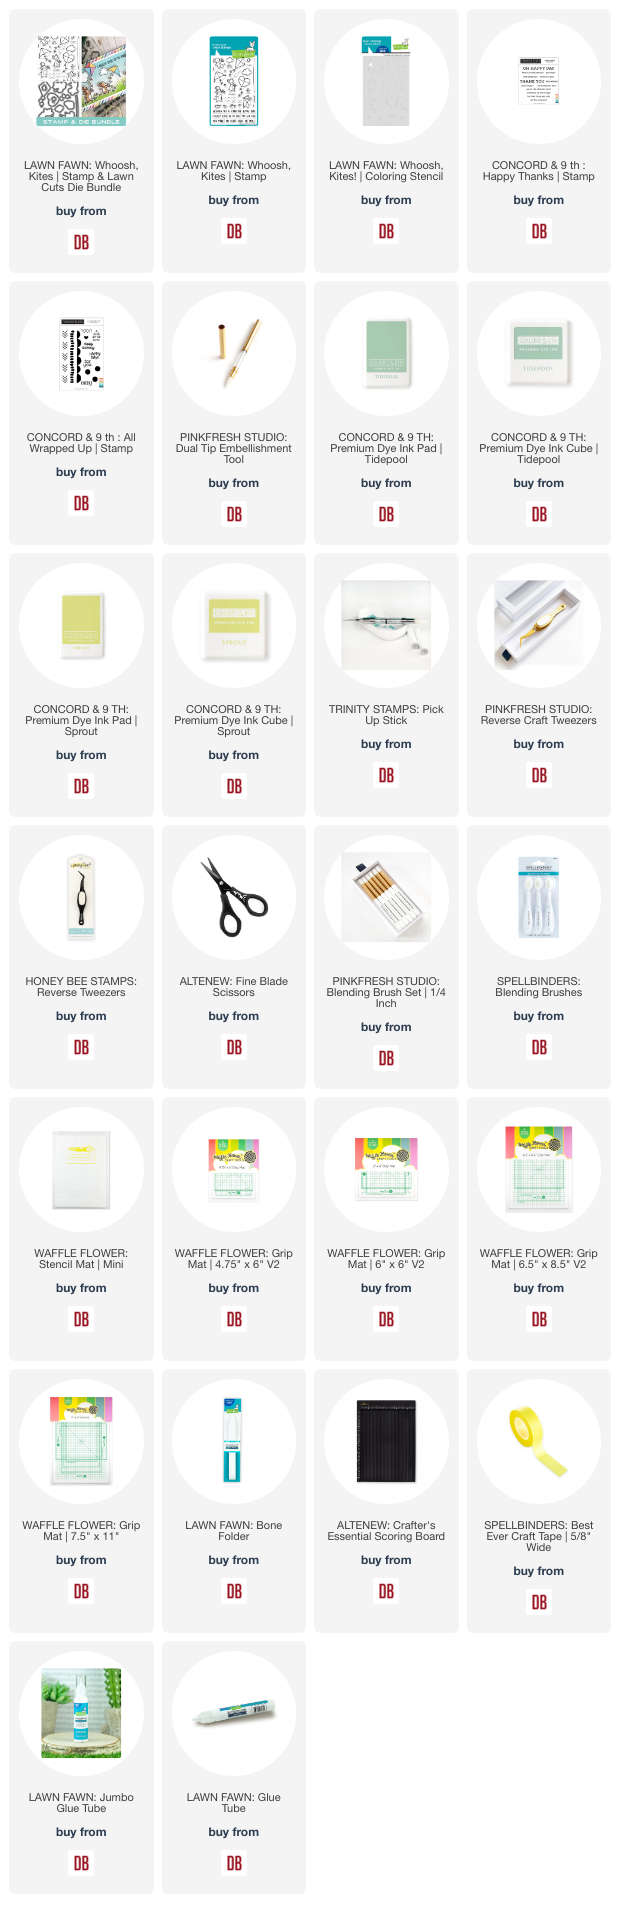
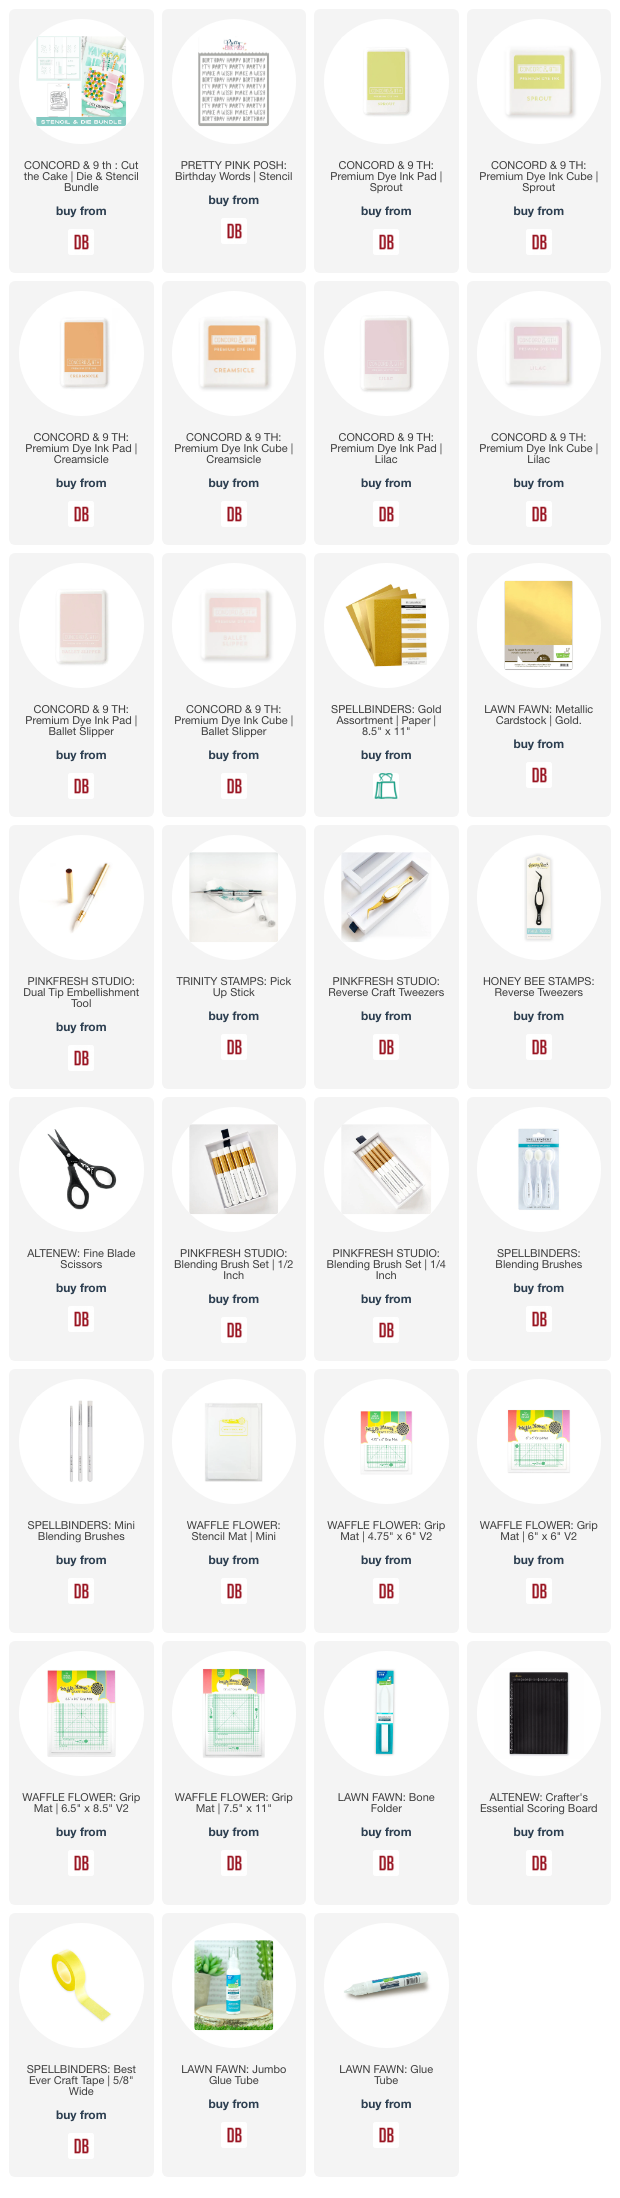
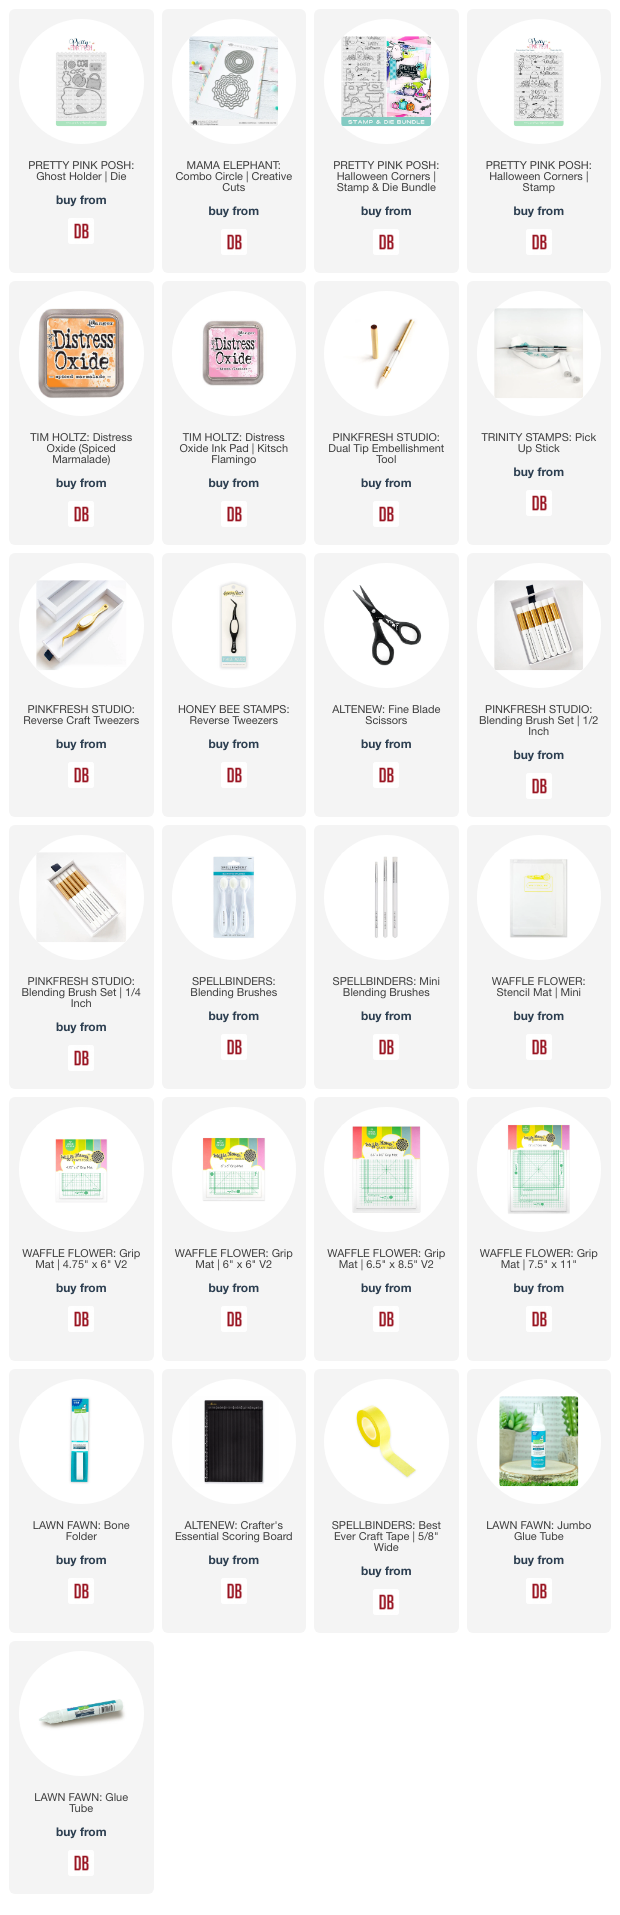
Links to products used or recommended are listed below:


.jpg "Mama Elephant Up With Love and Concord and 9th Bunch Of Balloons")
.jpg "Mama Elephant Up With Love and Concord and 9th Bunch Of Balloons")


.jpg "Concord and 9th Bunch of Balloons")

.jpg "Concord and 9th Bunch of Balloons")


.jpg "Lawn Fawn Woosh Kites")
.jpg "Lawn Fawn Woosh Kites")
.jpg "Lawn Fawn Woosh Kites")


.jpg "Pretty Pink Posh Flower Bouquet")

.jpg "Pretty Pink Posh Flower Bouquet")