


Hello, everyone! I have two very cute cards for you today! The card on the left was my original and the other my simplified version.
You: Simplified? But, Toni, the second looks just as complicated.
Me: Nah. The background paper does away with the stenciling, sponging, glitter and most of the diecuts!

Let's talk about the original card, shall we? I sponged a panel with Distress Oxide Peacock Feathers and Wilted Violet using a Picket Fence Studio Blender Brush and the MFT Mini Cloud Edges stencil. I then die cut this using the Lawn Fawn Rainy Backdrop Portrait Die. Insert happy dance.

Next I covered the card base with Scor-Tape then lay the Lawn Fawn Rainy Backdrop Portrait panel on top. I sprinkled Doodlebug Design glitter over that and burnished it with my fingers into the raindrops. So sparkly!

Piggy time! I stamped the MFT Scene Builder hills on Strathmore Bristol Smooth using Versafine Onyx Black. I fussy cut it out then watercolored it with Zig Real Brush Pens. I adhered the hills onto the card using Scor-Tape.
Final touches included adding Whimsy Stamps Up in the Clouds diecuts and paper-piecing the umbrella using a snippet from the Doodlebug Design Lots o' Luck 6x6 Paper.

Now reading how I made the original card, you can tell it takes quite some effort and time. With the second card, I eliminated a chunk of the base layer stuff by using American Crafts 12x12 patterned paper for a similar effect.
Other changes here include adding the grass from the MFT Scene Builder set using Distress Oxide Mowed Lawn. Very simple to do and lots of visual impact.
So I was able to simplify this enough that I brought this along as a Make n Take to a crafty gathering last month. Yay!

Feel free to stop by my blog, Frankie Helps Craft, to see my other creations, or you can follow me on Instagram. See you soon!
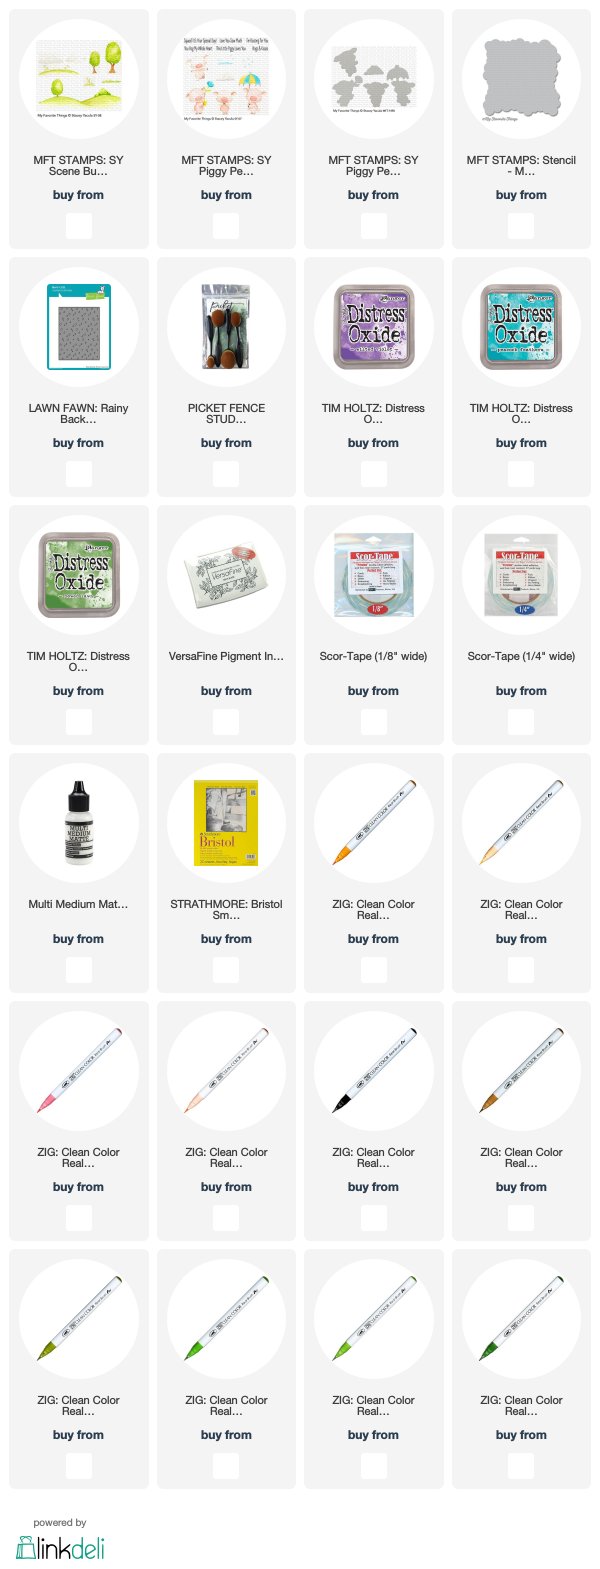
Links to supplies used are listed below:
Both cards are lovely and really like how you can eliminate lots of time by using patterned papers for the scene building. So happy to see I was the winner and look forward to my goodies. YIPPEE!
ReplyDelete