Wednesday, April 28, 2021

Hold On To Hope with Waffle Flower stamps...

Hello and happy Wednesday everyone! Mayra here with you today. I created a sweet card to share with you today. I used the super beautiful Hopeful Girl stamp set. I fell in love with this stamp set the moment I saw it. 


I began by coloring the images from the set using Copic markers. 

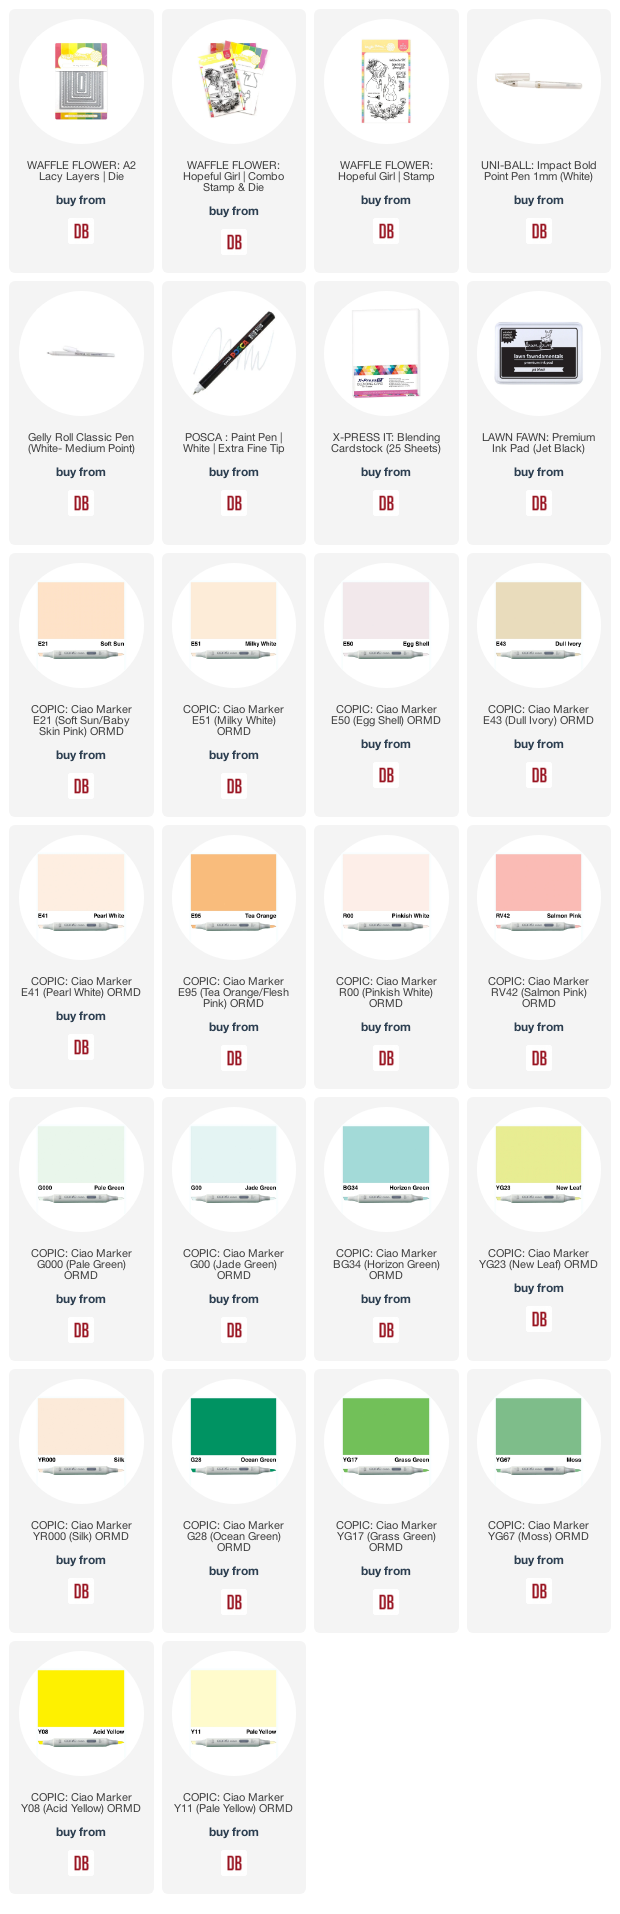
For the green, I used YG01, FYG1, YG23, G28, YG67, and  YG17. For mint, I used BG34, BG11, G00, and G000. For the soft pink, I used R43, RV42, R30, and R00. For the soft peach color, I used YR000, E95, YR12, and YR14. For the hair, I used E41, E81, E43, E84, and E87. For the yellow areas, I used  Y11Y08, Y19, and YR24.  For the skin, I used E50, E51, E21, and E23.


Next, I used the largest stitched rectangle from the A2 Lacy Layers die set to die-cut the panel. I then stamped the sentiment from the set onto the card using black ink. 

I hope you enjoy this card I created to share with you.

Thank you very much for taking the time to stop by. I hope you each have a wonderful and blessed day. Please feel welcome to visit me on my blogIG or Pinterest

Links to products used are listed below:
Monday, April 26, 2021

Hello from Toni: Avery Elle Unicyle Birthday


Hi, everyone!  I think this card is super cute for being masculine(ish) but apparently it didn't make much of an impression on my partner when I gave it to him. I mentioned it was posting today and he couldn't recall what it looked like until I mentioned the snake on top. Of course--the snake.  Men!


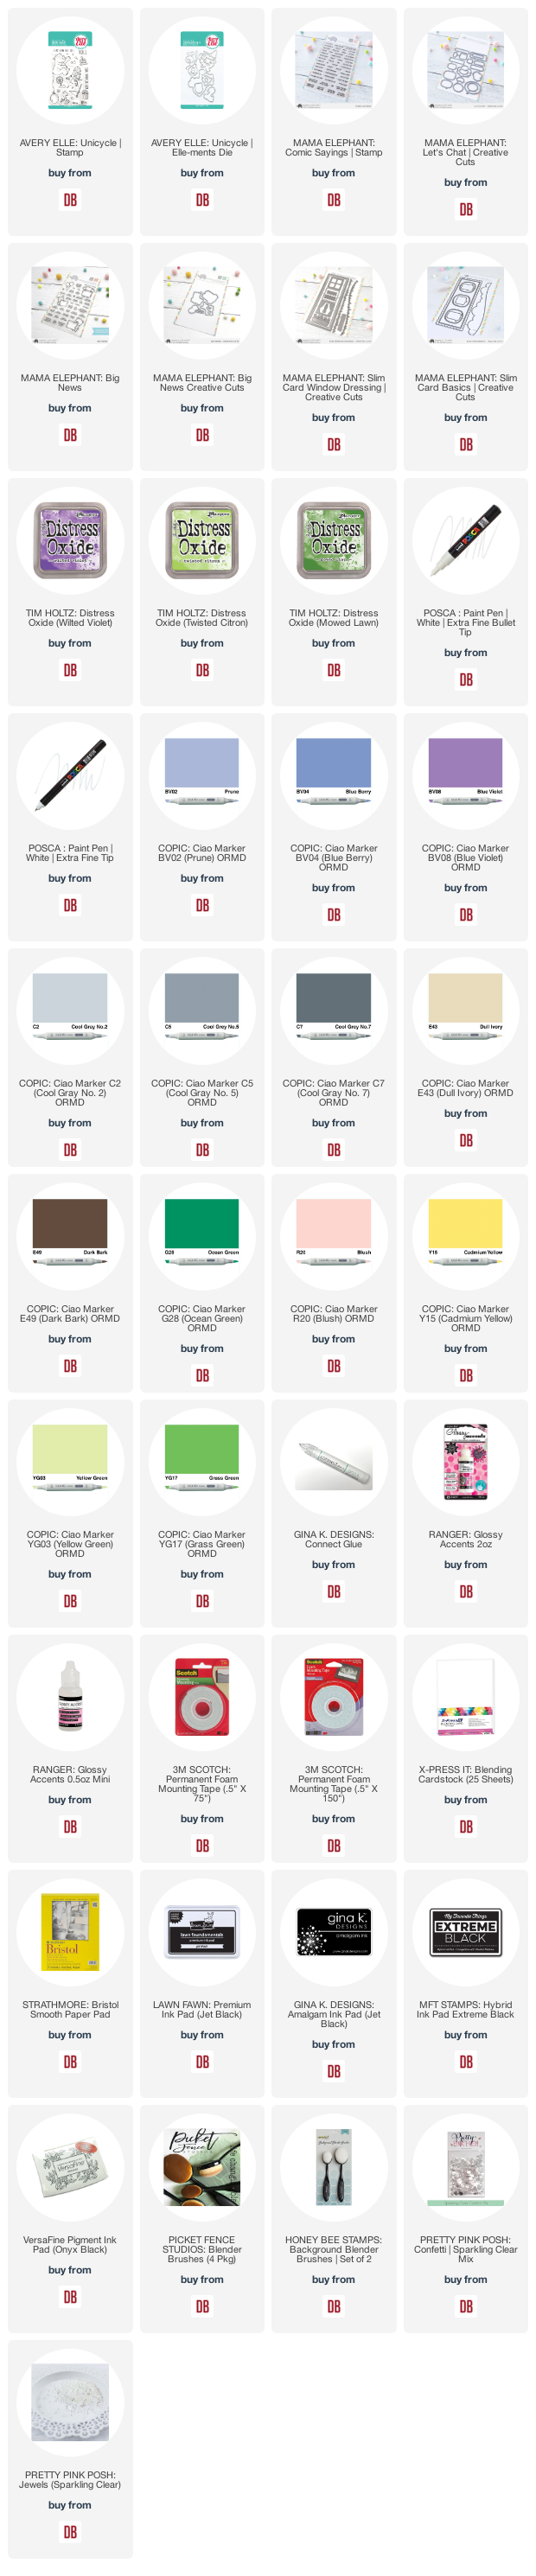
I used the Mama Elephant Slim Card Basics and Window Dressing dies to create the layered scene.  I used the dies for diecuts but also for masks (clouds and hills).


I colored up the Avery Elle Unicycle images with Copics and coordinating Distress Oxide Wilted Violet, Twisted Citron, and Mowed Lawn for the background elements.


The really fun part was watching the scene come alive with the addition of the white pigment pen highlights, sequins and the Mama Elephant Let's Chat diecuts. Those Mama Elephant Big News and Comic Sayings sentiments fit on speech bubbles perfectly.


I'll see you again soon.  If you'd like to check out my other creations in the meantime, you can visit my blog, Frankie Helps Craft, my Instagram, or my Pinterest Board.  

Products Used and/or Recommended Include:

Wednesday, April 21, 2021

This is A Really Bug Deal...Happy Birthday with Lawn Fawn...


Hello and happy Wednesday everyone! Mayra here with you today, yay!!! I am continuing with the birthday-themed cards for this month. I created two versions of a 'Bug's Life' themed card to share with you today. I used the new Ladybug and Leaf die set.


I began by die-cutting the pieces needed to create the Shadow box card, the leaves, and the banner. 

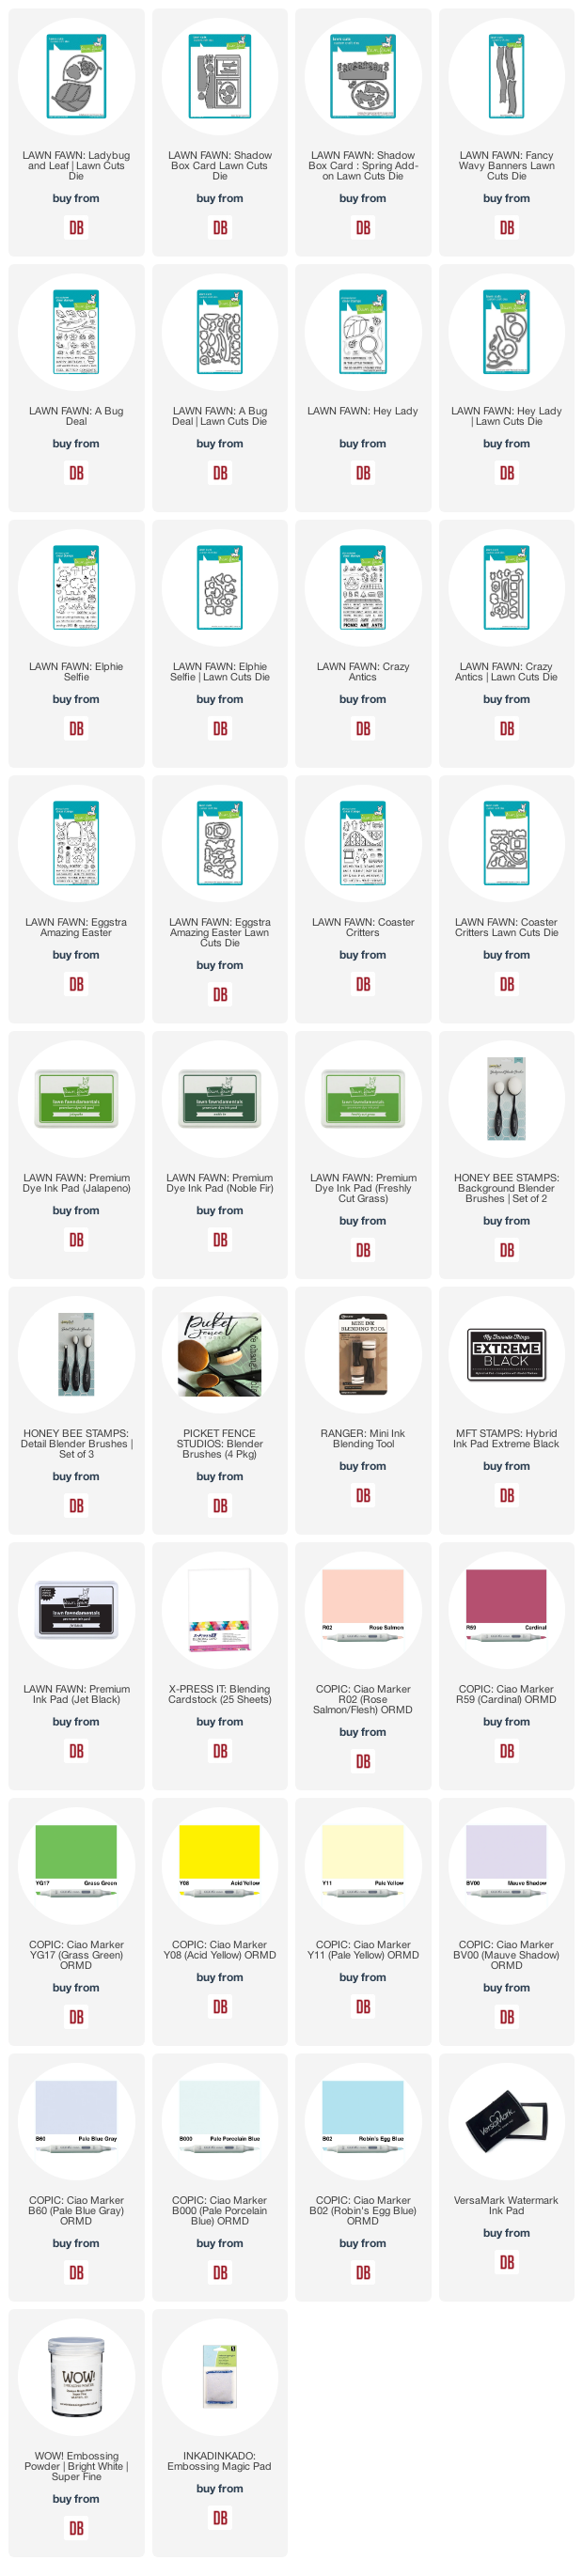
I used the leaves overlay die from the  Ladybug and Leaf die set as a stencil. I added color all over the shadow box card layers using Lawn Fawn ink. I used Freshly Cut Grass, Jalapeno, and Noble Fir
Next, I colored the images I would use from the A Bug Deal, Hey Lady, the cake from Elphie Selfie, the ants from Crazy Antics, the bow from Eggstra Amazing Easter, and the balloons from Coaster Critters.


I used Copic markers to color the images. For the red areas, I used R02, R08, and R59. For the greens, I used YG0000, YG01, YG05, and YG17. For the yellows, YR24, Y19, Y08, and Y11. For purple, I used BV00, B60, BV01, and FV2. For the blue, I used B000, B01, B02, and FBG2. 

I hope you enjoy this fun birthday-themed card I created to share with you.

Thank you very much for taking the time to stop by. I hope you each have a wonderful and blessed day. Please feel welcome to visit me on my blogIG or Pinterest

Links to products used are listed below:

Monday, April 19, 2021

Hello from Toni: Mixed Media Pinkfresh Studio

Hello, everyone, and happy spring! My garden is blooming and the sunshine just makes everything seem so much better, you know?  In celebration, I decided to work up a floral card for today.

I got deliciously messy but still quite simple. This is easily achieved in your own craft space with a few mods if you don't have everything I used.


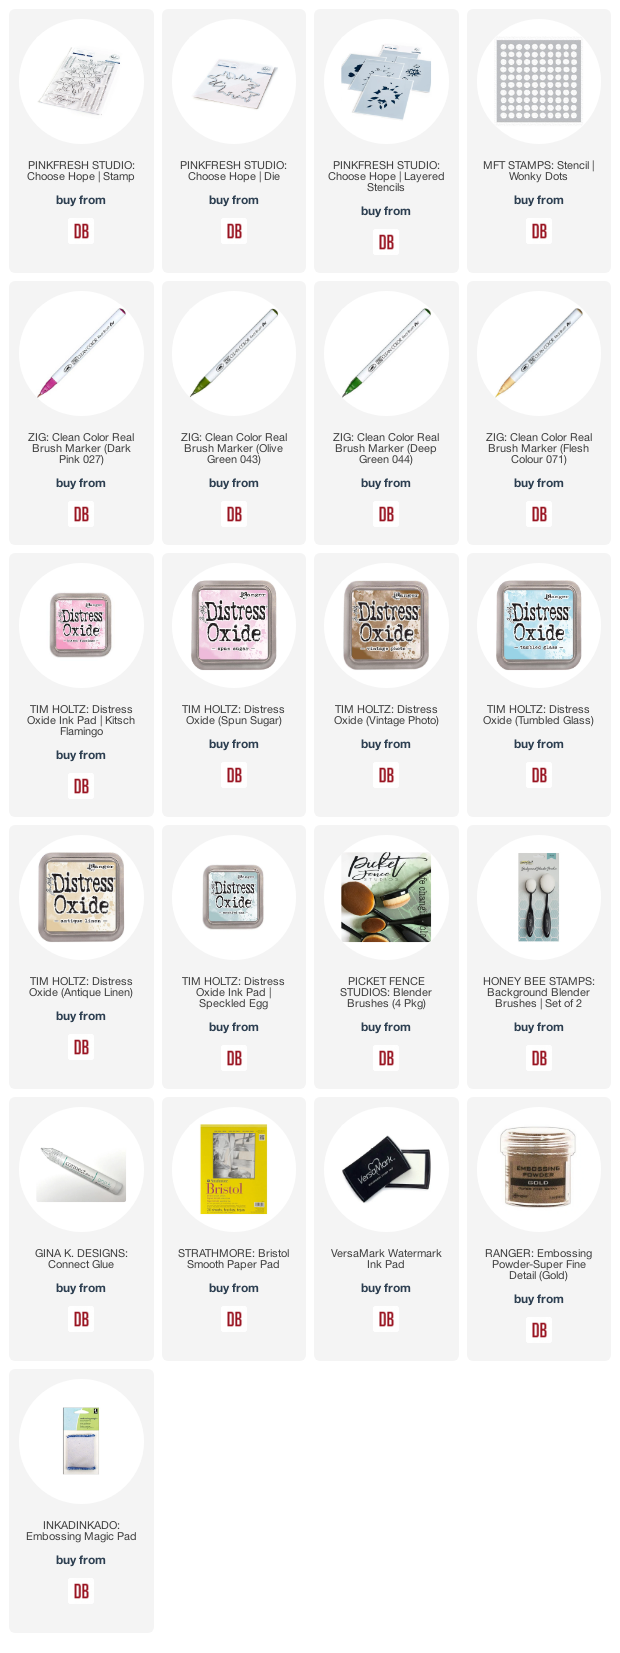
First I used the MFT Wonky Dots Stencil and pounced some Distress Oxides on it which I then spritzed with water. I smooshed that onto my Bristol paper, dried it, then gave it a light coating of gesso.  In some cases I used Distress Oxide Sprays (Vintage Photo, Spun Sugar) rather than the whole pounce-and-spritz thing if I had it in the color I wanted to use.


I did this 3 times so the colors and patterns beneath are quite evident but subtle. Just a lovely backdrop for the gorgeous Pinkfresh Studio Choose Hope flowers.

I stamped and embossed that in gold then used Zigs to color the image up. Notice how you can see the background tones in pink, cream and gray (Speckled Egg) showing through.

For the gold spatters, I flicked Distress Oxide Vintage Photo (put some DO on an acrylic block and spritzed with water) onto the card front then embossed.  There's a bit of resulting gold/brown pattern play. Glorious!

I'll see you again soon.  If you'd like to check out my other creations in the meantime, you can visit my blog, Frankie Helps Craft, my Instagram, or my Pinterest Board.  

Products Used and/or Recommended Include: