Tuesday, April 9, 2024

Celebrate!

I've been really enjoying stenciling lately.  I've been challenging myself to use different color combos and having fun.  Today is part one of two based one one A2 stenciled panel.  Here's how I was inspired today:


These are the products that I'm featuring today:
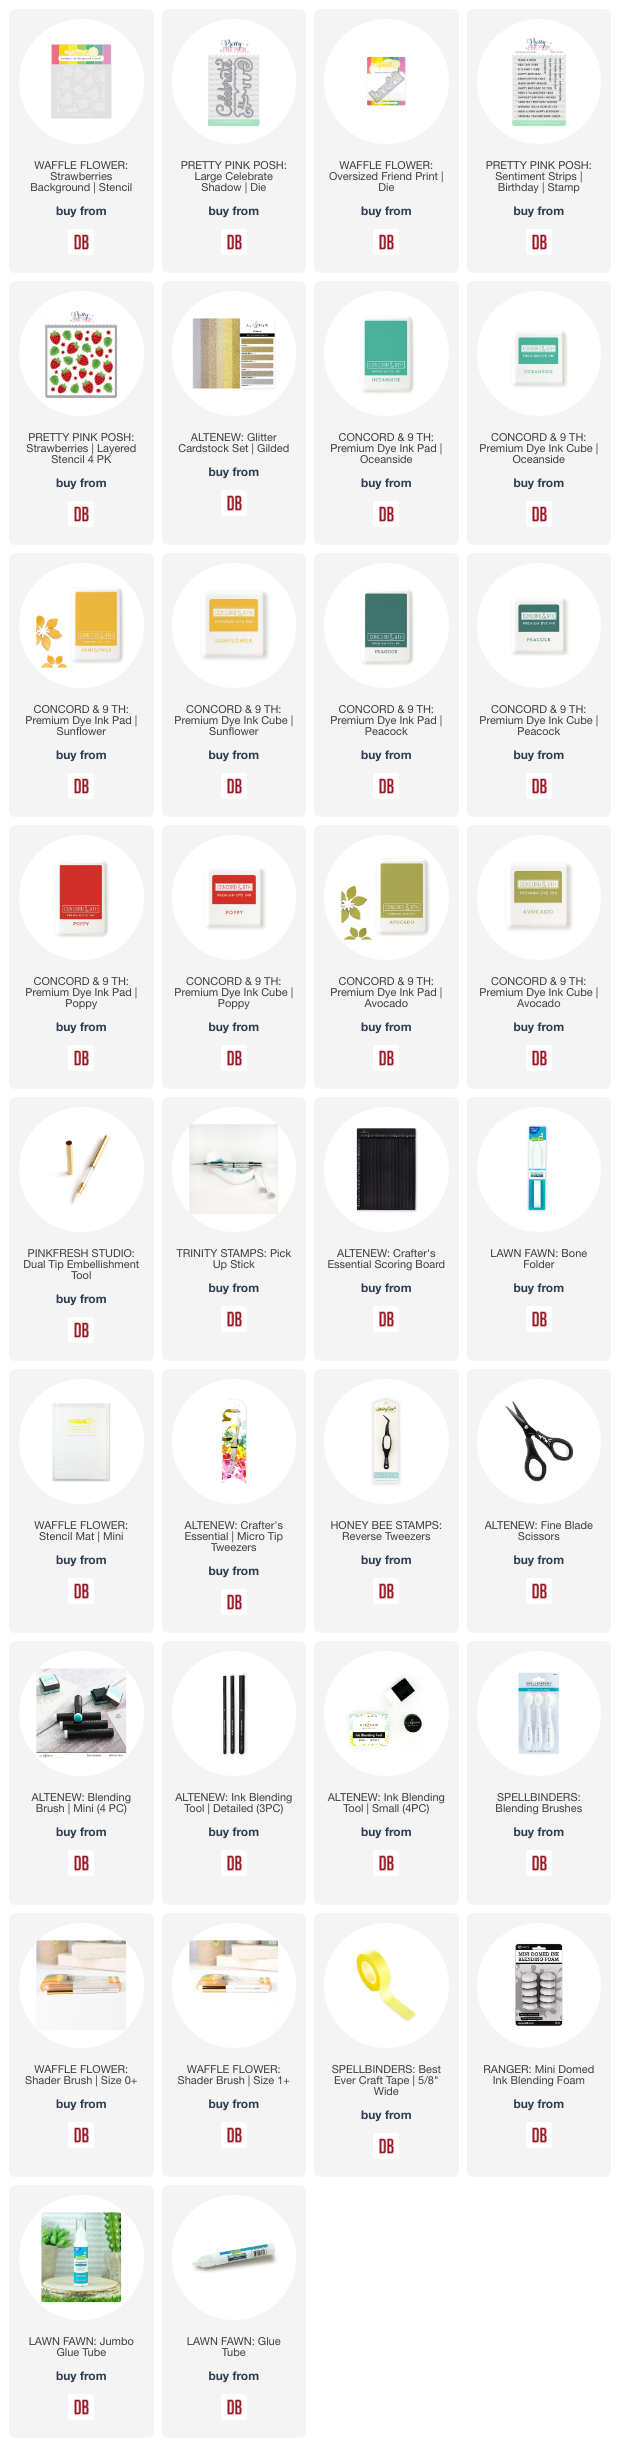
  • Waffle Flower Crafts - Strawberries Background | stencil
  • Waffle Flower Crafts - Oversized Friend Print | die
  • Pretty Pink Posh - Large Celebrate Shadow | die
  • Pretty Pink Posh - Sentiment Strips | Birthday


Here are the Concord & 9th inks I used:
  • Poppy
  • Sunflower
  • Avocado
  • Peacock
  • Oceanside


The celebrate has been cut from the Altenew Glitter Cardstock Set | Gilded.  I used gold paste from my stash for the strawberry seeds.

Next week I'll be sharing another project that uses the other half of the stenciled panel in my card design!

Thanks for stopping by!

 Links to products used or recommended are listed below: 

Monday, April 8, 2024

Texturizing Your Backgrounds with Embossing Folders and Inking

Hey friends! It's Amanda from Twiddler's Nook. For this installment of Mix it up Monday I came up with an idea for adding color and texture to your backgrounds in a different way. We're going to ink, emboss and then ink again for added awesomeness!

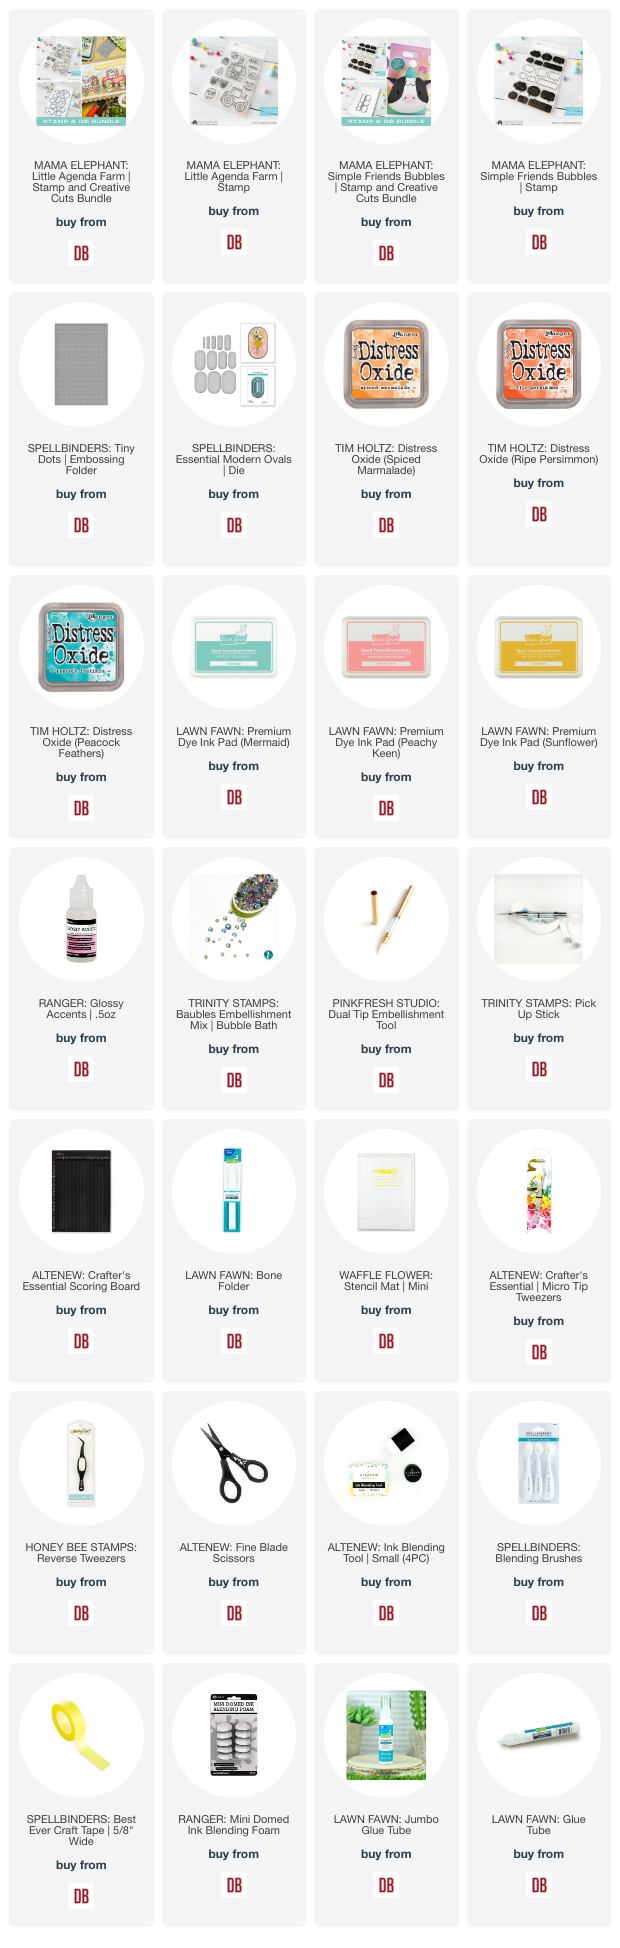
Mama Elephant Little Agenda Farm

I had an idea for embossing folders and wanted to try it so that's where today's project started. I took a piece of white cardstock and die cut it with the largest Spellbinders Modern Oval die. I inked the panel up with yellow ink and inserted it into the Spellbinders Tiny Dot embossing folder and ran it through my die cutter. After I removed it, I flipped it over to what we normally consider the back side. So the dots indent instead of stick up. Then I added a layer of teal ink over the top with a brayer roller. This kept the ink out of the dots and just added a layer over the panel. Then I added a layer of peacock feathers distress oxide ink over that for a darker effect. I spritzed the panel with water and then flicked white paint on it too.

Mama Elephant Little Agenda Farm

While that was drying I pulled out some Mama Elephant sets to stamp, color and die cut. I started with Little Agenda Farm and then moved on to Simple Friends Bubbles for my sentiments. Last I used liquid glue to assemble my critters in place and added foam squares to the back of everything.

Mama Elephant Little Agenda Farm

I didn't want the card base to be stark white so I inked it up with distress oxide ink in ripe persimmon and spiced marmalade and spritzed it with water. Then I adhered the oval with foam tape and finally added the images and speech bubbles.

For finishing touches I added glossy accents to the critter nose/beaks and bits of the tractor and wagon too. Last I added some enamel dots across the design for a bit of shine and reflection in the light.
 
I appreciate you sharing your time with me. Have a fabulous day!

 Links to products used or recommended are listed below: 
Tuesday, April 2, 2024

You are the Coolest

 I'm back to designing birthday cards. Here is how I was inspired today:


I love it when a card comes together from scraps.  I had started a different card but never finished it.  I decided to challenge myself by adding Lawn Fawn and Concord & 9th elements to my design. Here are the products I'm featuring:

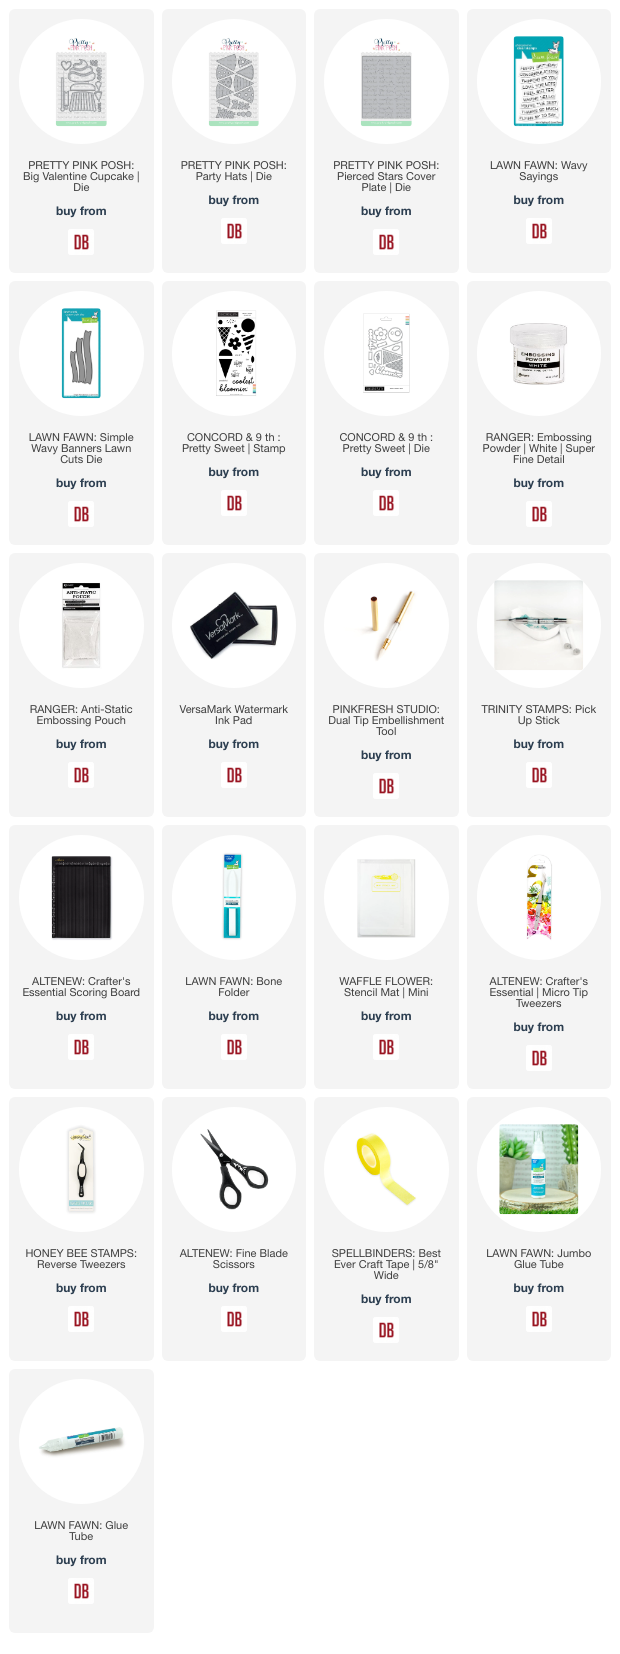
  • Pretty Pink Posh - Big Valentine Cupcake | dies
  • Pretty Pink Posh - Party Hats | dies
  • Pretty Pink Posh - Pierced Stars Plate | die
  • Lawn Fawn - Wavy Sayings | stamp
  • Lawn Fawn - Simple Wavy Banners | lawn cuts
  • Concord & 9th - Pretty Sweet | stamp + dies

The Happy Birthday + coolest sentiments have been heat embossed in white.  The 'you are the' sentiment has been stamped in Concord & 9th - Nutmeg.


I absolutely adore all the details on the dies!

Have an amazing day!
 
 Links to products used or recommended are listed below:  

Monday, April 1, 2024

Ink Smooshing and Two-for-One Backgrounds

Happy Monday everyone! It's Amanda from Twiddler's Nook. Mix it up Monday is extra inky fun on the Doodlebugs blog today. We're ink smooshing and getting two-for-one backgrounds from our efforts. So fun, easy to do and there is no messing up.

Mama Elephant Beary Good Day

Start with a piece of white cardstock and water based markers like Tombow Dual Brush Pens or Distress Ink Pads. Smoosh or scribble a color on an acrylic block or glass mat and spritz it with water. If you use an acrylic block you can stamp the block all over your paper creating splotches of color. If you're using your glass mat, do that same thing with your paper on the mat to mop up the watery ink. I suggest using a heat gun or letting the panel dry between colors. This layers the colors and gives more interest, instead of colors blending together if the panel is still wet.

Mama Elephant Beary Good Day

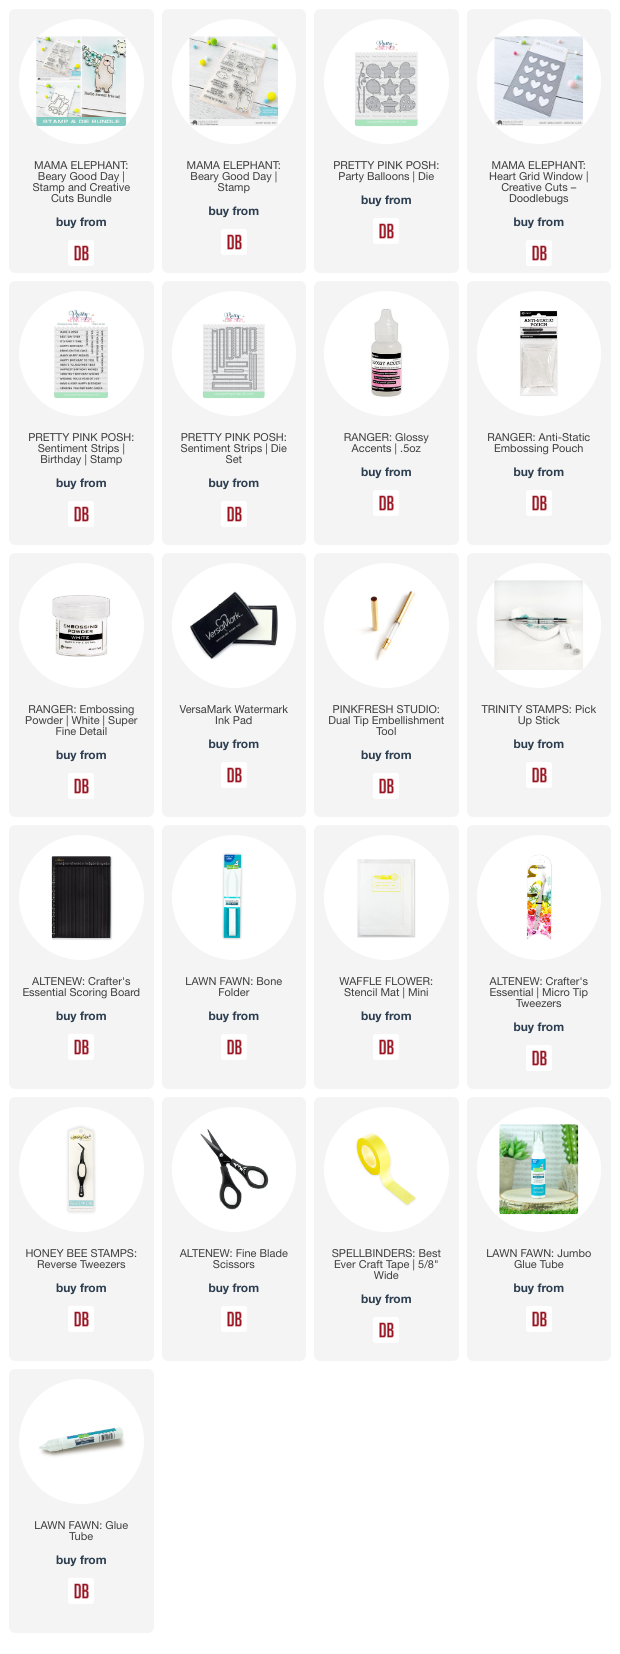
Once the panel is ink smooshed to your liking and dry, run it through your die cutter with the Mama Elephant Heart Grid cover plate die. Mine happened to keep all of the hearts in the die which made the next step easier but it's not game over if they come out.

I chose the melon color from my inking to be the background for both of my cards. So I cut two pieces and adhered them to white card bases. I popped the first one up with foam strips.

Mama Elephant Beary Good Day

For the next one, I place a foam square on the back of each heart while they were stuck in the die, removed the release paper and carefully placed my paper centered over the hearts. They stuck to the paper and made it easy to have them equally spaced.

Then I cut some balloons from the Pretty Pink Posh Party Balloons die set in coordinating colors and stamped this sweet Mama Elephant bear, coloring it in coordinating colors as well. 

Mama Elephant Beary Good Day

After adding the extra balloons and image to the design with foam squares, I stamped and heat embossed sentiments on sentiment strips, that are added with liquid glue and foam strips. For finishing touches I added black glaze pen to each bear's eye and glossy accents to his nose and the balloons.

Two birthday cards in almost the same amount of time to make one. I love that kind of crafting!
 
I appreciate you sharing your time with me. Have a fabulous day!

 Links to products used or recommended are listed below: