Wednesday, December 30, 2020

Happy 2021 with Lawn Fawn...

Hello and happy Wednesday everyone. Mayra here with you today. I have a New Year's themed card to share with you. 

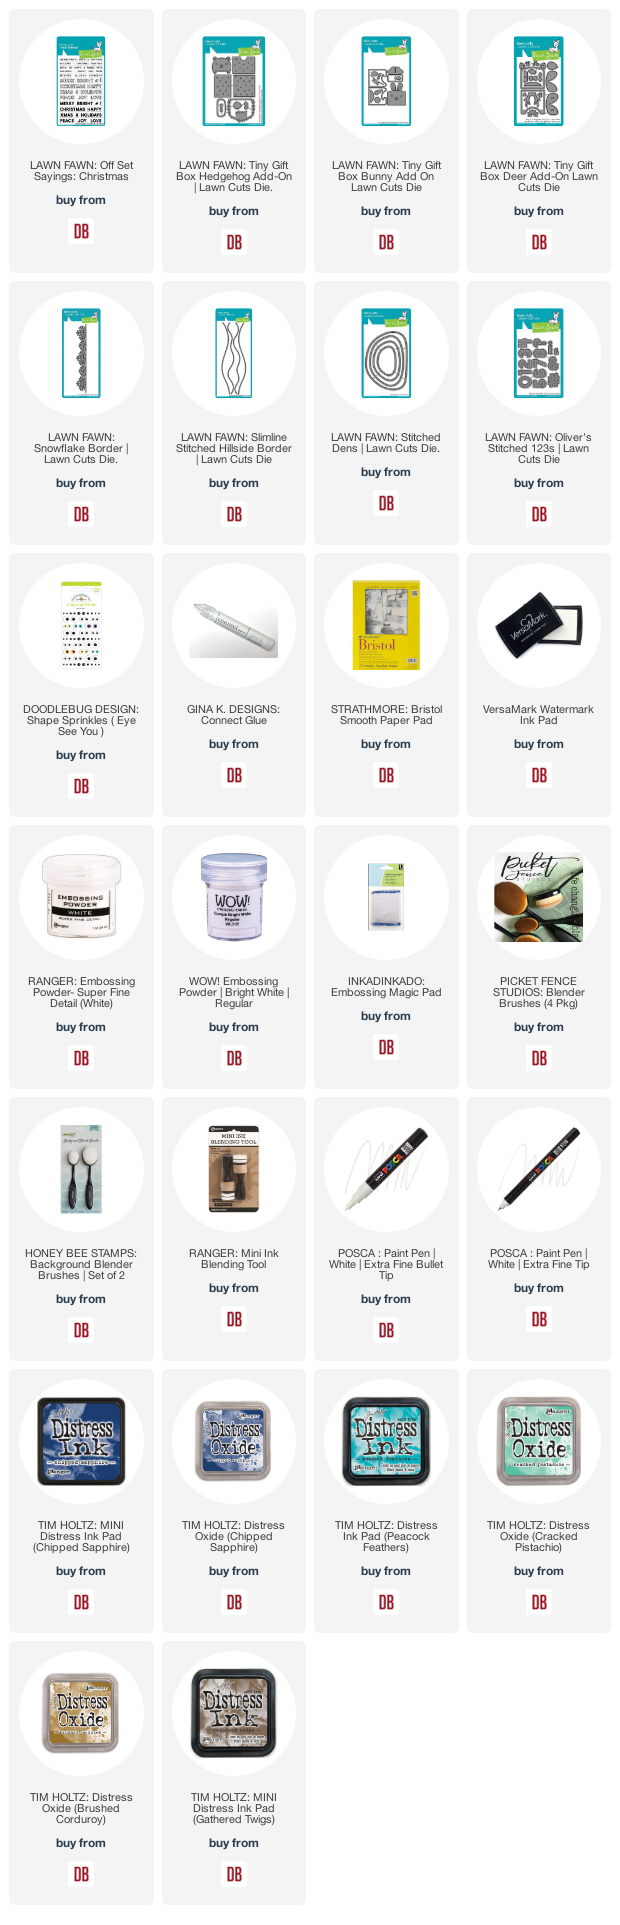
I began by die cutting all of the layers for the dies I would be using. I used the super cute Tiny Gift Box Hedgehog Add-On, the Deer Add-on, the Bunny Add-on,  the Stitched Dens dies, the Snowflake Border die, the Slimline Stitched Hillside Border to create the snowy slopes, Oliver's Stitched 123s, and the Tiny Gift Box Holiday Hats Add-on

Next, I added color to a panel. I used Distress Oxide and Distress Inks. I used Chipped Sapphire Distress ink, then Chipped Sapphire Distress Oxide ink, Peacock Feathers Distress ink, and Cracked Pistachio Distress Oxide. I then die cut the numbers using the Oliver's Stitched 123s dies. I added the same colors to these numbers, trims of the hats, and to the snowflake border. I then used the largest of the den dies to die cut a window from a white panel. I assembled all of the layers together to create a snowy scene for the die-cut critters.

I hope you enjoy the card I created to share with you today. I wish you all a healthy, wonderful, and blessed New Year. Please feel welcome to visit me on my blog, Instagram, or Pinterest

Products Used and/or Recommended Include:

Monday, December 28, 2020

Hello from Toni: Puppies!


Christmas is over and now on to other things like this cute Mama Elephant puppy card which happens to use my favorite holiday combo of red and blue. I guess I'm not saying goodbye to the holidays quite yet!


I'm using the Mama Elephant Slim Card Basics dies.  I really like that I can position the apertures wherever I want (or don't want).  Plus it comes with speech dies.  Heck, yes!


I used MFT Party Plaid 6x6 paper behind the apertures. It's the perfect backdrop for those Mama Elephant My Pet Puppies which I colored up very simply with Copics.


I used Versafine Vintage Sepia for stamping the text. I like the softness of that brown, don't you?


I'll see you again soon.  If you'd like to check out my other creations in the meantime, you can visit my blog, Frankie Helps Craft, my Instagram, or my Pinterest Board.   

Products Used and/or Recommended Include:

Friday, December 25, 2020

Hello from Toni: Peace on Earth


Holiday greetings, everyone!  I hope if you celebrate today that you have a wonderful, peaceful time which isn't easy this year.


For my cards today, I kept the theme really simple and rustic, which was perfect for the Honey Bee Pinecone dies. There are 6 layers--sounds like you should run away, right?--but they're so well conceived it's ultra simple to use them.


For the first, I sponged woodgrain cardstock with Distress Oxide Walnut Stain and Ground Espresso. I cut the pieces to look like shiplap/flooring.  I stamped the Avery Elle Merriest sentiment with Versafine Vintage Sepia.

I added the Honey Bee Pinecone, sponged with a touch of Distress Oxide Vintage Photo and embossed.  I added a few Tim Holtz greenery diecuts too.


For the second card I covered the entire card front with woodgrain cardstock I sponged with Distress Oxide Weathered Wood.  How trendy! I used a wet wipe to remove some of the color and make it look more aged.

I used the Lawn Fawn Oliver's Stitched ABCs for the sentiment. I love the simplicity.


I'll see you again soon.  If you'd like to check out my other creations in the meantime, you can visit my blog, Frankie Helps Craft, my Instagram, or my Pinterest Board.  

Products Used and/or Recommended Include:

Wednesday, December 23, 2020

May Your Holidays Be Extra Sweet...


Hello and happy Wednesday everyone! Mayra here with you today. Can you believe Christmas is here already!!! I have one more Christmas card to share with you. It is a festive holiday baking-theme. I also created a coordinating tag, I used several sets from Lawn Fawn. I hope you all are having a wonderful and extra sweet Holiday Season and may it continue!!!


I began by coloring the images I would be using. I used the Santa and Mrs. Claus from the Ho Ho Holidays, the tree cookie from Tiny Gingerbread, the lamposts from Winter Village, the small Christmas trees from Yeti Or Not, the little fish tank from Keep On Swimming (I used it as a mini cookie jar). The large and small bows are from  Eggstra Amazing Easter. I also used the A Creature Was Stirring, Car Critters Christmas Add-On,  How You BeanHow You Bean Christmas Cookie Add-On, and Holiday Helpers stamp sets.


I used Copic markers to color them in. For the gingerbread color, I used E41, E81, E31, E55, and E35. For the reds, I used R05, R17, and R46. For the white areas, I used E40, E41, C1, and BG10. For the greens, I used YG03 and G94. For the "glass" areas, I used BG10 and BG11. For the skin, I used E50, E51, E21, and E23. 


I then began to die cutting the pieces I would be using for my card. I used the Large Slimline with Sliders die. I used the largest rectangle in the set to die cut the base layer, then a layer from plain white cardstock, and woodgrain cardstock.  To create the cabinets, I used the stitched rectangle from the Mini Pop-Up Box die set. For the windows, I used the Scalloped Treat Box Winter House Add-On, For the banners, I used the banner from the Double Slider Surprise and the medium-sized banner from the Simple Wavy Banners die set.  

To create the cookie jar shaker cover, I used the Quilted Backdrop Lawn Cuts die, to die cut a red layer. I then adhered it to a piece of white cardstock, then glued it to the mason jar. 

I hope you enjoy the card I created to share with you today. Thank you so much for taking the time to stop by. I pray you each have a wonderful and blessed Christmas. 
Please feel welcome to visit me at my blogInstagram, or Pinterest

Links to products used are listed below: