Friday, June 10, 2022

Do you have 'full-set' syndrome?

Hello, fellow Doodlebugs fans!  Michele again - and I have to tell you I'm repeating myself today!  I am so happy to have all the pieces and parts of Altenew's Magnolia Ballerinas in my happy hands!  I don't always have to 'have it all' but sure do understand when other crafters do!


Today, I've found a really wonderful way to use their embossing folder that may seem quite simple - but WOW did it save me time!  Here's how I got my card going...


- First, I stamped it in Versafine Tuxedo Black ink onto 
Strathmore Mixed Media paper.

- Then, after allowing it time to dry, I used the layered stencils to ink it up - really simply adding GinaK's Skeleton Leaves amalgam ink.

- I cut out the Magnolias with the coordinating die, and 
- dry-embossed 
another sheet of Mixed Media paper with the embossing folder.

Here's where the time-saver came in!  Using a dotted glue runner, I 
added glue to only the raised parts of the embossed image..


- no need to snip all of those fine pieces of foam tape!!

Here is my completed card... not one bit of foam peeking out
from behind!  I really believe it will make a difference in how these
dimensional cards will get through the mail un-damaged, too.
Of course, I'll be testing that theory LOL!


I decided this image was worthy of an A7 card [5x7"] and I sure hope you agree!
Just the teensiest bit had to be clipped.  The sentiment is just one of many in
the stamp set that would come in handy on many a card.

All of you 'full set' friends have shown me how wonderful they all work together, and I sure hope companies like Altenew, and Pinkfresh keep making them!
=]  Michele
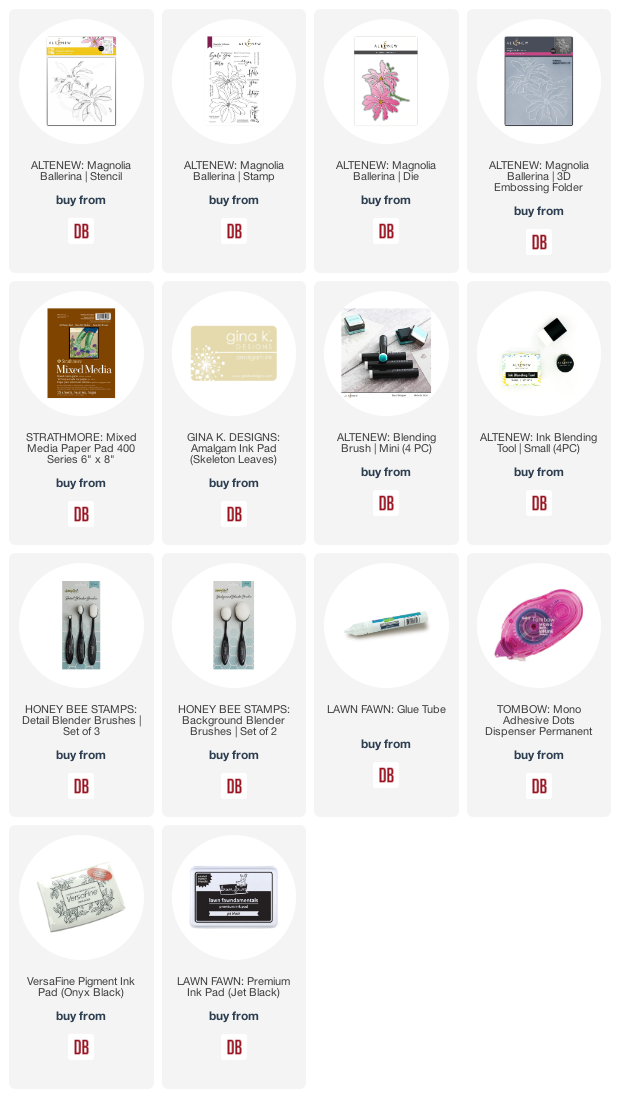
Links to products used or recommended are listed below:

Monday, June 6, 2022

Making Your Own Stencils with Dies


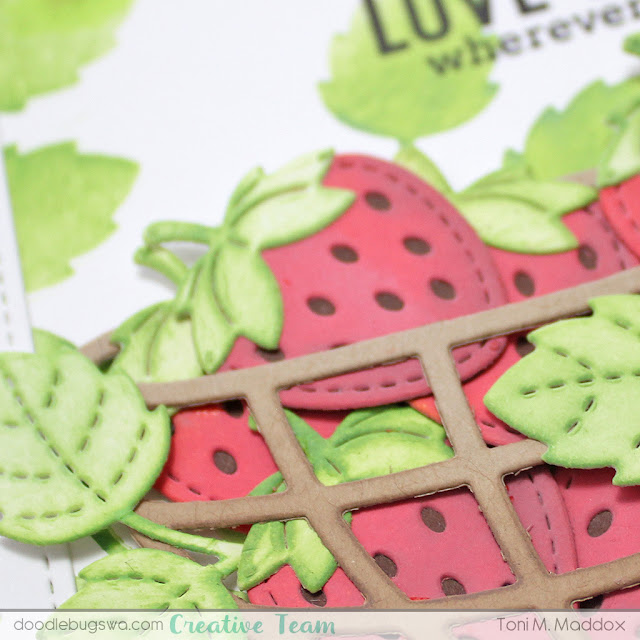
Hi, everyone!  Toni here with you today sharing a summer card where I made my own stencil using a die.  It's super easy to do and can really pull the background together with the rest of your design.

I cut the Lawn Fawn Strawberry Patch leaves out of a study cardstock. If I'm using the diecut for masking a simple circle, for example, I will use scrap printer paper, but I was planning to sponge front and back with this so made it to last.


I sponged my stencil onto the card base using Distress Oxide Mowed Lawn and Twisted Citron. I flipped and rotated the stencil as I went along.

Next I cut the Lawn Fawn Fruit Basket out of kraft cardstock, sponging it at the bottom with DO Vintage Photo for a bit of shadow.

I cut the Lawn Fawn Strawberry Patch berries out of white, sponging them with DO Barn Door and Aged Mahagony.  The strawberry seeds are cut from a dark brown cardstock. 


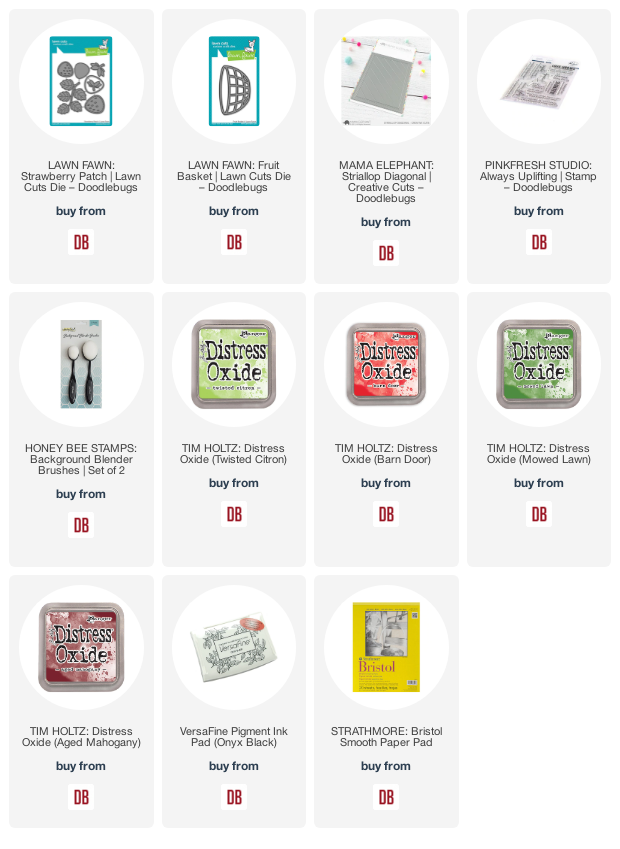
Before adhering the strawberry basket to the card base, I added the Mama Elephant Striallop Diagonal frame and stamped the Pinkfresh Studio Always Uplifting sentiment.

Lastly I sponged the diecut leaves from my homemade stencil with greens, tucking the leaves here and there to add fullness to the basket.


I'll see you again soon.  If you'd like to check out my other creations in the meantime, you can visit my blog, Frankie Helps Craft, my Instagram, or my Pinterest Board.  Have a great rest of your day!


PRODUCTS USED AND/OR RECOMMENDED

Friday, June 3, 2022

Altenew Craft-a-Flower - Cistus and smooshing!

Hello again, my friends.  I'm sharing a card made for a friend today - sometimes we just need to say hello in a beautiful way! 
 
Here's how my card came began today: ink smooshing!


After choosing my ink colors, I 'smoosh' them one at a time onto my glass mat,
spritz with a fine mist of water, then pick up the ink with a scrap of acetate from packaging - yes, I do save almost every scrap, but Lawn Fawn sells Acetate in a package, too, if you don't happen to save yours! Repeat until the color satisfies you... I used a mixed media cardstock today.


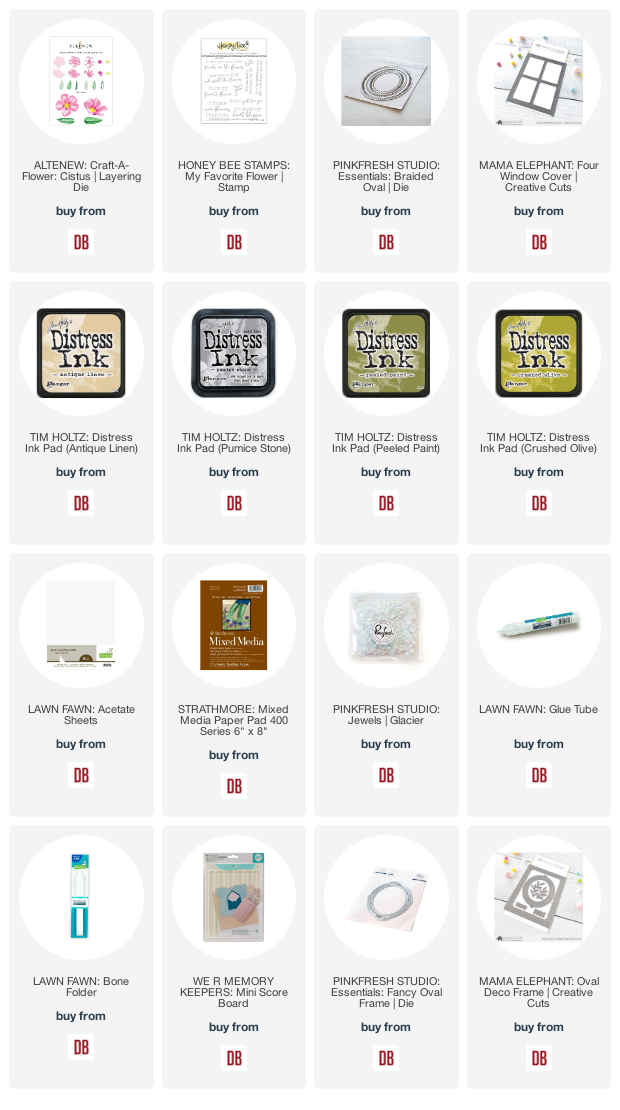
Here are the colors of Distress Inks I chose today:


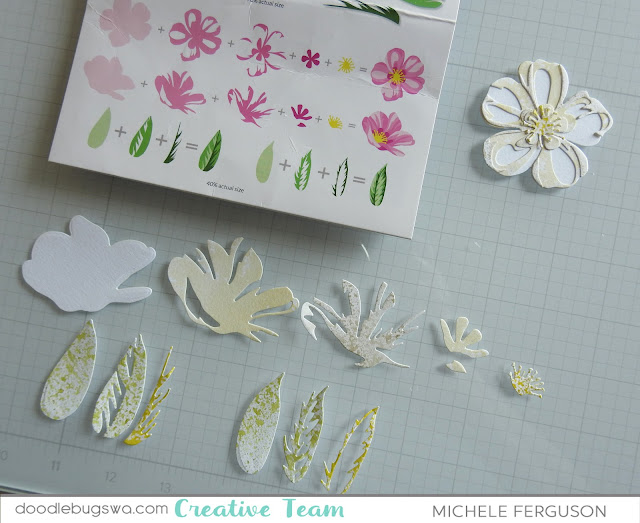
Then it was just a matter of using the dies to cut the layers from this gorgeous Altenew Craft a Flower: Cistus set...


Laying them out as shown on their packaging helps tremendously when assembling the blooms, and leaves.

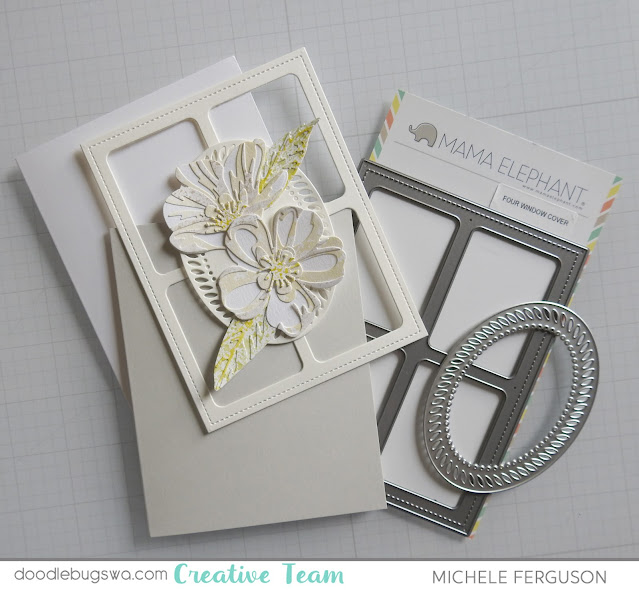
Making the blooms the star of the card was so easy with these wonderful dies from Mama Elephant and Pinkfresh Studio!

I love the resulting 'shades of white' for these blooms - but which card base is best?  I asked the in-house critic for his opinion... he did good!


Don't you agree?


These wonderful words from Honey Bee's My Favorite Flower set were the perfect sentiment for the inside of my friend's card... a dash of Pinkfresh gems, and 
my card is complete!


See you again on my next Doodlebug Friday!
=]  Michele

Links to products used or recommended are listed below:

Wednesday, June 1, 2022

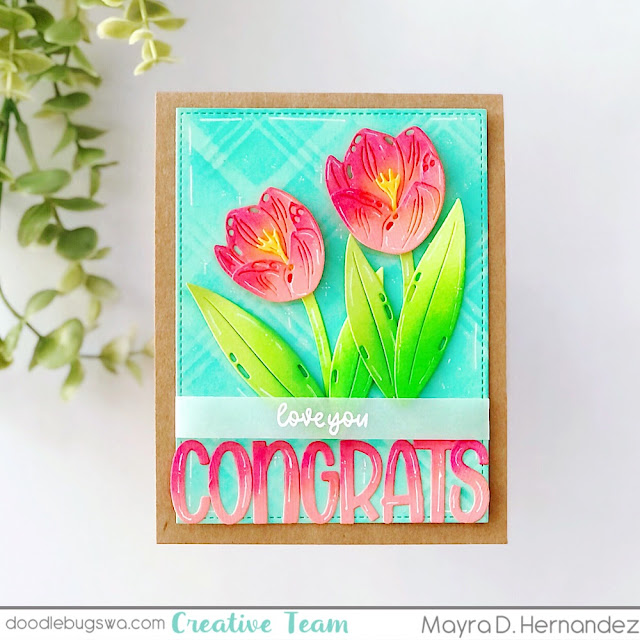
Congratulations Card with Stenciled Background....


Hello everyone, happy June!!! I am sharing this congratulations-themed card with you today using the beautiful Layered Tulips die from Waffle Flower. 


I began by using the Basic Rectangles Creative Cuts die set to die cut the base panel for the card. I then used the Diamond Plaid stencil to add the design to the background using Cracked Pistachio Distress Oxide ink and Salvaged Patina Distress Ink. 


Next, I die-cut the layers to create the  Layered Tulips. I then added a bit of color to the layers using Plastic Flamingo and Juice Box Lawn Fawn ink to the tulip layers. I added  Clover ink to the leaves.
I then used Henry's ABCs die set to die-cut the 'Congrats' phrase. Next, I heat embossed the sentiment from the Classic Sentiments stamp set onto a strip of vellum. 


I hope you enjoy the card I created to share with you today. Thank you so much for taking the time to stop by. I hope you each have a wonderful and blessed day. Please feel welcome to visit me on my blogIG or Pinterest.

Links to products used or recommended are listed below: