Friday, July 9, 2021

Hello from Toni: Bonus Pinkfresh Miss Your Smile


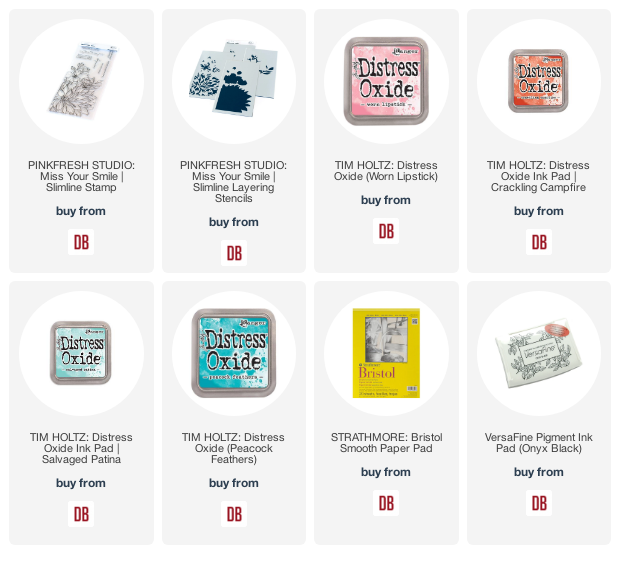
Hi, everyone!  I had need of a quick friendship card and immediately thought of the Pinkfresh Studio Miss Your Smile stamps and stencils.

I used the stencils first with Distress Oxides then used the stamp set along with Versafine Clair Twilight (a deep navy).  Easy peasy!
 

I'll see you again on Monday. If you'd like to check out my other creations in the meantime, you can visit my blog, Frankie Helps Craft, my Instagram, or my Pinterest Board.  

Products Used and/or Recommended Include:

Wednesday, July 7, 2021

Floral Congrats with Waffle Flower Stamps...

Hello everyone, happy Wednesday! Mayra here with you today. Yay!! I am so happy to be here. I am sharing this lovely floral card using the beautiful Tender Blooms stamp set from Waffle Flower. Stamps. 


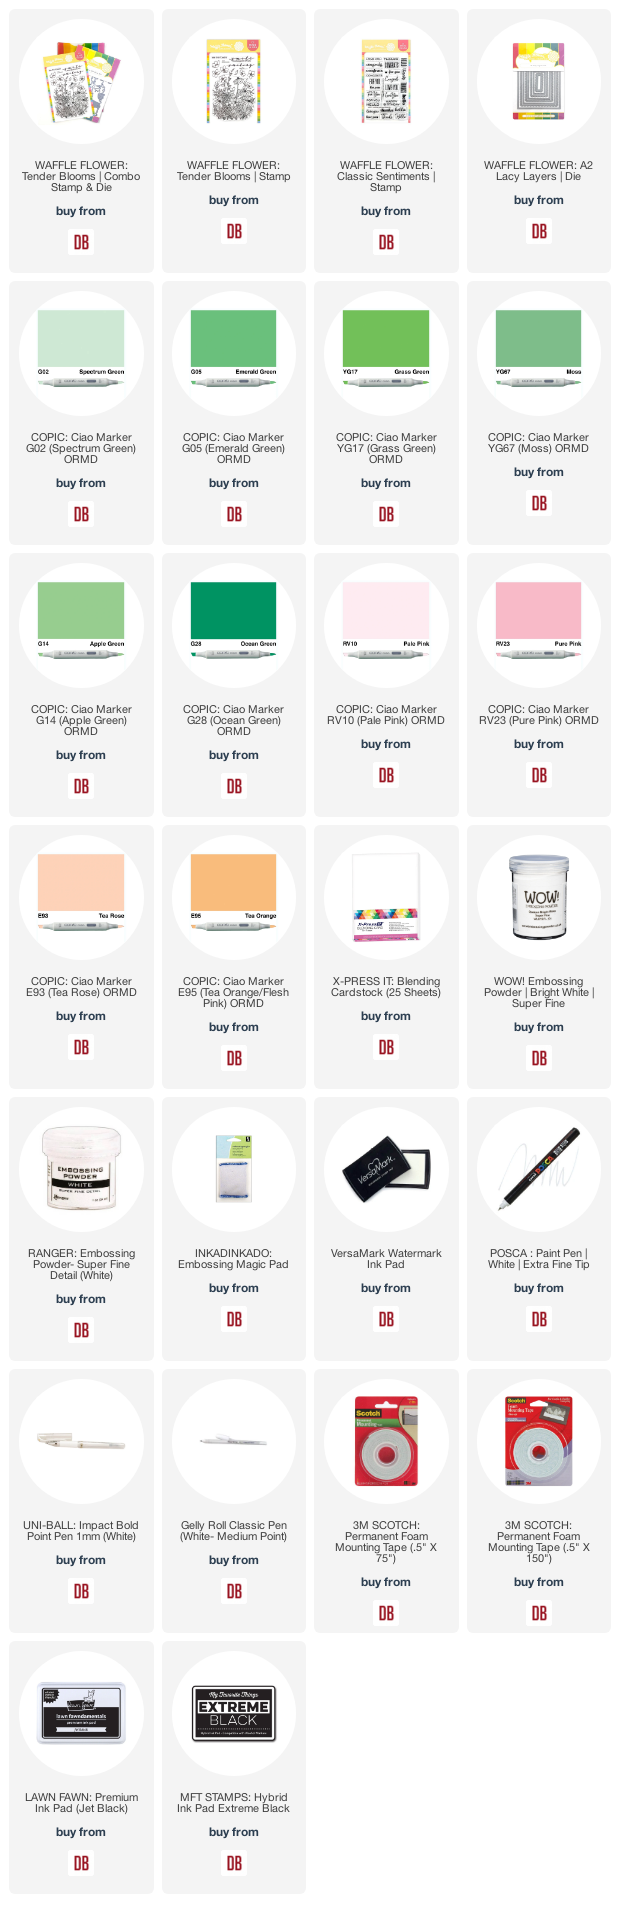
I began by coloring all of the images using Copic markers. For the green areas, I used YG01, G02, G05, YG17, G14 YG67, and G28. For the different pinks, and peach colors, I used RV10, RV21, RV23, E93, E95, E97, R01, R21, and R30.


I then die-cut the panel for the card using the largest rectangle from the A2 Lacy Layers dies set. Then, I heat embossed the sentiment onto a strip of black cardstock. The sentiment is from the Classic Sentiments stamp set. 


I hope you enjoy the card I created to share with you today. Thank you very much for taking the time to stop by. I hope you each have a wonderful and blessed day. Please feel welcome to visit me on my blogIG or Pinterest

Links to products used or recommended are listed below:
 

Monday, July 5, 2021

Hello from Toni: Pinkfresh Infinite Blooms


Hello, Doodlebugs fans!  Thanks for stopping by.  Today I have a classic (aka "old school") design that just speaks to my country girl heart--I think it's the combo of the dots, the arch and the warm floral colors.


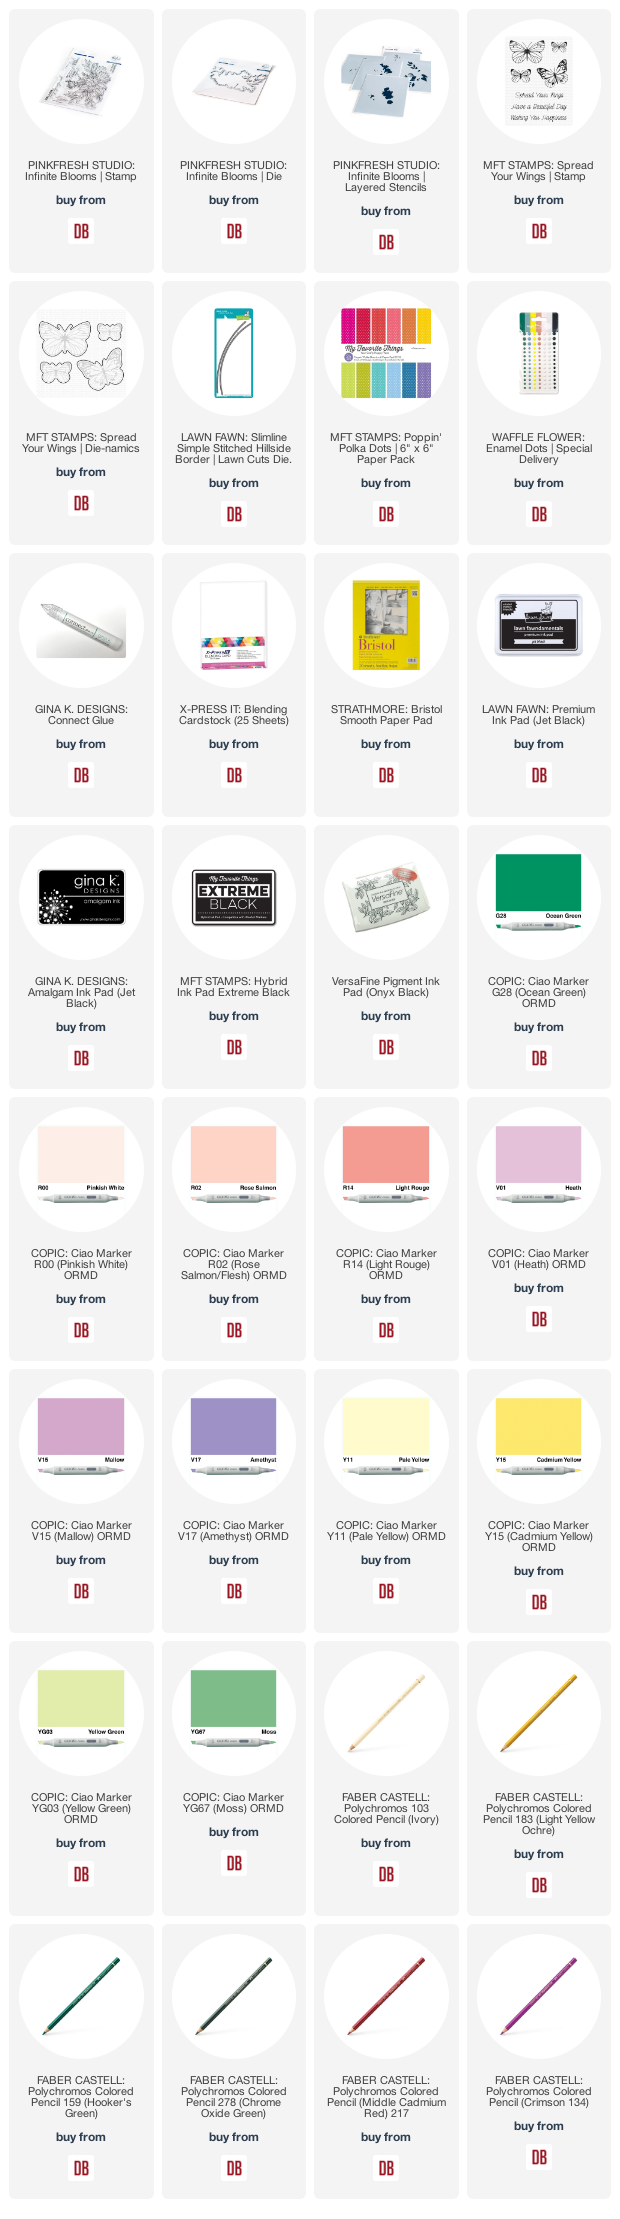
I stamped the Pinkfresh Studio Infinite Blooms image onto Copic-friendly paper then used a Lawn Fawn Slimline Simple Stitched Hillside Border die to cut away the bottom third of panel. This is called the partial die cutting technique with lots of resources out there to explore if you're not familiar with it.


I colored up the image with Copics, choosing yellows that would coordinate with the MFT Poppin' Polka Dots 6x6 paper I chose for the bottom portion of the card.


I stamped a couple of MFT Spread Your Wings butterflies and glued those on top. I love the added dimension of folding them just a touch.

I used that, washi tape, and a few enamel dots for balance and to draw the eye to that fabulous Pinkfresh Studio Infinite Blooms sentiment. 


I'll see you again soon.  If you'd like to check out my other creations in the meantime, you can visit my blog, Frankie Helps Craft, my Instagram, or my Pinterest Board.  

Products Used and/or Recommended Include:

Friday, July 2, 2021

Hello from Toni: Bonus Altenew Roses


Hi, everyone!  I hope you're having a fabulous day!   Today I'm sharing a couple of more cards using the Altenew Craft-a-Flower Antique Rose dies.

While I was using the dies to make this past Monday's card, I realized that the negative of the third layer would make an amazing card.  


My initial thought was just a single bloom in the middle but I pushed it further, cutting out two blossoms and 3 sets of leaves. This required tracking my pieces carefully so I could reattach the 3 corners that had been chopped off during the design process.

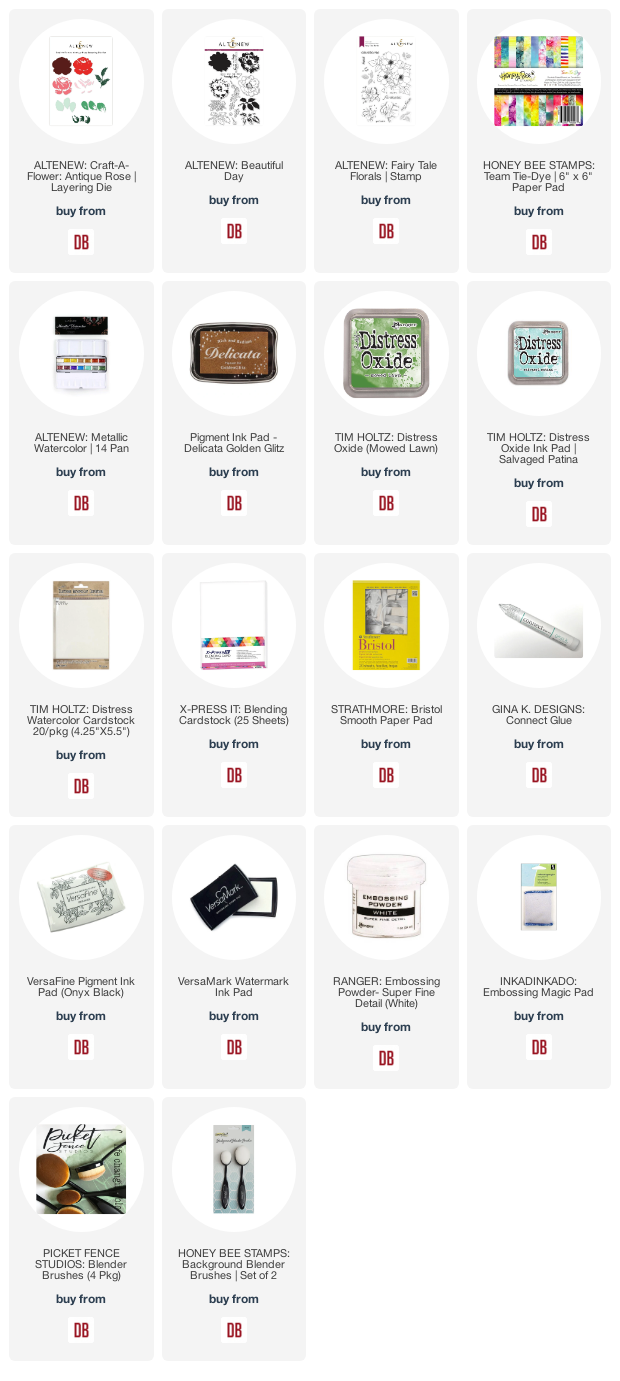
I sponged the card base with Distress Oxide Mowed Lawn and spattered it with water for the leaves.  For the blossoms I used Honey Bee Team Tie-Die 6x6 Paper.  The sentiment is from Altenew Beautiful Day.


That card done, I now had the diecuts to play with--woo hoo!  I painted thick lines of Distress Oxide Salvaged Patina onto a piece of Tim Holtz Watercolor Paper textured side up.  I then used gold watercolor paint over that (see substitutes in the product list) and added a bit of gold foil.

I used both rose layers so it would have a nice thickness to it.  The leaves are single layers.

I embossed the Altenew Fairy Tale Florals sentiment onto vellum and tucked that into the corner below the blossom.


I'll see you again soon.  If you'd like to check out my other creations in the meantime, you can visit my blog, Frankie Helps Craft, my Instagram, or my Pinterest Board.  

Products Used and/or Recommended Include: