Wednesday, June 9, 2021

You're Flamazing!!!

Hello everyone, happy Wednesday! Mayra here with you today. I am so happy to be here. I am sharing this summer-themed card using the cute Flamazing,  and Island Time stamp set from Avery Elle


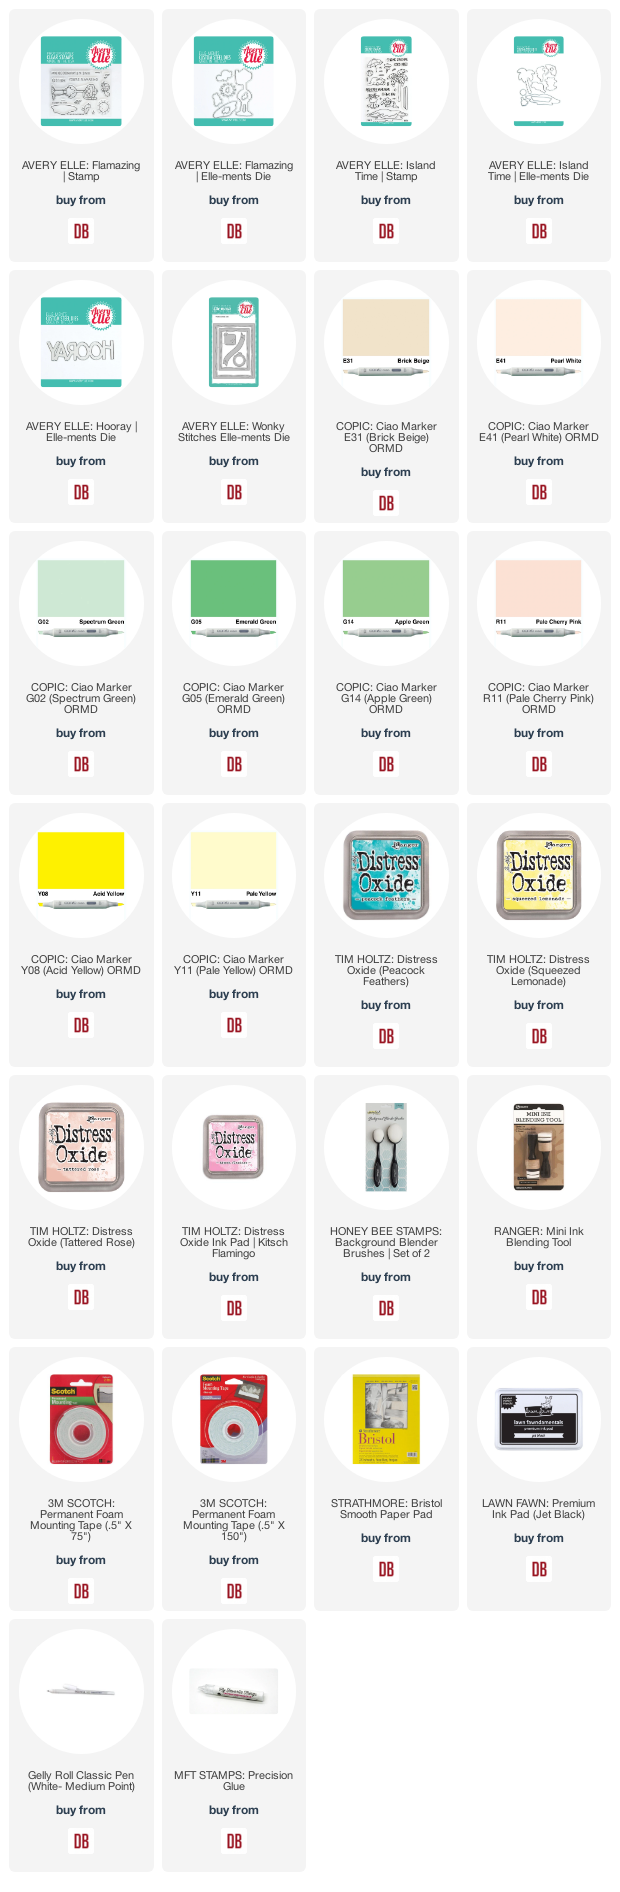
I began by coloring all of the images using Copic markers. I used YR000, R11, R12, E93, and R01 for the flamingo. For the bright green, I used YG01, G02, G14, and G05. For the yellow, I used YR24, Y19, Y08, and Y11. For the brown areas, I used  I used E41E31, E55, E84, and E87.


I then die-cut the larger of the rectangles from the Wonky Stitches Elle-ments and the banner from this die set. I added color to the panel using Distress Oxide inks. I used Peacock Feathers, Squeezed Lemonade, Tattered Rose, and Kitsch Flamingo. I then die-cut the word Hooray from a light yellow colored cardstock.  


I hope you enjoy the card I created to share with you today. Thank you very much for taking the time to stop by. I hope you each have a wonderful and blessed day. Please feel welcome to visit me on my blogIG or Pinterest

Products Used and/or Recommended Include:

Monday, June 7, 2021

Hello from Toni: Bubbly Lawn Fawn Fun


Hello, everybody!  I hope you're doing well this fine day!  Today I am featuring a card using lots of Lawn Fawn, including Bubbles of Joy and Scripty Bubble Sentiments.


Are these mice not the cutest critters? They're scaled perfectly for the Lawn Fawn Mushroom House--of course, they are--it is Lawn Fawn after all!

Before I forget, I used the Lawn Fawn Glitter Pen for the first time with this card. I used that for some of the bubbles and Wink of Stella for the others.  They're really quite similar in final appearance.  I prefer the Wink of Stella brush tip in general but the LF bullet tip was just fine for these circles.


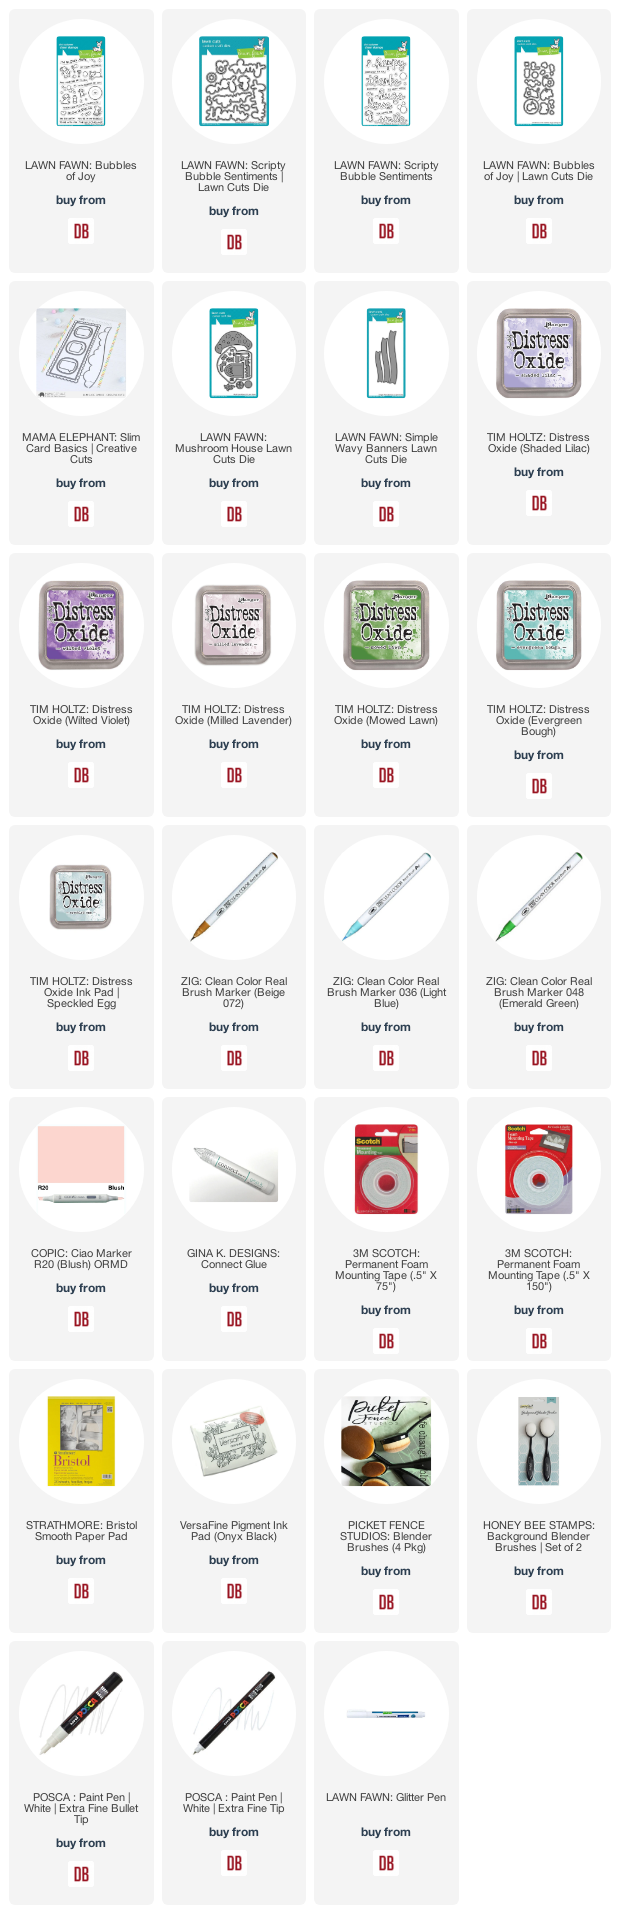
I used a really soft palette in Distress Oxides and Zigs to color everything up. I'm really happy how the Mama Elephant Slim Card Basics front panel turned out--I tend to have a heavy hand even when using my Honey Bee brushes--so managing to keep it pale and still be blended is a major feat. Go, me!
 

I'll see you again soon.  If you'd like to check out my other creations in the meantime, you can visit my blog, Frankie Helps Craft, my Instagram, or my Pinterest Board.  

Products Used and/or Recommended Include:

Friday, June 4, 2021

Hello from Toni: Bonus Pinkfresh Miss Your Smile

Hi, everybody!  A bonus post from me this week and periodically during the summer because I have been so inspired to create and am sharing the love!  :)


I'm using the Pinkfresh Studio Miss Your Smile stamp set which is meant for slimline but I'm such a rebel whose favorite card size is the A2 so that's what I used.

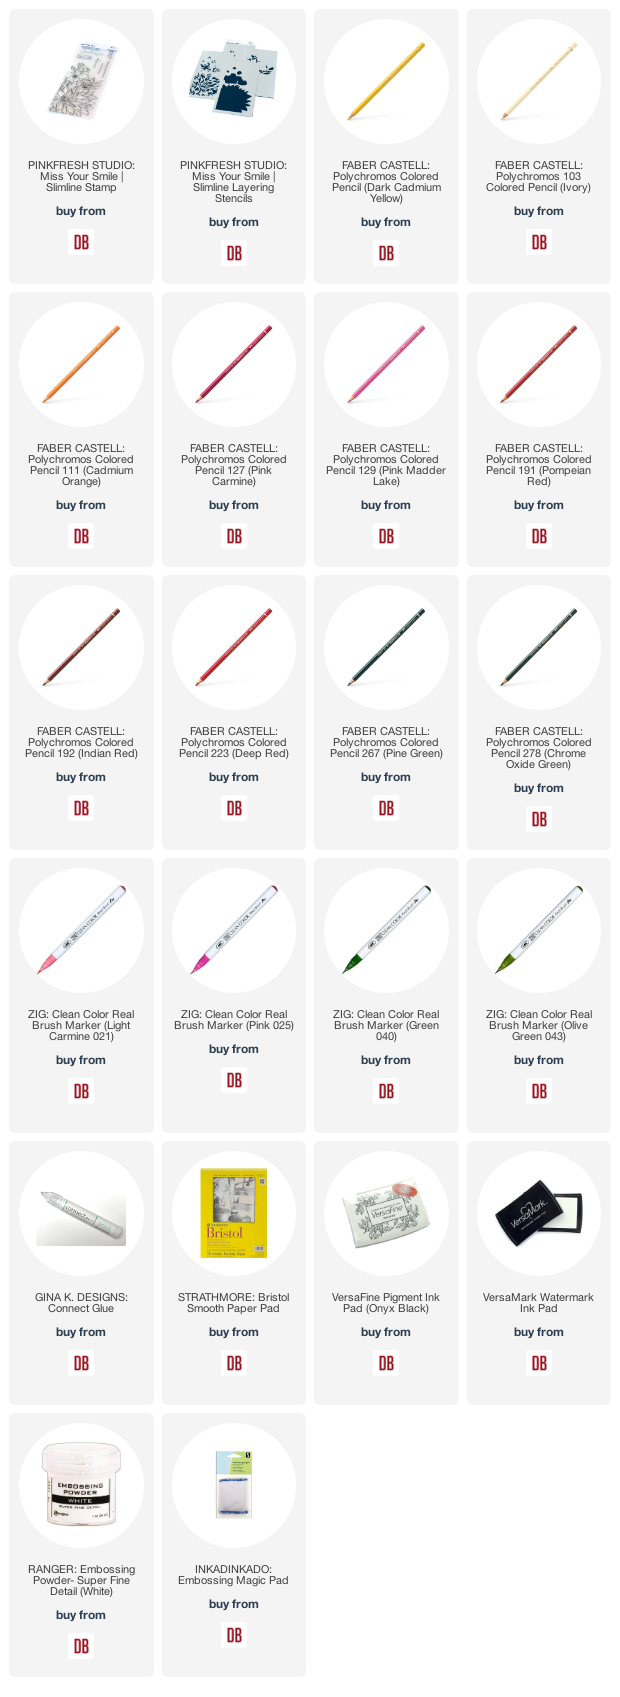
I stamped the card with Versafine Onyx Black, wrapping the image to the back of the card. I did a quick watercolor with Zigs.


Once that was completely dry, I added shaddow and even a few highlights with Polychromos colored pencils.  These work really well on the Bristol Smooth cardstock I had used.

To finish, I stamped and embossed the sentiment on a bold black strip. Voila!


I'll see you again soon.  If you'd like to check out my other creations in the meantime, you can visit my blog, Frankie Helps Craft, my Instagram, or my Pinterest Board.  

Products Used and/or Recommended Include:

Wednesday, June 2, 2021

You Are Koalafied for A Hug...

Hello everyone, happy Wednesday! Mayra here with you today. I am so happy to be here. I am sharing this fun card using the new I Love You(calyptus) Flip-Flop stamp set from Lawn Fawn. 


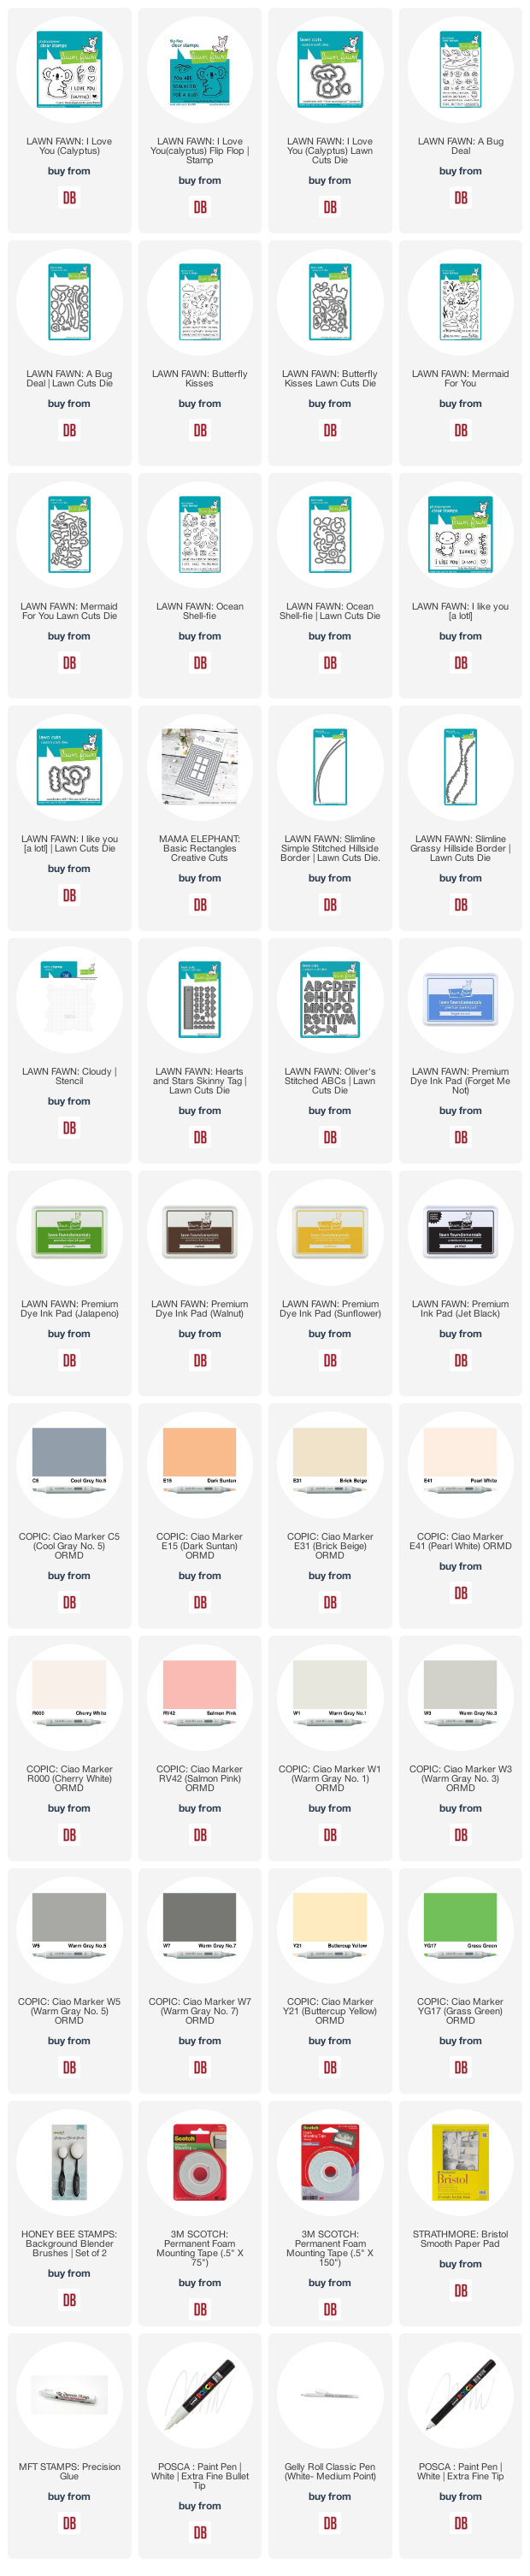
I began by coloring all of the images I would use to create this card. The larger rock is from the Mermaid For You set, the little greenery from the I Like You (Alotl)the smaller rocks from the Ocean Shell-fie set, the leaves, branches, cupcake, and dirt pile from the A Bug Deal set, the butterflies, clouds (as small bushes), and the little tufts of grass from the Butterfly Kisses set, and the original koala from the I Love You (calyptus) set. 


I used Copic markers to color the images. For the koalas, I used E30, W5, W3, W1, C5, W7, R30, RV42, and R000. For the rocks, I used E41E31, E55, E84, E87, E15, E99, and YR27. For the green, I used YG01, YG13, YG17, and G09. For the yellow/mustard color, I used Y23, Y21, YR24, and E97. 

I then die-cut the layers to create the scene for the koalas. I began by die cutting two of the largest stitched rectangles from the Basic Rectangles die set, I used one as a frame by die cutting the next size down on the inside of the panel to create the frame. Next, I used the Slimline Grassy Hillside Border and the Slimline Simple Stitched Hillside Border dies to die cut the grassy and ground areas for the card. I then added color to the base layers using Moonstone, Forget me Not, Fish Tank, and a bit of Blue Jay Lawn Fawn inks. For the grass, I used Celery Stick, Jalapeno, and Noble Fir. For the ground area, I used No2. Pencil, and Walnut with a bit of Gathered Twigs Distress Ink. Next, I used the Cloudy Stencil from Lawn Fawn to add the cloud layers to the base and frame of the card. 


I then die-cut the tag using the new Hearts and Stars Skinny Tag dies set. I added the same colors as the sky to the tag. I then heat embossed part of the sentiment onto the tag. Next, I die cut the word Hug using Oliver's Stitched ABC's die set. I added the same greens as I had used for the grassy hill. 

I hope you enjoy the card I created to share with you today. Thank you very much for taking the time to stop by. I hope you each have a wonderful and blessed day. Please feel welcome to visit me on my blogIG or Pinterest

Products Used and/or Recommended Include: