Monday, November 23, 2020

Hello from Toni: Tim Holtz Snarky Cats for Christmas


Hello, everyone!  As some of you know, I am a cat lover. Animal lover: yes. Cats: Heck, yes! 

I've had the Tim Holtz Snarky Cats for a while without using them and thought my holiday cardmaking fever was the perfect time to Christmas them up!


With the first card I used MFT Christmas Cheer 6x6 paper, adding Star Dust Stickles to each snowflake and cutting out the circle using an MFT Stitched Mini Scallop Die. 

I added a Christmas hat to Mr. Cat who dares Santa to pass judgement!


I sponged the card base of my next card using Distress Oxide Cracked Pistachio and Lucky Clover. I used the Waffle Flower Holiday Lights dies, Copic G29, and glitter cardstock to create the idea of a lit tree. 

I placed Mr. Cat on an MFT spin disc so it appears he's barely hanging on to the lights. Check out the trio picture below--he's in a different location.


For this one, I applied a bit of Distress Oxide Spun Sugar to the card base then stamped the Tim Holtz Snarky Cat twice. The first I colored up with Copics; the second, I used to create a sweater shape which I then fussy cut out of white cardstock.

I added some Avery Elle Santa Jaws strings of light and ribbing with a Copic Multiliner. I colored the sweater with Copics and added Red Stickles to the lights. I love the speech bubble sentiment and added a speech bubble using Hero Arts Offbeat Holiday Messages on one of the Lawn Fawn Speech Bubble Backdrop cut outs.


I hope you enjoyed these as much as I enjoyed making them!  

I'll see you again soon.  If you'd like to check out my other creations in the meantime, you can visit my blog, Frankie Helps Craft, my Instagram, or my Pinterest Board.   

Copics Used: YG01, YG03, R05, N0-N6, YR27, YR24

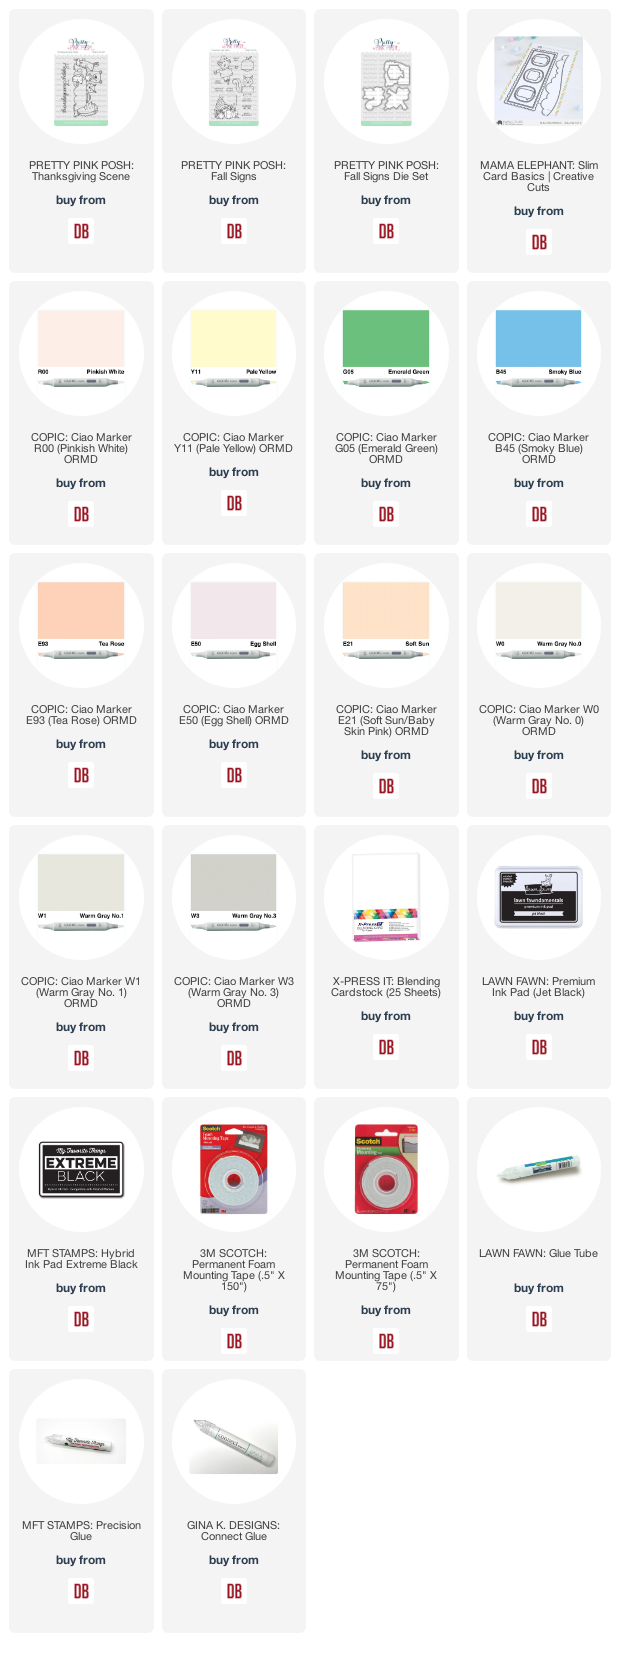
Products Used and/or Recommended Include:

Friday, November 20, 2020

Hello from Amy | Happy Thanksgiving - Pretty Pink Posh


Hello and Happy Friday!  It's Amy here and I can't believe next week is Thanksgiving!  I have a project to share that features Pretty Pink Posh:

Fall Signs

Here's how I was inspired:


I started with the Mama Elephant Slim Card Basics.  Rather than using the three openings, I decided to change it up a bit and do two.

The Thanksgiving Scene is so sweet, I made that the focal point of my design.  The Happy Thanksgiving sentiment is from that same set.


I split up images from the Fall Scenes set.  

These are the copics I used:

Y11 | YR21
G03 | G05
B34 | B45
E93 | YR01
W0 | W1 | W3
T0 | T1 | T2 T3 | T4


That's it for me!  Have an awesome weekend!

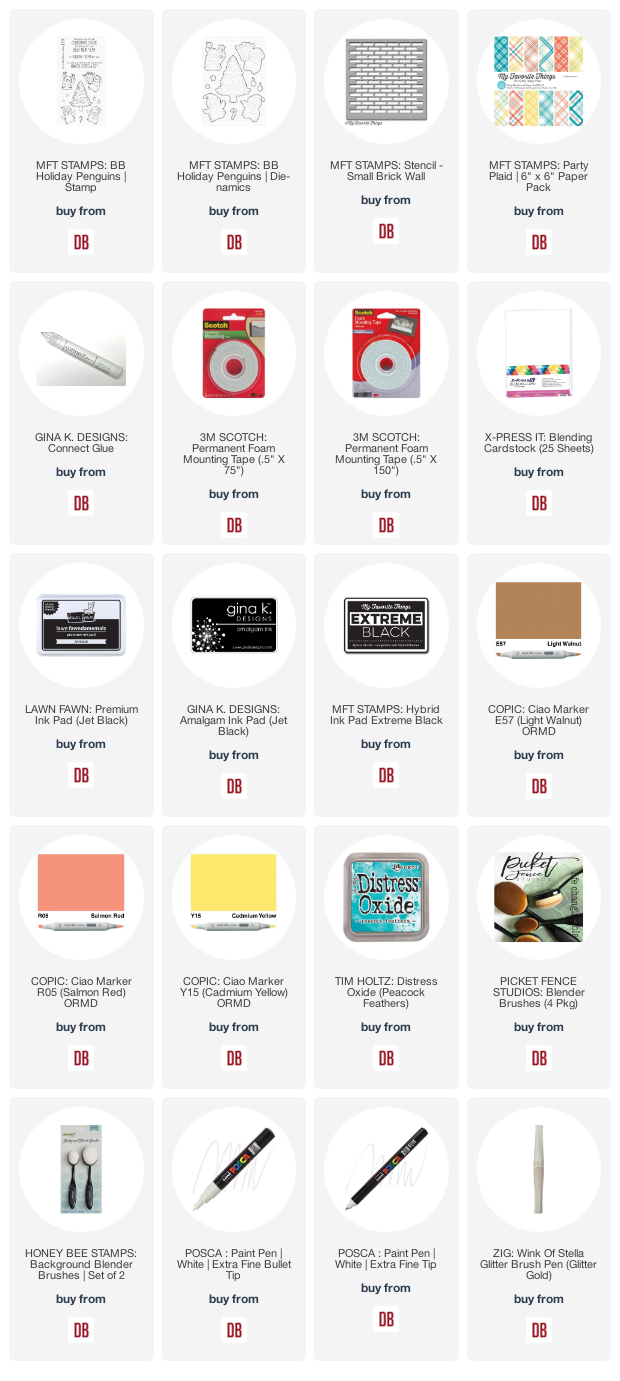
Links to products used are listed below:

Thursday, November 19, 2020

Hello from Toni: MFT Holiday Penguins


Hello, Doodlebugs fans! I played along with a sketch challenge this past weekend and thought I would share with you the result.

I first used the MFT Small Brick Wall stencil with Distress Oxide Peacock Feathers to create a light background.

I then cut out a banner that had been stamped with the MFT Christmas Background.


I used an MFT Pierced Circle die, adding a partial diecut from the MFT Party Plaid 6x6 Paper as a rug.

Next I stamped and colored up the MFT Holiday Penguins images with Copics, using my Posca 0.7mm Extra Fine Bullet White Paint Pen and Zig Wink of Stella Clear for the tree and highlights.

I'll see you again soon.  If you'd like to check out my other creations in the meantime, you can visit my blog, Frankie Helps Craft, my Instagram, or my Pinterest Board. 

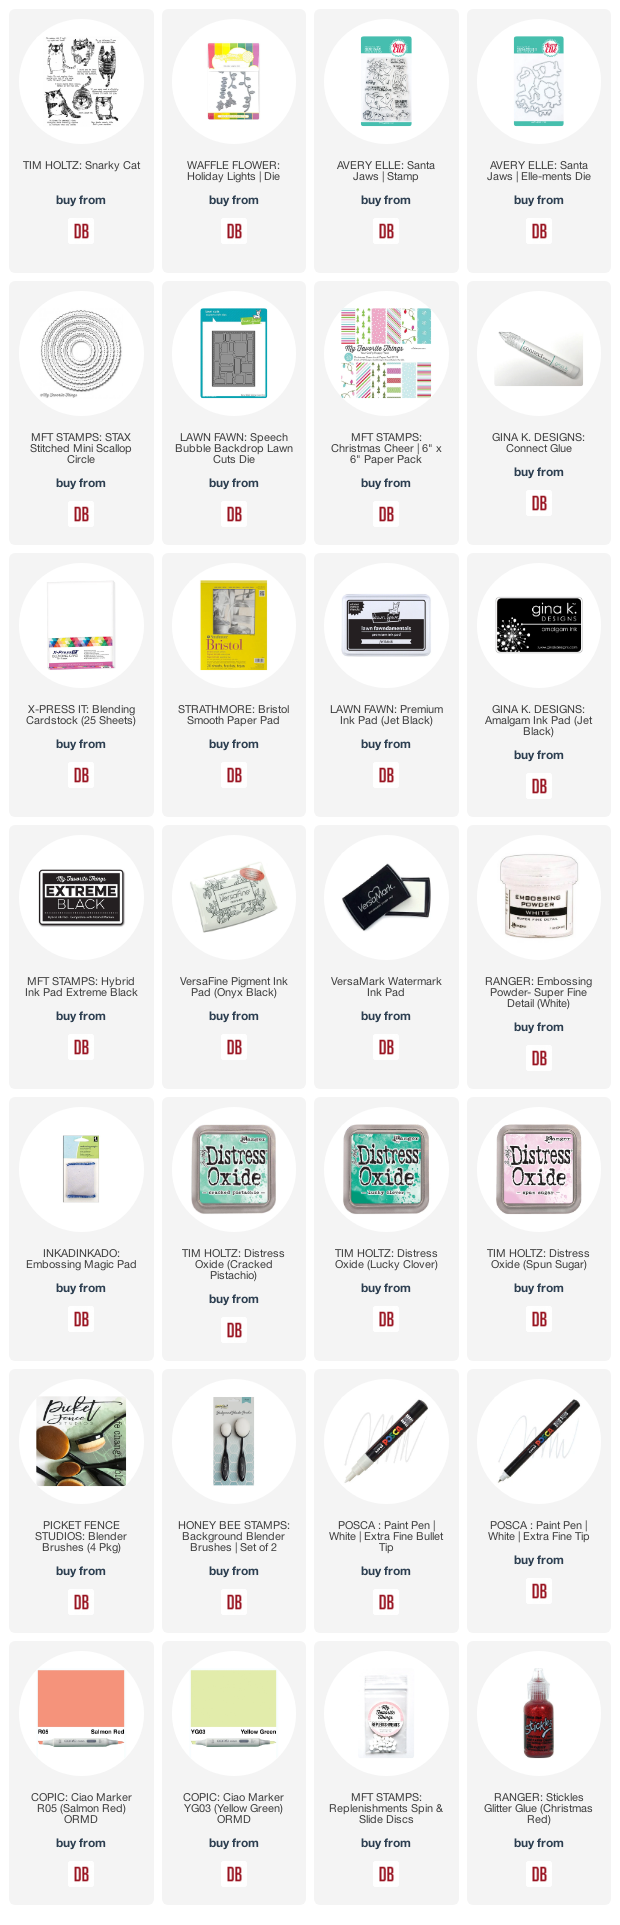
Products Used and/or Recommended Include:
Wednesday, November 18, 2020

Wishing You A Magical Holiday Season...


Hello everyone, happy Wednesday!!! Mayra here with you today. I have a fun "magical" themed Christmas card to share with you. I was inspired by a precious fall themed card I had shared. I will share the photo and link to that one as well.  I used several Lawn Fawn stamps and dies. They will be listed below if you would like to know which ones I used. 


I began by choosing the images I would be using for my card. I was going for a magical theme. The unicorns from the Unicorn Picnic stamp set were perfect. I also used lovely fairies from the Frosty Fairy Friends stamp set, the dragons from Little Dragon, and Winter Dragon stamp sets. The sentiment is also from the Winter Dragon set. The sweets that the magical creatures are enjoying are from the A Creature Was Stirring stamp set. 
The larger cupcakes are from the Baked with Love stamp set. 


Next, I colored my images using Copic markers. For the pink areas, I used R00, R01, and R21. For the red areas, I used R22, R05, R17, and R46. For the green areas, I used YG01, YG03, YG11, YG25, YG17, and G29. For the mint areas, I used BG10, BG11, and BG13. For the yellow areas, I used Y11, YR23, and YR24. 


I then die cut the layers I would be using to create the scene for my card. I used Bristol Smooth cardstock for the base panel. I used the Large Slimline with Sliders, Small Slimline with Lift The Flaps, Slimline Stitched Hillside Border, and the banner from the Shadow Box Card Ocean Add-On. For the front of the card, I used the beautiful Build A Castle die and the Mama Elephant Scallop Oval Frames die set. To add color to the sky I used Distress Oxide Ink in Peacock Feathers. I then assembled my card, it really was a fun card to create. 

Thank you very much for taking the time to stop by. I pray you each have a wonderful and blessed day. Please feel welcome to visit me at my blog, or Instagram, or on Pinterest. 

Here is the card that inspired me: 

If you would like to see all of the details about this card please feel welcome to visit me here. 


Links to products used are listed below: