Friday, November 11, 2022

Even MORE Christmas JOY!


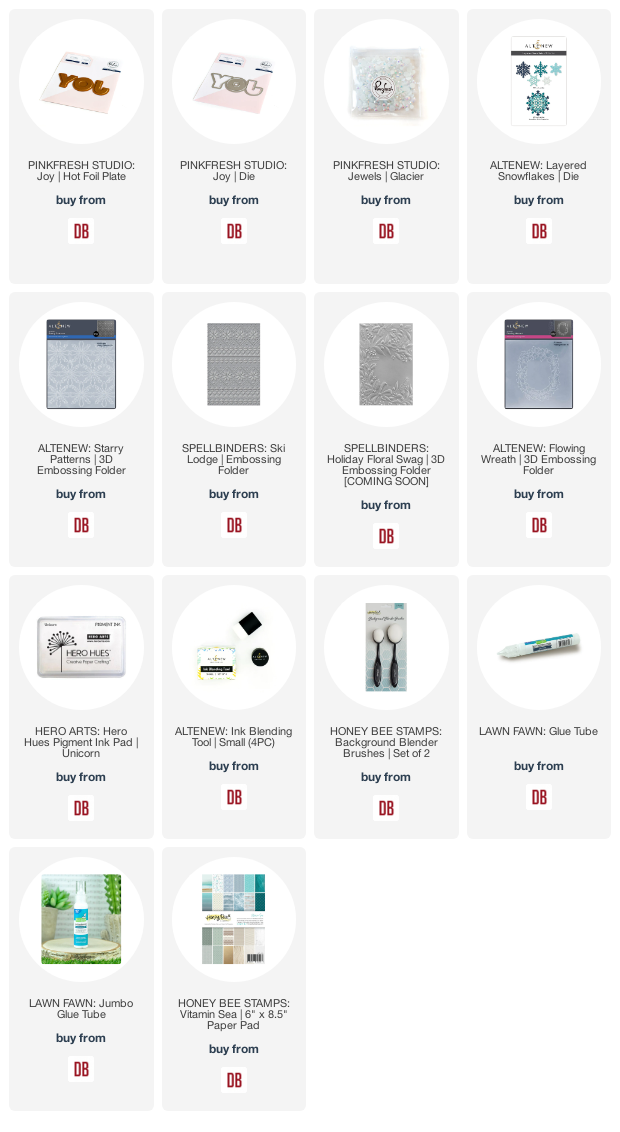
I'm back today with even more JOY to add to our holiday cards!

Pinkfresh Studios added this wonderful die, and hot foil plate to their holiday offerings this year - I jumped at the chance to make them mine!

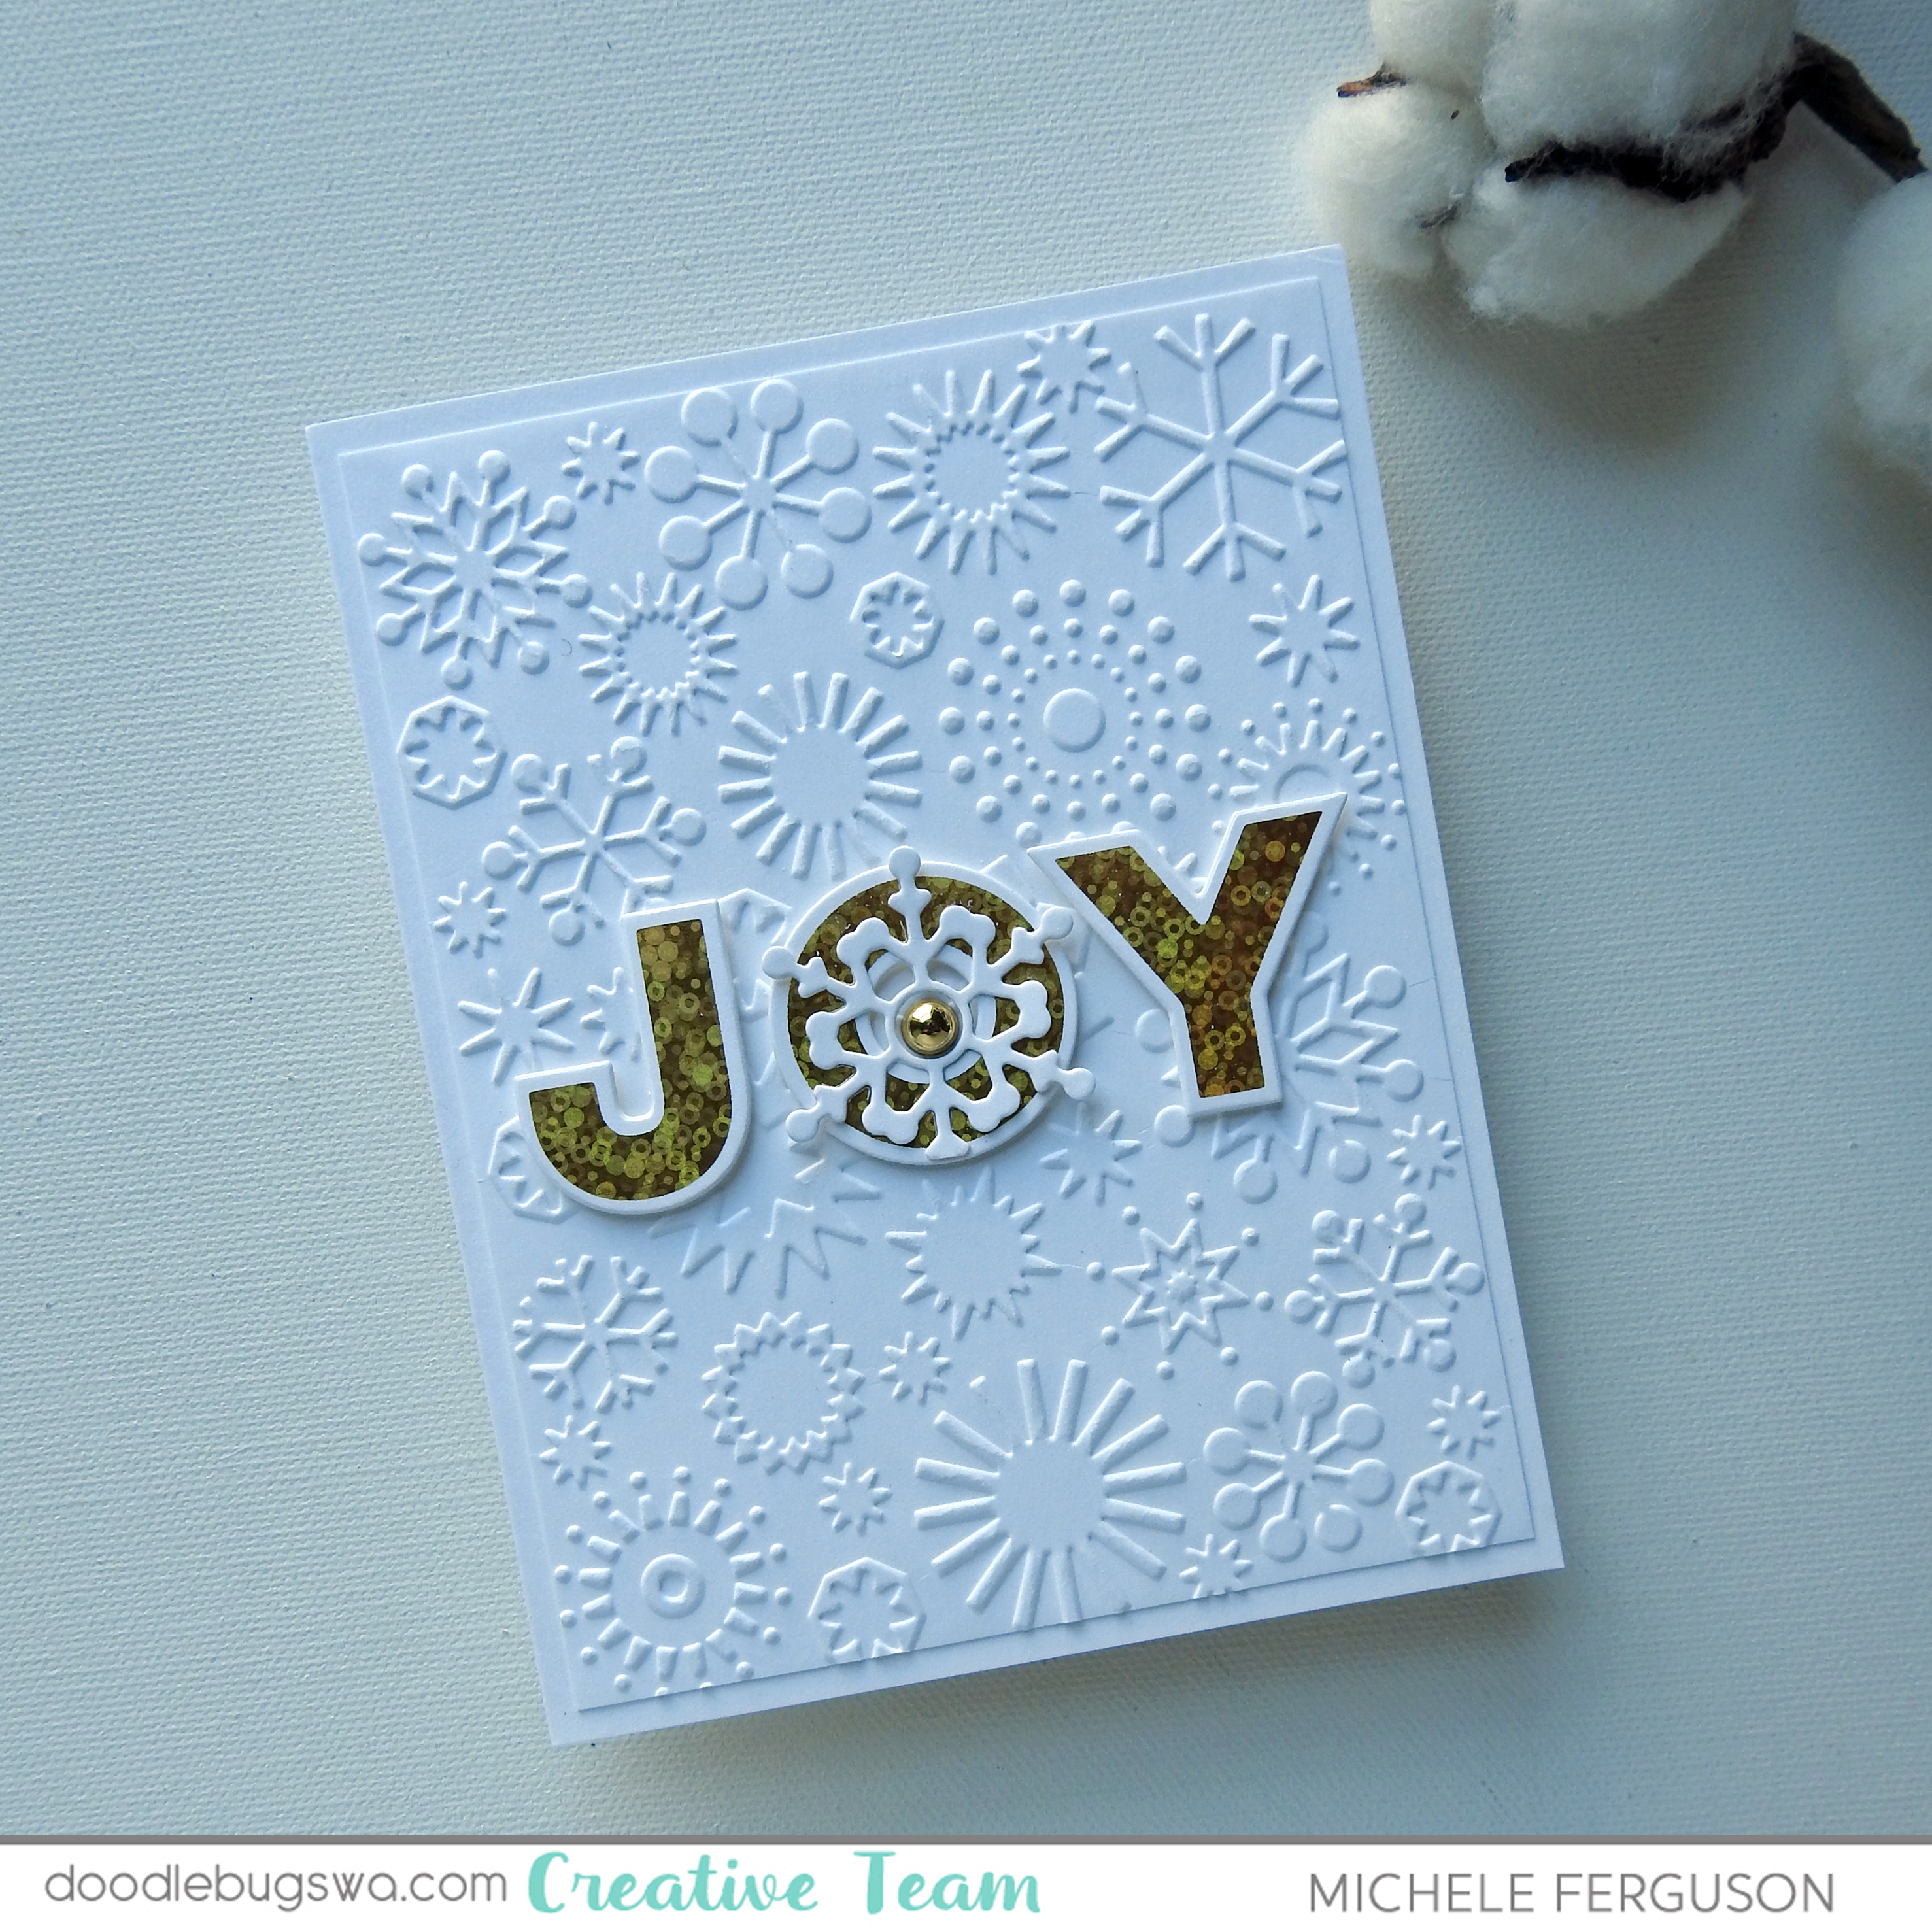
First up - full disclosure:  the embossed panels I've used today are ones found in my stash - a few bits and bobs are always leftover from one year and used the next.  Please know that there are plenty of gorgeous embossing folders found HERE in the Doodlebugs shop!

Okay how about those that are foiled first...


How can something so simple seem so grand?  Pinkfresh Studio has a JOY foil plate and coordinating die to cut it out - brilliant in my humble opinion!  Quite a bit of bang for one's buck!
I've added one of those pretty Altenew Snowflakes, and a little gold metallic pearl from Pinkfresh.


Another simple design made pretty special with red foil and a dash of embossing - the little tree is another found bit from my stash - bet you have just the thing in your stash, too!


Here I've taken a simple snowflake embossed panel, added more snowflakes from Altenew, JOY cut from woodgrain paper and bumped it up a notch with puffy embossing powder from WOW - toss in a sprinkling of PF jewels and
you have a joy-filled sparkling card!


This one starts with embossed kraft cardstock that has been swiped with a white pigment ink. I've cut that JOY from one of HoneyBee's Vitamin Sea patterned papers - looks like windswept snow to me!  Another snowflake and jewel to dot the O!


By now you get the picture!! Make multiples peeps!
Use all of those leftovers - and think ahead so every
scrap of this precious paper is used!

Until next week - stay crafty, my friends!
=] Michele
 
 Links to products used or recommended are listed below:  

Thursday, November 10, 2022

Using Halloween Sets for Christmas


Hi, everyone!  Toni here with you today sharing Another bonus holiday post from me. What can I say, I love Christmas!

This time I used the Spellbinders Dancin' Mummy--yes, as in Halloween mummy--to make a punny cute card. Just because I didn't use it in time for Halloween doesn't mean I can't use it for other holidays (mother's day, people!).


I started by sponging the card front with Distress Oxide Spun Sugar, Picked Raspberry, and Festive Berries, then spattered with water.

While that was drying, I assembled the mummy (which I turned into a gingerbread mummy by sponging with Vintage Photo and trimming the feet some). I added a Lawn Fawn Build a Snowman scarf cut from Lawn Fawn Knit Picky Winter 6x6 Paper and Lawn Fawn Christmas Palm Tree lights colored with Copics and coated in Glossy Accents.


I cut the "mummy" from the same paper and Lawn Fawn Henry's ABCs. The rest of the sentiment was cobbled together from Lawn Fawn Beachy Christmas.

After I finished the sentiment, I realized I had forgotten to add the Lawn Fawn Snow Flurries Background Stencil flakes I had planned so added that before adhering the mummy down.


I'll see you again soon.  If you'd like to check out my other creations in the meantime, you can visit my blog, Frankie Helps Craft, my Instagram, or my Pinterest Board.  Have a great rest of your day!

PRODUCTS USED AND/OR RECOMMENDED

Wednesday, November 9, 2022

Poinsettias-Themed Treat Boxes...


Hello and happy Wednesday everyone. I am sharing a Christmas-themed set of treat boxes with you today. I used the Scalloped Treat Box die to create the adorable boxes. 


I began by die-cutting the layers to create both boxes. I then used the Layered Poinsettia and the Christmas Blooms die sets to create the poinsettias and the greenery to decorate each of the boxes. 


Next, I heat embossed the sentiment from the Boughs & Holly stamp set onto the black treat box. I then used the Tiny Tags die set to die-cut a set of layered tags for each of the treat boxes. I then heat embossed the sentiment from the Tag, You're It Holidays set onto the red tag. For the patterned tag, I used the Shutter Card Add-On die set to die cut the phrase 'for you'.


I hope you enjoy the set of treat boxes I created to share with you today. Thank you so much for taking the time to stop by. I hope you each have a wonderful and blessed day. Please feel welcome to visit me on my blogIG or Pinterest.

Links to products used or recommended are listed below:  

Tuesday, November 8, 2022

Mass Producing Christmas Cards with Spellbinders Holiday Blooms Die


Hello friends.  I've been busy with my die cut machine cutting loads of festive florals from the Spellbinders Holiday Blooms die set.  This set is full of beautiful flowers and foliage.  They are perfect for holiday cards and projects and most can also be used for other seasons by simply changing up the colors.

The first thing I do when producing a large quantity of cards is all the die cutting.  I choose my cardstock colors and cut loads of images.  Then I glue multiples together usually two or three to create some dimension and texture on my cards.  After I have them glued and stacked I start assembling my cards.

I embossed the backgrounds for these cards using the Scenic Poinsettias 3D Embossing folder from Spellbinders.  This folder is currently out of stock ( at the time I'm writing this), but there are so many other backgrounds that would also work well for this card.  I'll link them below in the product suggestions.  After embossing the A2 panels, I glued them to my card bases.

I then got to work creating the JOY using the Joy Hot Foil Plate and coordinating die from PinkFresh Studios.  Any bold holiday sentiment would work well here.  After foiling the letters and cutting them out, I cut additional pieces from white cardstock to stack behind the letters.  I love how the dimension looks.

Finally, I was ready to create my festive bouquets.  I positioned the JOY on the front of the card and added bits and pieces from the pile of flowers and leaves I created.  Each card is different, with the same basic layout | design.  This keeps me from getting too bored.

Here's another version I created.


And a close up look.

I hope these inspire you to create something today.

-Cathy

Links to products used or recommended are listed below: