Monday, February 12, 2024

Stenciling, Hot Foiling and a Shaker - Perfect Birthday Combination

Hey friends! It's Amanda from Twiddler's Nook. Let's mix things up with a fun birthday shaker card today! I pulled out some fabulous hot foil plates from Spellbinders and combined them with Pretty Pink Posh stencils for my background and the combo couldn't be more perfect!

Spellbinders Giant Party Balloon

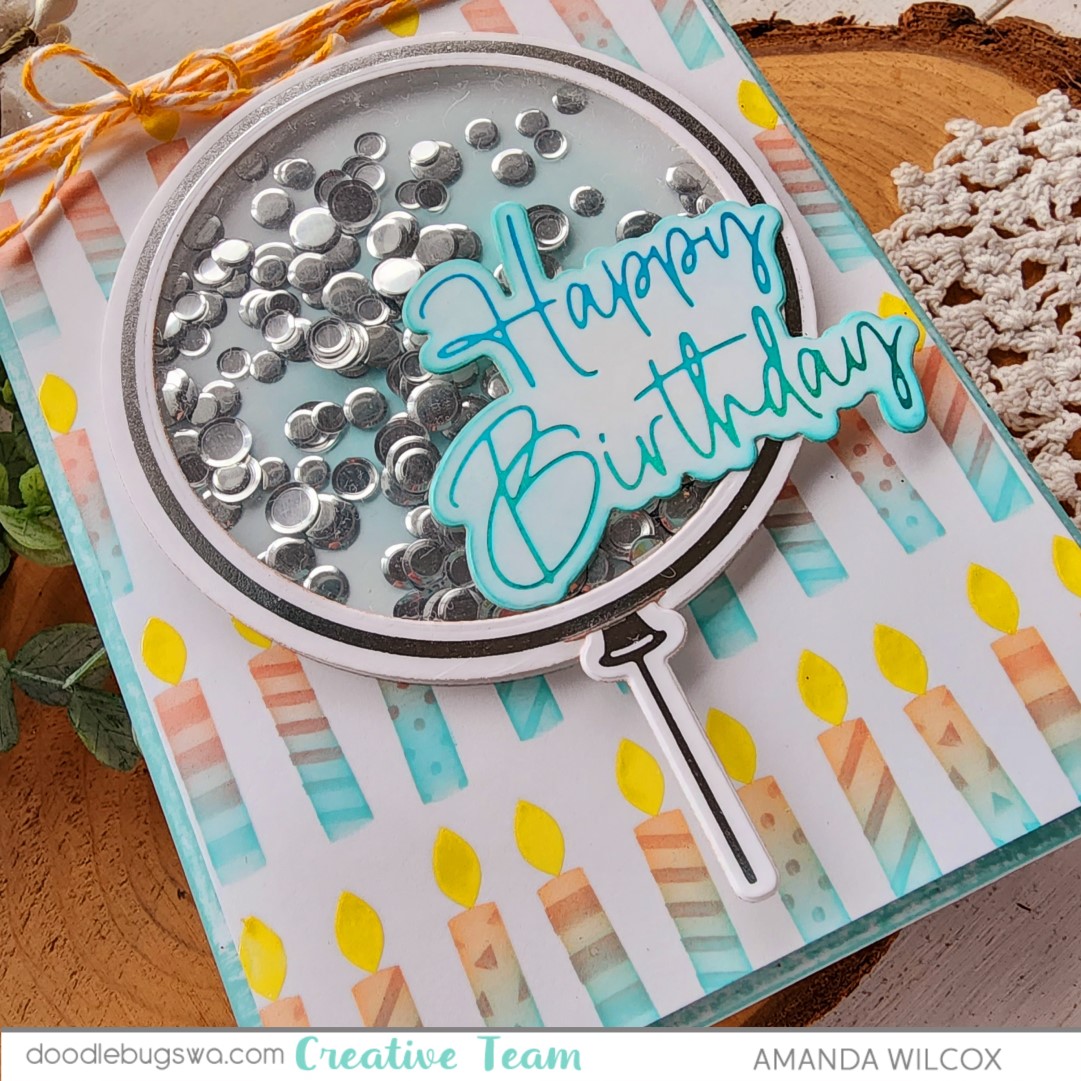
I started by hot foiling the Spellbinders Giant Party Balloon and the sentiment in the set. The balloon pieces are silver and the sentiment is moondust hot foil. To accentuate the moondust foil I went around the edge with a blending brush and Lawn Fawn mermaid ink after die cutting it out.

Spellbinders Giant Party Balloon

I wanted to make a shaker and this Giant Party Balloon set comes with the inner circle die to make that a reality. How fun is that! So I cut another large circle from white cardstock and inked the center with mermaid ink like the sentiment. Plus I cut an acetate circle and threw all my elements together with liquid glue and foam strips, inserting Spellbinders silver smooth discs as my shaker bits.

Spellbinders Giant Party Balloon

Next, I pulled out the Pretty Pink Posh Layered Candles stencil set. I inked the bottom of each candle row with mermaid and the top with peach fuzz. I replaced the candle layer with the detail layer and did the same thing again. Then for the flames, I spread Brutus Monroe yellow Chroma Glaze. It gives a shiny finish which is fun for the background of our blingy shaker balloon.
Spellbinders Giant Party Balloon

Finally, I took the mermaid ink pad and drug it across all four sides of my card base. I popped the stenciled panel up with foam tape and glued the balloon directly to that with liquid glue. Then I glued the sentiment to the front of my balloon as well.

To finish my card off, I tied some orange bakers twine around the top into a bow.
I appreciate you sharing your time with me. Have a fabulous day! 

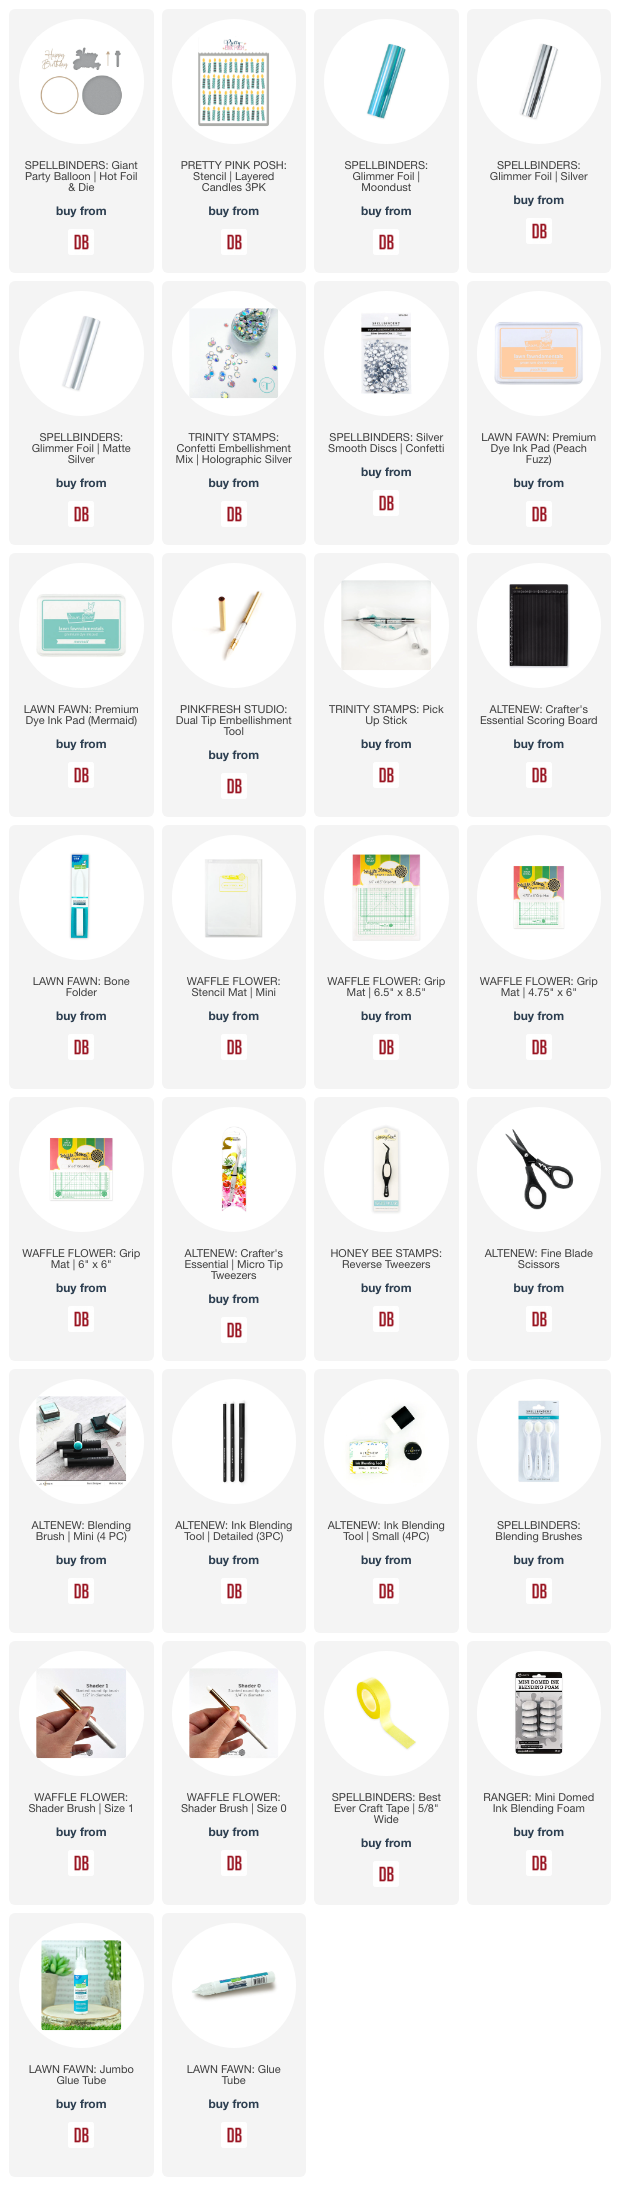
Links to products used or recommended are listed below:  
Thursday, February 8, 2024

Simple Interactive, Pop-Up Card

What do you do with a pile of paper scraps?  Today I'm sharing a quick and easy card using my paper scraps.  The card has an added surprise....the HELLO greeting pops up when you remove the card from the envelope.

Concord and 9th Markered Messages Pop-Up Card
To start this card I selected a pile of papers from my scrap box that worked well together.  Deciding which of the papers to use was the longest and hardest part of this card.  After choosing the papers, I used the Simple Strips die from Pretty Pink Posh to quickly cut an assortment of strips in different sizes and colors.

Once I had the pieces cut, I arranged them on a 4.25" x 5.5" sheet of white cardstock.  I placed them at an angle, laying and securing them down in rainbow order.  Once they were secure, I used my A2 card dies to cut the piece into a rectangle that would be slightly smaller than the front of my card panel.  

The dies make a more precise cut and I like how the edges look when cut with a die.  However, you could cut the strips and the panel using your paper cutter if you don't have these dies.

Concord and 9th Markered Messages Pop-Up Card

I stamped my sentiment and secured the panel to the front of my card base before I created the "springs" and attached my sentiment.

The sentiment was die cut several times and layered together to give it dimension and make it sturdy.

For the springs I cut a strip of paper about 1/2" wide [you could used one of the leftover strips you cut for the front of the card] and scored it at 1/4, 1/2,  and 3/4 inches and then cut at 1 inch.  I folded back and forth on the scored lines to create something that looked an "M".  I used this to secure the sentient to the front of the card.  Be sure to use strong adhesive so it doesn't come apart once it has dried.  [see image below]

All done!  These little springs will fold flat when you put the card in the envelope and pop up when the card is removed.

Concord and 9th Markered Messages Pop-Up Card

Thanks for stopping by.  I hope you're inspired to create something today.

-Cathy

Links to products used or recommended are listed below: 

Tuesday, February 6, 2024

Friend

Don't mind me as I am still busy designing Valentine's + Galentine's Day cards.  I love how this one turned out:

Sunny Studios Holiday Hugs for Valentine's Day

I had so much fun mixing and matching products to come up with this card:
  • Sunny Studio Stamps - Holiday Hugs | stamps + sunny snippets
  • Lawn Fawn - Cerealsly Awesome | stamps + lawn cuts 
  • Pretty Pink Posh - Pierced Hearts | die
  • Concord & 9th - Friendly Florals | die
Sunny Studios Holiday Hugs for Valentine's Day

The Holiday Hugs set is so versatile! You can have that cute bear carry so many different things.  Back in the day, I use to love having bowls of cereal. I remember my oldest use to love her bowls of cheerios.

These are the copic markers I used:
  • R02 | R21
  • RV52
  • YG07 | YG17
  • W00 | W1 | W2
  • C00 | C1
Sunny Studios Holiday Hugs for Valentine's Day


Thanks so much for stopping by!

Links to products used or recommended are listed below: 

Monday, February 5, 2024

Sending Love and Hugs Die Cut Card

Happy Monday friends! It's Amanda from Twiddler's Nook and we're mixing things up for another bit of valentine inspiration before the big day arrives. I had fun with dies and embossing today.

XOXO Border from Pretty Pink Posh and Sweet Birdie die from Spellbinders

I adore this new Pretty Pink Posh XOXO border so that's where things started for this card. I just cut the main piece from light gray cardstock and one heart from light pink. I still wasn't sold on what to do so I went digging in my stash and came across the adorable Spellbinders Sweet Birdie.

XOXO Border from Pretty Pink Posh and Sweet Birdie die from Spellbinders

I used some pink, melon and peach cardstocks from my stash to create my bird and cut a heart for the border from each color too. I glued all the hearts directly to the border except the darkest one which is popped up with a foam square. I ran a white panel through the die cutter with the Spellbinders Tiny Dots embossing folder for my background and glued the border to the bottom. Then I popped the birdie up with foam squares to match the popped up heart.

XOXO Border from Pretty Pink Posh and Sweet Birdie die from Spellbinders

I stumbled on this ribbon in my stash to tie around the top of my panel and added a tag from the Spellbinders Envelope of Wonder collection. The sentiment comes from the stamp set in that collection too. After tying the bow I added foam squares to the tags to keep them in place.

For finishing touches I just added glossy accents to the birdie's eye and beak. Isn't this such a sweet valentine?

I appreciate you sharing your time with me. Have a fabulous day!
 
Links to products used or recommended are listed below: