
If you're a fan of alcohol inks, you'll be happy to know, we finally added all of the Tim Holtz alcohol inks to our online store. While the inks have been around for many years, they have recently become very popular again. So, we thought you might enjoy a few blog posts featuring these inks, supplies for creating with these inks, and some fun techniques.
There are numerous techniques and mediums to use when creating with these inks. They can be used on glass, metal, coated paper, Yupo, tiles, or any non-porous surface. My personal favorite is using the inks on Yupo.
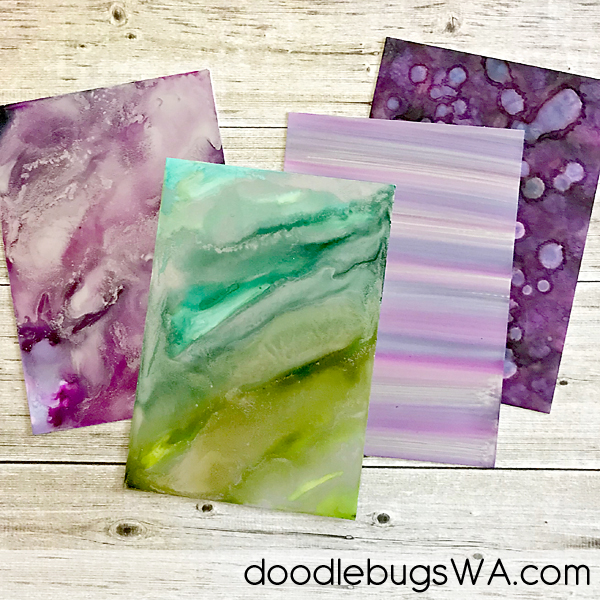
As I mentioned, my favorite way to create with these inks is using Yupo. I love sitting down with and assortment of inks, dripping them on the paper, and then blowing them with a straw to move the color around. It's fun to just play, and see what the colors do and how they mix together. Once I've created an assortment of backgrounds, I use them to create cards. Below are a few backgrounds I created and a couple cards I made using the backgrounds.


Yupo is a synthetic paper. The most commonly used is the Yupo ORIGINAL. It's smooth, bright white, and 100% waterproof and tear resistant. It is available in multiple weights (we carry 144#, 74#, 86# and translucent in 104#) and is 100% recyclable and die cuts easily with most dies and machines. As I mentioned before, it is my favorite medium for using alcohol inks. I've tried photo paper and Tim Holtz glossy cardstock. Nothing works quite the same as Yupo. It is a bit more expensive, but totally worth it!
Blending Solution vs. alcohol? I use both, but prefer the way the colors move and blend with the blending solution. I encourage you to experiment with both. I think you'll find they both create magic, just differently. Here's a quick VIDEO from Ranger Ink demonstrating the difference between the two.
Felt Applicator Tools are great for applying alcohol inks. Especially if you like to have more control. To use, place a piece of felt onto your applicator tool. I like to choose 3 or 4 colors that work well together. Then, squeeze a 1-3 second squeeze of each color onto the felt while pushing the tip against the felt. Then pounce the color, or drag the color across the paper. After doing this, I like to add some blending solution to the felt and pounce again over the area where you previously applied the alcohol ink.

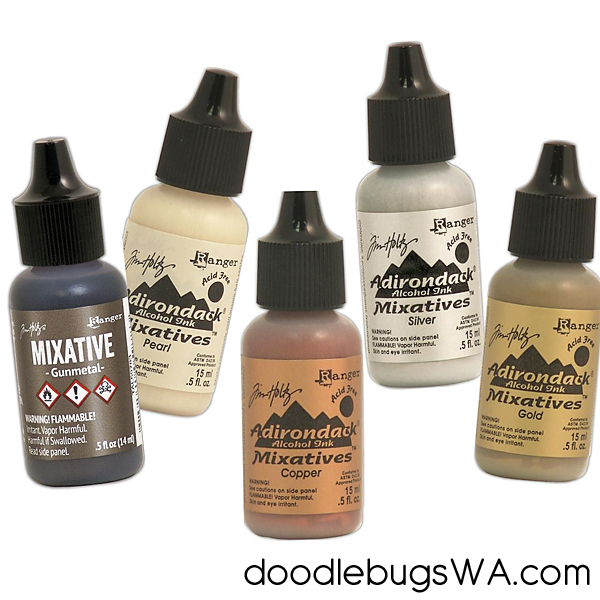
The Alcohol Inks from Ranger / Tim Holtz are acid free and as I mentioned before, can be used on most non-porous surfaces. They are available in 60 alcohol ink colors and 7 mixatives. The mixatives are luminous, fast-drying, acid-free inks, specially formulated to create metallic highlights when combined with Tim Holtz Alcohol Inks. Use them on non-porous surfaces such as light or dark glossy paper, Yupo paper, glass, and other slick surfaces.
Ashley Tucker created some fun YouTube videos demonstrating how she created some basic alcohol ink backgrounds. She kindly gave us permission to use her videos, here, in our blog post. Below are her fist and second video in a series using alcohol inks.
We hope you'll head over to her YouTube Channel and take a peek at some of her videos. If you like them, please subscribe to her channel and leave her a comment! She also has a lovely blog you'll find HERE.
Watch for our next blog post. We'll talk more about the inks and a fun, new product Tim introduced a few months ago, Lift Ink.
Thank you for stopping by!
LINKS TO SUPPLIES FEATURED:

What a great article! Thanks so much for sharing this information and the links with us! I really appreciate that even though there isn't a brick and mortar store anymore, you're still sharing your knowledge and experiences with us!
ReplyDeleteThanks Barb. We are so glad you enjoyed the posts. We hope to do more like this.
ReplyDeletelove the two from one cards
ReplyDeleteThank you!
DeleteGreat demo. Something new for me to try. Thanks a bunch.
ReplyDeleteGreat job with all the tutorials and I love the cards! I've been wanting to revisit alcohol inks and needed to know good and creative ways to use them and your videos did the trick. Thanks so much.
ReplyDelete