Welcome everyone! This is Amanda from Twiddler's Nook. I'm not over the beach theme and I found a new stencil set to play with on top of it! Mix it up Monday for the Doodlebugs blog brings us beautiful stenciling for quick coloring and some relaxing seashell coloring too. It was a great crafting session!

I started by die cutting and ink blending the new Waffle Flower Seashell Frame die and stencil combo. It's so easy to use and is going to be so fun to mix and match different color combos on!

Next, I chose a handful of seashells from the new Pretty Pink Posh Seashells stamp set. I colored them with copic markers and used the coordinating dies to cut them all out. I arranged them how I wanted and used liquid glue to adhere them together. Then I chose a sentiment from the Pretty Pink Posh Sentiment Strips | Summer set and cut it out with the Sentiment Strip dies, along with a scalloped shadow too.

For my background panel, I chose saltwater taffy Distress Spritz spray for shimmer and light color. I think it goes so well with everything else going on but doesn't distract from the images at all. After it dried, I adhered it to a card base with liquid glue and attached the frame, images and sentiment strip with foam squares.

I'm having so much fun creating with all of these new ocean themed goodies that have just released! Do you enjoy beach and ocean crafting? It makes me want to put my toes in the sand for sure!
I appreciate you sharing your time with me. Have a fabulous day!
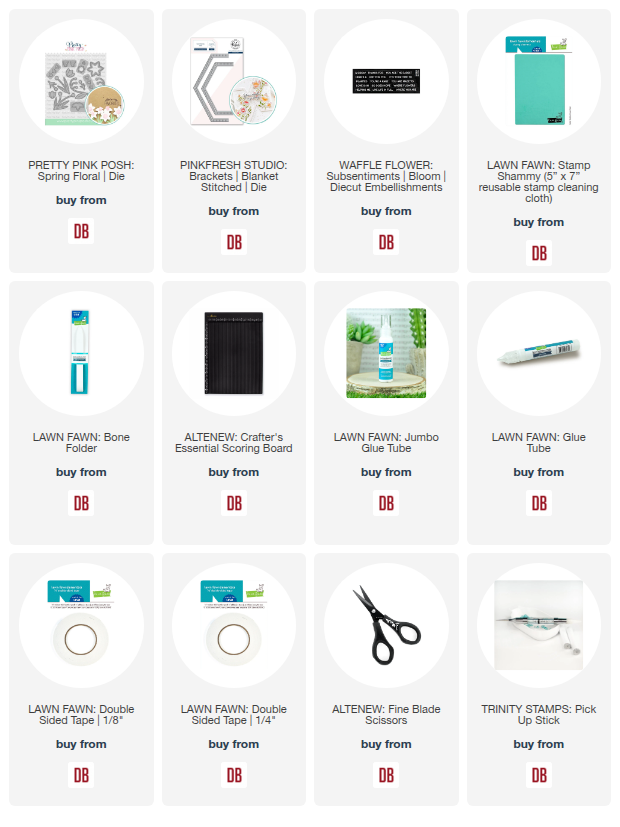
Links to products used or recommended are listed below: