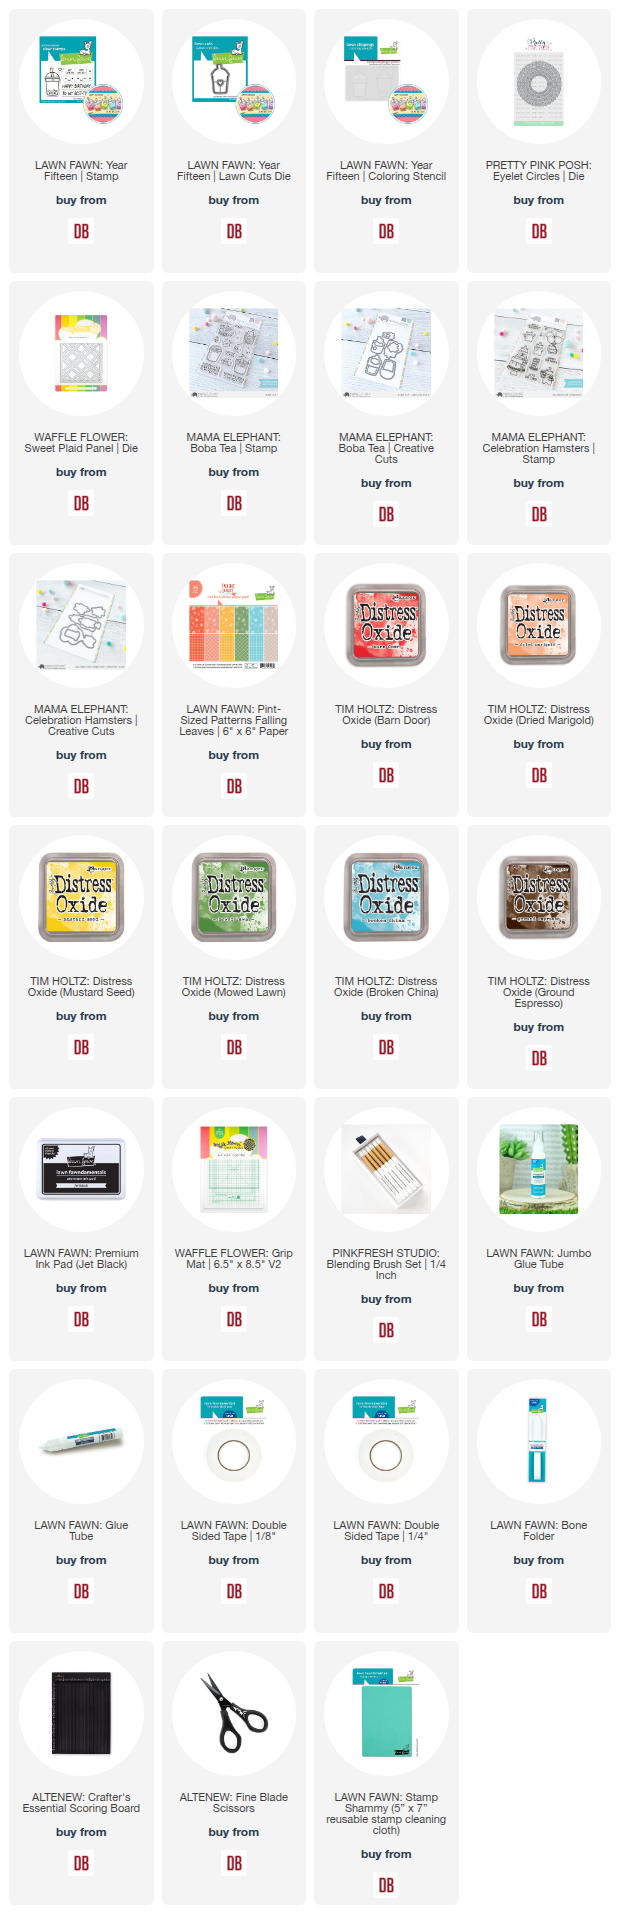
I love the coordinating stencils that Lawn Fawn comes out with. It makes coloring their images super fast! I cut the interior out from the Eyelet Circle and backed it with vellum so that you can see a bit of the plaid paper.
The Boba drinks have been colored with the following Distress Oxides:
Barn Door
Dried Marigold
Mustard Seed
Mowed Lawn
Broken China
Ground Espresso
Thanks so much for stopping by!
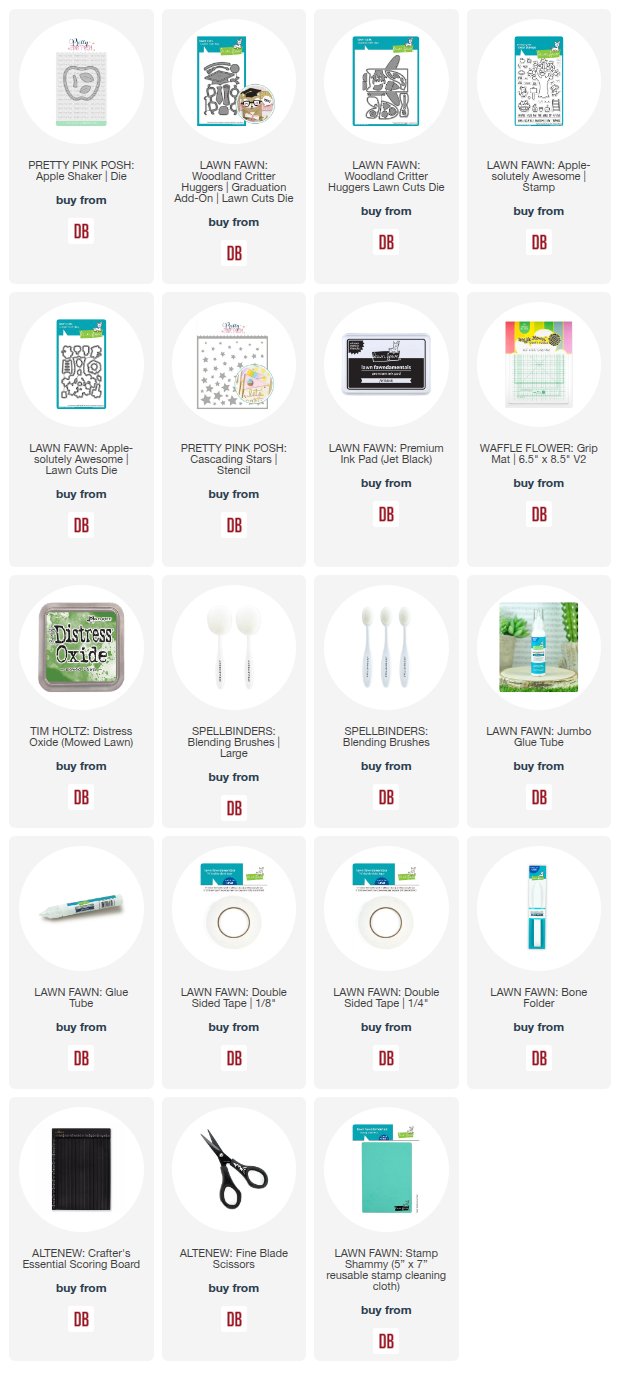
Links to products used or recommended are listed below:
Hello again everyone! It's Amanda from Twiddler's Nook with a bundle of thank you tags I created for the end of the school year. The design is really versatile, easy to do it batches and cuter than cute!
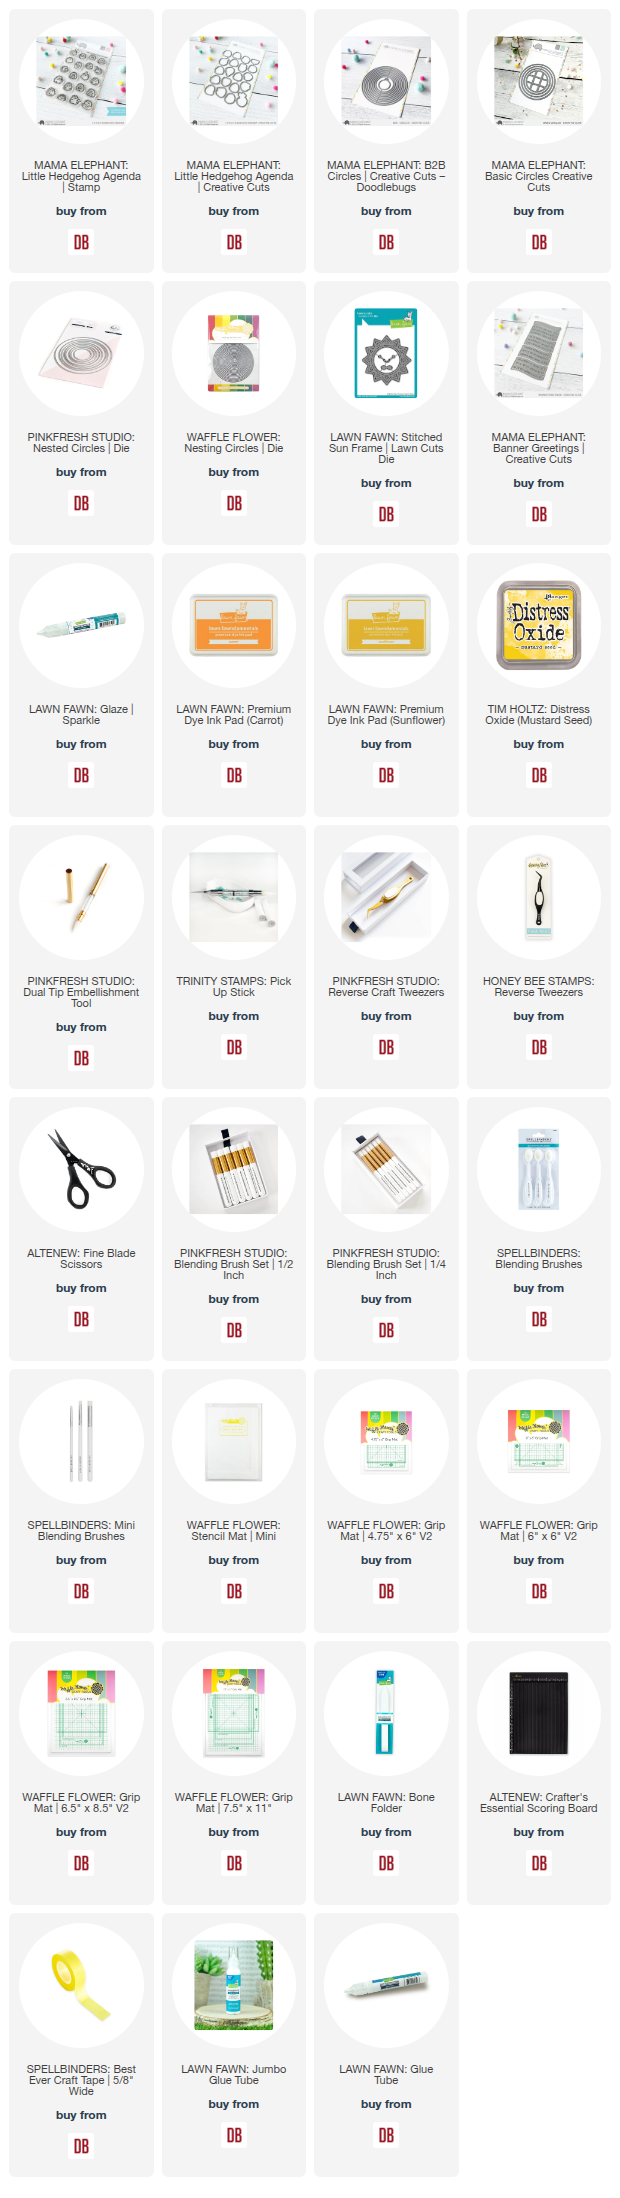
To create these cards I did them in a few different sessions. First, I ink smooshed some watercolor paper with dark yellow and orange inks. Then I took yellow cardstock and spritzed it with Distress Oxide ink so it had some texture. Then I let all of that dry. Next, I die cut the yellow with a 2" circle and the ink smooshed panels with the Lawn Fawn Stitched Sun Frame. I used liquid glue to adhere them together and an acrylic block to hold them flat while they dried.
Next session, I stamped and colored the same cute Mama Elephant Little Agenda Hedgehog and used the coordinating die to cut him out. I also die cut a banner from the Mama Elephant Banner Greetings die set and glued the layers together.
In my last session, I added the banners and hedgehogs to the sunshines with foam strips and squares. I finished each one off with some blue twine to tie on the gift bags I have set aside and stardust Stickles on the little flower he is holding.
I don't want to ruin any surprises but these are going on gift packages with a "don't grow up, enjoy summer" vibe and I'm really excited about them!
I appreciate you sharing your time with me. Have a fabulous day!
Links to products used or recommended are listed below:
Hi friends! It's Amanda from Twiddler's Nook. Today's card came about in a funny way. I had a scrap of copic paper left over months ago. Randomly I stamped 2 Mama Elephant critters on it because they fit perfectly. That piece of paper has moved all around my craft desk and the clipboard I use to color on since then. Randomly, I came across them again while looking for fresh copic paper to stamp on and today's idea just hit me! So I switched gears and went to work...
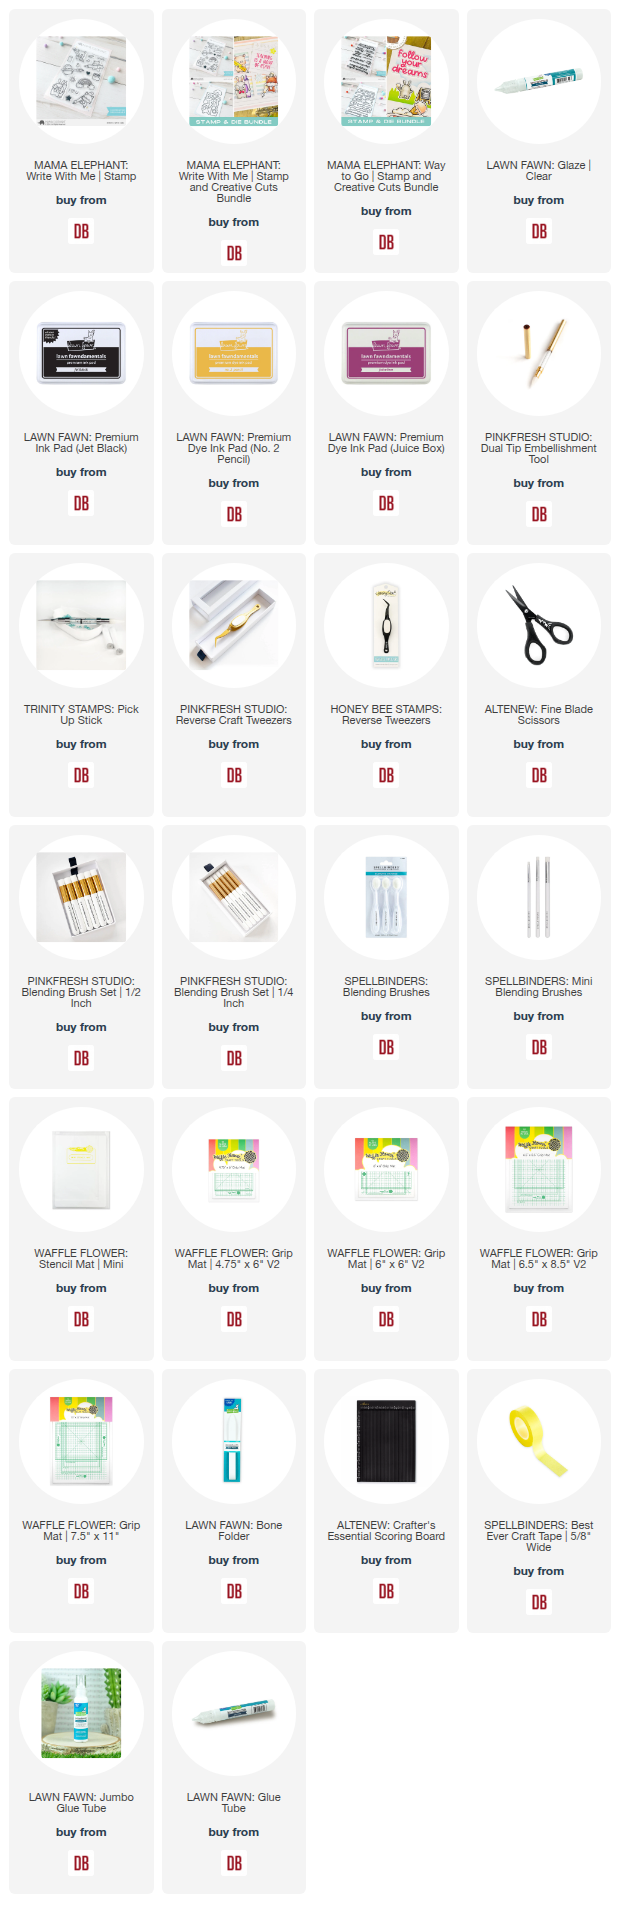
After coloring and die cutting the first two critters, I realized that I needed a third. So I remedied that and set them aside to work on my fun background idea...faux notebook paper with the Lawn Fawn Simple Stripes Portrait die! I cut the backdrop from white cardstock and glued it to a card base. Then I used a ruler to keep my lines straight and BG11 and R20 copic markers to add the notebook lines.
Next, I added foam squares to the back of my critters and set them in place while I stamped some of the fun designs from the Mama Elephant Write With Me stamp set. I used colored ink for some a black ink for the text. After those were stamped I felt good about the critter placement and actually removed the release paper from the foam squares and stuck them down.
Next I pulled sentiments from the Mama Elephant Way To Go stamp set and added them around the critters. For finishing touches I added glossy accents to critter noses, glasses and parts of the pens.
It's end of school year/graduation time so I thought this card would be perfect to share now! It could go to a kiddo or a teacher celebrating the end of the year.
I appreciate you sharing your time with me. Have a fabulous day!
Happy Mix it up Monday again everyone! This is Amanda from Twiddler's Nook and I'm excited to be playing with the new interactive dies from Lawn Fawn! I love this style of interactive card. They are honestly easy to create and really fun to decorate with any theme of products!
I highly recommend watching Lawn Fawn intro videos for any and all interactive dies. Kelly Marie does a fantastic job explaining the parts and how to assemble it all. Here is the link to this one specifically - Intro to Pull 'n Slide Surprise.
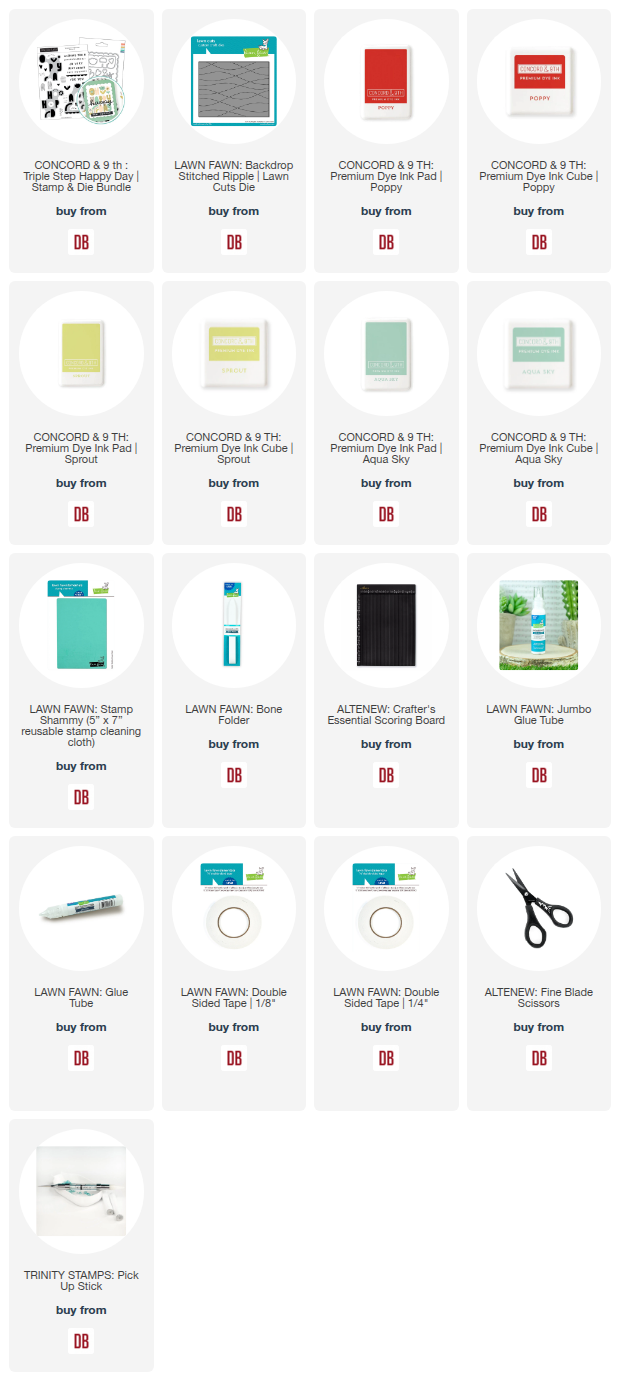
To create my card, I pulled out the Pretty Pink Posh Fresh Berries stamps and dies. I stamped a ton of berries, the basket and extra leaves. I colored everything with copic markers and used the coordinating dies to cut it all out. Next, I followed the video to create my interactive mechanism using patterned papers for fun visual interest.
With the interactive portion done, I adhered my berries and basket with liquid glue to the bottom half of the sliding part so my box of berries pops up instead of folding in half. Remember to be mindful of where you're gluing things on this style of card.
I carefully used an acrylic block to stamp the smaller portion of my sentiment on the berry basket and then stamped and die cut the other portion to pop up at the bottom of the scene. Finally, I added white gel pen highlights all over the images.
Do you like making interactive cards? It's been a while but I really do enjoy it and hope this was my intro to getting back into the swing of things.
I appreciate you sharing your time with me. Have a fabulous day!
Welcome everyone! It's Amanda from Twiddler's Nook for Mix-it-up Monday. There have been a number of companies coming out with fun, book themed goodies and I'm here for it! Today I created a bookmark tag mixing Mama Elephant and Lawn Fawn goodies together.
Using the Lawn Fawn Stitched Bookmark dies as a guide, I placed my adorable Mama Elephant Book Worm stamps in each opening to decide what would fit and which ones to stamp. Then I stamped and colored everything with copic markers, using the coordinating dies to cut them all out.
Then I cut a solid stitched bookmark from teal cardstock and inked the bottom of each window section with peacock ink. I splattered it with water and blotted it dry. Then I cut the stitched bookmark again from Lawn Fawn patterned paper, also cutting the windows from this panel. I used liquid glue to adhere them together and also all of my critters in their spaces.
Finally, I stamped and heat embossed a sentiment from Lawn Fawn Little Woodland Library and cut it out with a banner die. I glued this in place before adding ribbon and twine through the hole in the top. For finishing touches I added white gel pen highlights and glossy accents to critter glasses.
This is an adorable bookmark but I think it would be even more fun as a gift tag that can be a bookmark for the recipient after they open the gift!
I appreciate you sharing your time with me. Have a fabulous day!
Links to products used or recommended are listed below: