Monday, March 31, 2025

Continue Birthday Inspiration

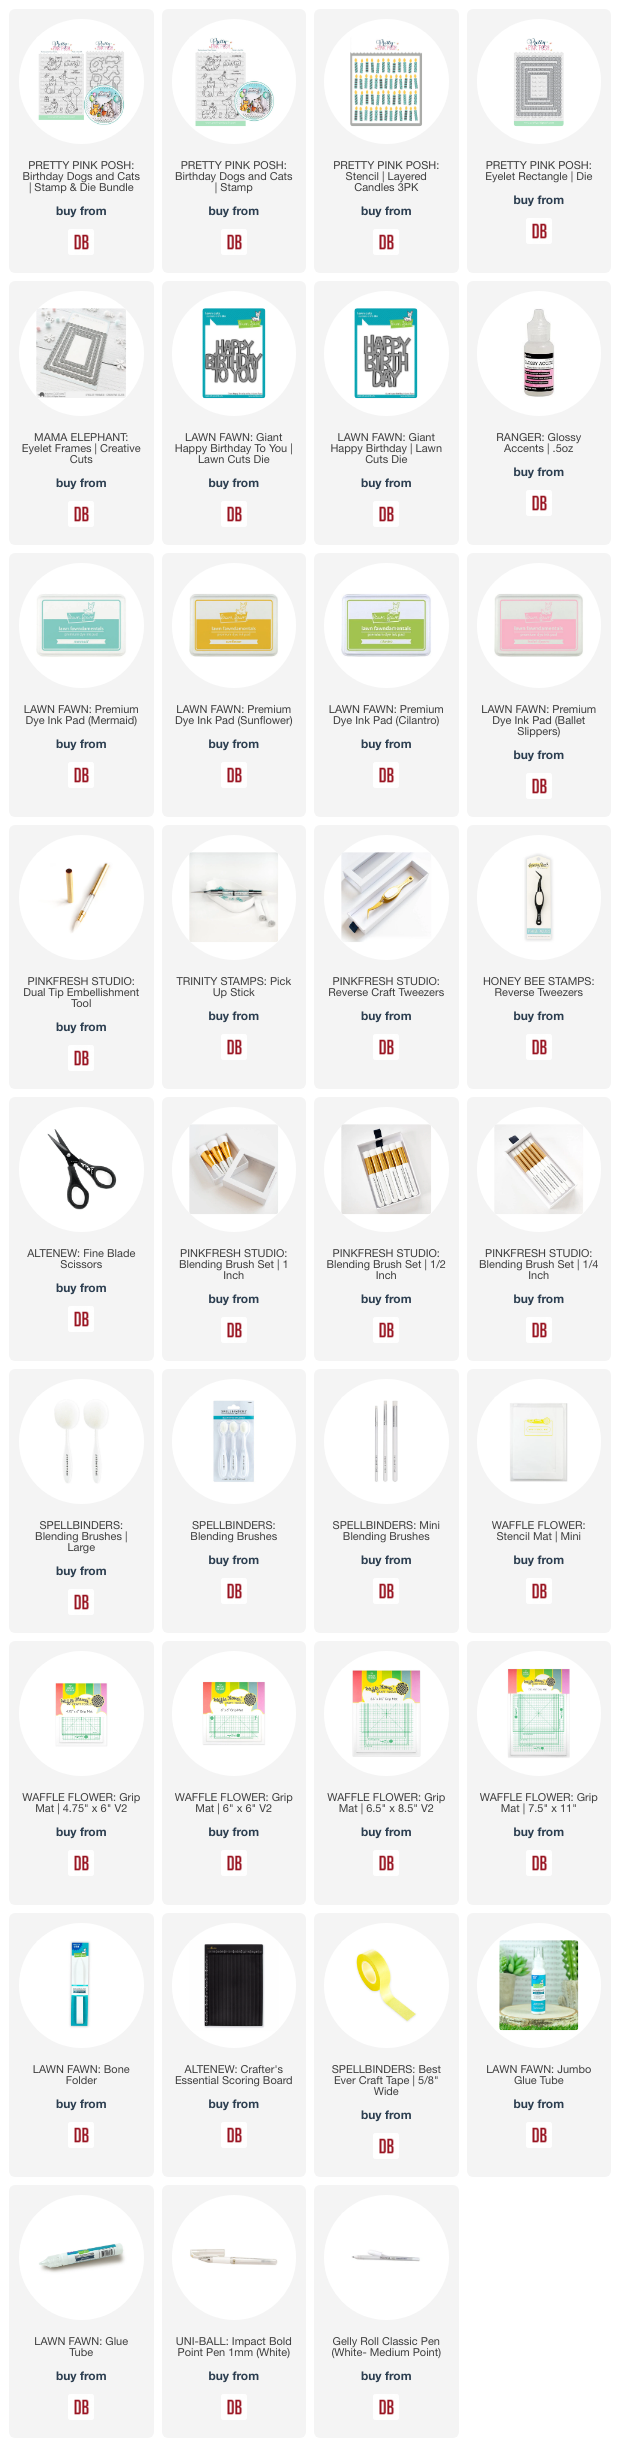
Hey friends, this is Amanda from Twiddler's Nook! It's Mix it up Monday and I'm very behind on birthday cards for the year so forgive me if it seems like that's all that's on my mind for a while. Today I'm mixing some cute new Pretty Pink Posh critters with the great Lawn Fawn giant sentiments.

Pretty Pink Posh Birthday Dogs and Cats

I loved how the kitty and puppy go perfectly on either side of the sentiment so I stamped those plus a couple accessories straight away and colored them in some fun colors. Then I used the Pretty Pink Posh Candles layered stencil set and inked them in the same color-way.

Pretty Pink Posh Birthday Dogs and Cats

Next I did a bunch of die cutting all at once. I cut the images out and used the largest Pretty Pink Posh Eyelet Rectangle to cut the stenciled background. Then I cut the sentiment 4 times from cardstock, using liquid glue to adhere all the layers together.

Pretty Pink Posh Birthday Dogs and Cats

Before assembling everything I did a few extras to various parts of my card. I used a dark yellow copic marker to add detail to the flames on the stenciled candles. Then I used a BG copic marker to add darkness to the bottom of the letters on the die cut sentiment. Finally before assembling everything I to the mermaid ink pad directly to the card front to tie in the teal and give the background some texture at the same time.

Pretty Pink Posh Birthday Dogs and Cats

To assemble, I glued the sentiment to the stenciled panel and popped that up on the card base with foam tape. Then I added the images with a combination of foam squares and liquid glue depending where they overlapped the sentiment.

For finishing touches I added a few white gel pen highlights before coming in with my classic glossy accents for noses, flames and hat pompoms. 

I appreciate you sharing your time with me. Have a fabulous day!

Links to products used or recommended are listed below:

Tuesday, March 25, 2025

Many Happy Wishes

 I don't know about you but Spring is my favorite season.  I'm definitely a fair weather kind of gal and unfortunately our Pacific Northwest summers can get way too toasty for me.

Spellbinders Sweet Birdie Die and Pretty Pink Posh Winter Foliage

I had spring on my mind as I was designing this card that features:
  • Spellbinders - Sweet Birdie | die
  • Pretty Pink Posh - Winter Foliage | die
  • Lawn Fawn - Bitsy Blooms | 6x6
  • Spellbinders - Essential Stylish Ovals | die
  • Pretty Pink Posh - Sentiment Strips  - Birthday | stamp
  • Concord & 9th - Cloudy Double Card Front | die
Spellbinders Sweet Birdie Die and Pretty Pink Posh Winter Foliage

This design is easy to customize based on what sentiment you pick.  I love the idea of  putting together a set of these with different types of sentiments to give as a gift.

Spellbinders Sweet Birdie Die and Pretty Pink Posh Winter Foliage

Thanks for stopping by!

Links to products used or recommended are listed below:

Monday, March 24, 2025

Hello Sunshine

Hi friends! This is Amanda from Twiddler's Nook. For Mix it up Monday, I'm willing the weather to follow my vibes with more sunshine and less rain as we head into that wishy-washy spring weather. In doing so I got to play with the new Lawn Fawn butterflies and couldn't recommend them more!

Lawn Fawn Butterfly Border and Giant Hello Sunshine

I started by die cutting the Lawn Fawn Butterfly Border pieces from white, yellow and gold glitter cardstocks. I added some copic accents to the yellow layer of the butterflies before using liquid glue to adhere the layers together.

Lawn Fawn Butterfly Border and Giant Hello Sunshine

Next, I cut the Lawn Fawn Giant Hello Sunshine from white cardstock and set it aside. I trimmed a piece of yellow cardstock to A2 size and inked it up with the Pretty Pink Posh Starburst stencil using Lawn Fawn sunflower ink and a blending brush. After removing the stencil I went over the center of the panel with the same color, fading out as I moved toward the edge.

Lawn Fawn Butterfly Border and Giant Hello Sunshine

I glued the stenciled panel to a white card base and then glued the sentiment to the center of that. I knew I wanted to layer the top row of butterflies so I left the top of the hello letters without glue for now. Next, I glued the butterflies in place, going back to add a little glue on the sentiment as needed. After everything dried, I trimmed the butterflies off the edge and my card is all finished.

Are you ready for some steady sunshine or do you have it already where you live? We're soaking it up each day that we get where I am.

I appreciate you sharing your time with me. Have a fabulous day!

Links to products used or recommended are listed below:

Tuesday, March 18, 2025

Eat Cake & Celebrate!

 Hello and Happy Tuesday.  I designed this birthday card especially for my husband.  His favorite color is blue and his favorite cake is Red Velvet.


This project features:
  • Pretty Pink Posh - Cake Slice Shaker | die
  • Concord & 9th - Cut the Cake | die & stencil bundle
  • Lawn Fawn - Henry's 123s | lawn cuts
  • Spellbinders - Essential Stylish Ovals | die

The ink blended panel has actually been floating around my desk and is perfect for today's project.   I used a Kristina Werner combo:
  • Speckled Egg
  • Peacock Feathers
  • Chipped Sapphire
I colored the cake so that it would look like red velvet.  I used a combo of the following Distress Oxides:
  • Fired Brick
  • Black  Soot

The cake is on foam tape.


Thanks for stopping by!

Links to products used or recommended are listed below:

Monday, March 17, 2025

Monstrous Birthday Wishes

Happy Mix it up Monday everyone! This is Amanda from Twiddler's Nook with some seriously monstrous birthday wishes! These new Mama Elephant monsters are adorable and are going to be so fun to color in all the different colorways over time. I'm absolutely smitten!

Mama Elephant Monster Hugs

After stamping and coloring these cuties, I used the coordinating dies to cut them out. Then I switched to my background because it was going to need time to dry.

Mama Elephant Monster Hugs

For that I used the Pretty Pink Posh Layered Candles stencil set. I inked them up at a gradient angle for the base candle shape, then added the flames, then for the detail layer, I inked up the same colors again but after that I wiped the stencil off and added a layer of glossy gel over the top for some dimension that kept the color underneath. Once the glossy gel was dry, I added a little copic marker to the flames for some extra dimension there too.

Mama Elephant Monster Hugs

For my sentiment, I cut the Pretty Pink Posh Wish Big dies from white cardstock 3 times and used liquid glue to adhere the layers together. Then I stamped and heat embossed a sentiment from the Mama Elephant Monster Hugs set my images came from and cut it out with a Pretty Pink Posh Sentiment Strip die.

Mama Elephant Monster Hugs

Next I just adhered all my layers together. The stenciled panel went on a card base with liquid glue, then my wish big sentiment the same way. Then I added the images and embossed sentiment strip with foam squares and strips.

For finishing touches I just added black glaze pen to the monster eyes and a little white gel pen highlight to the balloon.

I appreciate you sharing your time with me. Have a fabulous day! 

Links to products used or recommended are listed below:

Tuesday, March 11, 2025

Hoppy Tuesday

 I'm hoping to create a bunch of spring cards this month!  Here's how I was inspired today:

Lawn Fawn Build a Bunny

Today's card features:
  • Lawn Fawn - Henry's Build-a-Sentiment Bunny Puns | stamp
  • Lawn Fawn - Build-a-Bunny | Lawn Cuts
  • Lawn Fawn - Build-a-Bunny Accessories | Lawn Cuts
  • Pretty Pink Posh - Sentiment Strips | die
  • Pretty Pink Posh - Pierced Leafy Vines | Cover
  • Spellbinders - Emerald Cut Labels and Tag | Die
  • Lawn Fawn - Bitsy Blooms | 6x6

Lawn Fawn Build a Bunny

That bunny makes me smile, she's so sweet!

Lawn Fawn Build a Bunny

Thanks so much for stopping by!

Links to products used or recommended are listed below:

Monday, March 10, 2025

St. Patty's Day Birthday Card with a Lesson on Ink Types

 Hey friends! This is Amanda from Twiddler's Nook. It's Mix it Up Monday and today we're making everything green to get in the spirit for St. Patrick's Day coming up! According to Ancestry.com I don't have an ounce of Irish in me, but my heart says otherwise because I love doing all the fun things for St. Patrick's Day and I always have!

Waffle Flower Postage Collage Lucky Stencil and Stamp

For today's card, I pulled out the amazing Waffle Flower postage collage series - dies and Lucky layered stencil set - and got to inking everything up. Once I had the set stenciled, I used my scissors and cut the stamps apart. I absolutely loved these 3 for the extra green vibe I was going for so I set the others aside for another day.

Waffle Flower Postage Collage Lucky Stencil and Stamp

Next, I pulled out the Pretty Pink Posh Lucky stamps and dies and got to work on all the images from that set. After coloring and die cutting them all, I played around with layout and landed on what you see here. I used liquid glue to adhere the layers together and set them aside to dry while I got messy on my background.

Waffle Flower Postage Collage Lucky Stencil and Stamp

For the background I used a combo of Distress Spritz sprays and Distress Oxide sprays. The spritz have a serious shimmer to them and the oxides are a great, dense color. They play very well together.

After I heat set the sprays on my cardstock, I pulled out the Pretty Pink Posh Argyle stencil set and inked it up with a combination of Lawn Fawn Yeti ink and Distress Oxide Rustic Wilderness. These are pigment inks so they sit on top of what they are inked on. This works great for the cardstock I've already inked up with the sprays. Dye inks would have gotten lost.

Waffle Flower Postage Collage Lucky Stencil and Stamp

Finally, I stamped and heat embossed a sentiment from the Waffle Flower Lucky stamp set that coordinates with the postage stencils. I cut it out with a banner die and now I can assemble all my layers.

The background was glued to a card base directly. Then, the images and sentiment strip are all popped up with foam squares. With my finished touches being a little glossy accents on the horseshoe and hat, and stardust Stickles on the rainbow's clouds.

What a festive and fun birthday card?!? I love it!

I appreciate you sharing your time with me. Have a fabulous day!

Links to products used or recommended are listed below:

Tuesday, March 4, 2025

Sweet Birthday Wishes

 How about a floral birthday card for today?


These are the products that I'm featuring today:

  • Concord & 9th - Sweet Stems | Stamp + Die Bundle
  • Pretty Pink Posh - Happy Birthday Shadow

The beauty of this is that if you're using the cover plate only, you can prepare multiple projects.  I used 3 colors from an earlier project and added the Nectar for this project.

The Pretty Pink Posh Happy Birthday Shadow is definitely one of those 'staples' for birthday cards.


Thanks for stopping by!

Links to products used or recommended are listed below:

Monday, March 3, 2025

Mixing Four-Legged Cuteness

 Hi friends! This is Amanda from Twiddler's Nook. I have a fairly simple card to share with you today that I'm just smitten with! I love my critters, you all know that! So to be able to mix and match things along that theme together makes me extra happy! Today we've got a fun background and some adorable puppies to celebrate with!

Mama Elephant Little Line Agenda stamps and dies

I was digging around in my stash and came across this fabulous layered stencil set from Waffle Flower called Paw Print Duo. It's a two layer stencil and gives these awesome paw prints for your background. Today I inked them up with peacock and mermaid inks from Lawn Fawn and then splattered the panel with white paint for a little interest and texture.

Mama Elephant Little Line Agenda stamps and dies

While that was drying, I stamped the puppy image from the Mama Elephant Little Line Agenda stamp set and colored them with my copic markers. I used the coordinating die to cut it out and added foam squares to the back.

Mama Elephant Little Line Agenda stamps and dies

From the same stamp set, I stamped and heat embossed my sentiment on black cardstock. Then I used a banner die to cut it out and also added foam strips to the back of this.

With the background dry, I glued it to a card base and simply removed the release paper on my image and sentiment strip, popping them in the upper center. Then, for finishing touches I added a dab of glossy accents to all the puppy noses and about half of the labels on the boxes. No rhyme or reason, just some glossy bits here and there.

Aren't they the cutest thing you've ever seen!?! I can't say it enough, I love the Mama Elephant Little Agenda line. They're the perfect size to play with and too cute for words!

I appreciate you sharing your time with me. Have a fabulous day!

Links to products used or recommended are listed below: