Hi friends! It's Amanda from Twiddler's Nook with this week's Mix it up Monday. Today I have a couple of mini note cards to share with you. I love these for lunch boxes, leaving in mailboxes at work or attaching to gifts like a tag. They're small and pretty quick to create but also really fun to make and give!
I started with the Pretty Pink Posh Mini Scallop Card dies. I cut two card bases and four stitched squares so I had a layer for the front and a clean slate for the inside to write on. On the white panels for the front I inked them up with the Pretty Pink Posh Starburst stencil using Lawn Fawn no. 2 pencil and deep sea inks.
For both cards, I used Mama Elephant Banner Greetings dies for the sentiments and the Write With Me stamp and die set. I chose the penguin for this card and used the scribble star from the set for the background. In my mind he's painting the stars.
After adhering the layers together with liquid glue and foam squares, I added glossy accents to bits of the penguin and his brush. Lastly, I added white gel pen highlights all over the image.
For my second card, I chose the adorable piggy image. I love how the pink pig stands out off the yellow and blue scheme of the rest of the design. I stamped these stars with gray ink envisioning him scribbling them all over with his pencil.
Same for with this card, after assembling the layers with liquid glue and foam squares, I added glossy accents to parts of the pencil and white gel pen highlights all over.
To really make these fun, I used my envelope punch board and some patterned paper from my stash to create coordinating envelopes for each one.
I appreciate you sharing your time with me. Have a fabulous day!
Products used:
Pretty Pink Posh Mini Scallop Card dies
Pretty Pink Posh Starburst stencil
Mama Elephant Write With Me stamps and dies
Mama Elephant Banner Greetings dies
Liquid glue
Foam squares
Lawn Fawn ink - narwhal, no. 2 pencil and deep sea
Valentine's Cards, I love designing them...especially after the holidays. It's a nice change and reminds me that Spring is just around the corner.
Today's card features:
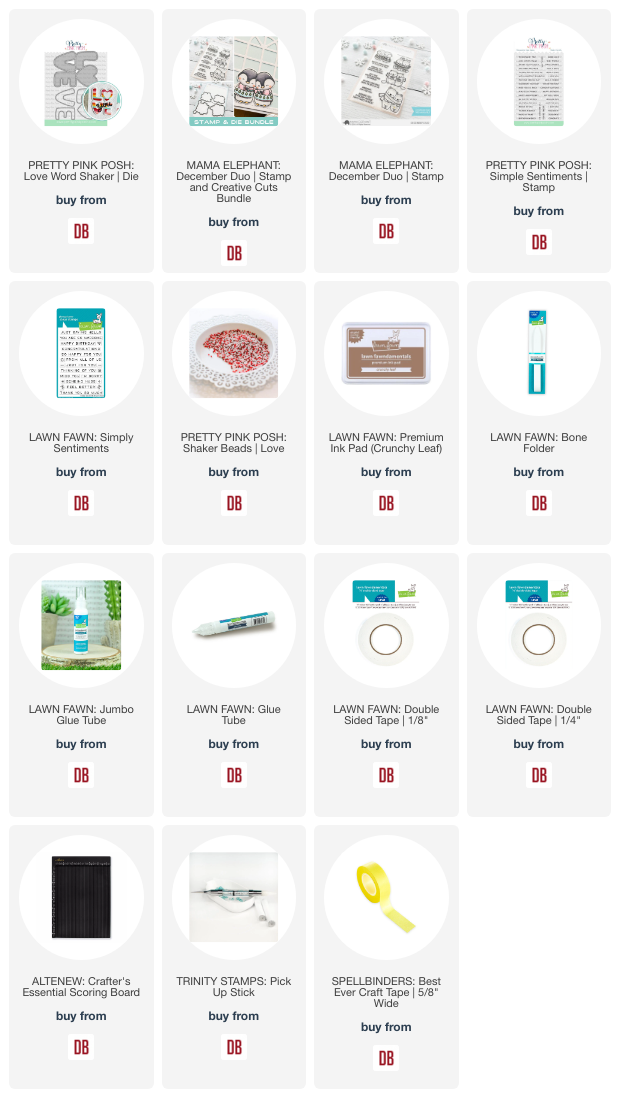
Pretty Pink Posh - Love Word Shaker | die
Mama Elephant - December Duo | stamp + die
Lawn Fawn - Simple Sentiments | stamp
Pretty Pink Posh - Love | shaker beads
Shaker cards, I didn't really start making them until just a couple years ago. This one was easy to make:
Use the Love Word Shaker solid die with red + white cardstock.
Line up the letters in the Red Love die cut
Take the A2 white panel with the negative Love cut. Flip it upside down and drop the red outline Love die cut into the center of the panel. I used 1/8 strips of double sided tape to adhere the word securely.
Cut down acetate [use upcycled packaging] to just shy of an A2 panel. Back the White A2 panel with the red love outline with the acetate film.
I added strips of foam adhesive to create a rectangle on the back of the Love panel.
Cut pink panel a smidge smaller than an A2 panel. Position shaker beads in the middle of the panel.
Carefully pull away the strips from the double sided tape on the Love white panel. Secure it to the pink panel with the shaker beads. I make sure that I firmly press down the top panel to secure all the adhesive strips.
Finish off the card with the sentiment strip stamped in Lawn Fawn Crunchy Leaf.
I'm going to tuck this into some happy mail that is going to my daughter.
Thanks for stopping by!
Links to products used or recommended are listed below:
Hi friends! This is Amanda from Twiddler's Nook. After Christmas brings us a few more birthdays in the family so I usually need to sprinkle those in my Valentine crafting and thought it would be fun to share one with you today. This was for my dad a few weeks ago and I absolutely love how it turned out!
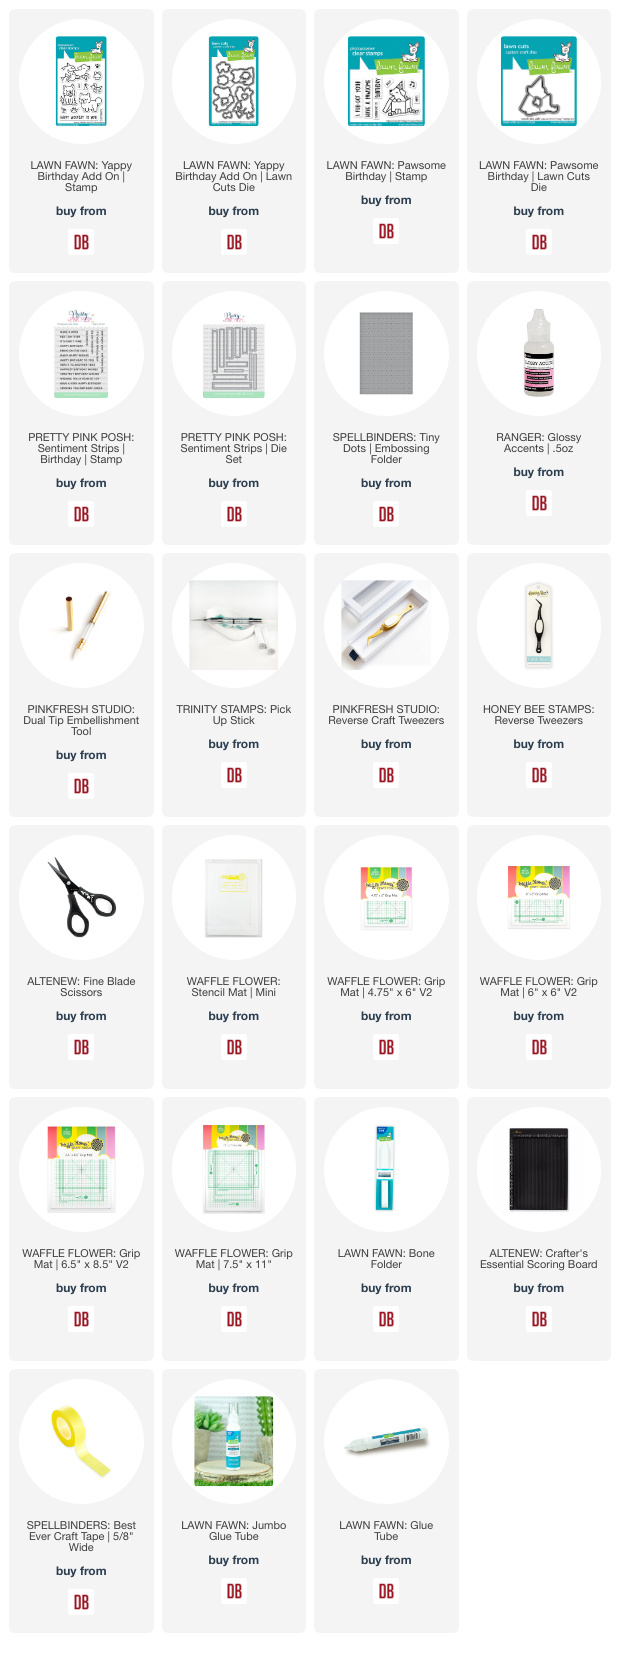
I started things with the Pretty Pink Posh Birthday Candles, die cutting the pieces and gluing them together with liquid glue. This gave me my color palette when coloring my images.
I chose images from Lawn Fawn Yappy Birthday Add On and Pawsome Birthday stamp sets. After coloring everything with copic markers, I used the coordinating dies to cut them out. For my "ground" I chose a Pretty Pink Posh sentiment strip to stamp and cut out.
I used the Spellbinders Tiny Dots embossing folder on a piece of white cardstock, glued my candles directly to it with liquid glue and used a combo of foam squares and liquid glue to adhere the images and sentiment strip. Then I popped the whole panel up on a white card base with foam tape.
For finishing touches today I added glossy accents to the candle flames and bits of the images like puppy noses, some of the flags, party hat and bone on the cupcake. I like the addition of bits and pieces being shiny to catch your eye and draw interest around the scene.
I appreciate you sharing your time with me. Have a fabulous day!
Links to products used or recommended are listed below:
Happy Mix it Up Monday everyone! It's Amanda from Twiddler's Nook and today we're mixing old and new Valentine goodies together. Have you started Valentine crafting yet?
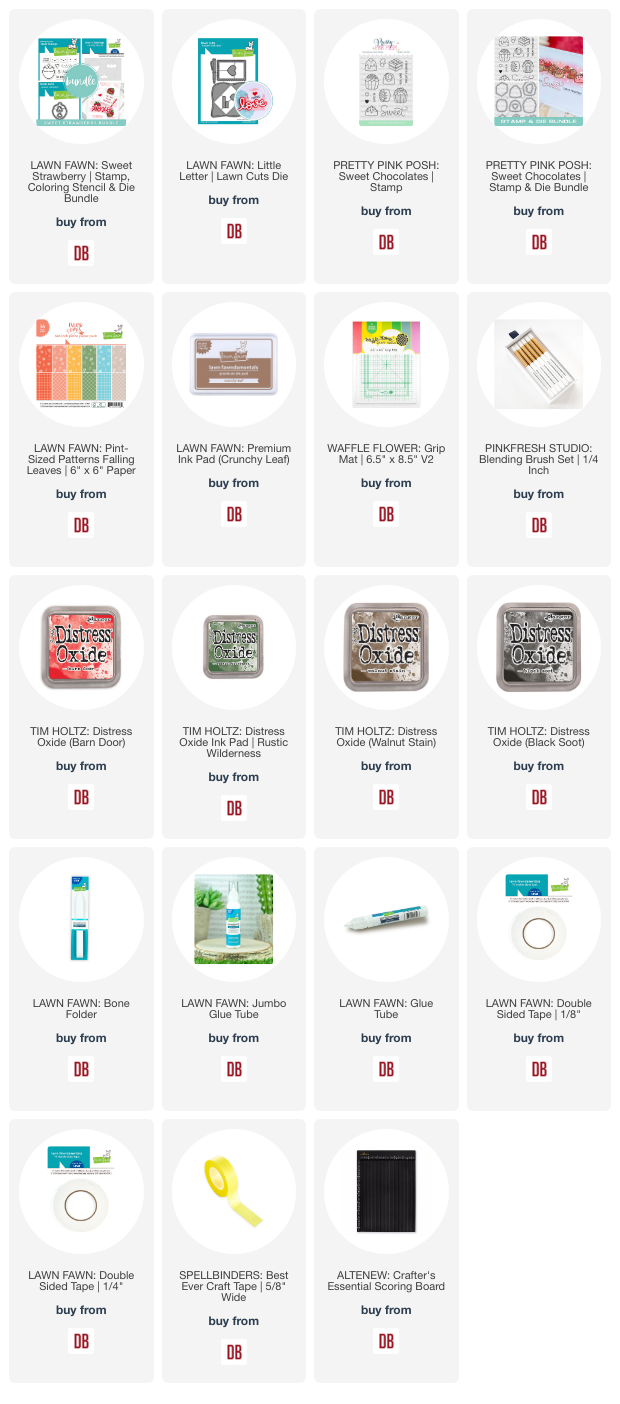
I started by stamping three of the Lawn Fawn Sweet Strawberry images, adding sprinkles to two and a sweet face to the third. I colored them with copic markers and used the coordinating die to cut them out.
Next, I inked up a piece of pink cardstock with the Pretty Pink Posh Layered Hearts stencil with ballet slippers and apricot inks. Then I cut the panel out with the largest Lawn Fawn Stitched Rounded Rectangle Stackables in the small set. I glued a piece of red cardstock to a white card base and popped my stenciled panel up with foam tape on it.
I cut the Lawn Fawn Scripty Hugs from black cardstock three times and glued them together. Next I used liquid glue to adhere the hugs and sprinkle strawberries to the stenciled panel. I popped the final strawberry up with a foam square. Next, I stamped and cut a Pretty Pink Posh sentiment strip and popped it up below the hugs sentiment.
For finishing touches I glued a scattering of Spellbinders flat discs across the design and added white gel pen highlights to all of the strawberry images.
I love giving Valentines to anyone and everyone in my life. Everything from tags on gifts to treat boxes to cards. Almost more than Christmas I think. What about you?
I appreciate you sharing your time with me. Have a fabulous day!
Links to products used or recommended are listed below:
New Year, New Resolutions? Personally I've given up on those a long time ago. I try to work harder on goals that I give myself, like designing birthday cards. Here's how I was inspired today:
Today's project features:
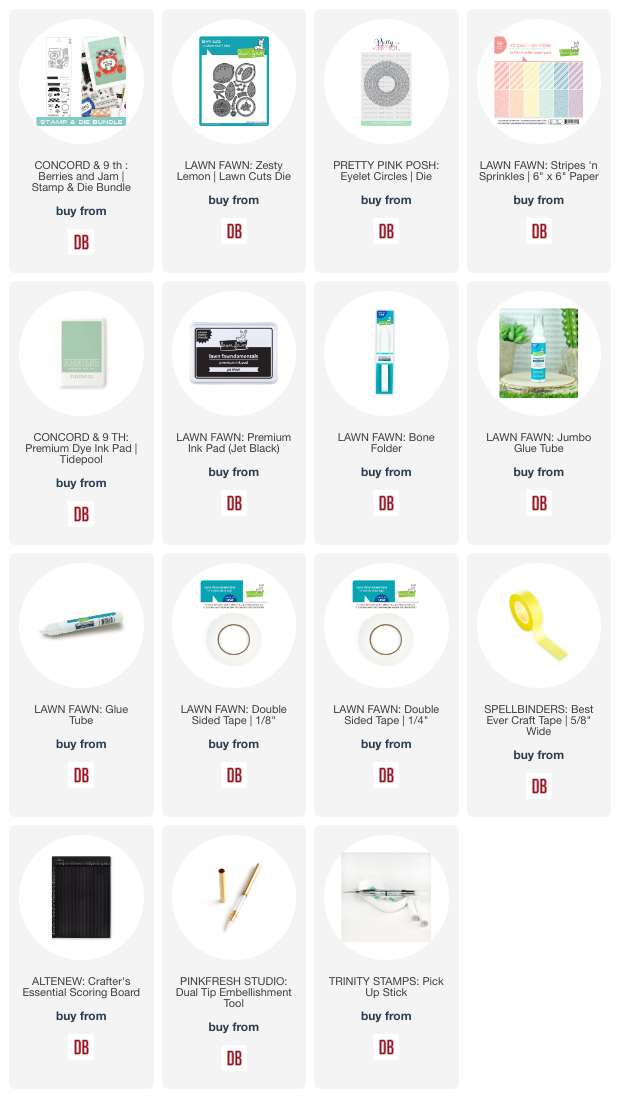
Lawn Fawn - Heart Pandas | stamps, dies and stencil
Lawn Fawn - Oh Gnome | stamps and dies
Lawn Fawn - Stripes and Sprinkles | 6x6
Lawn Fawn - Stitched Ripple | Backdrop
Pretty Pink Posh - Eyelet Circles | dies
Are you team stencils? I am! I love that Lawn has been releasing them to coordinate with their stamp sets. Why? This makes it easier for me to color. I used a blending brush and some ink. For today's card I used Concord & 9th - Nectar on the Panda and Concord & 9th - Sprout and Parsley for the bamboo.
I combined the Heart Panda's Oh Shoot sentiment with the belated birthday sentiment from the Oh Gnome set.
I love pink and green but also love purple and green too, so that's the color combo I went with.
Thanks so much for stopping by!
Links to products used or recommended are listed below:
Hello again everyone! It's Amanda from Twiddler's Nook. This is our first Mix it up Monday of the new year on the Doodlebugs blog. I hope your holidays were wonderful and you're ready to take on new adventures in 2025! Today I've got a little scene card to share featuring a combo of Waffle Flower and Mama Elephant goodies.
I started by die cutting various elements from the Waffle Flower die sets - Inquisitive Frogs and Pond with Lily Pads. I used liquid glue to adhere the elements together and a little ink blending on the frog tummy and cattail stems.
Next, I ink blended teal and blue on a white piece of cardstock and splattered it with water. Once that was dry I cut the panel out using the second largest die in the Mama Elephant Mod Heart die set. I love the uneven, imperfect look it has. Using the froggie as a guide, I stamped the water ring image from Waffle Flower's Pond of You stamp set. Then I started assembling my images with liquid glue. The frog and front lily pad are popped up with foam tape.
I love the sentiments in the Pond of You stamp set but I ran out of room because they are quite large so I went digging for my favorite Mama Elephant frog stamp set - Hello Froggy. I stamped the sentiment with teal ink to blend in a bit with the sky. I popped the panel up on a white card base with foam tape but something just wasn't quite right yet.
So I pulled the Waffle Flower Pond of You stamps back out and stamped the awesome dragonflies in gray ink across the blank sky. Much better! I love how this turned out!
I appreciate you sharing your time with me. Have a fabulous day!
Links to products used or recommended are listed below: