Tuesday, July 22, 2025

Take Card Friend

 I love to stencil on colored cardstock.  Here's how I was inspired today:


Here is what I'm featuring today:
  • Pretty Pink Posh - Teacups | Layered Stencil 2 Pk
  • Waffle Flower Crafts - Paper Hugs | stamp or combo stamp & die
I started off with lilac A2 cardstock panel. This is actually my 2nd panel that I did for today's project.  My first color combo was darker than I wanted.  These are the Distress Oxides I used for my card:
  • Mowed Lawn
  • Dusty Concord

Once you have your color palette figured out, cards can be designed fairly quickly.


Thank you so much for stopping by!

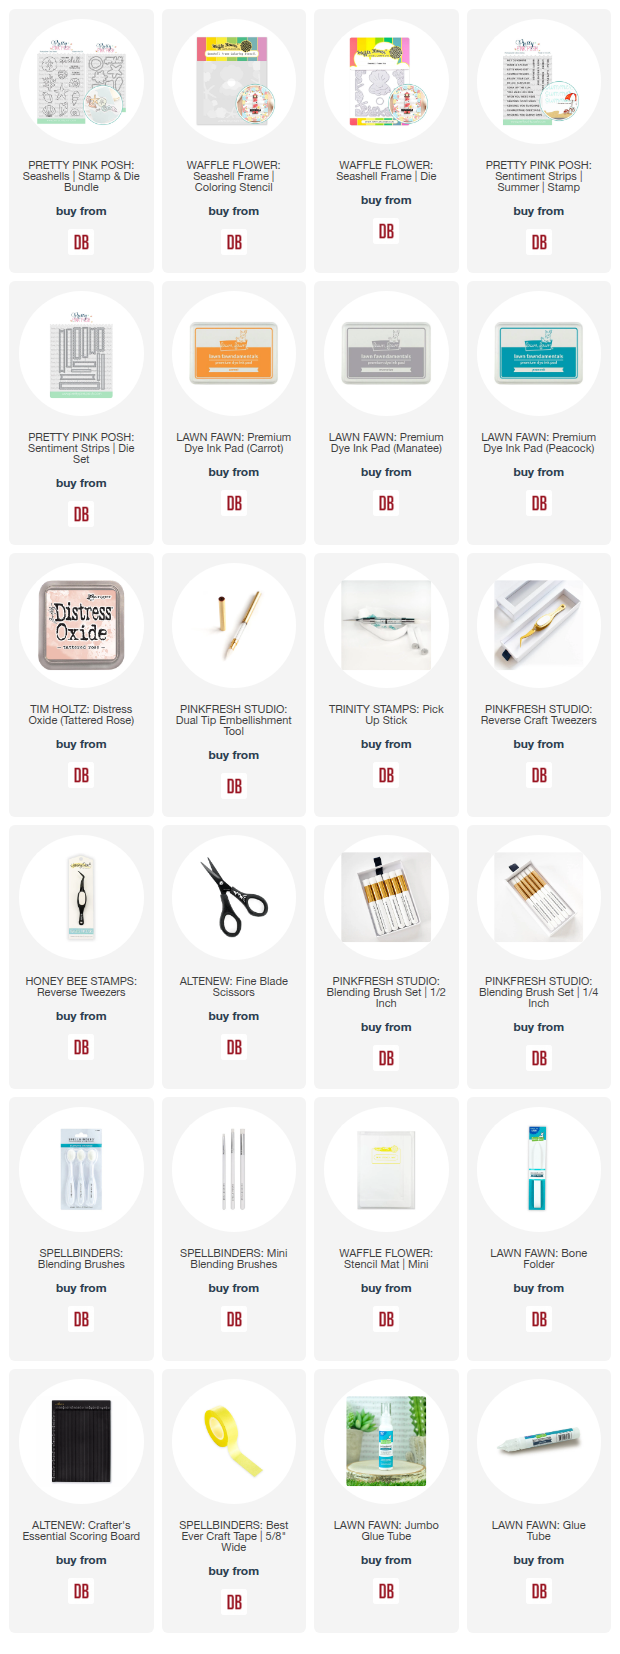
Links to products used or recommended are listed below:

Monday, July 21, 2025

Seashell Shaker Card

 Hi friends! It's Amanda from Twiddler's Nook with a really fun seashell shaker card to share with you. I mixed and matched more of the Pretty Pink Posh and Waffle Flower June beach releases to make this one. They just play so well together, it's natural.

Pretty Pink Posh Seashell Shaker Die

I started this card by playing with the Waffle Flower Seashell Frame die and stencil combo. I cut the frame from white cardstock and chose an assortment of Lawn Fawn dye inks to color it in, one layer at a time.

Pretty Pink Posh Seashell Shaker Die

Next, I cut the Pretty Pink Posh Seashell Shaker die - solid once from white cardstock and once from acetate, then I cut the shaker frame from white cardstock 6 time. I inked one of them lightly with teal and apricot inks. I glued all of the white frames to the solid base, and glued the inked frame to the acetate. Next, I filled the shaker wells with glitter, microbeads and heart confetti before gluing the top layer in place.

While that was drying, I took a piece of white cardstock and spritzed it with Distress Oxide Spray and Distress Spritz for color and shimmer.

Pretty Pink Posh Seashell Shaker Die

Last, I stamped and heat embossed a sentiment from the Waffle Flower Coastal Greetings stamp and die combo. Now, with all the elements finished and dry, I started assembling the layers with liquid glue, except the sentiment which I popped up with foam squares.

I appreciate you sharing your time with me. Have a fabulous day! 

Links to products used or recommended are listed below:
 
Waffle Flower Coastal Greetings stamps and dies
Waffle Flower Seashell Frame die and stencil
Pretty Pink Posh Seashell Shaker dies
Lawn Fawn inks - juice box, blue jay, guava, peach fuzz, mermaid
Embossing and watermark ink
Embossing powder - white
Magic anti-static bag
Foam squares
Liquid glue
Blending brushes

Tuesday, July 15, 2025

Spill the Tea

 I'm a big fan of all things capybara so I was a happy crafter with Lawn Fawn's newest release.  Here's how I was inspired:


I also have a fun mash up of products.  Here's what I'm featuring today:
  • Lawn Fawn - Capybaras! | stamps + lawn cuts
  • Mama Elephant - Boba Tea | stamps + Creative Cuts
  • Concord & 9th - Afternoon Tea - stamps + dies
  • Mama Elephant - Bella Frame | creative cuts
  • Pretty Pink Posh - Citrus | layered stencil 3


Do you see what I did? Rather than having oranges, they are having pink grapefruits.


Thank you so much for stopping by!

Links to products used or recommended are listed below:


Monday, July 14, 2025

Heading Back to the Beach

 Happy Monday everyone! It's Amanda from Twiddler's Nook. I'm back this week to playing with all things beach! Have you noticed how much amazing beach-themed product has been released this year? It's over the top and I'm here for it! Today I took the time to play with Waffle Flower and Pretty Pink Posh beach releases from June. Still loving it all!

Waffle Flower Lighthouse and Coastline Die

This card starting with the Waffle Flower Lighthouse and Coastline die sets. I love that the Coastline set comes with a simple coloring stencil and the lighthouse dies were so easy to put together! I used some copic markers on the lighthouse for dimension. Plus I added splatter to my sandy beach panel from the coastline.

Waffle Flower Lighthouse and Coastline Die

Moving on to the background panel, I chose the Pretty Pink Posh Seashell background stencil and Lawn Fawn forget me not ink. Then I spritzed it with Solar Spray for shimmery texture.

Waffle Flower Lighthouse and Coastline Die

I used liquid glue to adhere the lighthouse to the rock and then glued that whole scene to my background panel. I adhered that to a card base and moved on to choose my spattering of sentiment strips.

Waffle Flower Lighthouse and Coastline Die

The Pretty Pink Posh sentiment strip dies and stamp series are literally one of the best investments I've ever made. They're available for every occasion and the perfect little addition to almost any design. I chose three from the Summer stamp set and cut them out with the smallest strip die, then adhered them with liquid glue too.

This might be the flattest card I've ever created. But it works so well and I love it!

I appreciate you sharing your time with me. Have a fabulous day! 

Links to products used or recommended are listed below:  


Tuesday, July 8, 2025

Let's Shell-ebrate!

 I don't know about you but I've been a long time fan of all things nautical/beachy. There is so much to enjoy out there right now with those themes.  Here's how I was inspired today:


Let me introduce you to the purple crab. I googled 'crab colors' and caught an article about a purple crab that was spotted in the Philippines.  My card features:

  • Waffle Flower - Inquisitive Crab | die
  • Waffle Flower - Nesting Piercing Ticket Frames | die
  • Waffle Flower - Coastal Greetings Combo | stamp & die
  • Lawn Fawn - Build-a-Drink - Bubble Tea Add-On | lawn cuts
  • Lawn Fawn - Stripes 'n Sprinkles | 6x6

The crab was cut from Concord & 9th - Fig and inked up with their Grape Soda Ink. The cup outline was cut from Concord & 9th Powder with the interior panel from Lilac and inked with Grape Soda.  The straw is Lilac and the boba is Nutmeg.  The lid is vellum.

Gotta love a pun, love the sentiments in the Coastal Greeting set.

Crab + Boba? Sure! They are enjoying an Ube Milk Tea Boba.


Thanks so much for stopping by!

Links to products used or recommended are listed below:

Monday, July 7, 2025

Spooky Wishes

 Hey friends! This is Amanda from Twiddler's Nook and I interrupt your regularly scheduled summer fun for some spooky wishes featuring the Mama Elephant Halloween awesomeness that recently released! If you've been here for just a minute, you know Halloween is my favorite and any excuse to create for it has me ALL IN!

Mama Elephant Mummified and Bewitched Stamps and Dies

I had a general idea that I wanted to create a big sentiment with the adorable mummies and witches around and in the letters somehow. So I started with my background to set the tone and choose my color palette...perfect summerween colors! I used the Pretty Pink Posh Layered Stars stencil set on pink cardstock to start off with. I used Lawn Fawn carrot and jet black inks.

Mama Elephant Mummified and Bewitched Stamps and Dies

Next, I adhered white cardstock to craft foam and covered the back with adhesive sheet. Then I die cut my sentiment using the Lawn Fawn Henry's ABCs die set. This gave instant dimension with less work than cutting each letter 4 times and gluing them together. After arranging my letters together I chose a Spellbinders Emerald Cut Label die to cut from vellum as a backdrop.

Now that I had a general placement and size of open space, I chose a couple of mummies and a witch from the new Mama Elephant sets - Mummified and Bewitched. I stamped, colored and die cut them, then adhered each mummy with foam squares and the witch with liquid glue.

Mama Elephant Mummified and Bewitched Stamps and Dies

Hiding adhesive behind the letters and images, I adhered the vellum panel with tape runner to the stenciled background. Next, I used liquid glue to adhere the whole thing to a card base.

For finishing touches I added orange glitter brush pen to the sentiment and white gel pen highlights to the images.

On a scale from 1 to spooky, how much do you love crafting for Halloween?

I appreciate you sharing your time with me. Have a fabulous day!

 Links to products used or recommended are listed below:

Mama Elephant Mummified stamps and dies
Mama Elephant Bewitched stamps and dies
Pretty Pink Posh Layered Stars stencils
Spellbinders Emerald Cut Labels dies
Blending brushes
Lawn Fawn inks - Carrot and Jet Black
Liquid glue
Adhesive sheets
Craft foam
Foam squares

Tuesday, July 1, 2025

Hey sunshine!

I'm a long time fan of all things nautical so I've been really enjoying the current papercrafting trend.


 My card features:

  • Waffle Flower - Floral Anchor | die
  • Pretty Pink Posh - Sentiment Strips - Summer | stamps
  • Pretty Pink Posh - Eyelet Circles
I googled nautical color combos and went with this one:


I think this might be a new go to color combo!


What has you inspired these days?


Thank you so much for stopping by!

Links to products used or recommended are listed below:

Monday, June 30, 2025

Seashells Everywhere

Welcome everyone! This is Amanda from Twiddler's Nook. I'm not over the beach theme and I found a new stencil set to play with on top of it! Mix it up Monday for the Doodlebugs blog brings us beautiful stenciling for quick coloring and some relaxing seashell coloring too. It was a great crafting session!

Pretty Pink Posh Seashells

I started by die cutting and ink blending the new Waffle Flower Seashell Frame die and stencil combo. It's so easy to use and is going to be so fun to mix and match different color combos on!

Pretty Pink Posh Seashells

Next, I chose a handful of seashells from the new Pretty Pink Posh Seashells stamp set. I colored them with copic markers and used the coordinating dies to cut them all out. I arranged them how I wanted and used liquid glue to adhere them together. Then I chose a sentiment from the Pretty Pink Posh Sentiment Strips | Summer set and cut it out with the Sentiment Strip dies, along with a scalloped shadow too.


Pretty Pink Posh Seashells

For my background panel, I chose saltwater taffy Distress Spritz spray for shimmer and light color. I think it goes so well with everything else going on but doesn't distract from the images at all. After it dried, I adhered it to a card base with liquid glue and attached the frame, images and sentiment strip with foam squares.

Pretty Pink Posh Seashells

I'm having so much fun creating with all of these new ocean themed goodies that have just released! Do you enjoy beach and ocean crafting? It makes me want to put my toes in the sand for sure!

I appreciate you sharing your time with me. Have a fabulous day! 

 Links to products used or recommended are listed below: 


Tuesday, June 24, 2025

You're so Sweet

 I started designing a floral project but then switched to a fruit theme.  Here's how I was inspired today:


My project features:
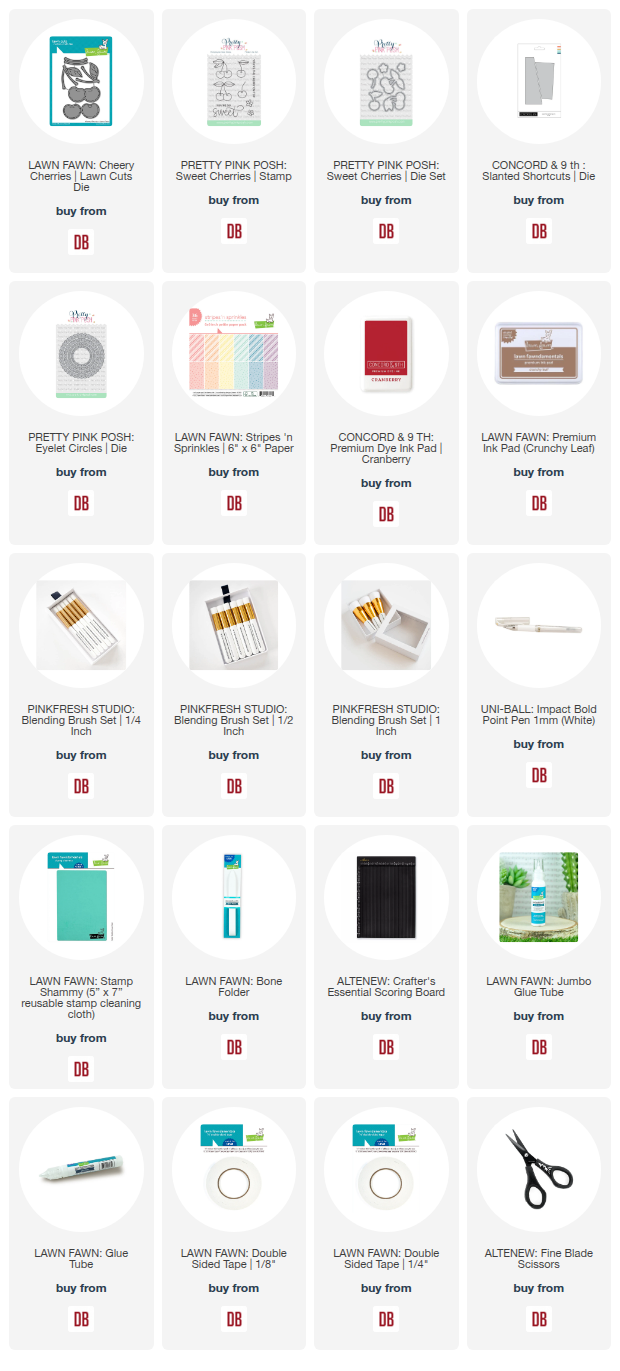
  • Lawn Fawn - Cheery Cherries | lawn cuts
  • Pretty Pink Posh - Eyelet Circles | dies
  • Concord & 9th - Slanted Shortcuts | dies
  • Pretty Pink Posh - Sweet Cherries | stamp
  • Lawn Fawn - Stripes 'n Sprinkles | 6x6


If you've been following me, you know that I LOVE working with fruit themes.  I added a bit of Cranberry ink to the cherries and finished off my design with some white gel pen.


Thanks so much for stopping by!

Links to products used or recommended are listed below:

Monday, June 23, 2025

Beach Vibes

Hey friends! This is Amanda from Twiddler's Nook for Mix it up Monday! I'm in full beach mode these days, loving all the new beach themed goodies coming out and having fun pairing them with some favorites I didn't get enough of from previous years!

Waffle Flower Beach Tote

For today's card, I got inky and splattery and loved every moment of it! I started by playing around with the Waffle Flower Beach Tote. I cut all the pieces, stamped my towel stripes and heat embossed my sentiment. Then I used liquid glue to adhere it all together.

Waffle Flower Beach Tote

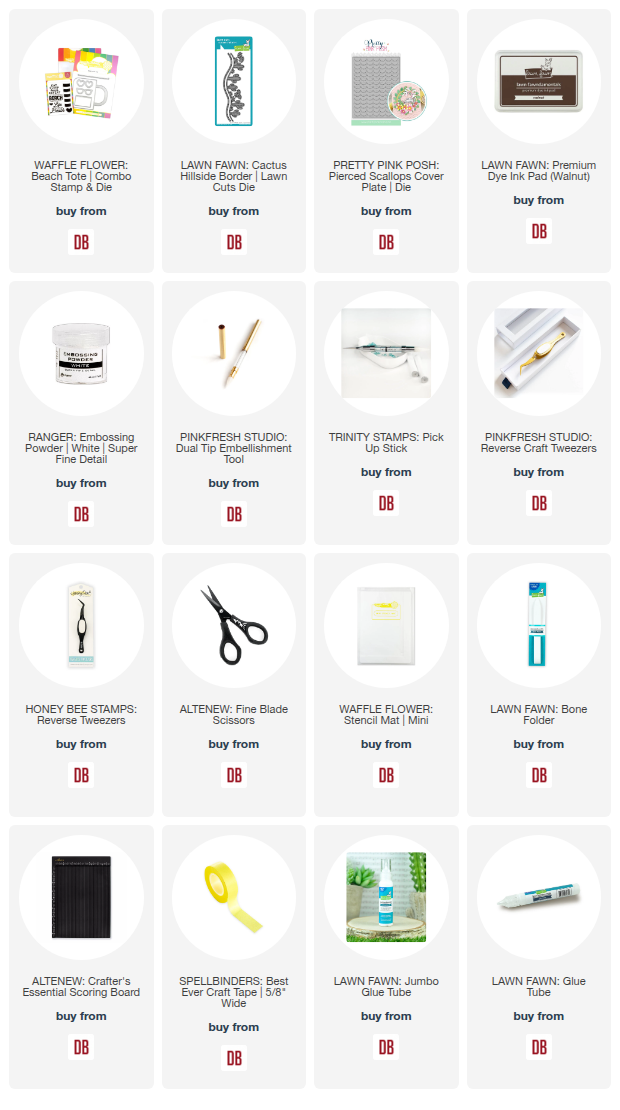
To create my beach scene, I cut a couple pieces of kraft cardstock using the Lawn Fawn hillside borders and splattered them with brown ink and white paint for that sandy look. Then I cut a piece of cardstock with the Pretty Pink Posh Pierced Scallops cover die and splattered it with distress oxide spray and white paint.

Waffle Flower Beach Tote

When everything was dry, I glued the back layer of sand to the sky panel and then popped the beach tote up with foam tape. Next, I added the front layer of sand with a combo of liquid glue and foam squares.

Waffle Flower Beach Tote

Finally, I glued the whole thing to a card base and finished the design off with glossy accents on the sunglass lenses. 

Now, who's ready for a trip to the beach? ME!!! 

I appreciate you sharing your time with me. Have a fabulous day! 

Links to products used or recommended are listed below:


Tuesday, June 17, 2025

Cozy Caffeinated Christmas Card

Did you hear that Doodlebugs is the sponsor for this month's Caffeinated Christmas Card Challenge?  Link up a newly created Christmas/Holiday themed card with Coffee, Tea and/or Cocoa. We no longer have monthly themes. Cards still have to have a Christmas/Holiday theme. Remember to use Coffee, Tea and or Cocoa too! One lucky random card will win a $20 Doodlebugs gift card.


Monthly challenge will start on the 1st of every month at 4 am pacific and close at 11:55 pm pacific on the 25th of each month.

Here's how I was inspired this month:


I wanted to concentrate on a postal friendly design that is easily to mass produce.  I combined these products:
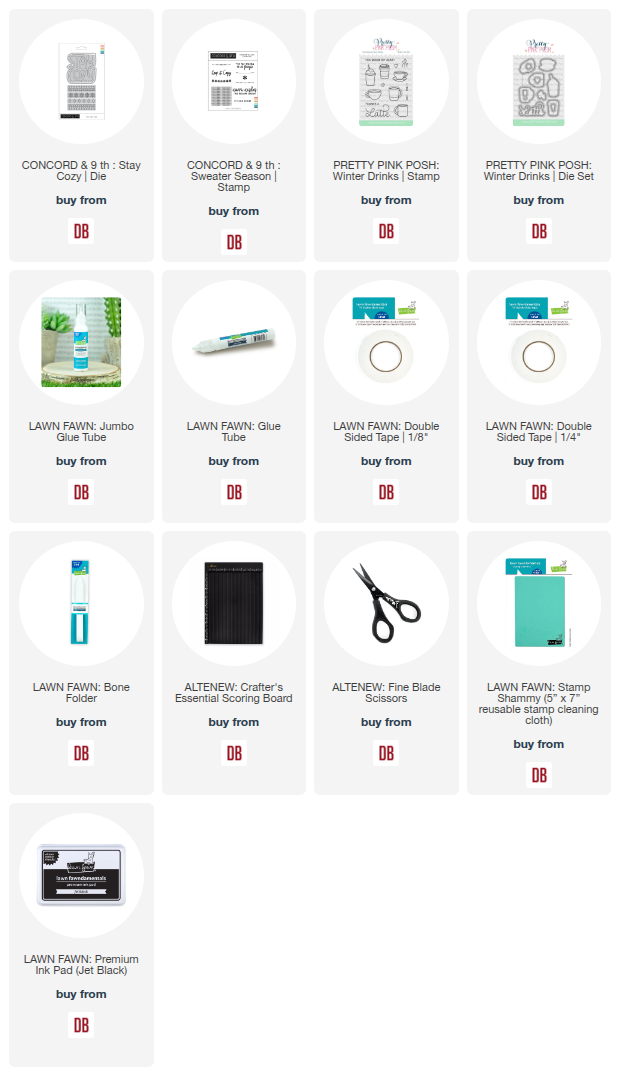
  • Concord & 9th - Stay Cozy | die
  • Concord & 9th - Sweater Season | stamp
  • Pretty Pink Posh - Winter Drinks | stamp

You could easily switch out color palettes.


We can't wait to see how you're inspired.

Thank you so much for stopping by!

Links to products used or recommended are listed below:

Monday, June 16, 2025

Citrus Stenciling All the Ways

 Hey friends! It's Mix it up Monday on the Doodlebugs blog today! I'm sharing some really fun stenciling in a bunch of color combos because who doesn't love a good citrus!

I was really in the mood to play with stencils a little bit ago so I went digging through all my layering stencils, finally landing on this fun Pretty Pink Posh Citrus stencil set. I inked it up with the orange combo because it seemed immediately logical but right after that I thought, I want to make lemons and limes and, what about grapefruit too!?! So I did.

The final layer is the juice splatter so I spread glossy gel through it and sprinkled those with super fine glitter for sparkle. While those were drying I cut some Lawn Fawn scripty sentiments from white cardstock - 3 layers for each card - and glued them together with liquid glue. But I didn't like the white sentiment so I cut another layer for each card and inked it with the same inks I used on the stenciling.

Once the panels were dry, I trimmed the edge off and lined the back with foam tape. Then I inked the edge of my card base to match each panel and adhered them together. Last, I glued my sentiments in the center and suddenly have an adorable set of 4 cards done!

I appreciate you sharing your time with me. Have a fabulous day! 

Products used:
Pretty Pink Posh Citrus
Lawn Fawn Scripty Congrats die
Lawn Fawn Scripty Hello die
Lawn Fawn inks - celery stick, jalapeno, lemonade, sunflower, carrot, peach fuzz, bubblegum
Liquid glue
Foam tape