Monday, March 18, 2024

See-Through Tags to Make Your Gifts Extra Special

Welcome to another Mix it up Monday for the Doodlebugs blog! It's Amanda from Twiddler's Nook and this time I needed a couple of tags for thank you gifts I was giving at work. The gifts were really pretty candles, one pink and one orange, so I pulled my color inspiration from that. It's a great little trick to remember if you're stuck for palette inspiration.

Mama Elephant Flower Shower stamp and dies

I dug through all my fun tag shapes and landed on this awesome see-through tag from Pretty Pink Posh. I cut one orange and one pink, then two white for the back layer. I sandwiched acetate between the layers so I had somewhere to adhere my images.

Mama Elephant Flower Shower stamp and dies

Trying to decide what images to use, I came across the adorable Mama Elephant Flower Shower set and thought these flowers would be perfect colored in the deep colors I was going for. So I chose two, stamped and colored them, then used the coordinating dies to cut them out.

Mama Elephant Flower Shower stamp and dies

Next, time to choose a sentiment. Obviously, I needed a thank you style but which one? I felt super punny when I read "thanks a bunch" in the Mama Elephant Banner Greetings die set and couldn't resist. I cut the solid banner from white and the sentiment layer from black, adhering them with liquid glue.

Mama Elephant Flower Shower stamp and dies

After popping the sentiment banners and images up with foam on the tag shapes, I tied twine through the holes in coordinating colors and added glossy accents to critter noses and flower centers. Last I added black glaze pen to the critter eyes to help them shine.

These tags added just enough to a simple gift to make it feel special and that little extra. 
 
I appreciate you sharing your time with me. Have a fabulous day!  

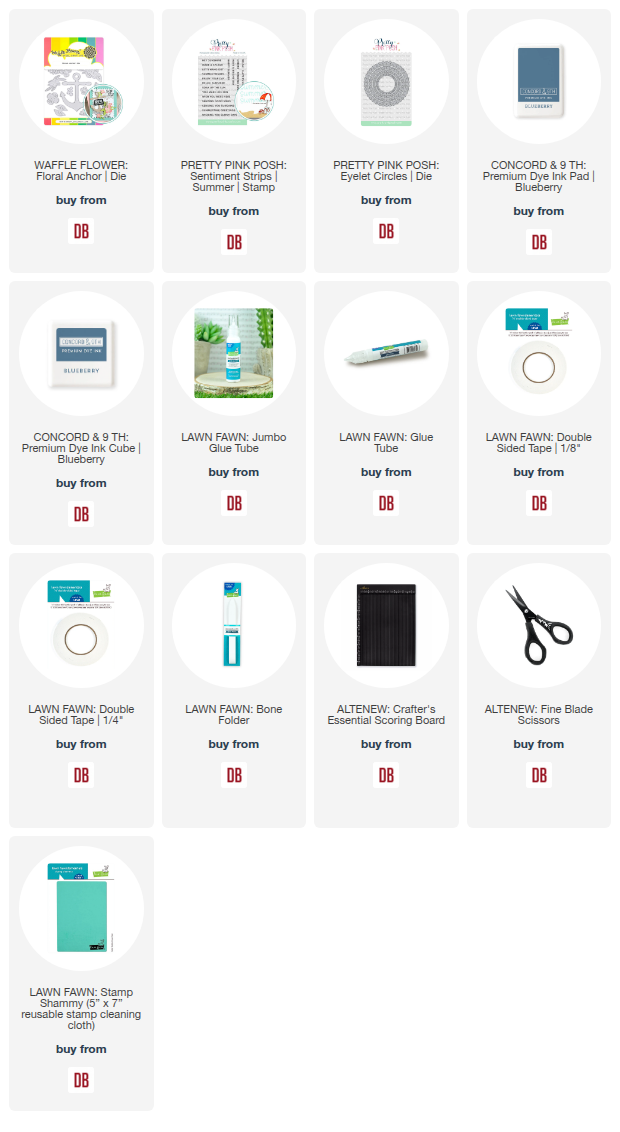
 Links to products used or recommended are listed below: 

Tuesday, March 12, 2024

Some Bunny Loves Spring

What are you favorite seasons of the year? I love Spring + Fall.  When Easter rolls around, I always think of Easter Egg hunts, egg dying and it was also about the time of year that my daughter was born.  She received so many bunnies when she was born.


Lawn Fawn Carrot 'Bout You stamp and die

These are the products I'm featuring today:

  • Lawn Fawn - Carrot 'bout You | stamps + lawn cuts
  • Lawn Fawn - Carrot 'bout You Banner Add-on | stamps + lawn cuts
  • Giant Happy Spring | lawn cut
  • Pretty Pink Posh - Eyelet Rectangles | dies
  • Pretty Pink Posh - Argyle | layered stencil
Originally I was going for a clean + simple design.  Then I spotted the argyle stencil, I love how it looks!

Lawn Fawn Carrot 'Bout You stamp and die

I added the two flowers after I put my card together.  I think it gives that bunny such a carefree look!

Lawn Fawn Carrot 'Bout You stamp and die

Thanks so much for stopping by!
 
 Links to products used or recommended are listed below:  

Monday, March 11, 2024

Hip Hip Hooray Hot Foiling

Happy Mix it up Monday everyone! I had so much fun mixing so many companies together to create these fun cards! It all started with the backgrounds and quickly grew from there. Do you ever have that with a new layered stencil? You have to try it in a billion color combinations just to see what you actually like together...or maybe you love them all and you just keep going? The second thought was more what happened to me this time.

Mama Elephant Hello Froggy and Pretty Pink Posh Half Stars Stencil

After creating my stenciled backgrounds with the Pretty Pink Posh Half Stars stencil set, I took one of the ink pads (peach fuzz and peachy keen) and drug it across two card fronts so they color matched my ink blending.

Mama Elephant Hello Froggy and Pretty Pink Posh Half Stars Stencil

Next, I hot foiled two "hip hip hoorays" from Spellbinders using gold hot foil and the coordinating die to cut them out. When I was looking for my hot foil plates, I found the Spellbinders Make a Wish Arch Labels and thought the tag in that set would be perfect to add to my design. I cut two of those from teal cardstock in my stash and threaded black twine through the holes.

Mama Elephant Hello Froggy and Pretty Pink Posh Half Stars Stencil

You all know how I love my critters so it was inevitable that when I felt like my design was missing something, I went digging for a cutie to add. The Mama Elephant Hello Froggy set came out a year or so ago but I just recently ordered it so I was more than excited for the chance to use it! I stamped my dapper froggy and colored him with copics before using the coordinating die to cut him out.

Mama Elephant Hello Froggy and Pretty Pink Posh Half Stars Stencil

With all my elements laid out and ready to go, I started assembling with foam tape, squares and liquid glue. Then I finished the design off with a bit of glossy accents on the froggy's bowtie and buttons.

I forgot to take a picture but on the inside of each card I stamped a sentiment from Hello Froggy that says "You're Froggin Awesome" because I thought it went so perfectly with the front. 
 
I appreciate you sharing your time with me. Have a fabulous day! 
 
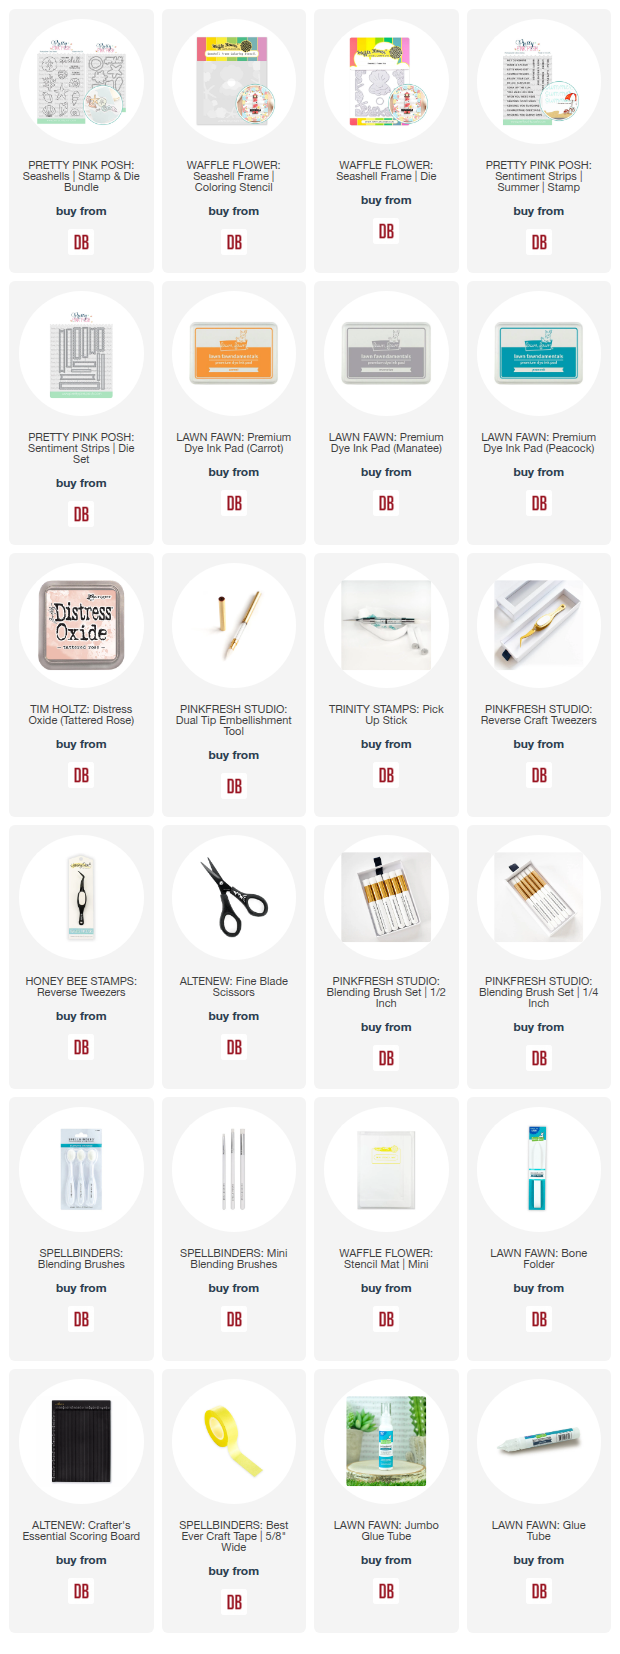
Links to products used or recommended are listed below:  

Thursday, March 7, 2024

Quick and Easy Thank You Cards

Just some quick cards I created using the Blended Petals stamp and coordinating stencil from Concord & 9th. Those coordinating stencils make creating these cards quick and easy!!  So, while I had everything out, I created several.

Concord & 9th Blended Petals stamp and stencils

To create these, I stamped the images on several panels of white cardstock and used the coordinating stencil and ink blending brush to add the ink to the paper.  Once I was finished, the next step was to cute the panels down so they were slightly smaller than the front of my A2 card.  I used the A2 Layers die for this.  It's a great die set and one of my most used dies.

Concord & 9th Blended Petals stamp and stencils

The next step was to cut and assemble the sentiments.  For those of you who follow the blog, you know I cut several of each piece and glued them together in a stack for some added dimension.  Since this was a pretty flat card, the extra dimension was perfect!

Concord & 9th Blended Petals stamp and stencils

I secured the sentiment to the front to complete the card.

Thanks so much for stopping by.  I hope you're inspired to create something today.

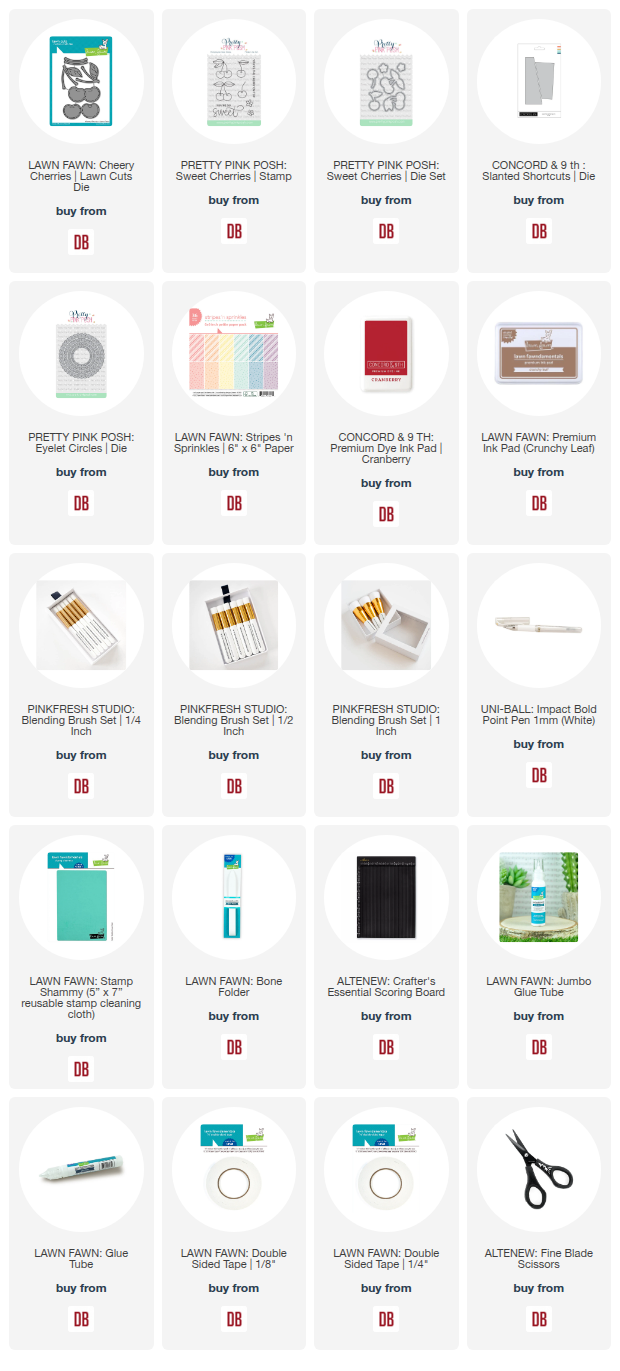
Links to products used or recommended are listed below: