Thursday, February 29, 2024

Use Your Paper Scraps for Card-making

Today I'm sharing another card I created using some of my paper scraps.  My scrap drawer gets so full, it nice to use up some of those scraps and watch that pile shrink.

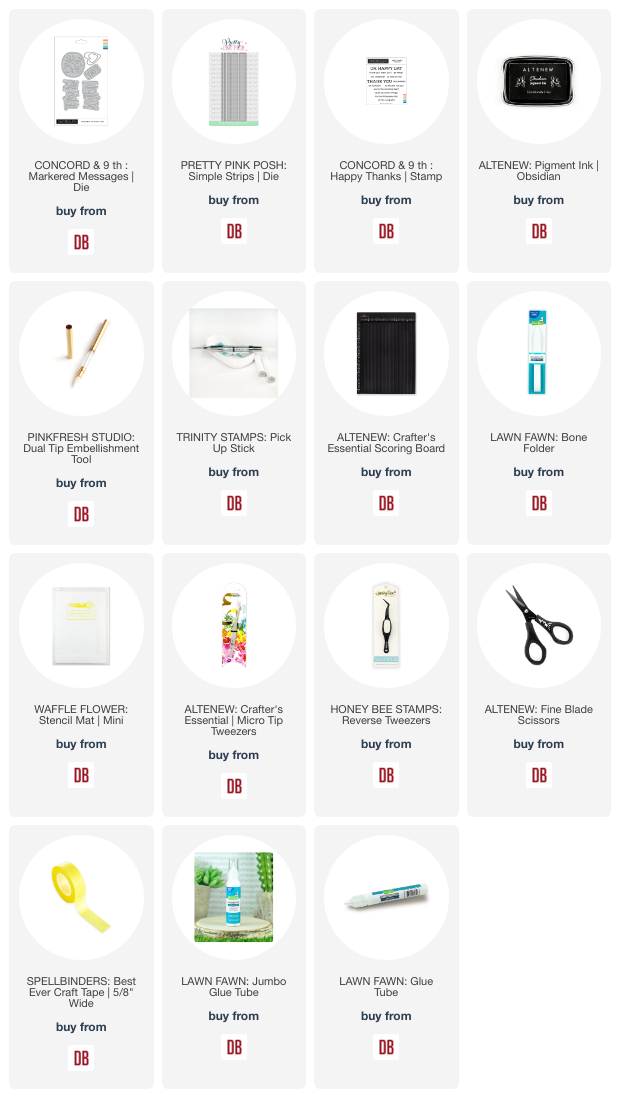
To crate this card I cut a bunch of strips using paper scraps and the Simple Strips die from Pretty Pink Posh.  If you don't have a die, you can use a paper cutter to cut the strips.  


After cutting the strips, I secured them to a scrap piece of thin, white paper.  I arranged them right next to each other in rainbow order.  Once they were glued to the paper, I cut the piece with the die cut circle from the Markered Messages die set from Concord & 9th.  This created the rainbow base for my circled sentiment sit above.

I then cut the sentiment portion of the die several times using white cardstock and secured them together, stacking them for some added dimension.  I stamped the sentiment onto a rectangle piece that is cut a bit smaller than my card base and then secured everything to the front of my card.

A few black hearts finished the card.

Thanks you so much for stopping by.  I hope you're inspired to create something with some of your scraps. If you'd like to another idea for using scraps, visit my previous post Simple, Interactive, Pop-up Card.

Cathy

 Links to products used or recommended are listed below: 
Tuesday, February 27, 2024

Birthday Scoop

I'm playing with two of the new Concord & 9th colors along with some old and new products.  Here is how I was inspired:


The two new Concord & 9th colors:
  • Creamsicle
  • Eucalyptus
I threw in some Ballet Slipper from my stash.


No stamping on this birthday card design:
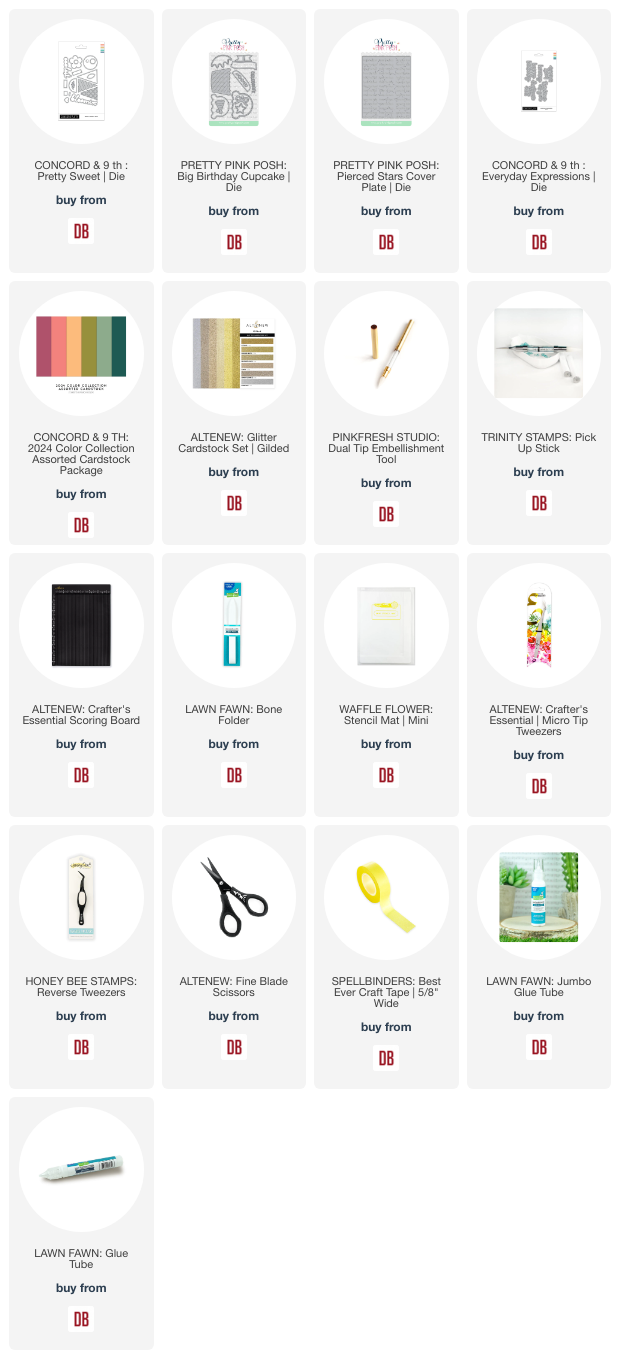
  • Concord & 9th - Everyday Expressions | dies
  • Concord & 9th - Pretty Sweet | dies
  • Pretty Pink Posh - Big Birthday Cupcake | dies
  • Pretty Pink Posh - Pierced Stars | cover plate


The vellum and glitter paper are from my stash.
 
I hope you have a great week!
 
Links to products used or recommended are listed below:  

Monday, February 26, 2024

Dino Wishes, Mixing Die Cuts and Embossing Folders

Hey friends! This is Amanda with Twiddler's Nook. Mix it up Monday is here in a big way today! Prehistoric big!!! Lol. I finally played with the Spellbinders Birthday Dinosaur and couldn't stop after one so I have three cards to share with you today.

Spellbinders Birthday Dinosaurs

The whole thing started with me just wanting to play around with the adorable dinosaurs and escalated quickly. These dinos come together very quickly and are the simplest to put together. I recommend liquid glue so you have a second to fiddle with placement if you need to but other than that they are very self explanatory.

Spellbinders Birthday Dinosaurs

Once I had the dinosaurs created I went digging for bits and pieces to go with them and since I happened to have this new Mama Elephant Simple Friends Bubbles stamps and die set on my desk, I thought I would see how they went together.

Absolutely perfect, is how they went together! This sentiment set stamps and die cuts six sentiments at once which is awesome! This batch was stamped with Lawn Fawn peach fuzz ink three times to make sure I had good coverage and darken the color a little.

Spellbinders Birthday Dinosaurs

For my background I cut three Mama Elephant Sweet Shoppe Frames, keeping the center piece that cuts out. I glued each one to a white card base. Then used the Spellbinders In the Pines embossing folder on the center piece for each one. I chose contrasting colors to each dinosaur and ink blended those panels before gluing them back in the middle of the frames.

Spellbinders Birthday Dinosaurs

Last I just added my speech bubbles and dinosaurs to each card front with foam squares. They are so cute just how they are that I decided to skip shiny and sparkly for this set of cards. But by all means friends, go ahead and bling away if that's what your heart desires. I will never stop you! :)
 
I appreciate you sharing your time with me. Have a fabulous day!
 
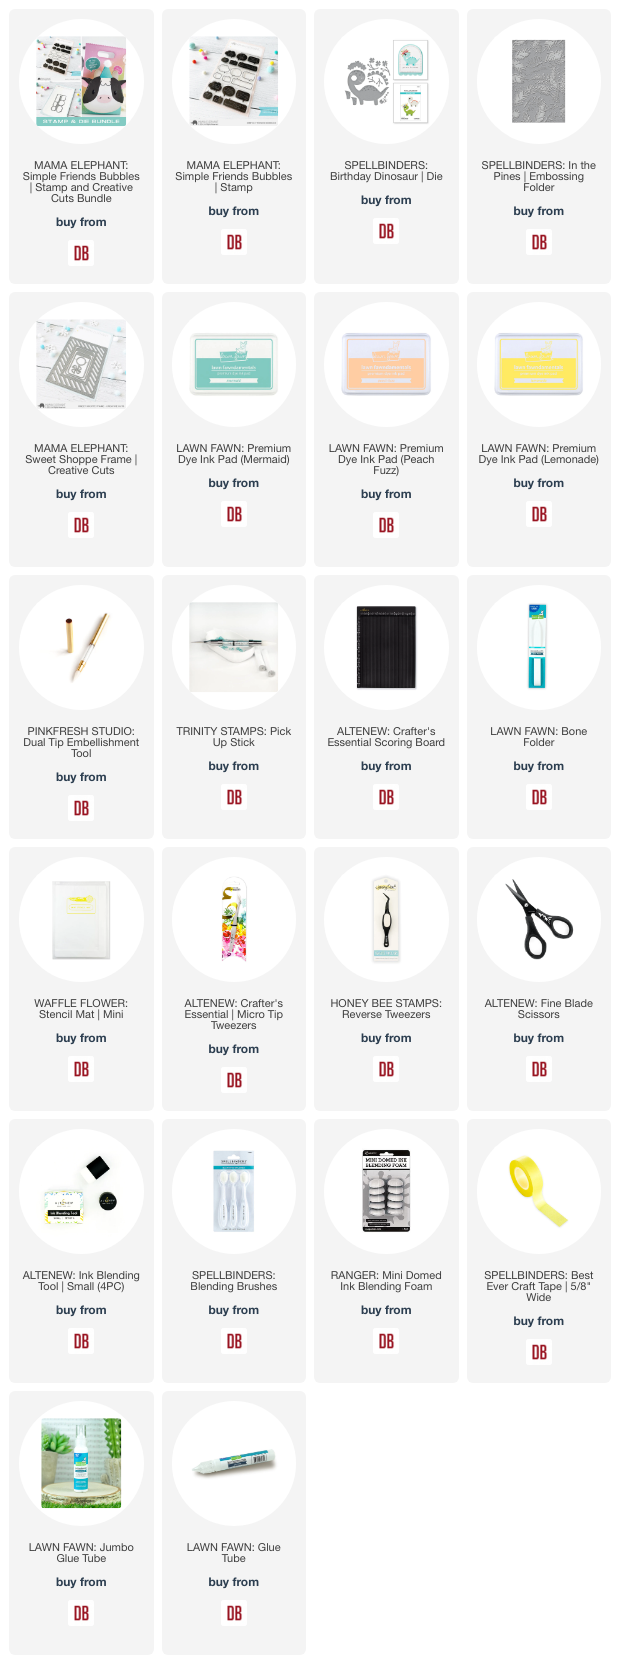
Links to products used or recommended are listed below:  


Tuesday, February 20, 2024

Friendly Rainbow

 I've been having so much fun crafting these days.  


Pretty Pink Posh Clover Shaker Card

This project combines:

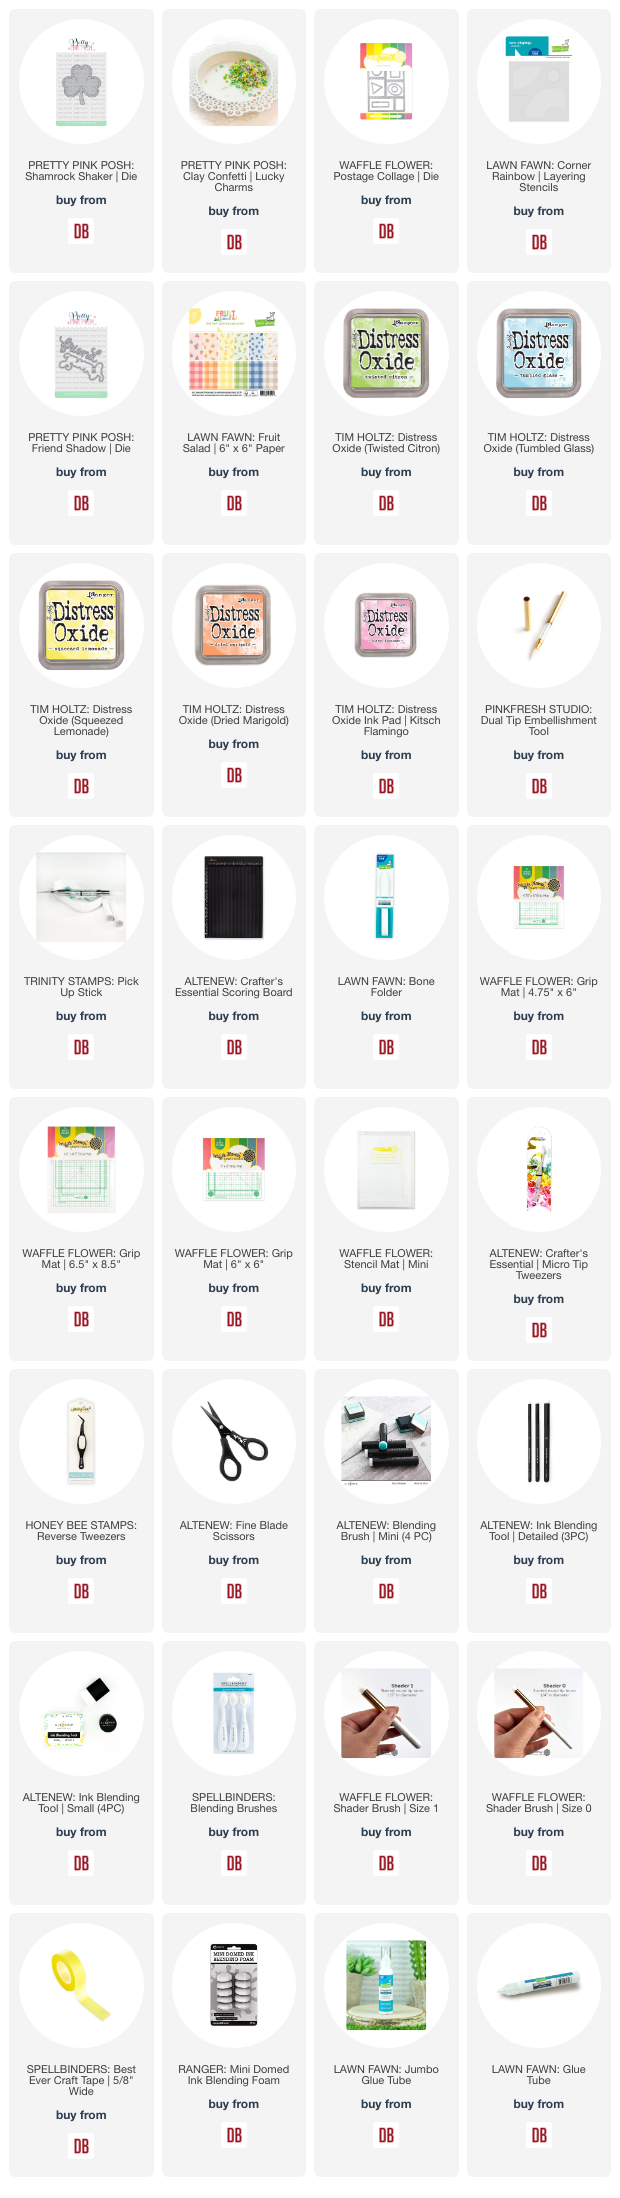
  • Waffle Flower Crafts - Postage Collage | die
  • Lawn Fawn - Corner Rainbow | layering stencils
  • Pretty Pink Posh - Shamrock Shaker | die
  • Pretty Pink Posh - Friend Shadow | die
  • Pretty Pink Posh - Lucky Charms | clay confetti
  • Lawn Fawn - Fruit Salad | 6x6

Pretty Pink Posh Clover Shaker Card

The Corner Rainbow stencil is so much fun, I really need to ink that up more.  Today I used the following distress oxides:
  • Kitsch Flamingo
  • Dried Marigold
  • Squeezed Lemonade
  • Twisted Citron
  • Tumbled Glass
I used the following tools when stenciling:
  • Waffle Flower Crafts - Grip Mat | 6x6
  • Waffle Flower Crafts - Shader Brush

Pretty Pink Posh Clover Shaker Card


Thanks so much for stoppin' by!

Links to products used or recommended are listed below: