Monday, August 31, 2020

Hello from Toni: Pretty Pink Posh Layered Leaves and Flowers


Greetings, everyone!  I felt like working with stencils again which gave me the perfect opportunity to try out the Pretty Pink Posh Layered Leaves and Flowers set of 3 stencils.


You can use all 3 stencils to create leaves (stencil 1), flowers (Stencil 2) and berries/flower centers (Stencil 3).  The stencils are marked and easily positioned, thank goodness.

I do recommend either using removable adhesive to hold the Stencil 1 leaves down or prepare yourself for inky fingers. My friends know I always choose the inky fingers option--LOL.


I used Distress Oxide Crushed Olive and Mowed Lawn for the leaves, Wilted Violet for the flowers, and Mustard Seed and Candied apple for the berries and centers.

I then cut out the Pretty Pink Posh Aloha Shaker die in bold black and white, paired with a Pretty Pink Posh Simple Sentiment embossed on an MFT Skinny Strip.


For the second card, I only used Stencil 1 with my Copic airbrush.  I LOVE this effect.

I used the Pretty Pink Posh Ladybug Friends images, coloring them with Copics. I embossed their wings with Glossy Accents and embossed the sentiment. Love all that shine!


Have a great rest of your week! If you'd like to check out my other creations in the meantime, you can visit my blog, Frankie Helps Craft, my Instagram, or my Pinterest Board.

Products Used and Recommended Include:

Friday, August 28, 2020

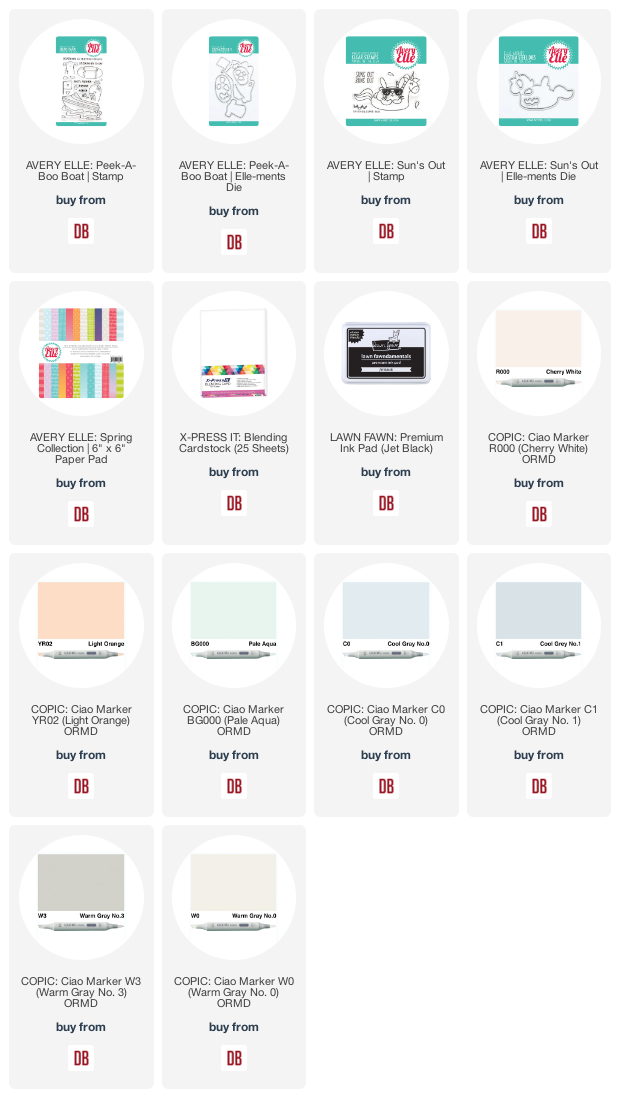
Hello from Amy: Ahoy, Friend | Avery Elle Stamps


Happy Friday from the Pacific Northwest!  This is Amy and I have an Avery Elle project to share with you.  I combined: 

Here's how I was inspired:


I started with an ombre panel from the Spring Collection 6x6.  I layered a wide frame that I cut using the nesting rectangles from my stash.

I stamped images from both sets with Lawn Fawn Jet Black ink and colored them with the following copics:

YR01 | YR02
BG000 | BG11
BG45 | BG53
C0 | C1
W0 | W3


I love all things nautical, how about you?  I made this especially for a friend of mine and I hope that she likes it.  I can't believe that September is next week!


Links to products used are listed below:

Wednesday, August 26, 2020

May You Bloom with Grace...


Hello and happy Wednesday everyone!
Mayra here with you today. I am always super happy to be here sharing my cards with you. 
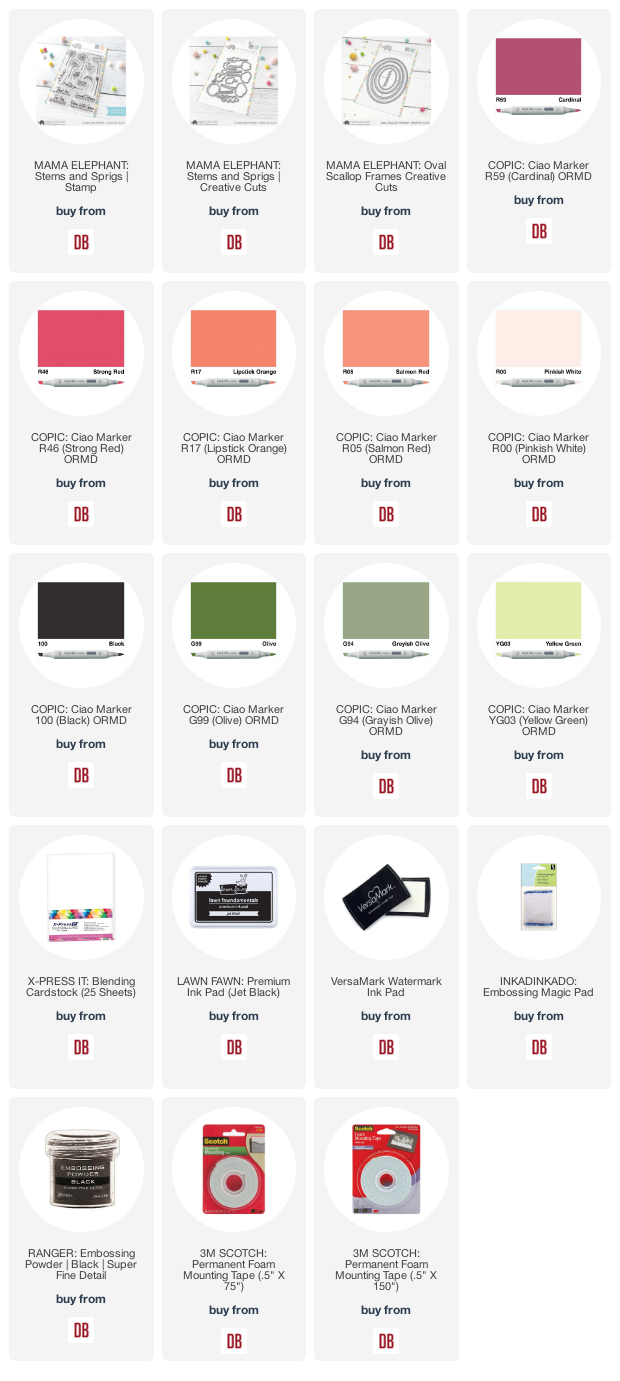
For today, I created this floral card. I used the super pretty Stems and Sprigs stamp set from Mama Elephant. The coordinating dies are available here


I began by coloring the images from the stamp set that I would be using for my card and tag set. 
I used Copic markers to color all of the images in. I wanted a deep burgundy/red color for the flowers. 
I used R59, R56, R46, R17, R05, R12, R01, R00 with a bit of R89 and 100


For the green areas, I used G99, G94, and YG03
After coloring the images, I set them aside to create the card base and tag base. 
I used the lovely Oval Scallop Frames from Mama Elephant. 


To finish the card and tag, I heat embossed the sentiment onto a strip of vellum using 
If you already own the ink pad the re-inker is available here
For the tag, I used the Lawn Fawn Premium Ink Pad in Jet Black to stamp my sentiment. 
To give a couple of the flowers and stems dimension, I used foam tape to adhere them to the card base. 


I hope you enjoy this set and feel inspired to create. 
Thank you so much for taking the time to stop by! 
Hoping you each have a wonderful and blessed day. 
Please feel welcome to visit me at my blog Mayras Designs, or on Instagram

Links to products used are listed below:

Monday, August 24, 2020

Hello from Toni: Pretty Pink Posh Bee Friends


Howdy, Doodlebugs fans! Today's cards are the bee's knees if I must say so myself.  Both use the Pretty Pink Posh Bee Friends set.  So buzzworthy!  LOL.


I was inspired by the Honey Bee Sweet on You 6x6 honeycomb paper. Aren't those colors unexpected and amazing?

I used Distress Oxide Cracked Pistachio and Tattered Rose with the Pretty Pink Posh Layered Clouds stencil on the card base before adding the fussy cut honeycomb.


I colored up the images using Copics. They're so cute!  The sentiment is stamped in Versafine Onyx Black, my absolute favorite for sentiments.


I created another card using the two-piece Honey Bee Flower Builder Background stencils with Distress Oxide Mustard Seed and Distress Ink Black Soot.

When I want a really dark black, I prefer using Distress Ink; the Distress Oxide tends to be more charcoal.

You can't tell in the photos but for all of the bees I used Clear Wink of Stella on their wings.


Have a great rest of your day! If you'd like to check out my other creations, you can visit my blog, Frankie Helps Craft, my Instagram, or my Pinterest Board.

Products Used and Recommended Include:

Friday, August 21, 2020

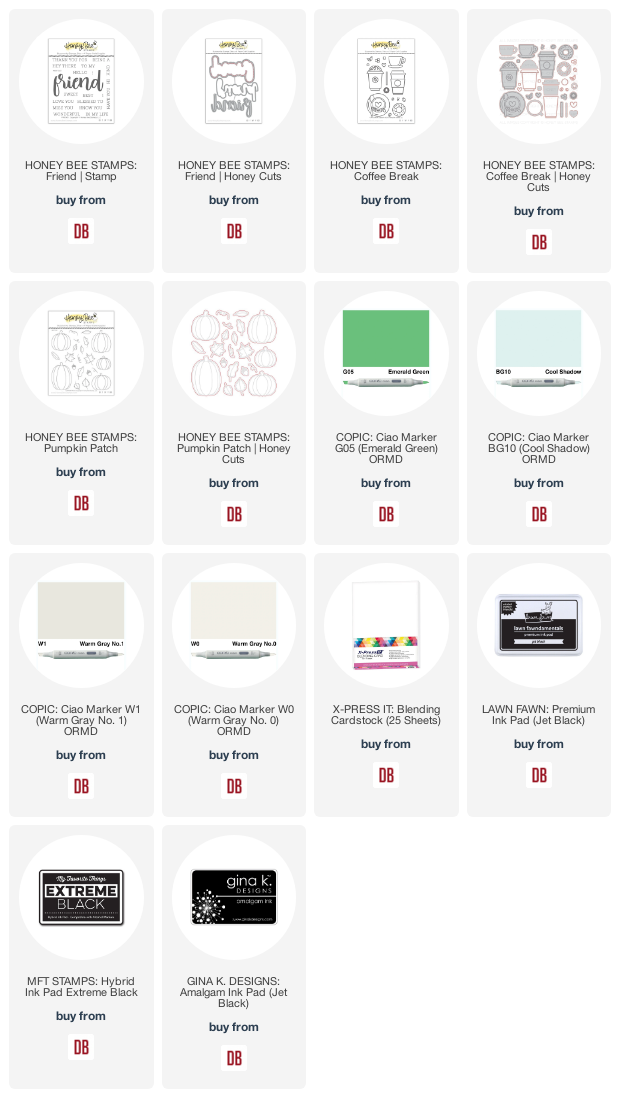
Hello from Amy: Friend | Honey Bee Stamps


Happy Friday!  It's Amy! The temps have been high in the Pacific Northwest and has me thinking of cooler fall temps!  Today I'm sharing a card that features Honey Bee Stamps:


Pumpkin Patch is currently out of stock in the shop, sign up to be notified by email when it is back in the shop or the Pumpkin Patch | Stencil is still available!

Here's how I was inspired:


I love the Coffee Break and Pumpkin Patch combined together! Any Pumpkin Spice Latte fans out there?  I hear that they will hit Starbucks on August 28th!  

I didn't go all FALL on this design because I went with a peach and aqua background.  I'm not quite ready for the richer fall colors yet.


Here are the copic colors I used:

YR0000 | YR01
G03 | G05
B0000 | BG10
E97
W00 | W0 | W1
C00

The sentiment is pretty awesome.  The Hello is from the Friend stamp.  The Friend die cut is a glorious 3 layers and is from their coordinating Friend Honey Cuts.


That's it for me today, have a great weekend!
 
Links to products used are listed below:
 

Wednesday, August 19, 2020

Fun with Avery Elle's Fairy Happy...


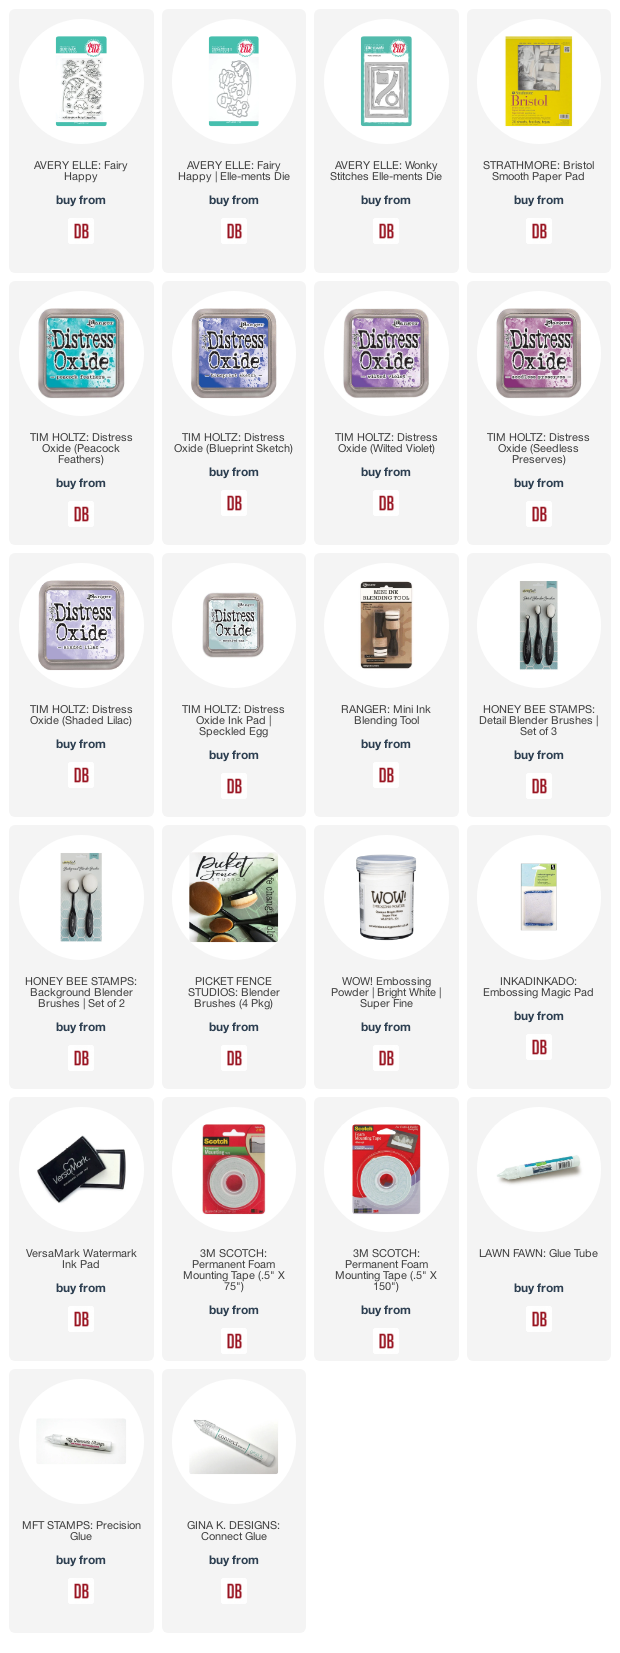
Hello and happy Wednesday everyone!!! I am so happy to be here with you today. I have two fun fairy-themed cards to share with you. I love stamp sets with fairies in them. I think they are so much fun to create with. I used the super pretty Fairy Happy stamp set by Avery Elle. This set also has the coordinating dies that can be found here


I started my cards by die cutting using Avery Elle Wonky Stitches Elle-ments Die from Bristol Smooth Paper. I die cut the largest wonky stitched rectangle twice. From the second rectangle, I used the smaller one that comes in the set to cut the center out of it. Then I die cut the largest rectangle once more using plain white cardstock, and I repeated die cutting the center using the smaller rectangle to create a frame. I also used the circle tag from the set to create a little moon for the first card. 


Next, I used Distress Oxide Inks to add the colors to my bases. I started with Peacock Feathers, then I added Blueprint Sketch, Wilted Violet, Seedless Preserves, Shaded Lilac, and Speckled Egg.  
I then colored in all of my images using Copic markers. 


I then began adhering my images to the card bases using foam tape, and Lawn Fawn Glue Tube.
Then, I heat embossed the sentiment I would be used for both cards using Wow Embossing Powder

I hope you enjoy the cards I created to share with you today. 
Thank you so much for taking the time to stop by!! 
Hoping you each have a wonderful and blessed day. 
Please feel welcome to visit me at my blog Mayras Designs or my Instagram

Links to products used are listed below:

Tuesday, August 18, 2020

Hello from Toni: Waffle Flower Sea Birthday


Hello, lovelies!  For today's cards I'm using the Waffle Flower Sea Birthday set. I'm a big fan of sea creature sets and easily justified getting this one.  Hello, people.  PLATYPUS!


For the first card I die cut a piece of Avery Elle Spring Collection 6x6 paper using the outer Sunny Studio Frilly Frames Eyelet Lace die.


I then colored up the various images, including the rock from the MFT Mermazing set. I added some additional plants from that same set using Stazon.  The Mama Elephant Stackable Cuties speech bubble sentiment is also stamped in Stazon since the paper is somewhat slick.


My other card using this set literally took me under five minutes to make.  Seriously!  I stamped the jellyfish using Distress Oxide Ripe Persimmon and Peacock Feathers randomly on the card front then stamped the Avery Elle Monkey Sea Monkey Do sentiment using Versafine Onyx Black.  Boom. Done.


I'll be back with you next Monday.  Have a great rest of your week!  If you'd like to check out my other creations, you can visit my blog, Frankie Helps Craft, my Instagram, or my Pinterest Board.

Products Used and Recommended:

Monday, August 17, 2020

Hello from Toni: Mama Elephant School Rules


Happy Monday, everyone! I thought since it's back to school season, whether virtual, home or foolishly in person, I would make cards for some of the teachers in my life.


I used the Mama Elephant School Rules set as well as MFT Party Plaid 6x6 paper for both cards.  Plaid screams school to me so I used that as the background of the first card.


I pulled colors from the paper in choosing my Copics. Yes, that's a lot of Copics!  But, I had to--just had to--look how darling these little kiddies turned out. :)


I used the MFT Fringed Scalloped Border die with leftover MFT Party Plaid 6x6 paper.  Banners = school for sure!

I had intended to color all of the bun buns but I pooped out--lol.  I rather like the effect. I also like the Glossy Accents I added to the glasses. So cute!


Have a great day! If you'd like to check out my other creations, you can visit my blog, Frankie Helps Craft, my Instagram, or my Pinterest Board.

Products Used and Recommended Include:

Friday, August 14, 2020

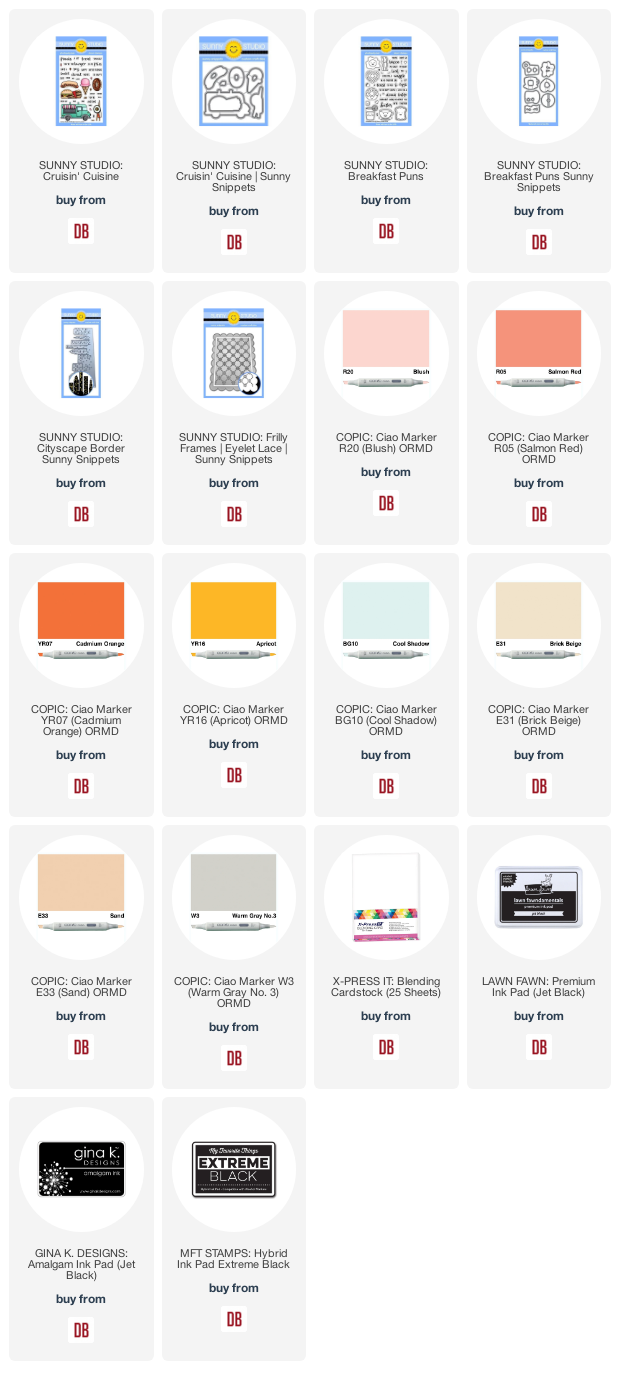
Hello from Amy: You're the Donut | Sunny Studio Stamps


Hello and Happy Friday!  It's Amy and today I'm sharing a card that features Sunny Studio Stamps:

Cityscape Border  |  Sunny Snippets 

Here's how I was inspired:


I hadn't inked up Breakfast Puns yet so I decided to make a Treat Truck card.  They play well together, don't they?  I've even combined sentiments from both sets.  I did a bit of stamp surgery and love how it turned out.


Here are my copic colors:

BG10 | BG32
E30 | E31 | E33
W00 | W3


That's it for me today, have a great weekend!
 
Links to products used are listed below: