Friday, October 30, 2020

Hello from Amy | Hot Cocoa - Avery Elle


Happy Friday, I can't believe it is going to be November on Sunday!  It's Amy and I'm here with a project that features Avery Elle:


Here's how I was inspired:


I also used the Avery Elle Oval Burst Elle-ments Die and the their Spring Collection 6x6.  The newest set is the cute Christmas Mice set.  I challenged myself to combine it with some sets from last season.  Love how this cozy scenery turned out.


The copics I used:
YR0000 | E40 | E41
YG0000 | YG01
G20 | G40
BV00 | BV11
W0 | W1 | W3
N4


Have a fantastic weekend!

Links to products used are listed below:

Thursday, October 29, 2020

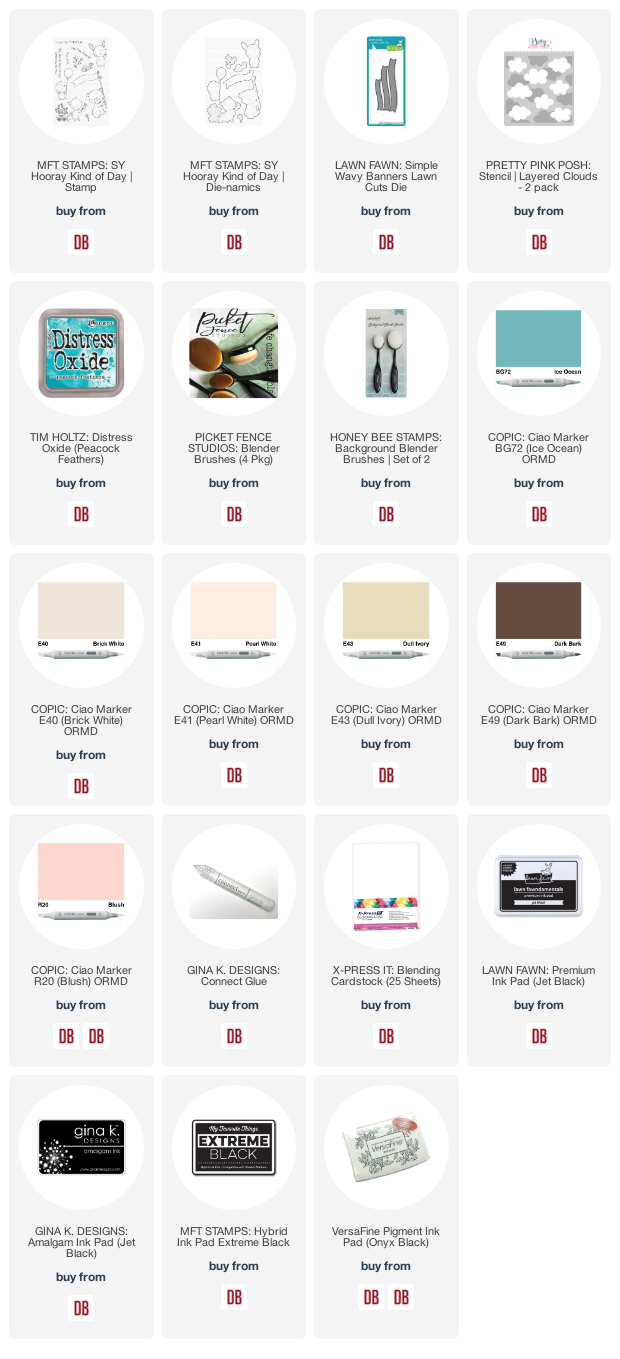
Hello from Toni: MFT Hooray Kind of Day


Hi, everyone!  I'm blowing the dust off of this one.  I cleaned my desk and guess what I found from ages and ages ago?  I'm sure I'm the only this has ever happened to--LOL.

I stamped MFT Hooray Kind of Day  directly on the card base and colored the images with Copics (E40-44, E49, R20, G03).  I used the Pretty Pink Posh Layered Clouds stencil with Distress Oxide Peacock Feathers above.  


The sentiment was really easy to bend a bit to work with the Lawn Fawn Simple Wavy Banners die.  What a cute little scene!

I'll see you again soon.  If you'd like to check out my other creations in the meantime, you can visit my blog, Frankie Helps Craft, my Instagram, or my Pinterest Board.   

Products Used and Recommended Include: 

Wednesday, October 28, 2020

Lawn Fawn "Hedgy" Cute Bookmarks...


Hello and happy Wednesday everyone!! Mayra here with you today, and I have a set of bookmarks to share with you. I used the absolutely adorable Tiny Gift Box Hedgehog Add- On.  I love to read and encourage my sons to also develop a love of reading as well. With that in mind, I thought bookmarks would be perfect to make with the little hedgehog. 


I began by die cutting the pieces for the hedgehogs and the little accessories. The little hat is from the Tiny Gift Box Holiday Hats Add- On, the hearts are from the Stitched Mug Frame, the small cup of hot chocolate is from the Woodland Critter Huggers Winter Add-On, and the stack of books from the Den Sweet Den stamp set. 


To create the bookmarks, I used the large stitched rectangle from the Flippin' Awesome Add-On, and the smaller stitched rectangle from the Shutter Card Die set. I layered the smaller rectangle over the larger one after stamping the sentiments onto each one. I thought these sentiments were great for the bookmarks. The "I can't take my eyes off of you" is from the Keep On Swimming set, the "find happinness in the little things", and "I'm so happy I found you" are from the Hey Lady stamp set.  


To finish my bookmarks, I used the Eye See You Shape Sprinkles by Doodlebug Design to add little eyes to these cute hedgehogs. I hope you enjoy these bookmarks and feel inspired to create. 

Thank you very much for taking the time to stop. I hope you each have a wonderful and blessed day. Please feel welcome to visit me on my blog, on Instagram, or on Pinterest

Links to products used are listed below:
 

Monday, October 26, 2020

Hello from Toni: Sunny Studio Thanksgiving


Hi, Doodlebugs fans!  Can you believe it's the last week of October and Thanksgiving is a short 4 weeks away?  Not sure what that's going to look like at our house this year given the pandemic. But that doesn't mean I can't send out cutie patootie cards in celebration.

I'm using the Sunny Studio Bountiful Autumn set along with a sentiment from Sunny Studio Harvest Mice.

Isn't that background paper to die for? I have a cookie-making friend (she's amazing!) who included these with her cookies last year.  It's a total win for me to 1) remember I had saved it--fine, I ran across it when looking for something else but still; and, 2) actually using it.  


I used the Pretty Pink Posh Autumn Leaves stencil along with Distress Oxides on the card base which I thought would be a lovely backdrop to the upcycled packaging paper.


I'll see you again soon.  If you'd like to check out my other creations in the meantime, you can visit my blog, Frankie Helps Craft, my Instagram, or my Pinterest Board.   

Products Used and/or Recommended Include:

Friday, October 23, 2020

Hello from Amy | Hay Friend - Honey Bee Stamps


Happy Friday!  It's Amy and I'm here with a card that features Honey Bee Stamps:


Here's how I was inspired:


Gotta love the trendy slimline design!  My blended panel includes:


These images from the Let's Hang out set are over the top cute.  


I used a ton of copics on this one:

R21 | R22
YR0000 | YR000 | YR01
G40 | YG01
B21 | B52
W0 | W1 | W3
N0 | N2

The sentiment has been heat embossed in white.


That's it for me, have a great weekend!

Links to product used are listed below:

Thursday, October 22, 2020

Hello from Toni: Honey Bee Autumn Maple Leaf


Hi, everyone! My cards today feature the Honey Bee Lovely Layers Maple Leaf die which is *cough* to die for.


On the below version I sprinkled Strathmore Bristol Smooth card with Lindy's Magicals and a touch of Brusho. Just a little spritz of water and patience is all that was needed to create this colorful background.


I then pounced the Honey Bee Lovely Layers Maple Leaf with Versamark and Ranger Copper embossing powder. Ack!  I stamped the Honey Bee large Autumn sentiment the same.


I stamped the last part of the Autumn sentiment white on black for a punch of non-color.


For the second card, I sponged and spattered cardstock with Distress Oxide Speckled Egg, Mustard Seed, Crackling Campfire, and Carved Pumpkin. I love how that turned out. 

I cut out the Honey Bee Lovely Layers Maple Leaf, adhering the inner cuts onto a piece of kraft cardstock with the leaf veins curled up for added, easy dimension.


Notice the texture of the card front?  I used the textured side of a piece of Tim Holtz watercolor cardstock.  I prefer using the smooth side of watercoloring but mucked it up so used the reverse side for this.

I'll see you again soon.  If you'd like to check out my other creations in the meantime, you can visit my blog, Frankie Helps Craft, my Instagram, or my Pinterest Board.   

Products Used and/or Recommended Include:

Wednesday, October 21, 2020

Welcome... Congrats On Your New Home!


Hello and happy Wednesday everyone!! Mayra here with you today. I am very grateful to be here. I have a fun card to share with you. I used the adorable new Let's Go Nuts stamp set, along with the Backdrop Lift The Flap Tree die. 


I used most of the images from the Let's Go Nuts stamp set. I also used a couple of other stamp sets to complete the scene. The little bow is from the Eggstra Amazing Easter set,  the pumpkins from the Pick Of The Patch set, the wreath from the Car Critters Christmas Add-On, and the sentiment from the Happy Village set. 


After picking my images, I colored them using Copic markers. I then used Distress Oxide ink to add color to the panel that would be the base of the scene. I used Spun Sugar, Worn Lipstick, and Dried Marigold. I used the Backdrop Lift The Flap Tree die to die cut the trees in white. I then used the Mushroom Border die for the grassy hill. To add color to the hill I used Peeled Paint and Mowed Lawn


 I also created another interactive area on the card. I used the stitched circle from the Shutter Card set to create a spinner for the leaves. I attached them using Scotch Foam Tape. I hope you like this fun card. 


Thank you very much for taking the time to stop by! I hope you each have a wonderful and blessed day. Please feel welcome to visit me at my blog, or Instagram, or Pinterest.


Links to products used are listed below:

Monday, October 19, 2020

Hello From Toni: Lawn Fawn Acorn House


Hello, Doodlebugs fans! I was so excited when I saw that Lawn Fawn was releasing the Into the Woods Remix pad.  I had been hoarding the original for ages but now I have extra so can go nuts with it.  Nuts--ha!


As you can see I used a LOT of the papers in the pad; nearly everything on the is cut from it, including the LF Acorn House, the LF Leafy Tree Portrait Backdrop, and the card background.

I used the new Distress Oxide Crackling Campire to highlight the leaves and flowers (did you notice those are tiny hearts?). I also colored the tree trunk with Distress Oxide Vintage Photo, Walnut Stain and Ground Espresso.


I used Copics (E11, E42, E43, E44, E49, R20, Y11 and Y15) to color up the Let's Go Nuts squirrels. They are so blasted cute! The one on the bottom left is wearing a scarf.  The world's tiniest, cutest scarf, people!

I finished off the card by embossing a sentiment from the LF Oh Gnome set. It fit perfectly where I wanted it.

I'll see you again soon.  If you'd like to check out my other creations in the meantime, you can visit my blog, Frankie Helps Craft, my Instagram, or my Pinterest Board.   

Products Used and/or Recommended Include:

Friday, October 16, 2020

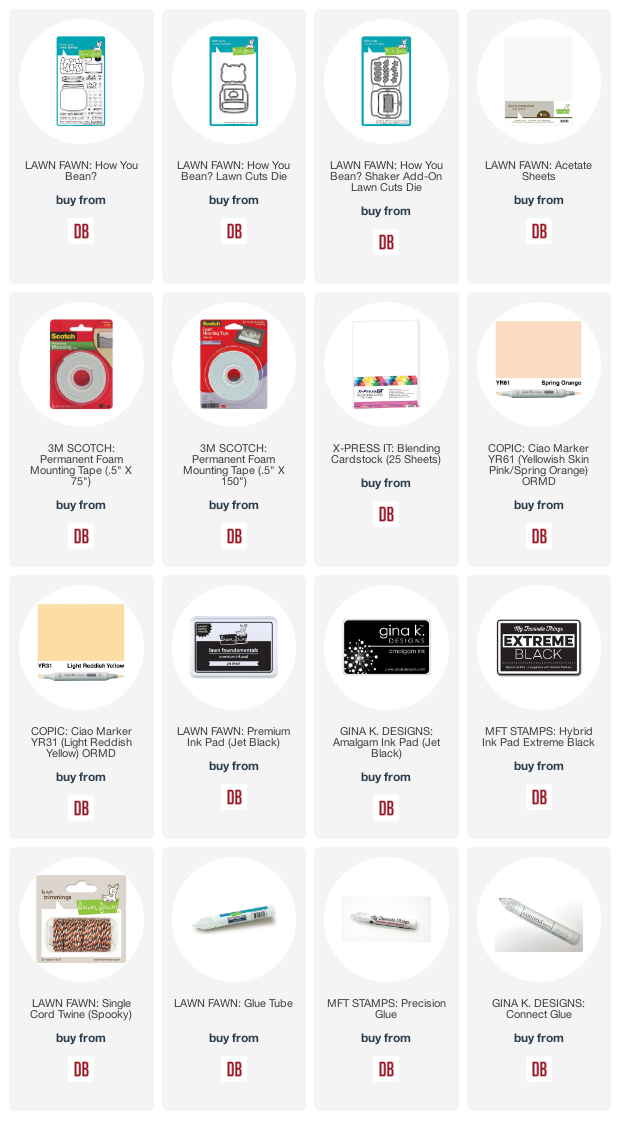
Hello from Amy | How You Bean - Lawn Fawn


Happy Friday!  It's Amy and I'm here with a card that features Lawn Fawn:


Here's how I was inspired:


I designed two shaker cards!  I wanted to make a Halloween design so I decided to color the jelly beans Candy Corn style!

I used the following copics:


I used sentiments from the How You Bean set.  They've been stamped on black cardstock and heat embossed in white.  I tied them onto the shaker shaped cards with black and white twine.

The shaker supplies are from my stash, mini iridescent stars.


That's it for me, have a great weekend!

Links to product used are listed below:

Thursday, October 15, 2020

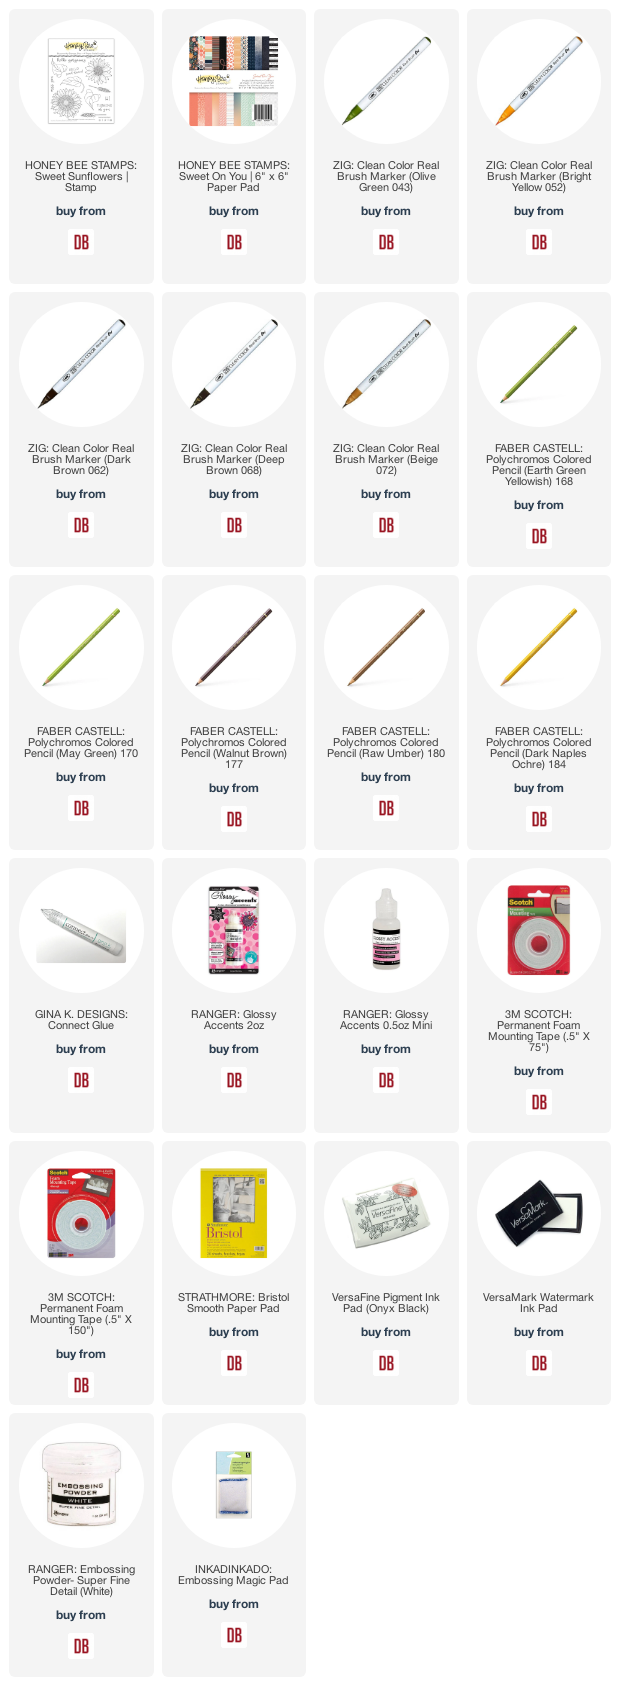
Hello from Toni: Honey Bee Sweet Sunflowers


Hi, everyone! I have a bonus card for you this week and likely will have a bonus cards for a few weeks.  This time of year I kick it into high gear with fall, Thanksgiving, and holiday cards. Woo hoo!


Here I used the Honey Bee Sweet Sunflowers set on a card I think is rather unusual for me. Where are my cute critters?!

I watercolored with images with Zigs and then used Polychromos on top of that. 


I used a piece of Honey Bee Sweet on You 6x6 paper beneath the images. I love this look.

I formed the flowers so they would be flat in the middle with rounded petals. I used foam tape to bolster beneath but so hard to photograph it well unfortunately.


I'll see you again soon.  If you'd like to check out my other creations in the meantime, you can visit my blog, Frankie Helps Craft, my Instagram, or my Pinterest Board.   

Products Used and/or Recommended Include: