Tuesday, May 28, 2019
Tuesday with Toni: Altenew Wallpaper
Hello, friends! I'm really excited to show you today's series of cards! I absolutely fell in love with the Altenew Wallpaper Art set and have experimented with it quite a bit lately. Let's get started!
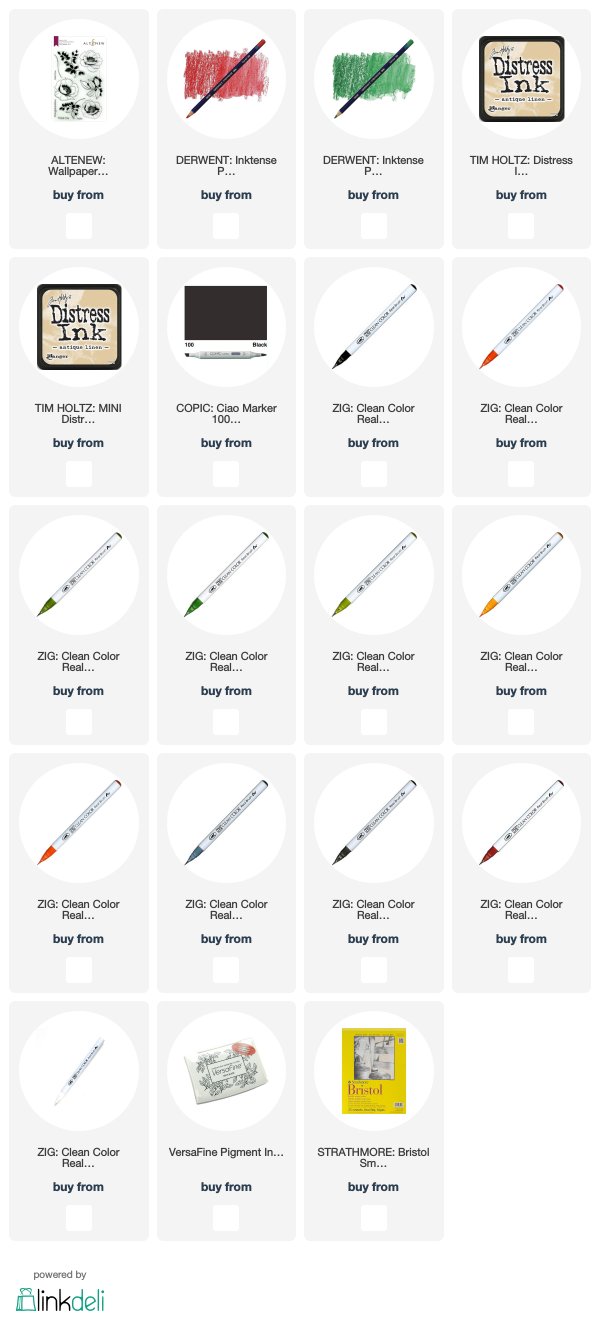
With my first card I decided to do no-line watercoloring. I stamped the flower with Distress Ink Antique Linen then masked it with Inkadinkado Masking Paper before stamping the leaves with Memento Pear Tart on Strathmore Bristol Smooth paper.
I used Zigs to color up the Altenew Wallpaper Art images, using deeper shades along the edges for good definition. When I watercolored the leaves, I discovered that the Memento ink resisted blending so it took more effort but turned out a treat. I bet Distress Oxide would have worked well too.
I added shading around the image then stamped the Clearly Besotted sentiment using Versafine Onyx Black. I then added black detail to the petals using Copic 100. I added further detail to the petals and leaves using Derwent Inktense Pencils. What a difference between the in-progress and final project pics, huh?
These next versions cannot be any simpler. The one above is stamped with Versafine Onyx Black. That's it. One layer, elegant, and clean.
This one is made a bit more frou using tone on tone stamping (Catherine Pooler All That Jazz) and a bit of gold washi. I prefer the black and white one; how about you?
If you would like to see my other creations, visit my blog, Frankie Helps Craft, or follow me on Instagram. See you soon!
Links to products used are listed below:
Thursday, May 23, 2019
Bonus Piggies with Toni
Hello, everyone! Toni here with a bonus post for you this week! Since I was playing with the MFT Piggy Pebbles set earlier in the week, I decided to keep getting messy with them. Aren't they so cute?! Almost makes me want to jump in the mud!
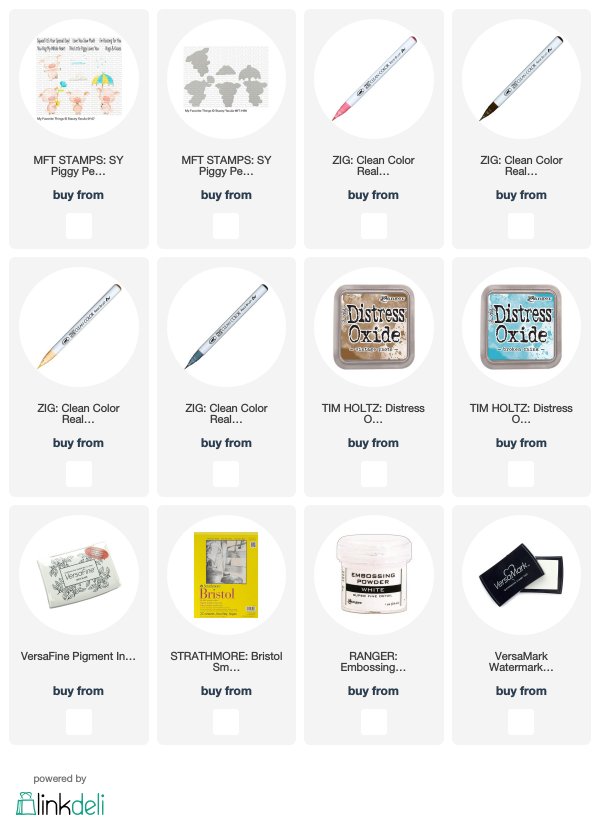
Both card images are stamped in Versafine Onyx Black on Strathmore Bristol Smooth and simply colored using Zig Real Brush Watercolor Markers.
Both also use Distress Oxide Broken China, the first for the falling rain and the second for a good spatter. Can you see the difference between the first and second card's mud spatters? The first uses a Zig marker and the second uses Distress Oxide Vintage Photo. Zigs are so concentrated that piggy got extra dirty!
Links to products used are listed below:
Tuesday, May 21, 2019
Tuesday With Toni
Happy Tuesday everyone! Cathy here for a quick announcement! Thanks for all the lovely comments welcoming Toni! We randomly selected a name from the comments on Sunday. Our winner is Cynthia Cole. Cynthia, please email your shipping address to hello@doodlebugswa.com. We will send a package of goodies out to you. Thanks again for all the support and kind words!
Hello, everyone! I have two very cute cards for you today! The card on the left was my original and the other my simplified version.
You: Simplified? But, Toni, the second looks just as complicated.
Me: Nah. The background paper does away with the stenciling, sponging, glitter and most of the diecuts!
Let's talk about the original card, shall we? I sponged a panel with Distress Oxide Peacock Feathers and Wilted Violet using a Picket Fence Studio Blender Brush and the MFT Mini Cloud Edges stencil. I then die cut this using the Lawn Fawn Rainy Backdrop Portrait Die. Insert happy dance.
Next I covered the card base with Scor-Tape then lay the Lawn Fawn Rainy Backdrop Portrait panel on top. I sprinkled Doodlebug Design glitter over that and burnished it with my fingers into the raindrops. So sparkly!
Now reading how I made the original card, you can tell it takes quite some effort and time. With the second card, I eliminated a chunk of the base layer stuff by using American Crafts 12x12 patterned paper for a similar effect.
Other changes here include adding the grass from the MFT Scene Builder set using Distress Oxide Mowed Lawn. Very simple to do and lots of visual impact.
So I was able to simplify this enough that I brought this along as a Make n Take to a crafty gathering last month. Yay!
Feel free to stop by my blog, Frankie Helps Craft, to see my other creations, or you can follow me on Instagram. See you soon!
Links to supplies used are listed below:
Hello, everyone! I have two very cute cards for you today! The card on the left was my original and the other my simplified version.
You: Simplified? But, Toni, the second looks just as complicated.
Me: Nah. The background paper does away with the stenciling, sponging, glitter and most of the diecuts!
Let's talk about the original card, shall we? I sponged a panel with Distress Oxide Peacock Feathers and Wilted Violet using a Picket Fence Studio Blender Brush and the MFT Mini Cloud Edges stencil. I then die cut this using the Lawn Fawn Rainy Backdrop Portrait Die. Insert happy dance.
Next I covered the card base with Scor-Tape then lay the Lawn Fawn Rainy Backdrop Portrait panel on top. I sprinkled Doodlebug Design glitter over that and burnished it with my fingers into the raindrops. So sparkly!
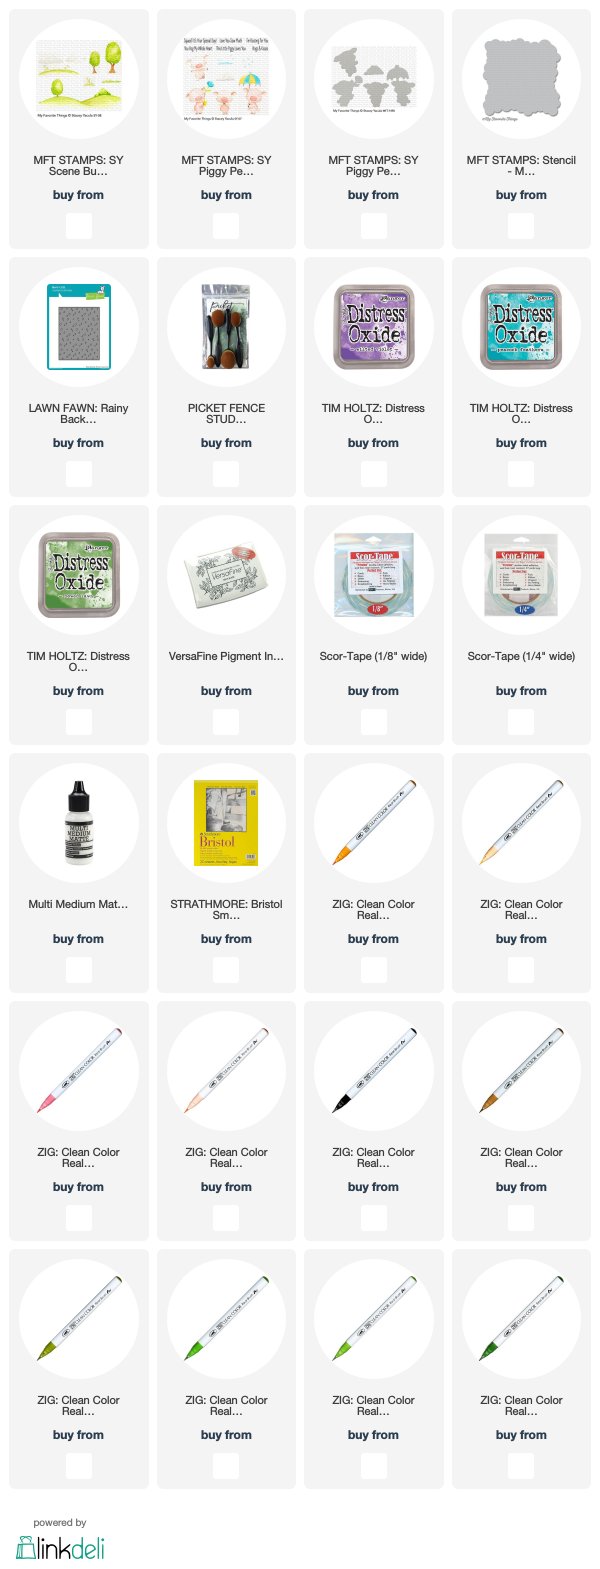
Piggy time! I stamped the MFT Scene Builder hills on Strathmore Bristol Smooth using Versafine Onyx Black. I fussy cut it out then watercolored it with Zig Real Brush Pens. I adhered the hills onto the card using Scor-Tape.
Final touches included adding Whimsy Stamps Up in the Clouds diecuts and paper-piecing the umbrella using a snippet from the Doodlebug Design Lots o' Luck 6x6 Paper.
Now reading how I made the original card, you can tell it takes quite some effort and time. With the second card, I eliminated a chunk of the base layer stuff by using American Crafts 12x12 patterned paper for a similar effect.
Other changes here include adding the grass from the MFT Scene Builder set using Distress Oxide Mowed Lawn. Very simple to do and lots of visual impact.
So I was able to simplify this enough that I brought this along as a Make n Take to a crafty gathering last month. Yay!
Feel free to stop by my blog, Frankie Helps Craft, to see my other creations, or you can follow me on Instagram. See you soon!
Links to supplies used are listed below:
Thursday, May 16, 2019
Big News Stamp Set from Mama Elephant
I know, it's not Tuesday, but Toni's back with a bonus card this week. Happy Thursday friends!
Hi, Friends! Remember the mermaid card from earlier this week which had the fab bright orange Hello? Well, I couldn't let the leftover pieces go to waste, now could I?
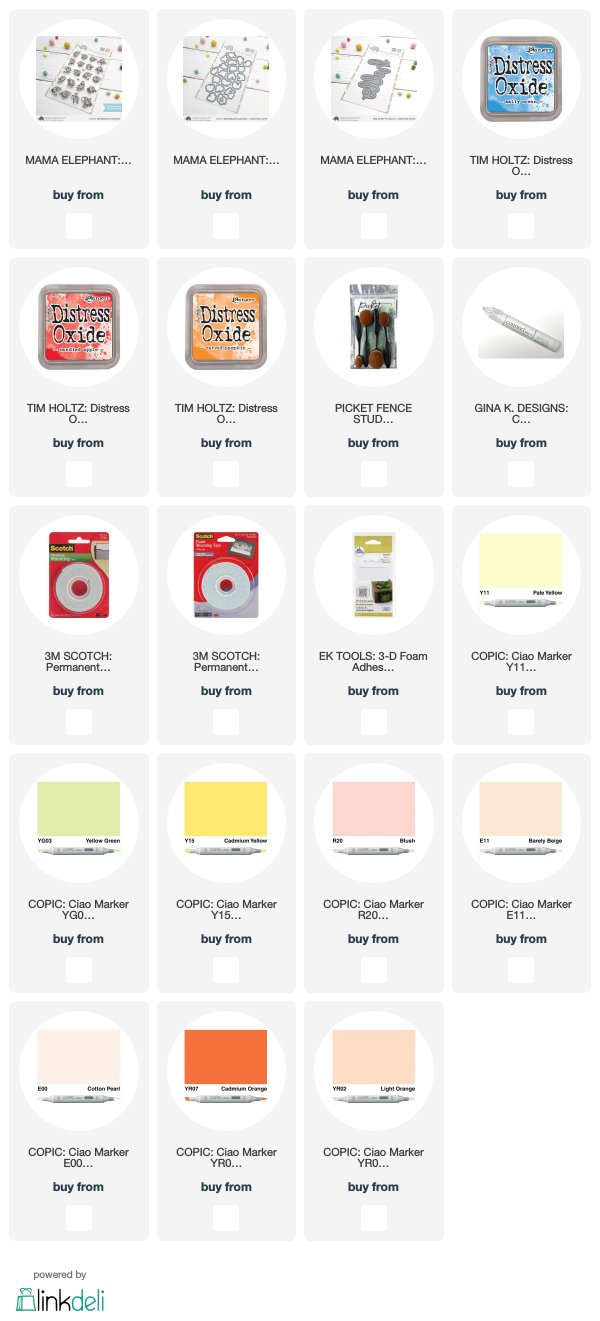
I had blended Distress Oxide Candied Apple and Carved Pumpkin using Picket Fence Studio Blender Brushes on a piece of cardstock and spattered with water. Once dry, I die cut the Mama Elephant Big Scripty Hello from it.
For this card, I adhered a piece of MFT retired 6x6 paper onto the card base using Scor-Tape. I then adhered the leftover Hello banner using Gina K Connect glue.
Then I stamped out the bear from the Mama Elephant Big News set with Memento Tuxedo Black. He's popped up with Scotch Foam Tape. I used Copics to color him up.
So dreamy! I love this color combo and had originally intended to make this as a neutral baby card but for now, it's rather any occasion.
*****
Hi, Friends! Remember the mermaid card from earlier this week which had the fab bright orange Hello? Well, I couldn't let the leftover pieces go to waste, now could I?
I had blended Distress Oxide Candied Apple and Carved Pumpkin using Picket Fence Studio Blender Brushes on a piece of cardstock and spattered with water. Once dry, I die cut the Mama Elephant Big Scripty Hello from it.
For this card, I adhered a piece of MFT retired 6x6 paper onto the card base using Scor-Tape. I then adhered the leftover Hello banner using Gina K Connect glue.
Then I stamped out the bear from the Mama Elephant Big News set with Memento Tuxedo Black. He's popped up with Scotch Foam Tape. I used Copics to color him up.
So dreamy! I love this color combo and had originally intended to make this as a neutral baby card but for now, it's rather any occasion.
I'll see you next week! In the meantime, you can check out my other creations on my blog, Frankie Helps Crafts, or by following me on Instagram.
Links to the products used can be found below:
Tuesday, May 14, 2019
Little Mermaiden Agenda from Mama Elephant
Hello crafty friends!! We've decided to make Toni's appearance here on Tuesdays permanent and a bit more official. Nothing says official like a title. So, please welcome Toni, she'll be contributing weekly for our "Tuesday with Toni" post.
To celebrate...we'll be sponsoring a giveaway. Leave a welcome message for Toni in the comments at the end of the post. Next Sunday, we'll randomly select a winner from the comments and send them some goodies (#BugMail). Sorry, US mailing addresses only. We are not able to ship internationally at this time.
PLEASE NOTE: Winner announcement will be posted next week in our Tuesday with Toni post. Please check the May 21st post on Tuesday for the announcement.
Hello, Doodlebugs fans! I couldn't wait to get my little hands on the latest Mama Elephant goodies. I love mermaids and mini sentiments and apparently giant sentiments!
I started the card by blending Distress Oxide Salty Ocean on the card base using Picket Fence Studios Blender Brushes and spattering it with water and the Distress Oxide Ink.
While that dried I blended Distress Oxide Candied Apple and Carved Pumpkin on another piece of cardstock and again spattered it with water. Swoon on the blue/orange color combo!
Once dry, I die cut the Mama Elephant Big Scripty Hello. As you can see, the Hello is popped up on Scotch foam tape and positioned lightly on the card. Lightly? So I could slide other design elements beneath.
Now the really really really fun part! I stamped out the Mama Elephant Little Mermaiden Agenda cuties using Memento Tuxedo Black and colored them up with Copics.
NOTE: Notice how the name of the set is mermaiden. I wonder if a mermad set is in the works. Eeeee!
I adhered them using Gina K Connect Glue. The glue is really easy to apply and I would use it for absolutely everything if it dried matte. (hint, hint, Gina!)
I added a few green elements using Taylored Expressions Build a Scene Underwater dies. Ack, so cute!!!
Links to products used can be found below:
To celebrate...we'll be sponsoring a giveaway. Leave a welcome message for Toni in the comments at the end of the post. Next Sunday, we'll randomly select a winner from the comments and send them some goodies (#BugMail). Sorry, US mailing addresses only. We are not able to ship internationally at this time.
PLEASE NOTE: Winner announcement will be posted next week in our Tuesday with Toni post. Please check the May 21st post on Tuesday for the announcement.
Hello, Doodlebugs fans! I couldn't wait to get my little hands on the latest Mama Elephant goodies. I love mermaids and mini sentiments and apparently giant sentiments!
I started the card by blending Distress Oxide Salty Ocean on the card base using Picket Fence Studios Blender Brushes and spattering it with water and the Distress Oxide Ink.
While that dried I blended Distress Oxide Candied Apple and Carved Pumpkin on another piece of cardstock and again spattered it with water. Swoon on the blue/orange color combo!
Once dry, I die cut the Mama Elephant Big Scripty Hello. As you can see, the Hello is popped up on Scotch foam tape and positioned lightly on the card. Lightly? So I could slide other design elements beneath.
Now the really really really fun part! I stamped out the Mama Elephant Little Mermaiden Agenda cuties using Memento Tuxedo Black and colored them up with Copics.
NOTE: Notice how the name of the set is mermaiden. I wonder if a mermad set is in the works. Eeeee!
I adhered them using Gina K Connect Glue. The glue is really easy to apply and I would use it for absolutely everything if it dried matte. (hint, hint, Gina!)
I added a few green elements using Taylored Expressions Build a Scene Underwater dies. Ack, so cute!!!
Now be sure to come back later this week when I'll be sharing a card made using the leftovers from this one. Perhaps certain orange leftovers? :)
You can check out my blog, Frankie Helps Craft, or follow me on Instagram to see my other creations. See you soon!
Links to products used can be found below:
Tuesday, May 7, 2019
Avery Elle Peek a Boo Pets
Hello crafty friends! It's Tuesday and we have Toni back again this week. She's sharing another adorable card. We hope you love it!
Hi, friends! Toni with you today sharing a cute farm-inspired birthday card and coordinating envelope.
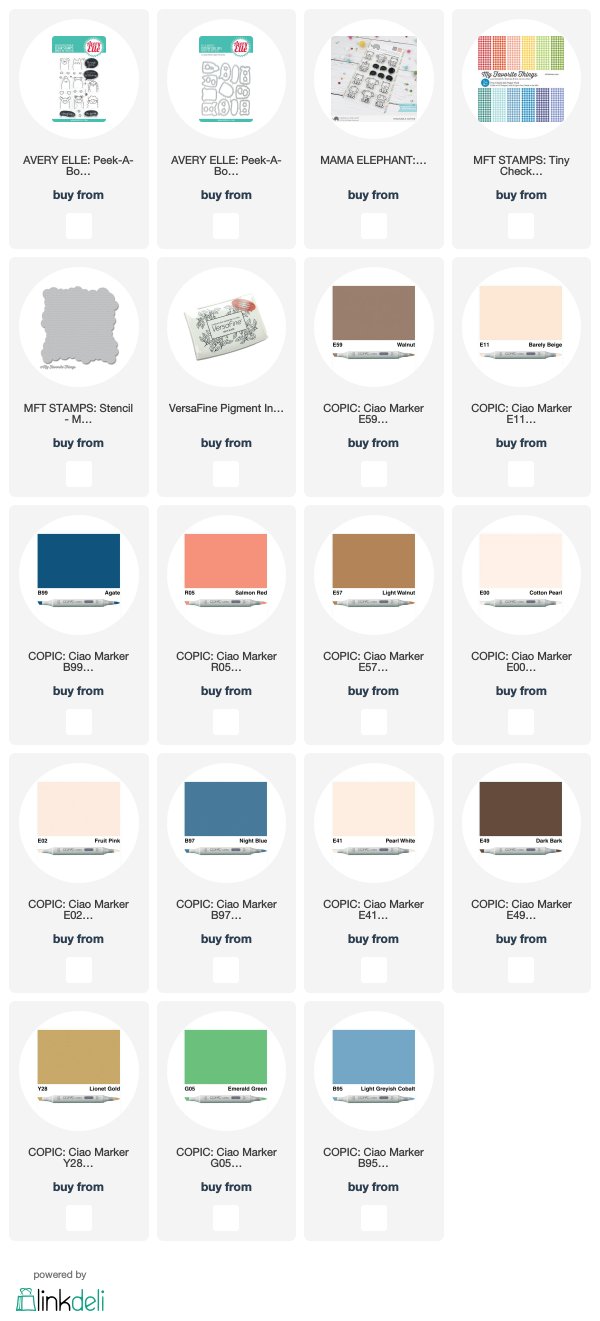
I rarely bother with decorating the envelope--heck, I'm lucky to get the card in the mail at all--but couldn't resist adding a few of the Avery Elle Peekaboo Pets. They're on the card itself too (look at those feet!) along with the MFT Green Pastures girl whose shirt I paper-pieced with some MFT Tiny Checks 6x6 paper.
I colored everything up with Copics and used the MFT Mini Cloud Edges Stencil along with my Copic Airbrush to add subtle clouds.
I mounted the lot on an embossed panel and added a few of the Mama Elephant Stackable Cuties speech bubble sentiments stamped with Versafine Onyx Black. I love the small size of these bubbles which makes them easy to place anywhere!
See below for a full list of ingredients and to see my other creations, stop by my blog, Frankie Helps Craft. See you soon!
Links to products used are listed below:
*****
I rarely bother with decorating the envelope--heck, I'm lucky to get the card in the mail at all--but couldn't resist adding a few of the Avery Elle Peekaboo Pets. They're on the card itself too (look at those feet!) along with the MFT Green Pastures girl whose shirt I paper-pieced with some MFT Tiny Checks 6x6 paper.
I colored everything up with Copics and used the MFT Mini Cloud Edges Stencil along with my Copic Airbrush to add subtle clouds.
I mounted the lot on an embossed panel and added a few of the Mama Elephant Stackable Cuties speech bubble sentiments stamped with Versafine Onyx Black. I love the small size of these bubbles which makes them easy to place anywhere!
See below for a full list of ingredients and to see my other creations, stop by my blog, Frankie Helps Craft. See you soon!
Links to products used are listed below:
Monday, May 6, 2019
Honey Bee Stamps Coffee Break
Who's having fun participating in the Coffee Lovers Blog Hop? If you haven't had a chance, you have a few more days to participate and to use our Coffee Lovers Discount. Be sure to head over to their blog for all the details on how to participate!
In the meantime, Toni is sharing another coffee inspired card today. We hope you enjoy it!
Hello, everyone! I hope you've been enjoying the Coffee Lovers Blog Hop as much as I have! It's always fun to check out how others have been inspired.
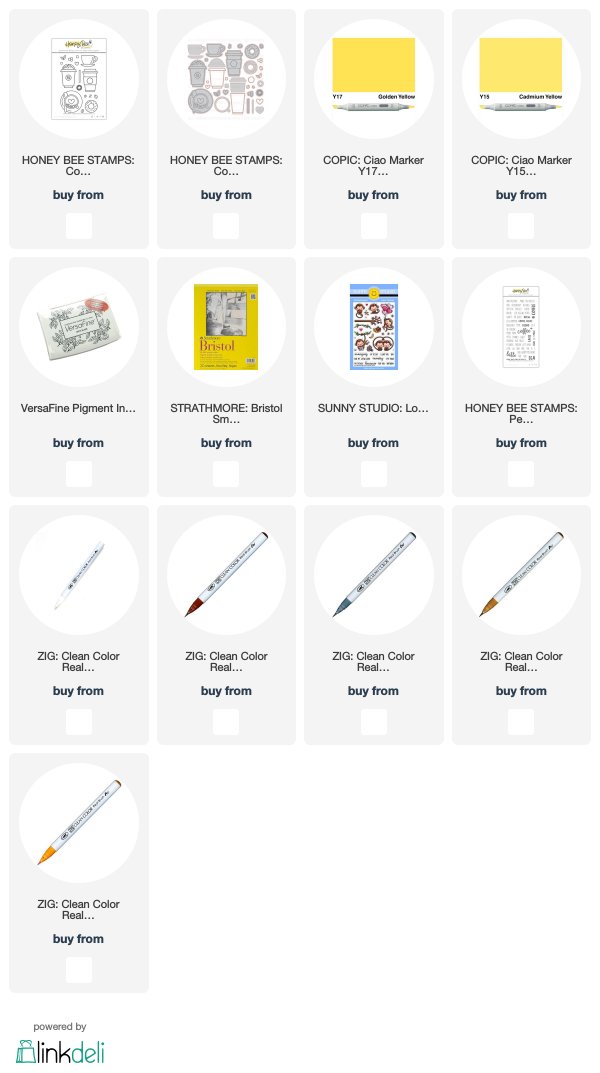
For this card, I was really drawn to the bold images in the Honey Bee Coffee Break set. I decided to play off of that boldness by using one of the bold background papers from the Reverse Confetti Every Little Bit 6x6 Pad.
I paired that with a diecut medallion from my mystery stash. I used my Copic Airbrush to color it with Copic Y15 and Y17, which are such yummy yellows.
Next I stamped the Honey Bee Coffee Break images with Versafine Onyx Black onto Strathmore Bristol Smooth Paper. I colored them with Zig Realbrush Pens then stamped one of the Sunny Studio Love Monkey hearts with Catherine Pooler Rockin' Red ink.
My final step was to stamp the Honey Bee Perfect Blend sentiment in Versafine Onyx Black onto a Lawn Fawn Everyday Sentiment Banner.
I love how this turned out--bold and sunny and summery!
I'll see you again soon! In the meantime, feel free to check out my other creations on my blog, Frankie Helps Craft, or follow me on Instagram.
Links to products used are listed below:
Friday, May 3, 2019
Spring & Summer Coffee Lover's Blog Hop
Hello crafty friends! Thanks so much for stopping by.
We're excited to be participating and sponsoring the Spring/Summer Coffee Lovers Blog Hop. Be sure to visit their blog for all the details and how to participate! There will be lots of inspiration and great prizes! You'll find them HERE. We're looking forward to seeing all the amazing, and creative projects!
For the duration of the blog hop, we're offering everyone a discount for any purchases made in our online store. Use the code: COFFEE20 to save 20% on your entire purchase. So, be sure to stop by the shop for look. You'll find it HERE.
We have Toni, from Frankie Helps Craft, sharing on the blog today. We hope you like her adorable, coffee themed card!
*****
Hello, crafty folks! I've worked up a coffee-themed card for the Spring/Summer Coffee Lovers Blog Hop today. Let's get started!
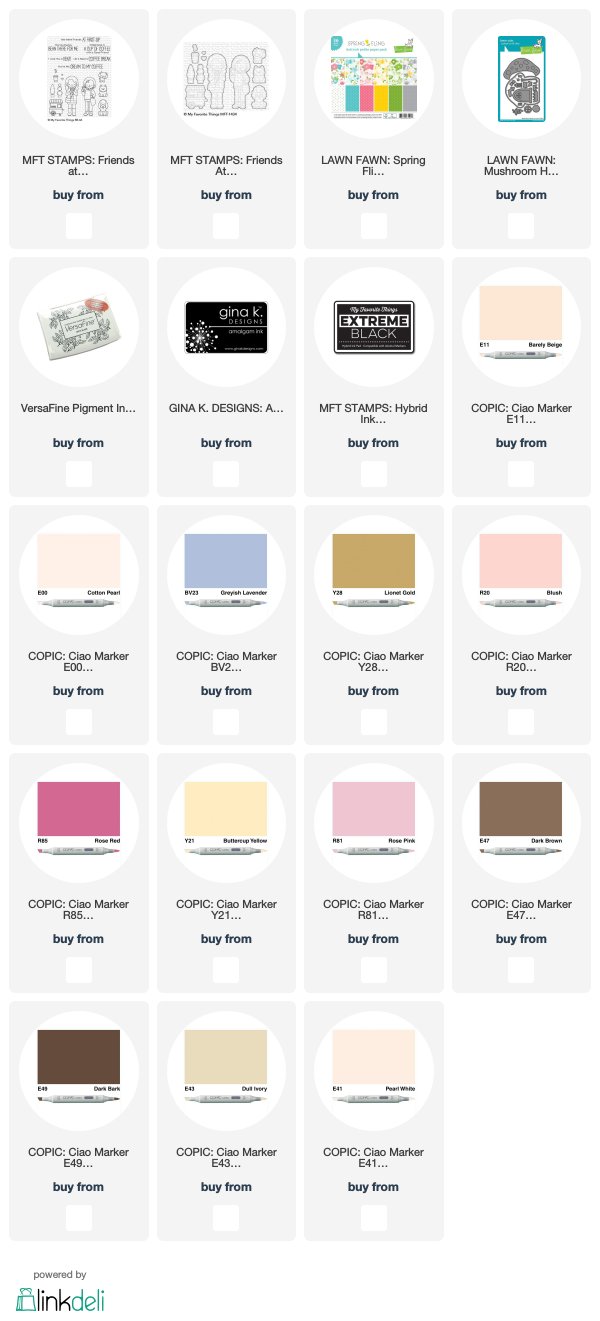
The background of my card is a fun combination of Lawn Fawn Spring Fling 6x6 Paper and diecuts. I particularly love the Savvy Stamps Seattle Skyline diecut used as a banner for the MFT Friends at First Sip sentiment stamped in Versafine Onyx Black.
Once I had the background laid out, I stamped the MFT Friends at First Sip images with Memento Tuxedo Black and colored them using Copics. Does she look like a hipster doctor? That's what one of my friends said. LOL.
I added a butterfly from the Lawn Fawn Mushroom House dies on top of the dog's head for a touch of whimsy. So cute!
I'll be back with another coffee card next week. In the meantime, you can check out my other creations at Frankie Helps Craft or by following me on Instagram!
Links to products used are listed below:
Subscribe to:
Posts (Atom)