Tuesday, August 27, 2024

Congrats Grad!

 Last week I shared a college grad card design for a guy that received a musical degree.  Today I'm sharing a high school grad design. She will be attending college out of state:


Today's project features:
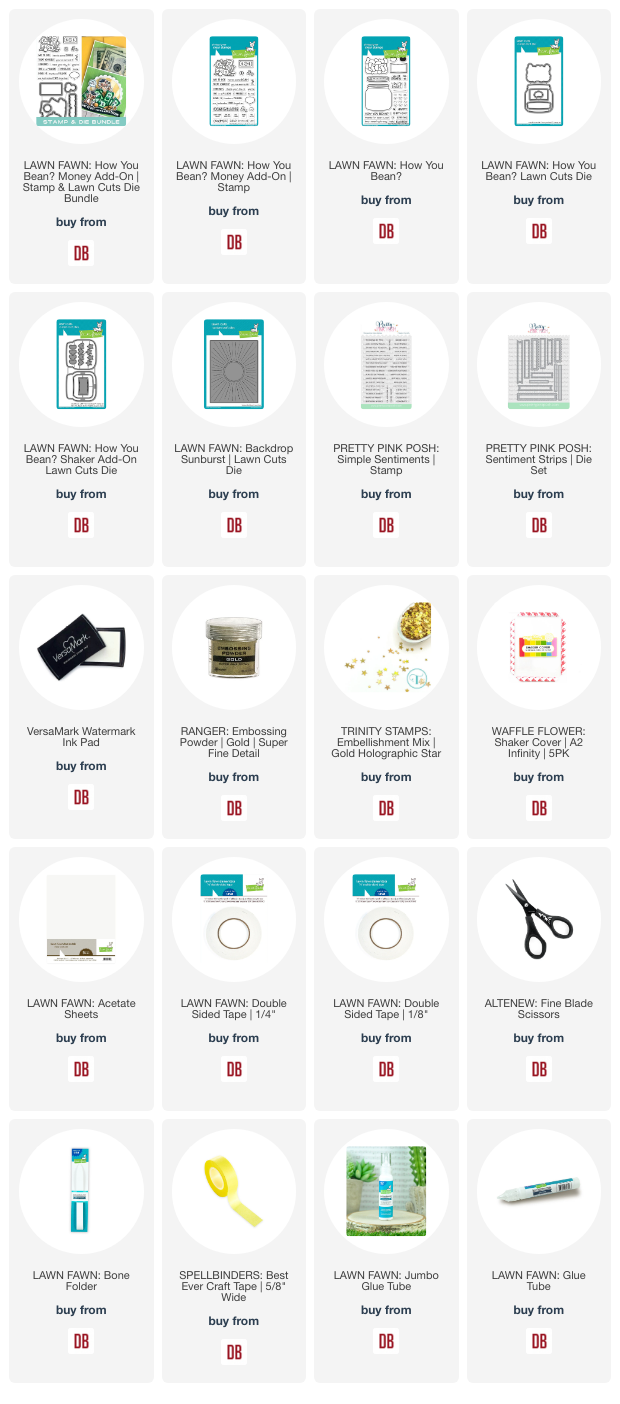
  • Lawn Fawn - How you Bean? Money Add-On | stamp & lawn cuts die bundle
  • Lawn Fawn - Backdrop Sunburst | lawn cuts
  • Pretty Pink Posh - Simple Sentiments | stamp
  • Pretty Pink Posh - Sentiment Strips | die


Since I'm sending along a Target Gift Card, I designed Target Bucks.  The shaker bits are from my stash.


Thanks so much for stopping by!

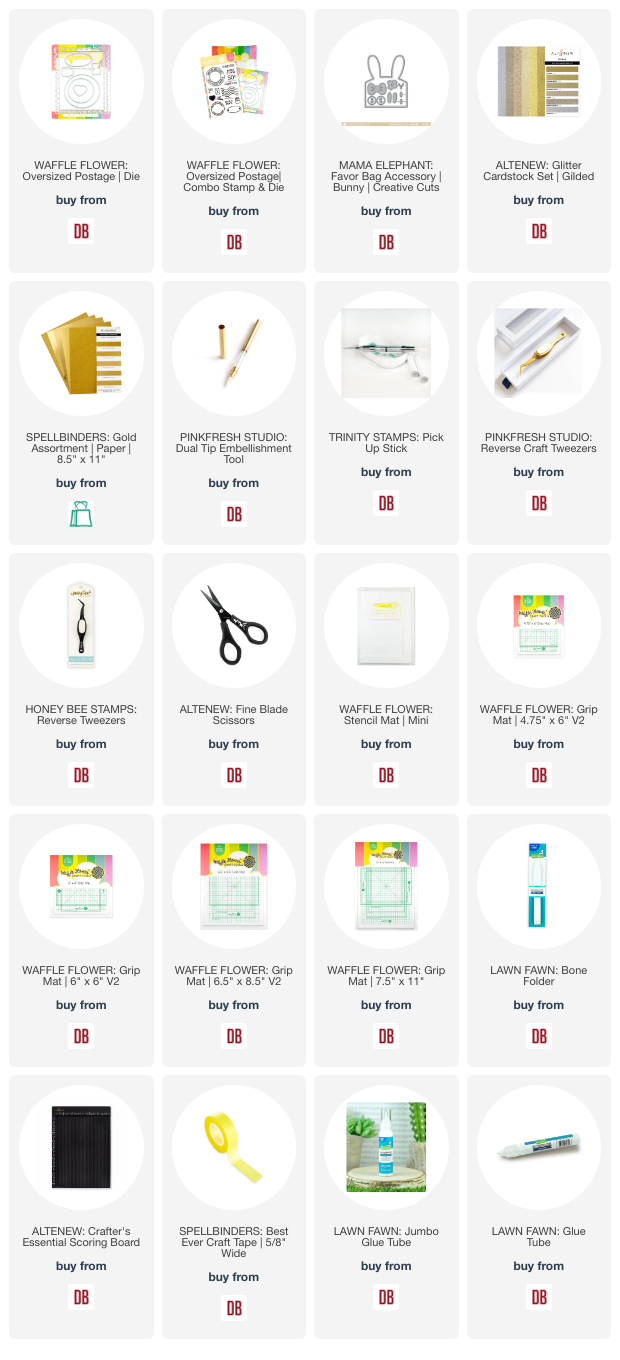
Links to products used or recommended are listed below:   

Monday, August 26, 2024

Monochromatic Fun and Shaped Cards

 Happy Mix it up Monday everyone! It's Amanda from Twiddler's Nook and today I'm playing with monochromatic designs and shaped cards to make things a little extra interesting.


I started by creating an adorable Spellbinders Roller Disco Dottie with a red collar and red skates. She's the cutest but I couldn't decide on a complimentary color that I liked today. So I decided to keep it all in the family, the red family.


Next, I pulled out some Mama Elephant dies and created a sentiment banner using Spring Banner Greetings dies. Then I created my card base with the Mama Elephant Circle Combo dies. I love the wiggle room of liquid glue for all of these types of things. It gives you that couple of seconds to line things up.


After creating the 3 top layers of my circle, I cut an additional white circle, scored it about 3/8" away from one edge and then used liquid glue to adhere it to the back of the stacked circle combo. You can decide if your card opens up or to the side this way too. Total flexibility.


I ink blended the center of the circle on the front and splattered it with the same red ink color. Then I popped Dottie and her sentiment banner up with foam squares and strips.
 
I'm excited to pop this cutie in the mail to a special friend along with some crafty goodies I picked up. 

Products used:
Spellbinders Roller Disco Dottie dies
Mama Elephant Circle Combo dies
Mama Elephant Spring Banner Greetings dies
Liquid glue
Foam squares
Scoring board
Blending brush
Lawn Fawn lobster ink
Reverse tweezers 

I appreciate you sharing your time with me. Have a fabulous day! 


Tuesday, August 20, 2024

Hooray

 I'm late for a couple graduation cards.  I'll be sharing a different version next week.  Today's is for a guy who graduated from a Washington State college with the school colors of red + black


Hooray die from Lawn Fawn

This could easily work as any other celebratory occasion.  The guy graduated with a music degree so the Target Gift Card caught my eye.  

This project features:
  • Lawn Fawn - Giant Hooray | lawn cuts
  • Pretty Pink Posh - Pierced Stars | cover plate

Hooray die from Lawn Fawn

The shaker bits are from my stash and coordinate with the cover plate design.

Hooray die from Lawn Fawn


Have a great week!

Links to products used or recommended are listed below:   

Monday, August 19, 2024

Pastel Christmas Wishes, Non-Traditional Color Palettes for the Holidays

Welcome to a fun Mix it up Monday for the Doodlebugs blog where I'm still thinking of the holidays that are far away but are sure to creep up on us in no time! Typically I'm not a make ahead Christmas card type of person, I start late fall and do my best. But this year I've been really inspired by all the Christmas in July releases and extra inspiration I've seen from other design team members. It's fabulous and so fun!

Another thing that happens for me when I create outside of the typical time of year for a holiday or season...I'm interested and willing to choose outside of my typical color palettes. It's been SO FUN!

Delivering Joy die from Spellbinders

Today I have the Spellbinders Delivering Joy Sleigh in pinks, teals and mint greens. I added a little gold for some flair and kept the gifts classy with white. Isn't is so pretty?!? I really adore it!

Delivering Joy die from Spellbinders

For the background, I went with the same green and teal color scheme using the Pretty Pink Posh Christmas Trees stencil set. I trimmed the panel down to 3.75x5 inches and popped it up on a pink card base because, well, pink. I chose the same teal from the poinsettias for my sentiment strip, which is also Pretty Pink Posh.

Delivering Joy die from Spellbinders

After popping the sleigh and sentiment strip up on the stenciled panel, I finished the design off with a scattering of Spellbinders pearls.

I'm really curious to know how you feel about non-traditional colors for any holiday season. Please share! I used to be really rigid with my colors and now I'm definitely enjoying playing around with it all. 
 
I appreciate you sharing your time with me. Have a fabulous day!
 
Links to products used or recommended are listed below:    
 

Tuesday, August 13, 2024

Snail Mail

 I seem to be on a pink + green streak.  I love that color duo!


Waffle Flower Oversized Postage

I was searching for something perfect to add to the Oversized Postage...I'm pretty smitten with how this one turned out.  It features:
  • Waffle Flower Crafts - Oversized Postage | combo stamp & die
  • Waffle Flower Crafts - Oversized Postage | stamp
  • Mama Elephant - Bunny | favor bag accessory

Waffle Flower Oversized Postage

I did want to add more 'stamps' from the Oversize Postage set but couldn't bear to stamp on top of that sweet bunny face!

Waffle Flower Oversized Postage

Thanks for stopping by!
 
Links to products used or recommended are listed below:    

Monday, August 12, 2024

Christmas Mixes

Hey friends! This is Amanda from Twiddler's Nook with another Mix it up Monday on the Doodlebugs blog and today I went the holiday route. I feel like Christmas is one of those holidays where mixing and matching all the themes together work, pretty much no matter what. It's all fun and festive, and I love it!!!

Pretty Pink Posh Winter Mug Die

I started by playing around with the Waffle Flower Holly background die and stencil combo. These background dies from Waffle Flower are genius and so much fun to play with different color combos. I can never stop at one because one color idea leads to another and next thing I know, I've got 12 backgrounds and some serious cardmaking ahead of me. It's wonderful!

Pretty Pink Posh Winter Mug Die

With the backgrounds inked up, I pulled out the Waffle Flower Merry Christmas sentiment dies and cut the shadows from coordinating cardstock as the berries on my background. The words are white and everything is assembled with liquid glue.

Pretty Pink Posh Winter Mug Die

I really think I could have just popped the sentiment up in the upper center but what's the fun in that?!? So I pulled out the Pretty Pink Posh Winter Mug dies and created a couple of those in coordinating colors to each background as well.

I popped everything up on the background panel with foam tape and added a pearl to the center of each snowflake for a little something.

These cards would be simple and quick to mass produce for the holidays, especially if you got started early! I'll definitely be adding a few more color combos to my stash before I'm done with them. 

I appreciate you sharing your time with me. Have a fabulous day!

Links to products used or recommended are listed below:    
Tuesday, August 6, 2024

'Tis the Season for Pink and Green

 I'm behind on my holiday card stash, how about you?


Postage Collage Snowman from Waffle Flower Stamps

Waffle Flower Crafts makes it so easy to whip up cards with their Postage Collage Stencil Collection.  Today's project features:
  • Waffle Flower Crafts - Postage Collage Snowman | stencil
  • Waffle Flower Crafts - Postage Collage | die
  • Pretty Pink Posh - Sentiment Strips - Christmas | stamp
  • Pretty Pink Posh - Winter Mug | die
Postage Collage Snowman from Waffle Flower Stamps

I used the Waffle Flower Grip Mat V2 for all my stencil work.  It makes it so easy!

The Distress Oxides I used:

  • Spun Sugar [cheeks]
  • Kitsch Flamingo
  • Spiced Marmalade
  • Mowed Lawn
  • Walnut Stain
  • Black Soot
I used Waffle Flower Crafts' Shader Brushes when stenciling.

The sentiment as been heat embossed in white on black cardstock.  The snowflake has been cut from vellum and topped with an enamel dot.

Postage Collage Snowman from Waffle Flower Stamps

Thanks for stopping by!

Links to products used or recommended are listed below:   


Monday, August 5, 2024

Birthday Card Fun - Summer Theme

Hey friends! It's Amanda from Twiddler's Nook today sharing a fun birthday Mix it up Monday with summer vibes. We don't have many summer birthdays in our family and friends so I don't make many cards this style and it was really fun!

Pretty Pink Posh Celebration Cupcake

I started with the fun Pretty Pink Posh Celebration Cupcake dies, wanting to expand the use from 4th of July vibes to general summer, so I cut the fruit and sunglasses, omitting all the other parts at first. I added some detail with copic markers instead of ink blending this time and used liquid glue to adhere all the parts and pieces together.

Pretty Pink Posh Celebration Cupcake

Next, I cut 2 Mama Elephant Arches from vellum and a green polka dot cardstock in my stash. I used tape runner to adhere the layers together and foam tape to add the cupcake to that.

Pretty Pink Posh Celebration Cupcake

I started with a blank pink background but didn't like that so I ran the panel through my die cutter with the Spellbinders Tiny Dots embossing folder, ink blended the edges with some picked raspberry distress oxide ink and splattered it with white paint. Ahhh, that feels so much more like me. Then I popped the arches up with foam tape.

Pretty Pink Posh Celebration Cupcake

I cut a couple of Pretty Pink Posh sentiment strips from white cardstock and stamped sentiments from the Pretty Pink Posh Sentiment Strips | Birthday stamp set in guava and peacock inks. These are popped up with foam strips.

Now my card is really bottom heavy so I went back to the cupcake die set and cut some of the other decoration type shapes out and glued them all around with liquid glue. I think they add a fun touch and extend the design up without pulling everything apart.

The last thing I did was add white gel pen accents to all of the images. 

I appreciate you sharing your time with me. Have a fabulous day!

Links to products used or recommended are listed below: