Anyone else love to design Halloween cards?

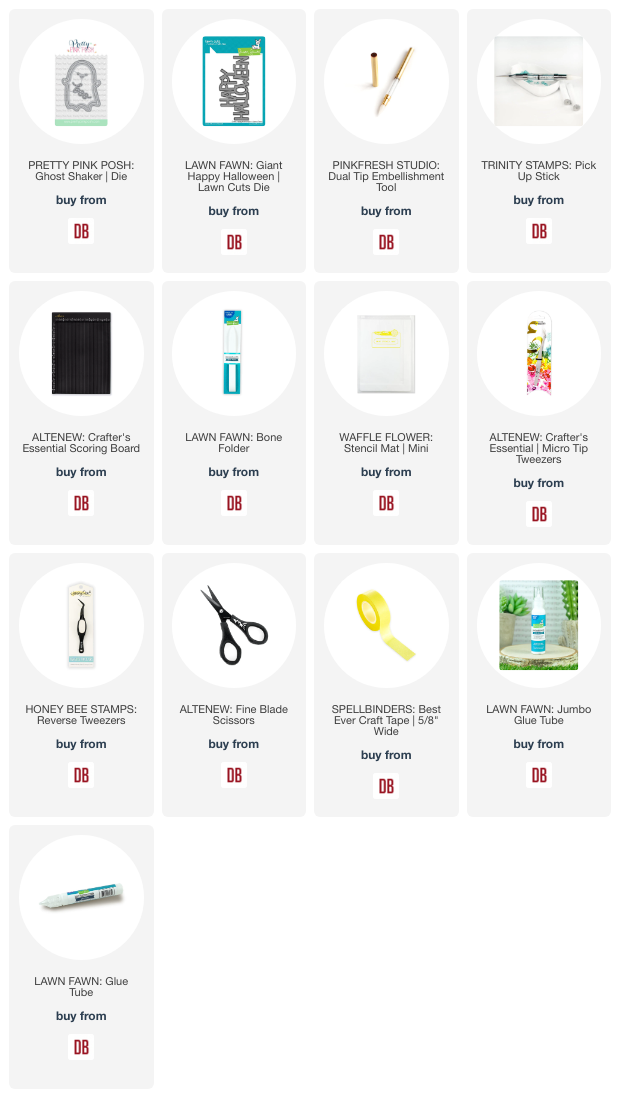
This was made with minimal supplies:
- Lawn Fawn - Giant Happy Halloween | lawn cuts
- Pretty Pink Posh - Ghost Shaker | die


Links to products used or recommended are listed below:

Anyone else love to design Halloween cards?
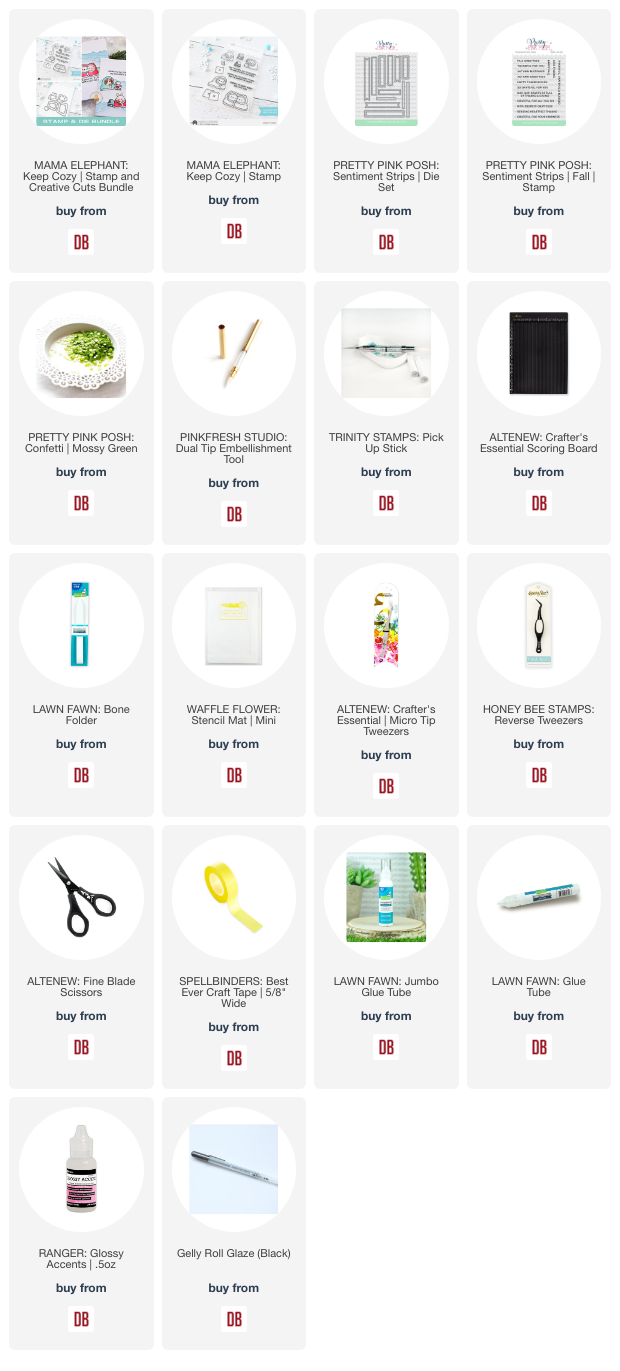
Hey friends! It's Amanda from Twiddler's Nook. I'm switching things up for today because we're getting cozy on the blog while mixing it up. Mixing Mama Elephant cuties with Pretty Pink Posh sentiment stamps and dies for an awesome combo!

I started by stamping and coloring my images from Mama Elephant's Keep Cozy set. Then I used the coordinating dies to cut them out and a little liquid glue to adhere the groupings together.

Next, I pulled some cardstock scraps from my stash and cut a bunch of sentiment strips using the Pretty Pink Posh Sentiment Strip die set. This die set is genius and a must have staple in your craft room. After cutting them all I arranged them on a piece of white cardstock. I used liquid glue to adhere them so I let the glue dry for a minute before trimming the panel down to 4x5.25 inches.

Then I added foam tape to my critters and popped them up like they were sitting on one of the strips. Next, I placed the panel in my MISTI and stamped a sentiment from Pretty Pink Posh Sentiment Strips | Fall stamp set with brown ink to keep the look subtle.

After that, I added foam tape to the back of the panel and popped it on a white card base. For finishing touches I added mossy green confetti across the design, black glaze pen the the critter eyes and glossy accents to their noses.
Doesn't this make you want to curl up with a cuppa and a good book and forget your responsibilities? Me too!
I appreciate you sharing your time with me. Have a fabulous day!
Links to products used or recommended are listed below:
Happy fall friends! The cooler weather has arrived here in the Pacific Northwest and the leaves are turning shades of orange and red. Fall has definitely arrived so I created an autumn inspired project for you today.
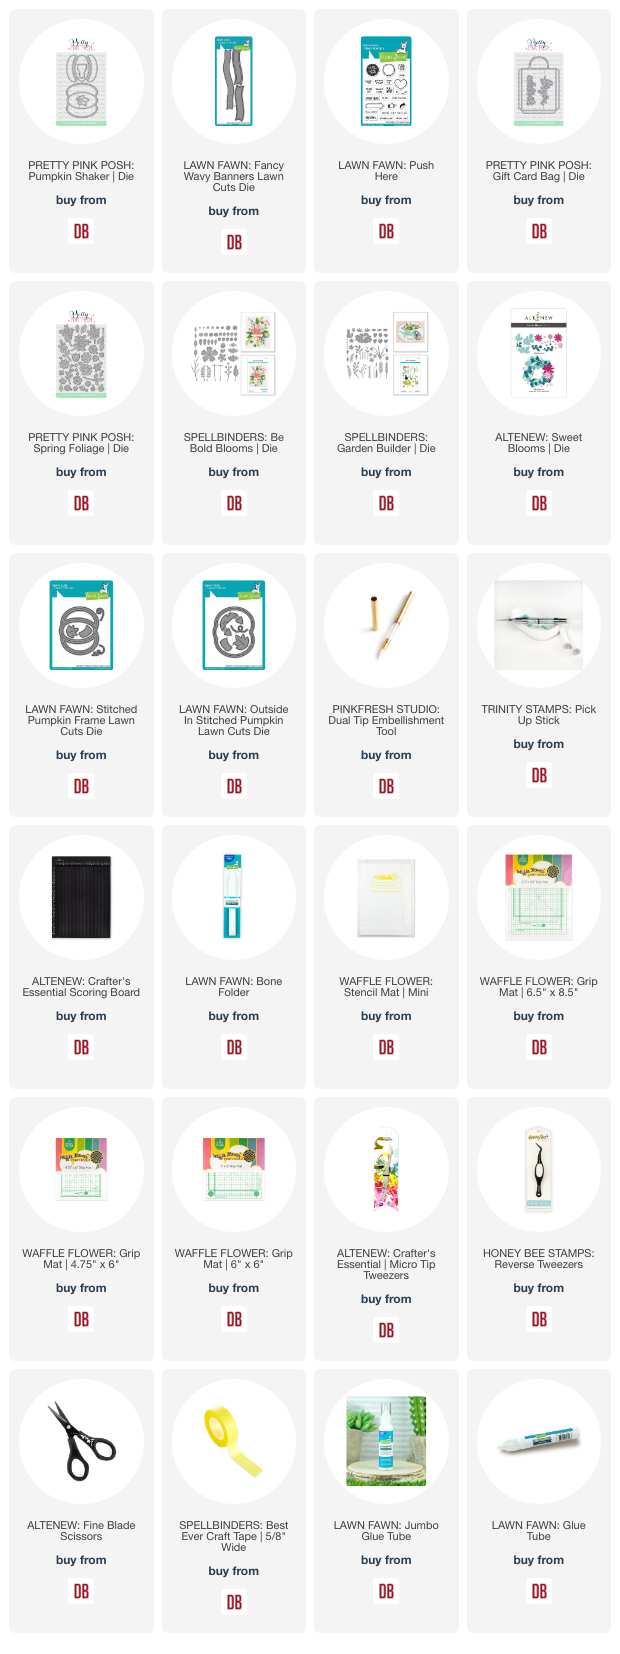
I've been loving the Gift Card Bag from Pretty Pink Posh and thought I'd used that again to create some fall gift card holders. I purchased a couple of coffee gift cards and thought they'd be the perfect "Happy Fall"gifts. I used the Pumpkin Shaker from Pretty Pink Posh, but you could create a similar pumpkin with the Stitched Pumpkins from Lawn Fawn too.

I started the project with the pumpkins. I cut all the flowers (any small flowers will work) and leaves, along with the pumpkin back and sides. I cut several sides to give my pumpkin some dimension and make them a bit stronger. I love how stacked dies look on my projects.
After cutting everything I glued and stacked several pumpkin frames and then added them to the pumpkin base with adhesive. Next, I assembled the flowers and added them to the inside "backs" that I removed when I cut the pumpkin frames. I made sure some of the leaves and flowers extend over the edges of those pieces and trimmed the excess off before securing them inside the pumpkin frame.

Once I finished the pumpkins I cut and assembled the bags and banners. I stamped the banners and then added the pumpkins and the banners to the bags.

For the gift card I cut a strip of cardstock measuring 2.75" x 4.75" and scored at 1/2 inch on the longer side. I folded on the scored line creating a small pocket to hold the gift card. When you pull up on the paper, the folded portion will pull the gift card up revealing the gift. If you need a better visual, you can visit my Butterfly Gift Bag post. I shared a picture in the post of the bottom fold that holds the gift card.

I stamped the top of the insert with PULL HERE from the Push Here stamp set from Lawn Fawn. That stamp set is a must have if you like to make interactive cards.

I thank you for stopping by! I hope you've been inspired to create something today.
-Cathy
Links to products used or recommended are listed below:

It was such great fun participating in this year's blog hop and reading all the comments. I randomly selected a winner from the comments. I've posted that comment below:
I love that coffee cup! It’s been on my wishlist for some time. I think it just jumped into my cart. Heehee!
Louise, please contact me (Cathy) at hello.doodlebugswa@gmail.com so I can get your gift certificate emailed to you.
Thanks everyone for participating!
-Cathy