Friday, June 9, 2023

Honey Bee Daisy Bouquet and Big Time Kindness

Hello, my friends!  June is here and the flower beds are in full bloom - might be enough for a pretty bouquet!  But if not, here is one I find just as pretty on paper!

Honey Bee's Daisy Bouquet allows me to paint them any color I like, in this loose 
and whimsical style I love!  Mustard seed, Blueprint Sketch, Peeled Paint, Wilted Violet, and Bundled Sage Distress inks were used to watercolor the image.

Honey Bee Stamps Daisy Layers and Spellbinders Stylish Ovals

I found this gray frame in my snippets box and think it works its charm to draw attention to these daisies, don't you?  The frame was made using one from the set of 
Spellbinders Essential Stylish Ovals

Honey Bee Stamps Daisy Layers and Spellbinders Stylish Ovals

Even though there were oodles of wonderful sentiments in the Daisy Bouquet set, I thought the bouquet was a perfect fit for one from Honey Bee's Big Time Kindness set.  I stamped it with embossing friendly black ink and clear heat-embossed it before using the coordinating die to cut it out, and thin foam squares to give it a lift.

I'll be saving this one for a certain someone who has a soft spot for Daisies!

Hope you like it!
=] Michele

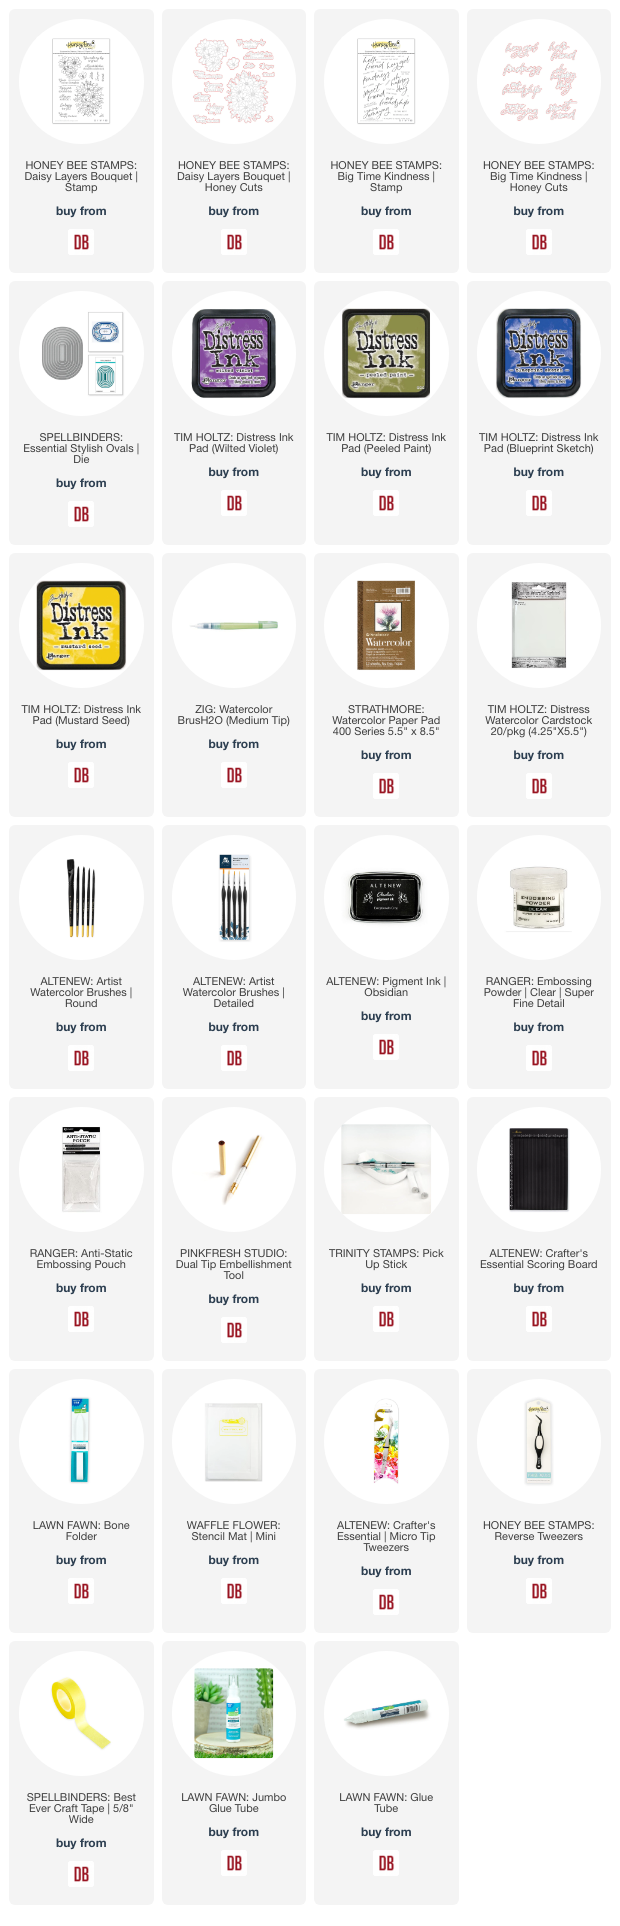
Links to products used or recommended are listed below:   
Thursday, June 8, 2023

Serving Sunshine + Coffee

The new Giant Hello Sunshine lawn cut was screaming to be teamed up with a, sunshiny color palette. I collect color boards over on pinterest and looked for a combo that would work for my project.  It became a bit lost in my overall design but can you spot it?


Lawn Fawn Giant Hello Sunshine Pretty Pink Posh Get Well Winter Mug


I went with: Pink | Yellow | Aqua

Here are the supplies I used:

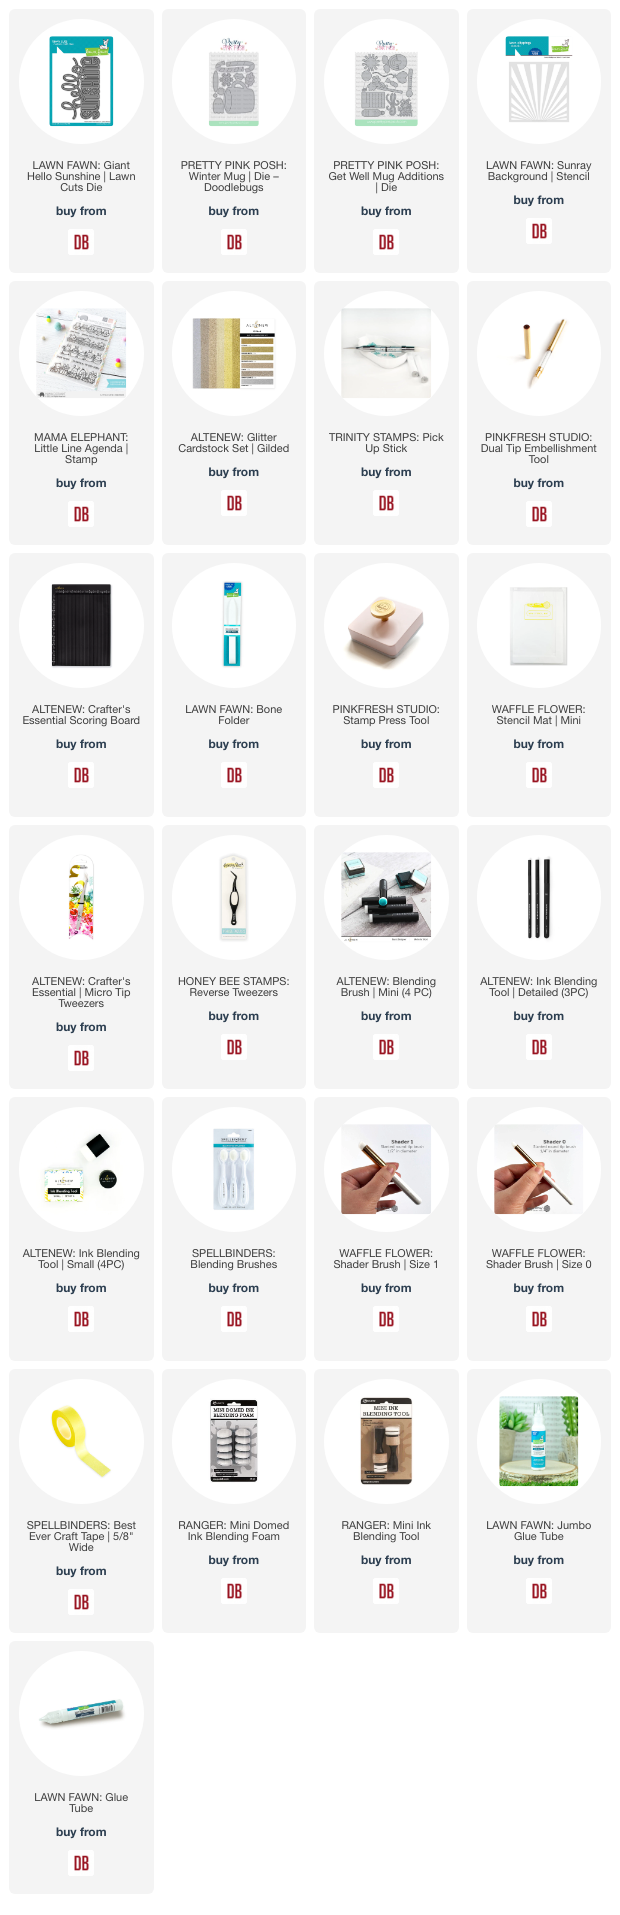
  • Lawn Fawn - Giant Hello Sunshine | lawn cut
  • Lawn Fawn - Sunray Background | stencil
  • Mama Elephant - Little Line Agenda | stamp
  • Pretty Pink Posh - Winter Mug | die
  • Pretty Pink Posh - Get Well Mug Additions | die

Lawn Fawn Giant Hello Sunshine Pretty Pink Posh Get Well Winter Mug


Lately it seems like I've been adding glitter cardstock to my projects.  If you're a glitter fan like me, you should check out:

  • Altenew - Gilded Glitter Cardstock Set
I added the black sentiment strip as an unplanned element.  There was a larger space right there that seemed so empty.  The Mama Elephant - Little Line Agenda set has some great sentiments.  This one has been heat embossed in white on black cardstock.  I used foam adhesive and applied it to my card front to finish off my design.

Lawn Fawn Giant Hello Sunshine Pretty Pink Posh Get Well Winter Mug

 
I hope you're having a fantastic week!
Amy

Links to products used or recommended are listed below:   

Tuesday, June 6, 2023

Addding Ink To 3D Embossed Cardstock

Hello friends.  Today I'm sharing a card I created using ink blending techniques on embossed cardstock.  I've done this before, but I don't usually work with dark, intense colors.  So, the effects are usually beautiful, but subtle.

This time, I used a dark, navy cardstock and white pigment ink.  Oh my!  I loved how this turned out.  My photo skills are a bit lacking.  I promise you, this is beautiful in person.  You've got to give it a try!

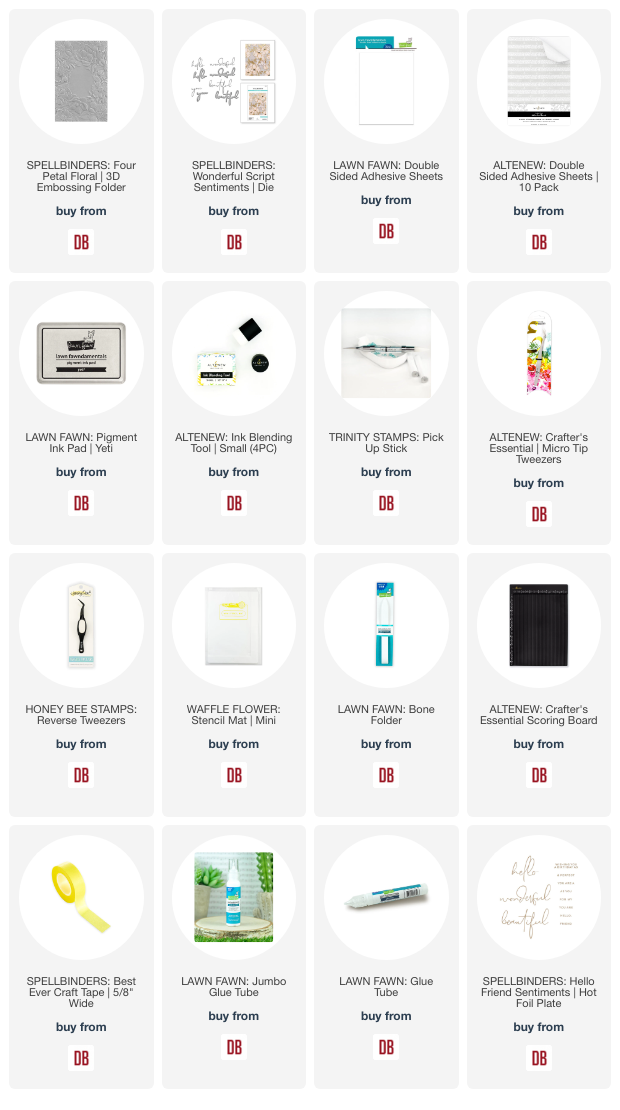
Spellbinders Four Petal Floral 3D Embossing Folder and Wonderful Script Sentiments
I embossed the navy cardstock with the Four Petal Floral 3D embossing folder.  I used white pigment ink from Lawn Fawn and a flat blending brush.  I added the ink by lightly brushing the inked up blending brush across the surface of the paper.  You want it to lightly "kiss" the high points of the texture.  Be patient.  It took several passes of applying the ink to get the amount of color I was looking for.  Just keep lightly brushing it on until you're happy with how it looks.  I suggest trying on some scrap sheets of paper to master the application technique first.

Spellbinders Four Petal Floral 3D Embossing Folder and Wonderful Script Sentiments

I cut the word hello from silver cardstock using the Wonderful Script die set from Spellbinders.  I usually shy away from tiny, small dies that look fussy.  This delicate script looked very fussy to me.  However, I was quite surprised how easy it was to work with.  I applied the cardstock to a sheet of double sided adhesive before cutting out.  Then I removed the die cut word from the adhesive backing, making it super easy to work with.  It's such a lovely and elegant set.  

 The Hello Friend hot foil set would also look lovely if you don't want to fuss with the small die cuts.  Hot foil the hello sentiment and then cut with the shadow die for a similar look.

Spellbinders Four Petal Floral 3D Embossing Folder and Wonderful Script Sentiments

Thanks for stopping by and taking a look.  I hope you're inspired to give it a try.

-Cathy

Links to products used or recommended are listed below:  

Friday, June 2, 2023

A tree for all Seasons from Altenew

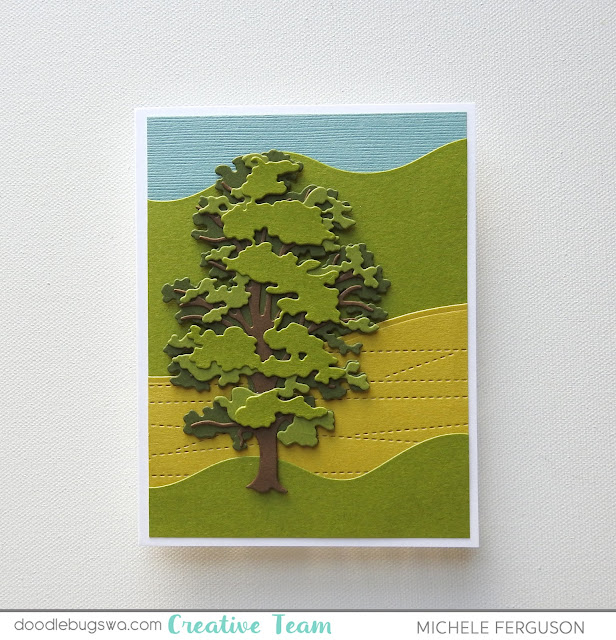
Hello, my Doodlebugs friends!  Michele here with a fun way to stretch your dies!  I recently added the gorgeous Chestnut Tree Layering Die set to my Altenew stash - what a gorgeous tree it is!  Something I regularly do when preparing to use my new goodies is to do a little research into the florals, or in this case, the Chestnut tree!  There are always gorgeous photos taken by wonderful photographers for reference.  The photos shared of Chestnuts were those taken in all seasons - a light bulb moment for my cards today.

Armed with lots of card stock, one sweet little pattern paper, and many of the dies* I've had on hand for years that can indicate snowy slopes, rolling hills, mountains and fields.  Are you ready?

Altenew Chestnut Tree

Here they are before my cards came together.  

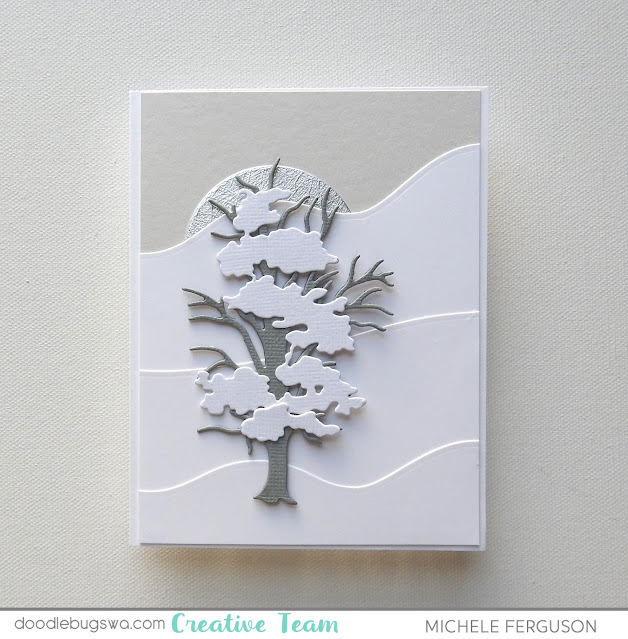
The Winter Chestnut was bare, and its branches were blanketed in snow.

Spring brings the sweet pink blossoms and the first few leaves.

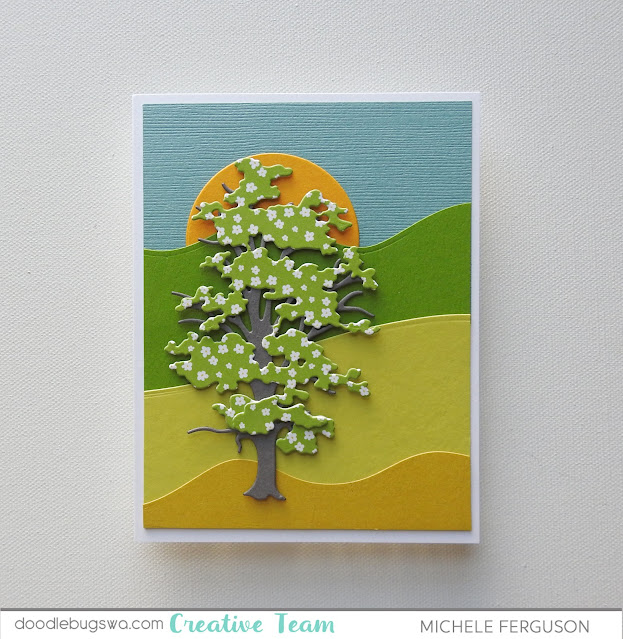
In Summer the Chestnut is magnificent with rich greens and lush leaves.

Then Autumn turns all of its leaves stunning colors ranging from golden to deep russets!

Now, to take them to my cards - what a delightful day of play I had!

Altenew Chestnut Tree


I kept the design the same and used color and texture to indicate what the landscape might look like during each season.  

Altenew Chestnut Tree

Rolling hills and mountain tops blanketed in snow!  The sky is grey and the moon is huge!

Altenew Chestnut Tree

In Spring each hill and valley is different because of the grass or crop.  We'll see more blue skies, and bright sunny days. 

Altenew Chestnut Tree

Summer arrives and the crops are growing!

Altenew Chestnut Tree

In the Fall, the leaves are brilliant and will soon be blanketing the earth!  The days are perfect for harvesting and sunsets are legendary!

I hope you've enjoyed my trees of all Seasons!  Have you missed the sentiments?  For this set of cards I will leave them off and allow the recipient of this gift to write their own message inside.

=] Michele

*note many of the stitching dies and embossing folders I've used are no longer available but don't let that stop you! Here are others to choose from!

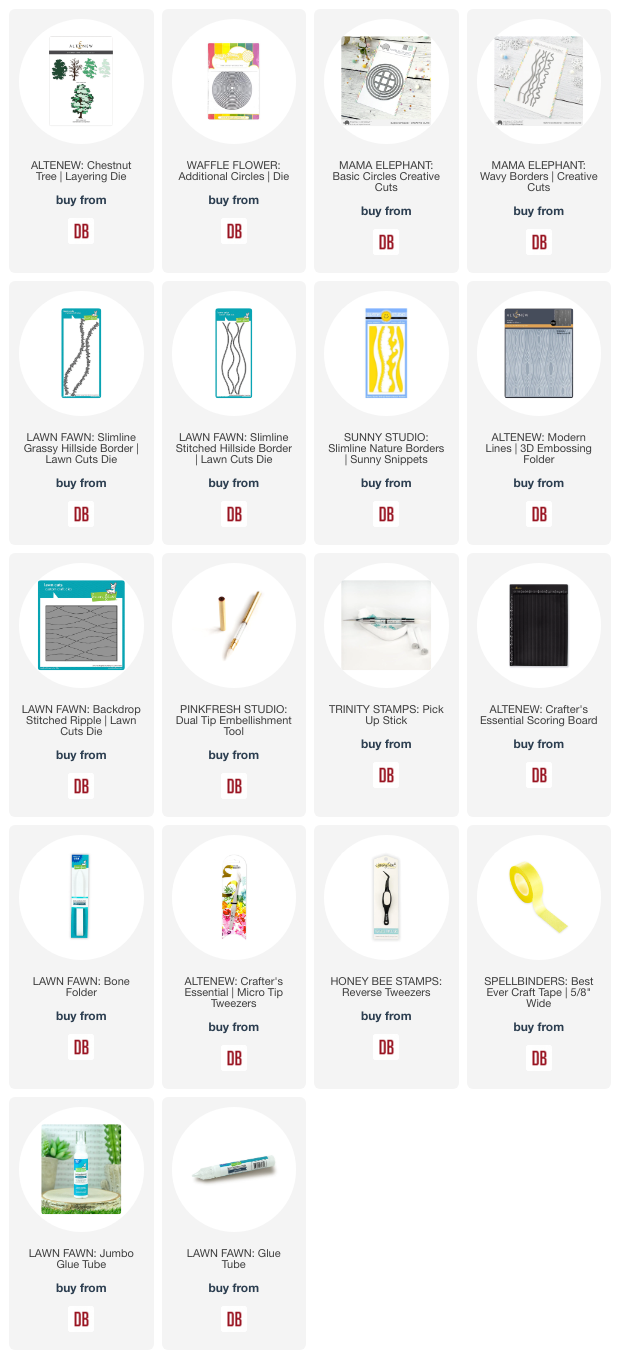
Links to products used or recommended are listed below: