Wednesday, April 6, 2022

Platform Pop-Up Mother's Day Card....


Hello everyone. Happy April!!! I am sharing this Mother's Day-themed card with you today using the awesome Platform Pop-Up die from Lawn Fawn. I have to admit that I absolutely love this die. It is so much fun and super easy to create an interactive card with this die. 


I began by die-cutting all of the pieces I would use to create the Platform Pop-Up card, along with the pieces to create the large strawberry using the Outside In Stitched Strawberry and the Stitched Strawberry Frame . I also die-cut a couple of the smaller strawberries using the Strawberry Patch  die. I also added a bit of greenery using the Sprigs die set from Waffle Flower. 
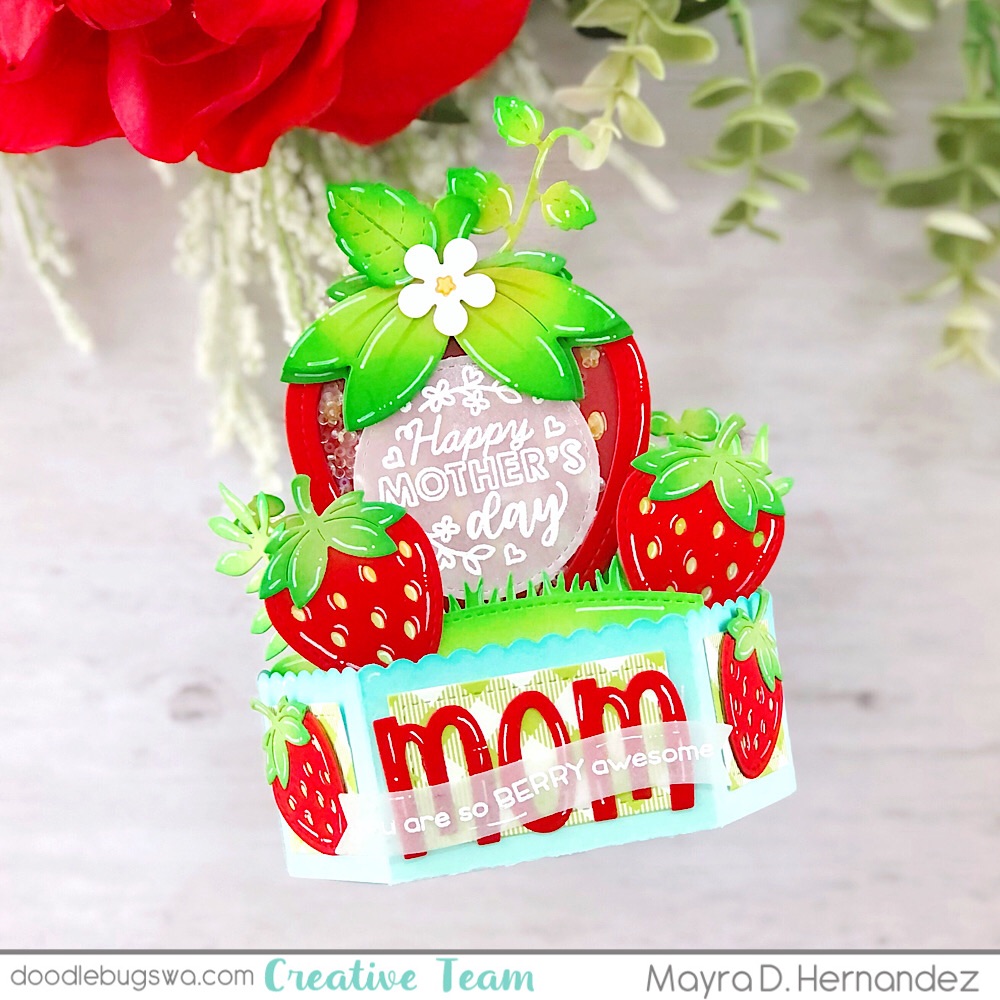


I then added color to the red die cuts using Lobster and Cranberry Lawn Fawn inks. To the green areas I added color using Jalapeno, Clover, and a bit of Noble Fir Lawn Fawn inks. To the yellow areas, I added a bit of ink using Mustard Seed Distress Oxide ink and No.2 Pencil Lawn Fawn ink. Next, I die cut the letters to form the word 'mom' using the new Henry's ABCs font die set. The sentiment on the front of the card is from the How You Bean? Strawberry Add-on stamp set heat embossed onto a banner die-cut using the Fancy Wavy Banners die set. 


The sentiment on the strawberry is from the Magic Spring Messages stamp set. I hope you enjoy the card I created to share with you today. Thank you very much for taking the time to stop by. I hope you each have a wonderful and blessed day.  Please feel welcome to visit me on my blogIG or Pinterest.

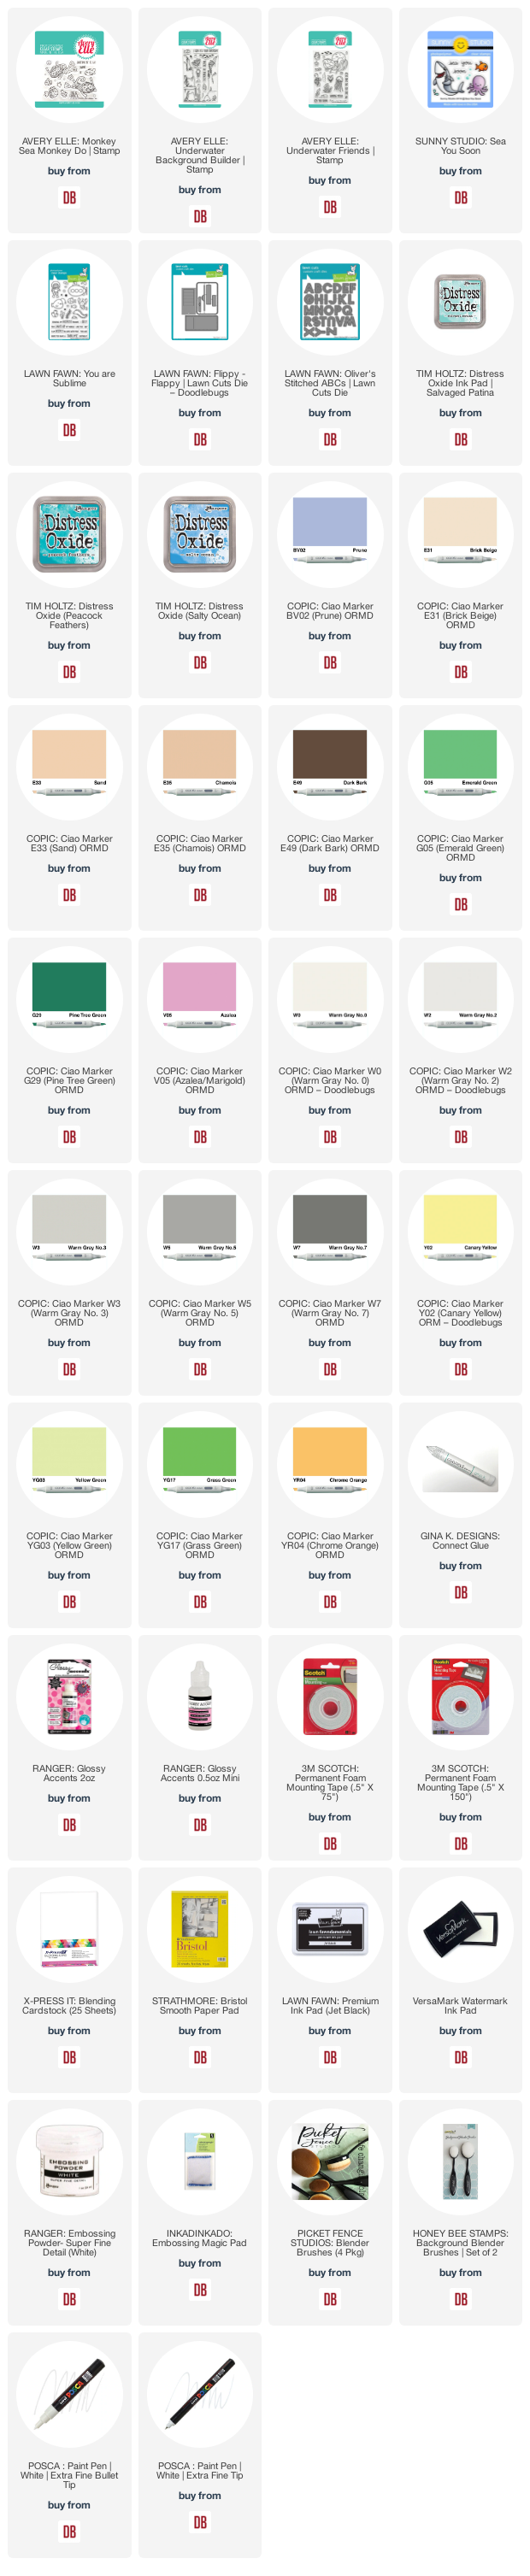
Links to products used or recommended are listed below: 
Monday, April 4, 2022

Improving the Lawn Fawn Flippy Flappy Acetate Option


Hi, everyone!  Toni here with you today sharing an underwater scene with a little chompy surprise courtesy of the Lawn Fawn Flippy Flappy interactive die set.

I encourage you to watch the Lawn Fawn video demonstrating how to use the dies. I found it most informative and really just a must-see in order to use them.

Step 1 for me was planning how I wanted to use the flippy flappy portion since I knew I didn't want to use a gift card. Once I settled on an underwater scene, I sponged the background with Distress Oxides and colored up my images with Copics.


How fantastic is it that the eel from Lawn Fawn You Are Sublime has a similar swoopy shape as the shark from Sunny Studio Sea You Soon. Notice how my scene looks complete with either the eel or shark visible.


Now let's talk about the shark.  One of the examples demonstrated in the LF video uses acetate (in such a cute and clever way!!). What I discovered is that the acetate portion tended to stick up off the card by quite a bit since it didn't have the weight a gift card has.  

I got around the weight issue by adding a penny and some scraps from the magnetic sheets I use to store my dies to the back of the shark.  I found that a penny and dime worked really well but the dime was visible around the shark's head so magnetic sheets saved the day. I cut out another shark and added it to the back of the colored one to hide the weights.


With the added weight, when the tab is pulled the shark pops out and lays nicely on the card front.(Btw, I did test a gift card which worked perfectly as is with the Flippy Flappy.)

The thickness of the shark piece has no problem sliding in and out because there is a double layer of foam.  The embossed Sunny Studio Sea You Soon and Lawn Fawn Oliver's Stitched ABCs sentiment didn't hamper the mechanism at all either.


Another alteration I made, although by necessity because I can't follow directions apparently, was to  offset my card front to the left rather than centered as in the video.  I designed my card front on a full A2 rather than the recommended size found in the video. I did trim the panel down a bit, 1/4" maybe, so my scene would remain intact.

I'll see you again soon.  If you'd like to check out my other creations in the meantime, you can visit my blog, Frankie Helps Craft, my Instagram, or my Pinterest Board.  Have a great rest of your day!

PRODUCTS USED AND/OR RECOMMENDED

Friday, April 1, 2022

Hello Doodlebugs!

Hello friends of Doodlebugs!  My name is Michele Ferguson, and I am so very happy to be joining the very creative Toni, and Mayra as the newest member of the Doodlebugs Design Team - thank you, so very much for the invitation, Cathy!  

I have been creating cards and blah, blah, blogging about them for years at I Card Everyone!   It all began because I needed a place to use my words - and found a home for them in the form of card sentiments.  I actually used to type my inside and outside sentiments in WORD and print them out!  Then I discovered the world of stamps - the rest is history - as I'm sure you ALL can relate!

I'll be your Gal Friday here on the blog and will focus on florals and all the ways I love to color them!  There are florals galore at Doodlebugs!  Try doing a product search at the shop and you'll find 10 pages of them - so let's get started, shall we?


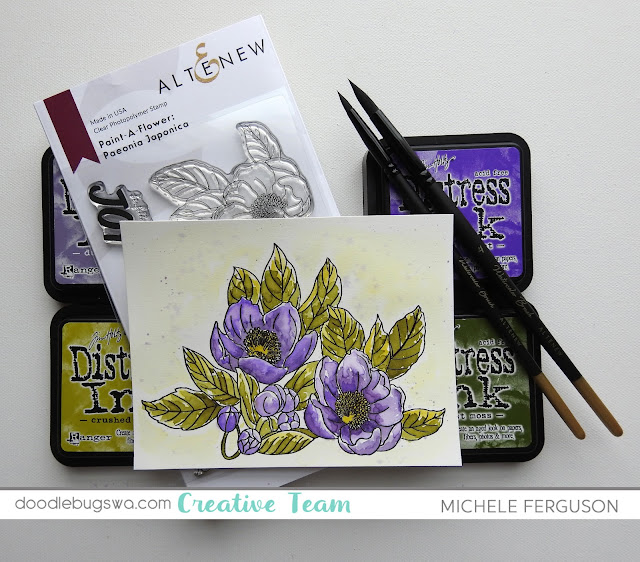
I've chosen a lovely floral from Altenew: Paeonia Japonica from their Paint-a-Flower collection of outline stamps for my premier.  

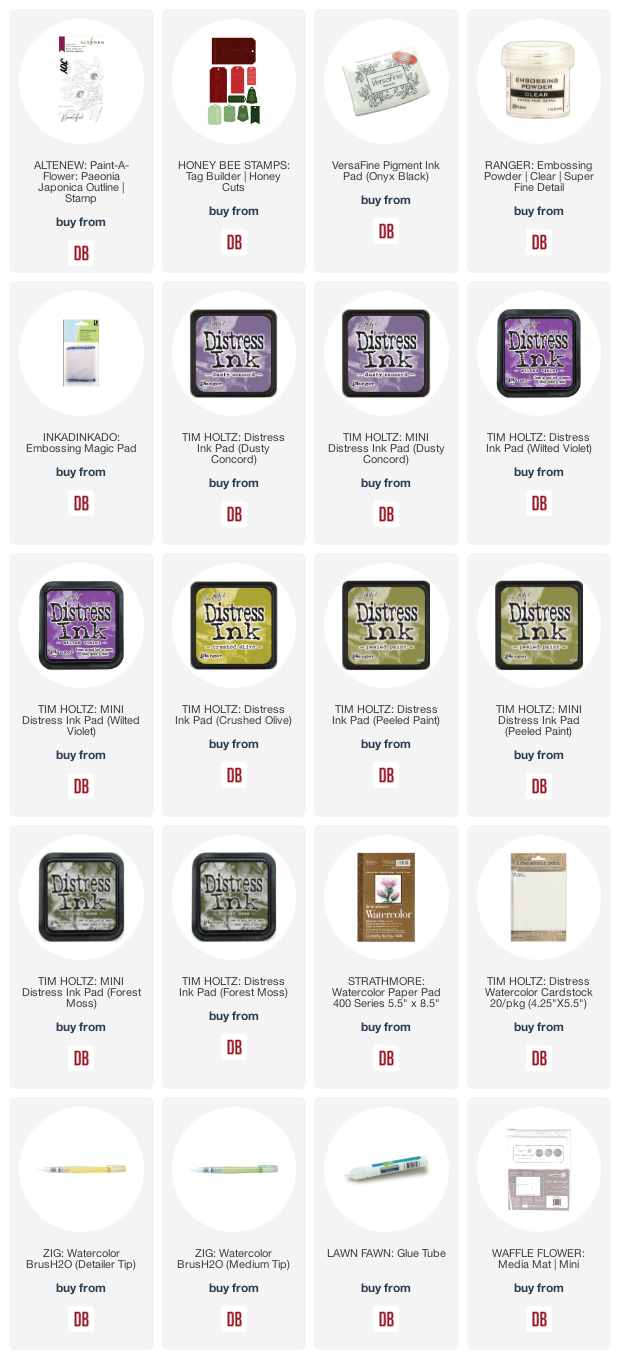
The gorgeous blooms were simply stamped on watercolor card with Versafine Tuxedo Black, then clear heat embossed, and water colored with Distress Inks using these colors:


I simply smoosh each of the inks onto an acrylic clipboard, add
a little clear water and paint very loosely in several layers, drying between layers helps - nothing very technical about my water-coloring style!  I look for the
natural shadows for the darkest tones and leave highlights using very watered-down shades.  Remember to leave a bit of white for this loose look.


Because the Paint-a-Flower sets don't have coordinating dies, I very carefully fussy-cut a few of the leaves with a craft knife keeping in mind that, this time, I want to preserve the background created with lots of water mixed with the leftover paints on my palette and splattered with a paintbrush.


Popping those cut leaves up with foam tape gives a one-layered card just a bit more interest - adding a simple sentiment [this one from Altenew's Fashion Monger Dahlia set] to a tiny tag tied with black quilting thread adds a playful touch, don't you think?


I'm looking so forward to sharing my florals with you each week!  Until next time - I hope you take time to get crafty and share your florals with us at our Doodlebugs Community on Facebook, and on Instagram @doodlebugswa and tag me too, please @mfergu01 - I'd love to see what you're creating!  Thanks!

=] Michele

Links to products used or recommended are listed below:

Wednesday, March 30, 2022

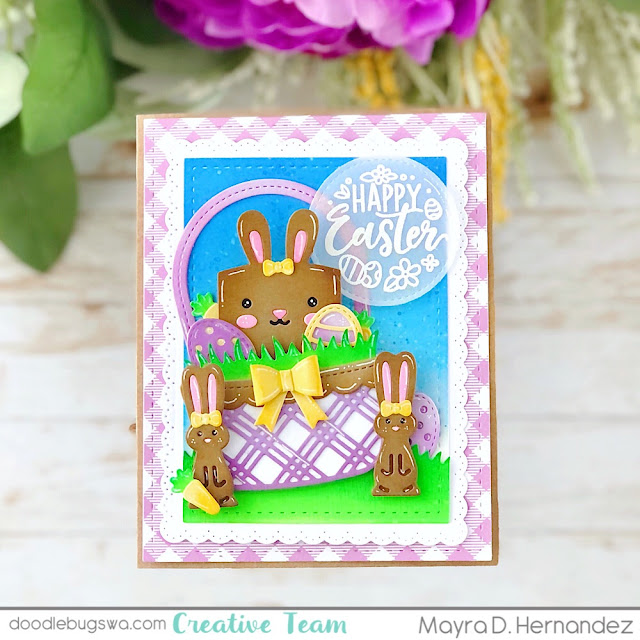
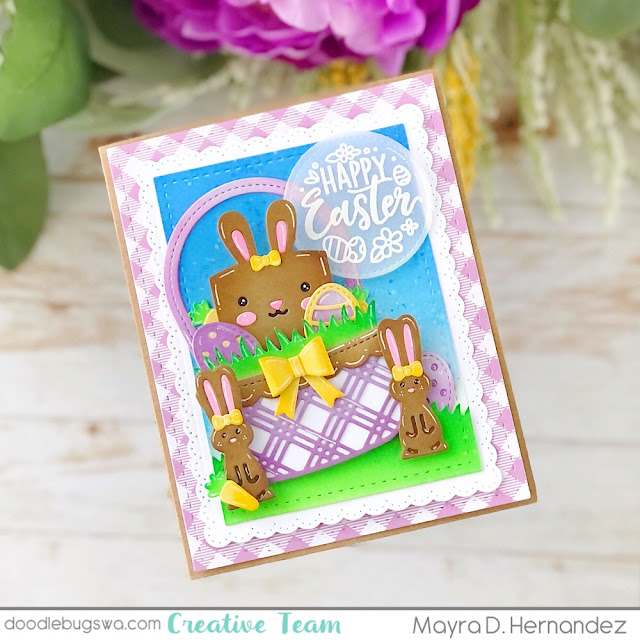
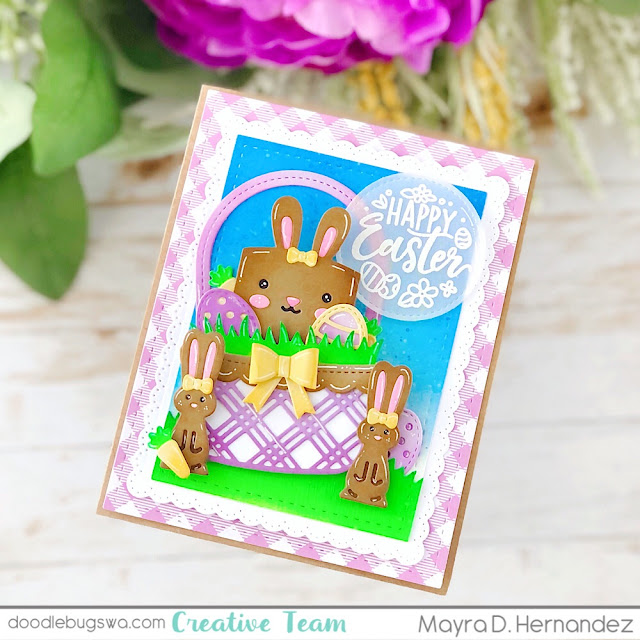
Happy Easter with Lawn Fawn...


 Hello and happy Wednesday. I am sharing this fun Easter-themed card with you today. I used the super cute Build A Basket die. 


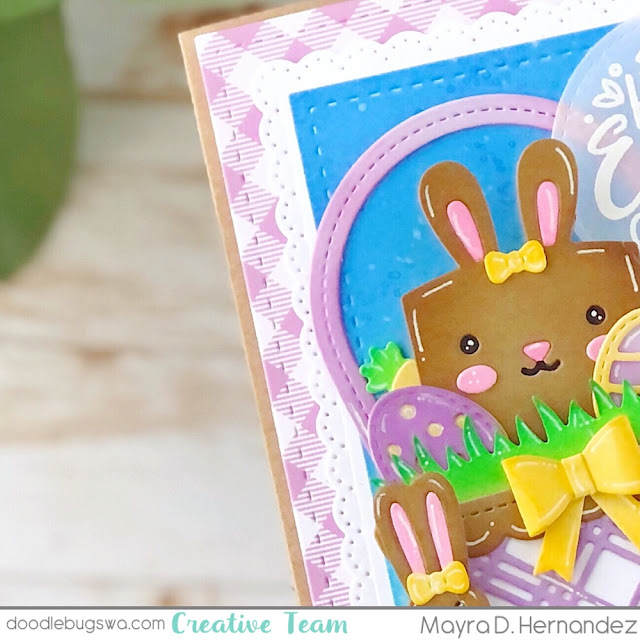
I began by die-cutting the base layers of the card using the three largest dies from the A2 Lacy Layers die set. The patterned paper is from the new Gotta Have Gingham Rainbow 6 x 6 paper pad. I then die-cut the layers to create the basket from the Build A Basket die set, the bunny from the Tiny Gift Box Bunny Add-on, and the grass from the Mushroom Border die set. 


I then added color to each of the die cuts. I used Clover and Noble Fir for all of the green areas. For the blue, I used Salty Ocean and Blueprint Sketch. For the purple, I used Seedless Preserves and Dusty Concord. For the brown areas, I used Gathered Twigs, Brushed Corduroy, and Ground Espresso. For the yellow areas, I used Mustard Seed and No.2 Pencil


I then heat embossed the sentiment from the Magic Spring Messages stamp set onto a piece of vellum.  I hope you enjoy the card I created to share with you today. Thank you so much for taking the time to stop by. I hope you each have a wonderful and blessed day. Please feel welcome to visit me on my blogIG or Pinterest.

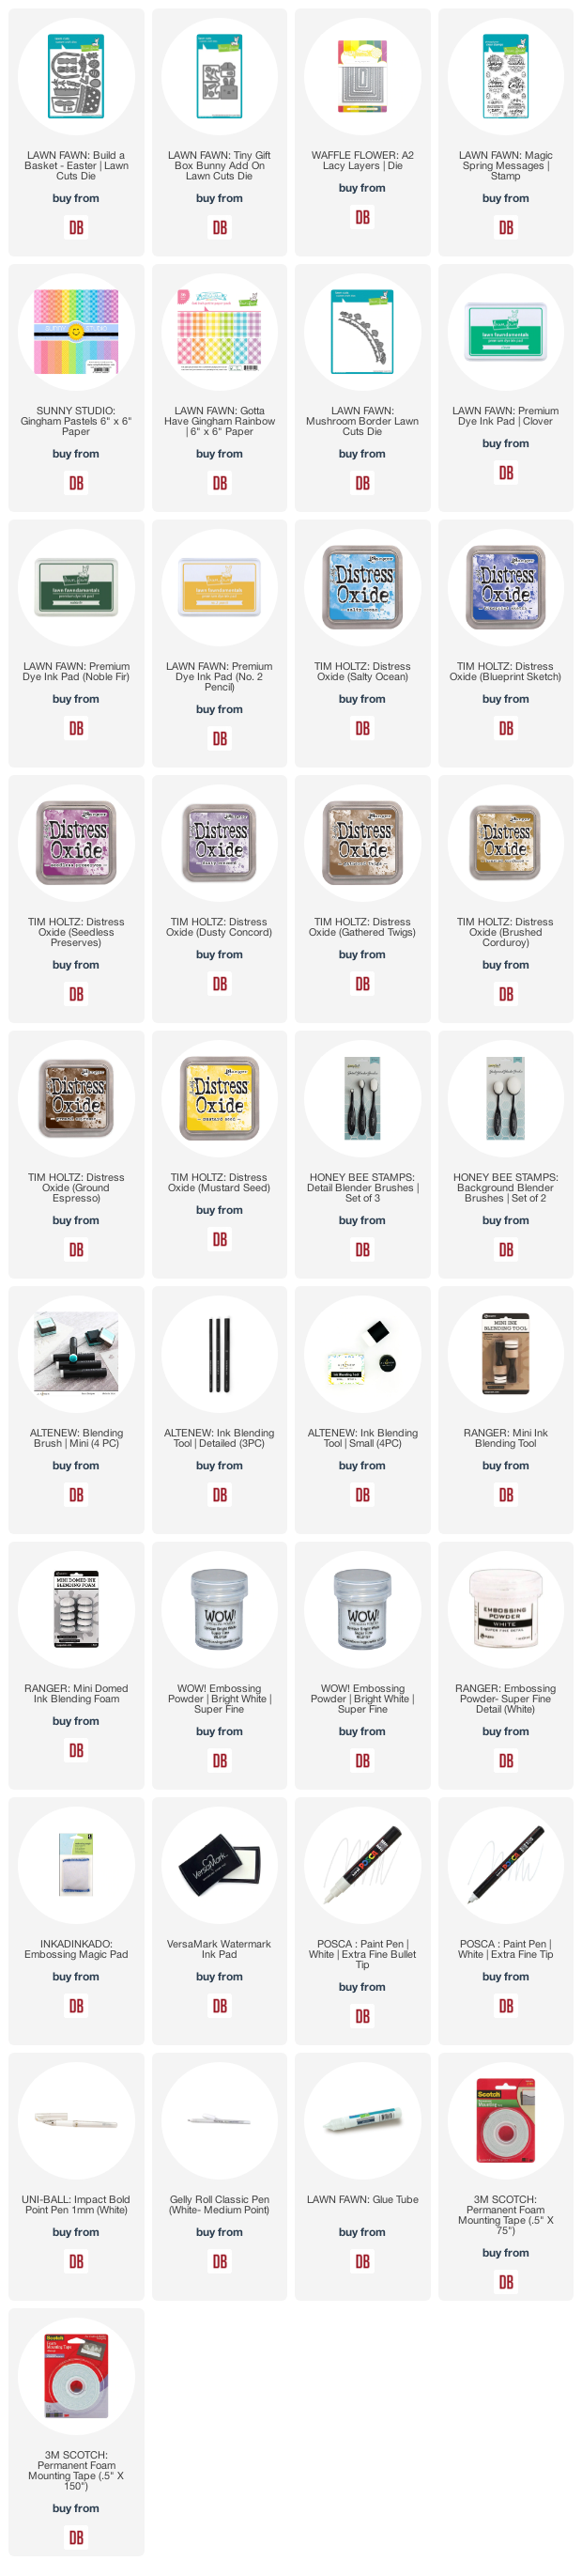
Products used or recommended are linked below: