Pages

Pages

Thursday, December 28, 2023

Boxed Set of Hand-made Cards Make Great Gifts

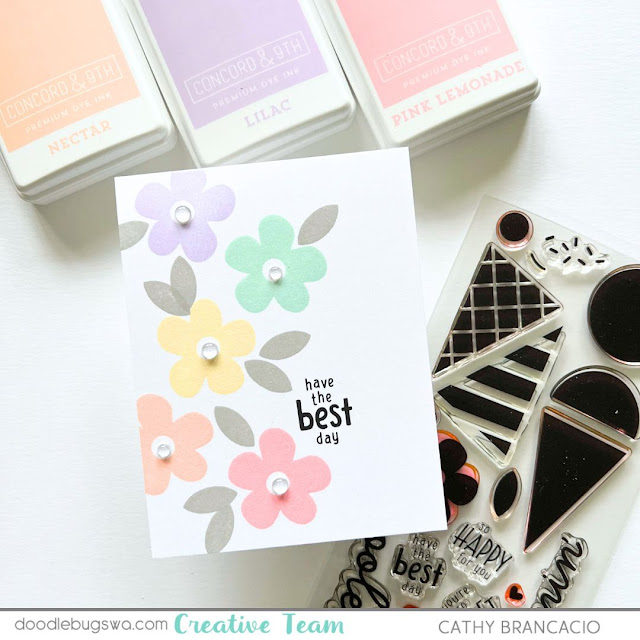
I'm sharing another boxed set I gave as a gift for Christmas.  I love making these throughout the year and then gifting them during the holidays.  I've used the Pretty Sweet stamp set from Concord and 9th to create several, different sets.  It's such a great stamp set!

concord and 9th pretty sweet stamp set
Here's my process for creating multiple cards that are primarily stamped.  I use a scrap paper to create a design I like.  Once I'm happy with my design, I use it in my MISTI as a template to position my stamps for each image.  I start with the yellow flower (I think its a bit easier to start with the lightest color, just in case your stamp isn't completely clean when you switch colors). I place my sample in the MISTI, place my stamp on  my sample lining it up with the design, and shut the MISTI door to pick up the stamp.  Then I place my card base in the MISTI and stamp the yellow flower on each card.

After I finish stamping the yellow flower, I move on to the next flower.  I remove the stamp, position it on the next flower using my sample sheet, repeating the steps until all the flowers and leaves are stamped. 

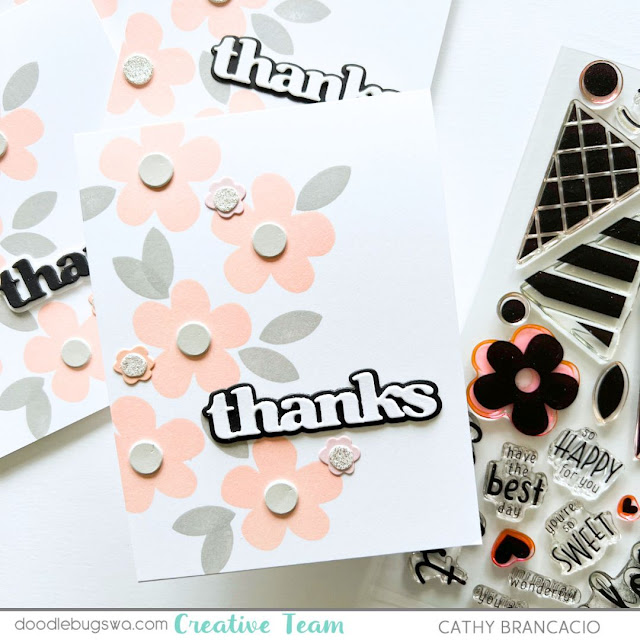
To finish the cards, I stamp a sentiment and add some embellishments to the centers of the flowers. The window box for the finished cards holds between 6 and 8 cards and envelopes.

concord and 9th pretty sweet stamp set

Here's another version of the same card.  This version included some die cut sentiments adding a bit more dimension.

concord and 9th pretty sweet stamp set

Thanks so much for stopping by.  I hope you've been inspired to create something.

-Cathy

Links to products used or recommended are listed below: 

Tuesday, December 26, 2023

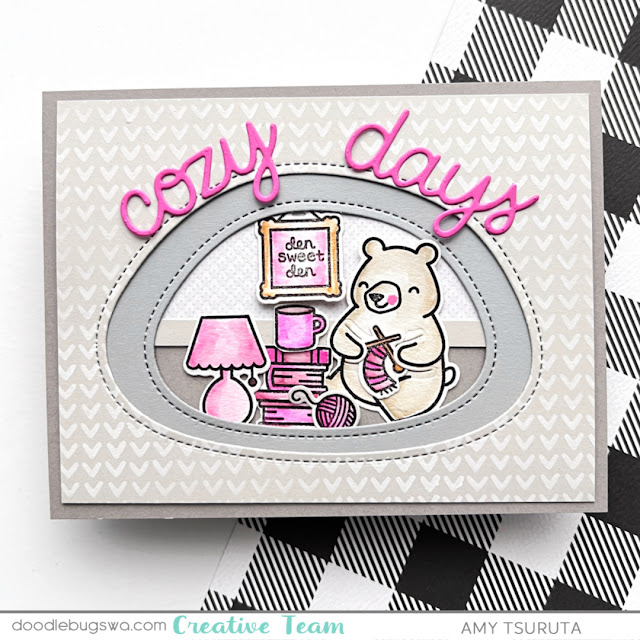
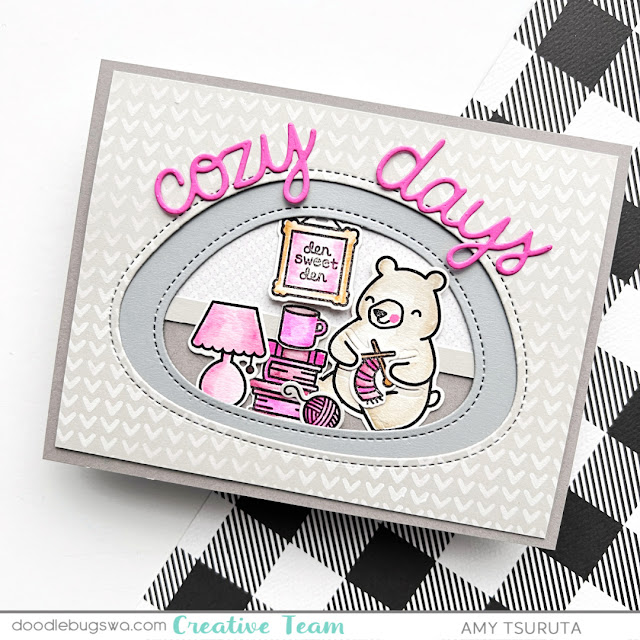
Cozy Days

This time of year is packed with a whirlwind of activities.  I'm guessing there are some of us that are ready for a bit of hibernation.

Cozy days with the Den Sweet Den stamp and dies from Lawn Fawn

I've been on a bit of a knitting streak.  Do you remember my project from last week? This is the cute version of a knitting themed project.

My card features:

  • Lawn Fawn - Den Sweet Den | stamps + lawn cuts
  • Lawn Fawn - Stitched Dens | lawn cuts
  • Concord & 9th - Stay Cozy | stencil pack
  • Pretty Pink Posh - Fall Mug Additions | dies
Cozy days with the Den Sweet Den stamp and dies from Lawn Fawn

I designed this for my daughter who is a knitter.  Her paternal Grandmother taught her and she also picked up a lot from YouTube.

Cozy days with the Den Sweet Den stamp and dies from Lawn Fawn

Don't forget about the End of Year Sale:


Hope you're staying cozy!

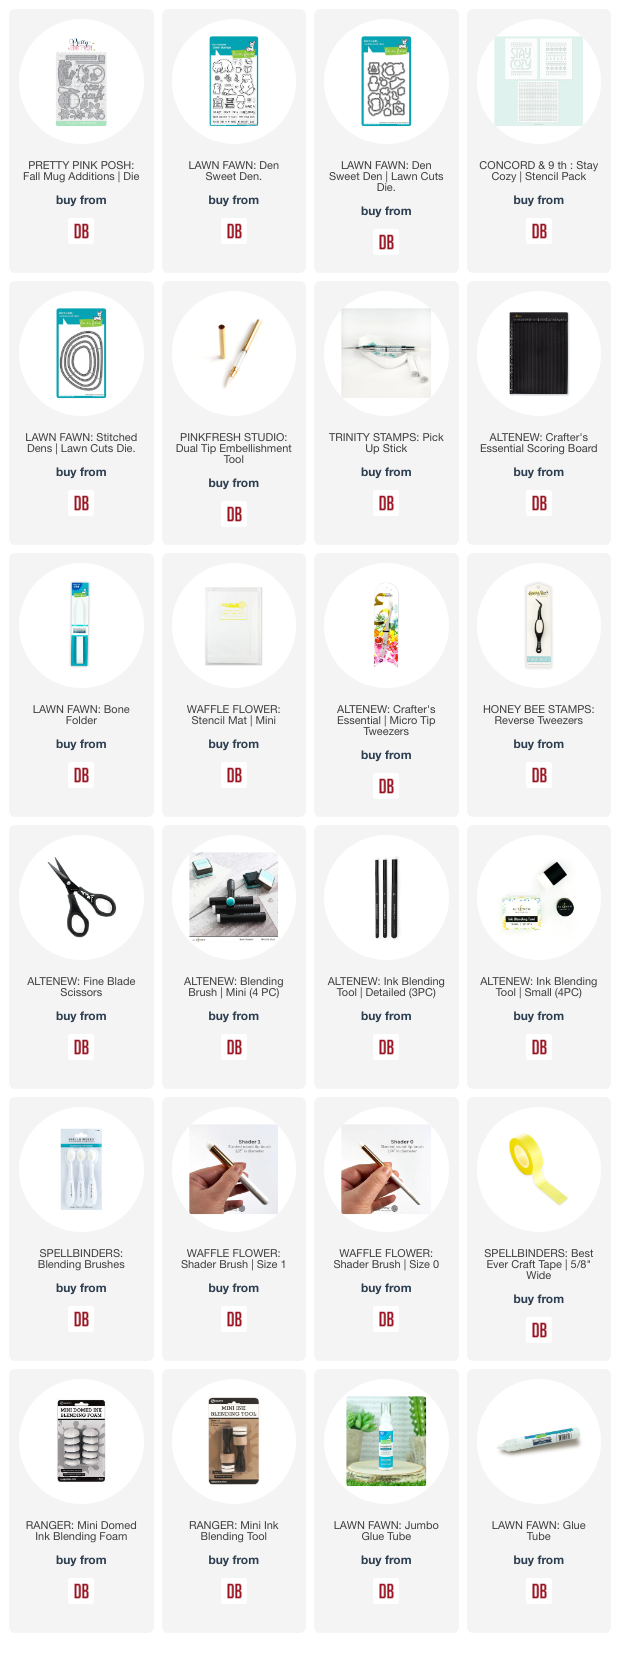
Links to products used or recommended are listed below: 

Monday, December 25, 2023

Merry Christmas from the Doodlebugs Team

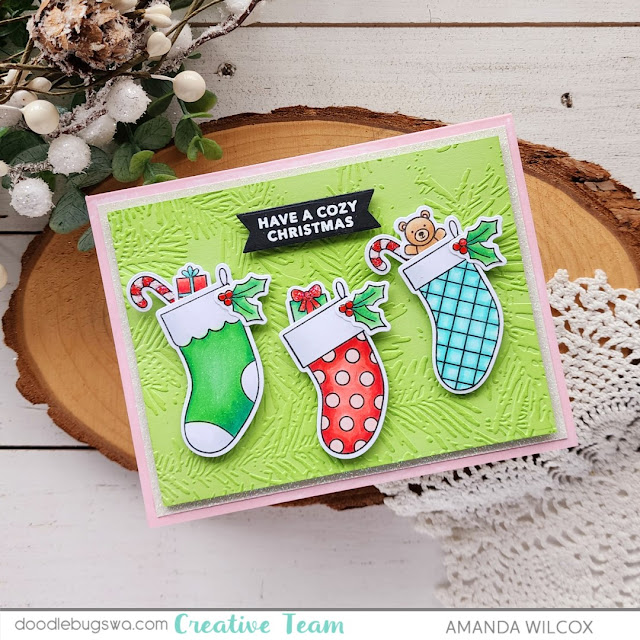
Hey friends! It's Amanda from Twiddler's Nook today sharing a Merry Christmas from the Doodlebugs team to all of you! We hope you have a wonderful holiday, spent with those you love.

Pretty Pink Posh Holiday Stockings stamp and die

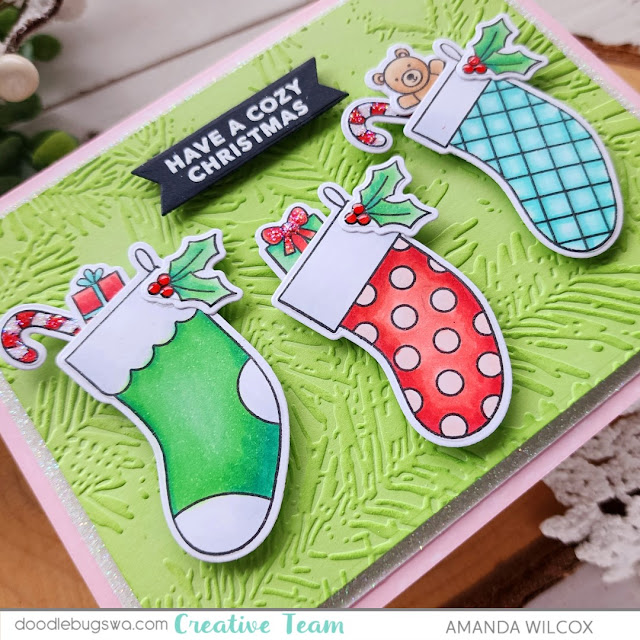
To create my card, I stamped images from Pretty Pink Posh Holiday Stockings. I used the coordinating dies to cut them out and liquid glue to adhere my stocking gifts in place. I stamped and heat embossed a sentiment and used a Lawn Fawn banner die to cut it out.

Pretty Pink Posh Holiday Stockings stamp and die

Next I used the Spellbinders In the Pines embossing folder on a piece of green cardstock. I trimmed that down to 3.75x5 inches and lightly went over the embossing with a darker green ink to help it show up better.

Pretty Pink Posh Holiday Stockings stamp and die

I took my Lawn Fawn ballet slippers ink pad and drug it across the edges of a white card base, then cut white glitter paper down to 4x5.25 inches and glued it down. I popped the embossed panel up with foam tape and then added my sentiment and stockings with foam squares.

For finishing touches I added glossy accents and stardust Stickles to bits and pieces in all of the stockings.
 

I appreciate you sharing your time with me. Have a fabulous day!
 
Links to products used or recommended are listed below: 

Wednesday, December 20, 2023

Another Sweet, Baby Card

 I'm back with another baby card.  I shared one last week...here's number two.

Mama Elephant's Wish Upon a Star Stamp and Die Set

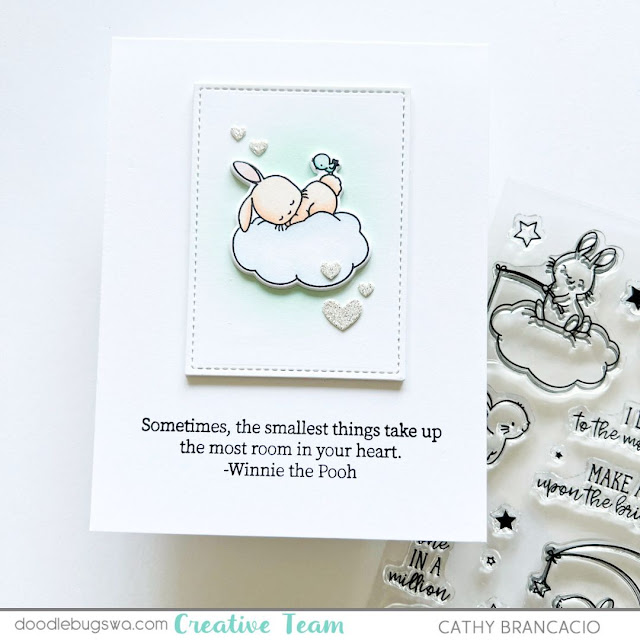
I started the card by coloring the stamped image from the Wish Upon a Star stamp set from Mama Elephant.  Once I was finished coloring, I die cut the image with the coordinating die.  I cut several extra pieces from scrap cardstock and layered them up under the colored image to create some dimension.  I love that look!

Mama Elephant's Wish Upon a Star Stamp and Die Set

I created the background by applying a small amount of Cracked Pistachio Distress Ink to the die cut panel using an ink blending brush.  I applied it lightly, building up color slowly and used a circular motion with the blending brush.

To finish the card I added a stamped sentiment from the Welcome Baby stamp set from Honey Bee Stamps and some glittered hearts I cut using a heart die I found in my collection.

Here's the card I shared last week, just in case you missed it.

Mama Elephant's Wish Upon a Star Stamp and Die Set

Thanks so much for stopping by!

I hope you were inspired to create something today.

-Cathy

Links to products used or recommended are listed below: 

Tuesday, December 19, 2023

Happy Wishes

Are you a knitter?  I can't justify another hobby since I have so many cross stitch projects that I haven't started yet.  

Knitting Together die from Concord & 9th

I do know some knitters and one of them is having a birthday at the end of this month.  My daughter is also an avid knitter so this set will come in handy.  

I'm featuring the following products:
  • Concord & 9th - Knitting Together | dies
  • Lawn Fawn - Stitched Ripple | backdrop
  • Lawn Fawn - Tiny Tags | lawn cuts
  • Mama Elephant - Tag Size Greetings | stamp
  • Spellbinders - Essential Stylish Ovals | dies
Knitting Together die from Concord & 9th

I used the Spellbinders Essential Stylish Ovals with vellum.  

Knitting Together die from Concord & 9th

Have a great day!

Links to products used or recommended are listed below: 

Monday, December 18, 2023

Thank You Cards for the Holiday Season, with Two-for-One Backgrounds

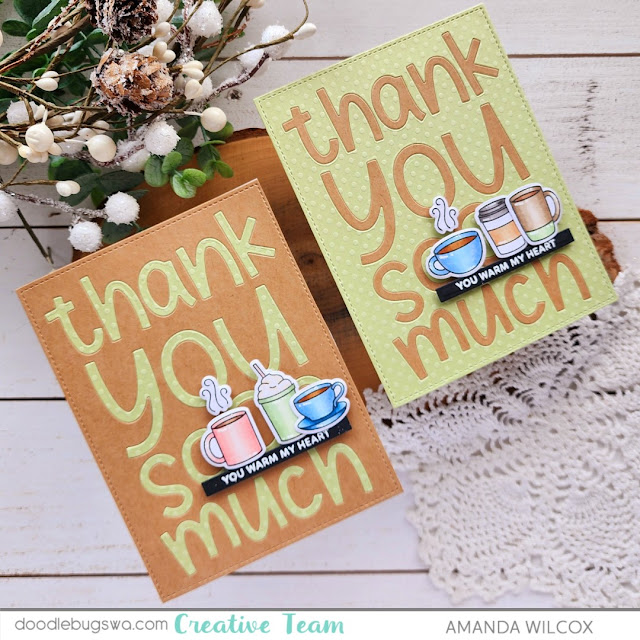
Hi there. This is Amanda from Twiddler's Nook today with an idea for thank you cards using two-for-one backgrounds so you can make cards more quickly during the holiday season. I know I always need to stock up on thank you cards this time of year so having a similar layout or two-for-one (or more) backgrounds are super helpful!

Pretty Pink Posh Winter Drinks stamps and dies

Today I cut the Mama Elephant TYSM cover die from light green and kraft cardstocks. I took white card bases and glued all the pieces in place with liquid glue.

If you were really in a pinch, you could stop here and just add some splatter or gems for interest and be done, or even leave them as is too. We all know I'm extra so I have a hard time with that.

Pretty Pink Posh Winter Drinks stamps and dies

Instead of stopping, I pulled out the Pretty Pink Posh Winter Drinks stamp set and stamped a bunch of different cups and a couple of the steam image. I used copic markers to color everything and the coordinating dies to cut it all out.

Pretty Pink Posh Winter Drinks stamps and dies

I stamped and heat embossed a sentiment from the set and die cut it with a sentiment strip. I grouped the images together and popped everything up on foam squares and strips over the "sooo" portion of the sentiment. You can still see what it's saying and I love how the sub-sentiment adds warmth to the card.

For finishing touches I just added white gel pen highlights to the cups. 
 
I appreciate you sharing your time with me. Have a fabulous day!
 
Links to products used or recommended are listed below:  
Thursday, December 14, 2023

Creative Way to Wrap and Give Christmas Gift Cards

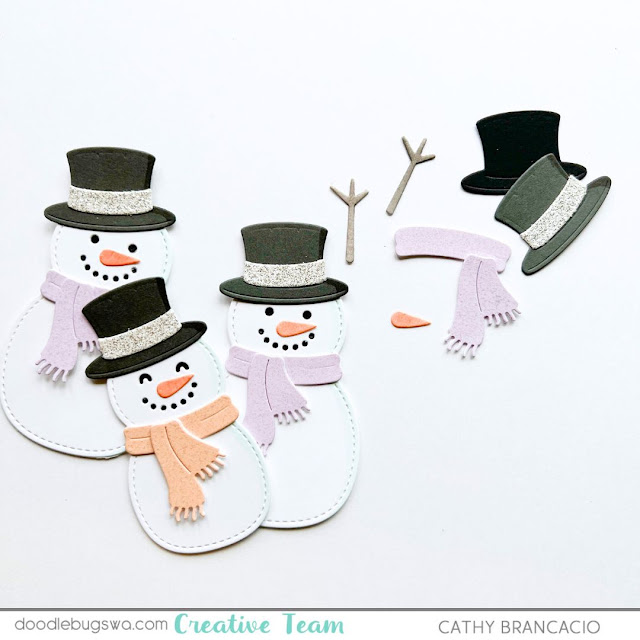
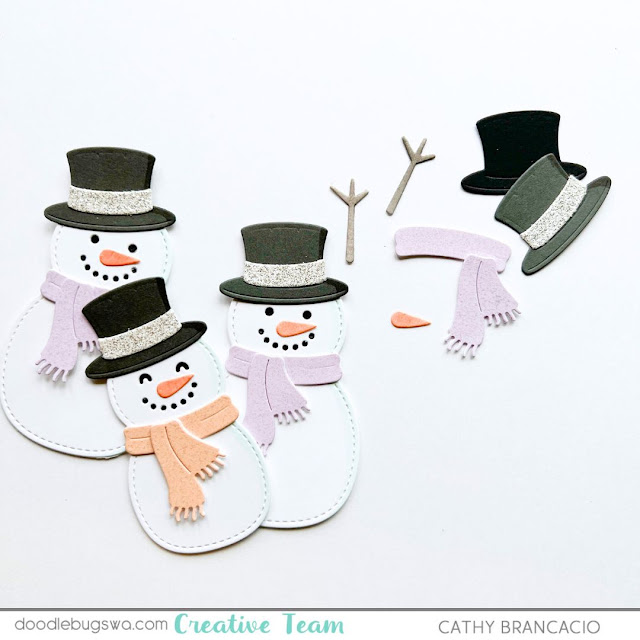
I've had so much fun wrapping up my gift cards this year with the Gift Card Bag from Pretty Pink Posh.  I've used it for birthday, Halloween, fall, just because, and of course, now Christmas.  I recently die cut and assembled a LARGE quantity of the Build A Snowman die from Lawn Fawn.  So, I decided to use them to embellish my gift card bags.

Pretty Pink Posh Gift Card Bag and Lawn Fawn Build a Snowman

Since I already had all the snowmen cut and assembled, I started creating the bags.  I die cut the pieces and applied some Minty Fresh Ink from Lawn Fawn to the front portions of the bags.  It's easier to do this before assembling the bags.  Once I was done with the ink blending, I splattered some white paint, and shimmer silver watercolor over the inked area.  After they dried, I assembled the bags.

Pretty Pink Posh Gift Card Bag and Lawn Fawn Build a Snowman
 

I then cut the inserts and stamped the PULL HERE sentiment at the top.  I cut the insert for the card so it would slide into the bag easily and added an extra 1/2 inch on the length to fold up and create a pocket that would pull the gift card up when the recipient pulls on the card.

Pretty Pink Posh Gift Card Bag and Lawn Fawn Build a Snowman

The cute SPECIAL DELIVERY was cut from the Banner Greetings die from Mama Elephant and backed with some glitter cardstock.

Once all the components were cut and assembled I added everything to the bags and embellished with some confetti embellishments.

Pretty Pink Posh Gift Card Bag and Lawn Fawn Build a Snowman

Pretty Pink Posh Gift Card Bag and Lawn Fawn Build a Snowman

Thanks so much for stopping by the blog!

I hope you were inspired.

-Cathy

Links to products used or recommended are listed below: 
Wednesday, December 13, 2023

Sweet Hand-made Baby Card

I've had to create some baby cards recently.  Not something I've had a need for in recent years.  It was such fun looking for the perfect stamp and creating this sweet little card.  I enjoyed the break from all the holiday crafting that's been piled on my desk lately.

New Baby Card from Mama Elephants Wish Upon a Star

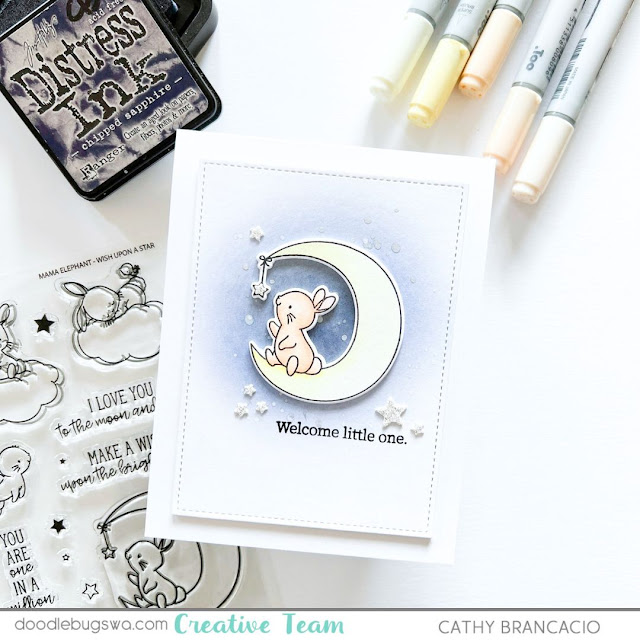
I started by coloring the image with my Copic Markers and cutting it out with the coordinating die.  I cut several extras from scrap cardstock to stack behind the colored image creating a dimensional embellishment.

New Baby Card from Mama Elephants Wish Upon a Star

To create the background, I used some Chipped Sapphire Distress Ink and added it to my card panel with an ink blending tool.  I applied it lightly and built up the color slowly using a circular motion with the ink blending tool.  Once I was finished with the ink blending, I splattered some silver metallic paint onto the surface.

The sentiment I chose was from the Welcome Baby stamp set from Honey Bee stamps.  I added the sentiment and some tiny glittered stars I cut using the coordinating die set from the Wish Upon a Star stamp set.

Thanks so much for vising the blog.  I really appreciate it.

I hope you found this sweet card inspiring.

-Cathy

Links to products used or recommended are listed below: 
Tuesday, December 12, 2023

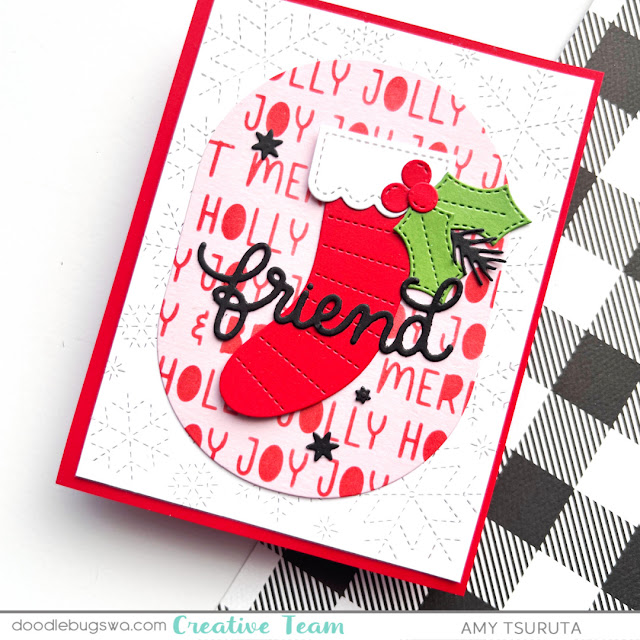
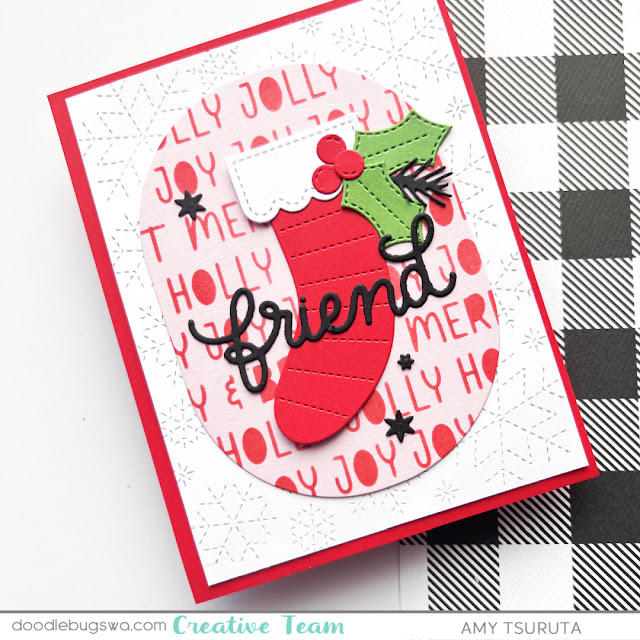
Friend

How is your Holiday cardmaking going? I have mine done but I'm having a hard time sitting down to write in them and address their envelopes.  Hopefully by the time this post goes live I'll be done with them.

Build a Stocking die from Pretty Pink Posh

This will be my final holiday design for the blog. This starting off with an aqua and red combo but it wasn't hitting me so I replaced the aqua with pink.

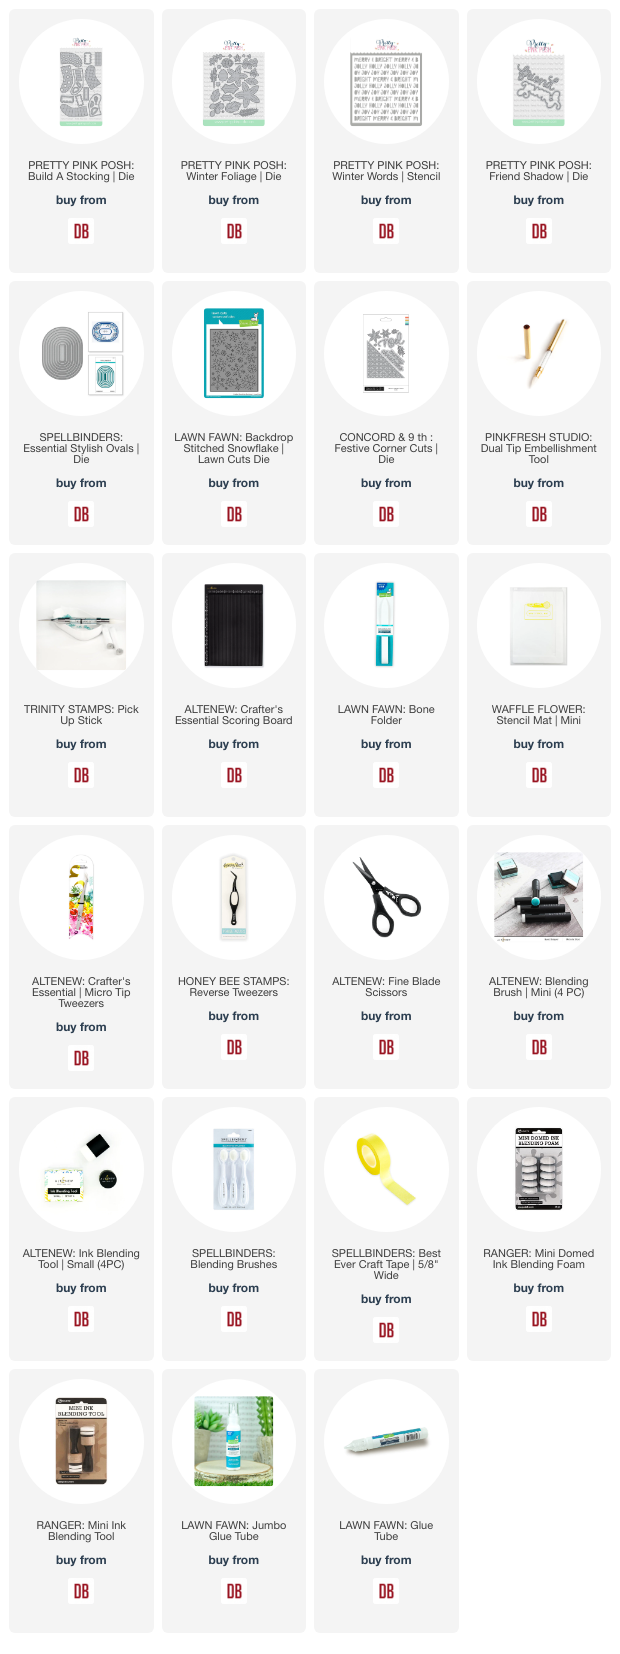
These are the products I combined for today:
  • Concord & 9th - Festive Corner Cuts | dies
  • Lawn Fawn - Stitched Snowflake Backdrop | die
  • Pretty Pink Posh - Build a Stocking | dies
  • Pretty Pink Posh - Winter Foliage | dies
  • Pretty Pink Posh - Friend Shadow | dies
  • Pretty Pink Posh - Winter Words | stencil
  • Spellbinders - Essential Stylish Ovals | dies
Build a Stocking die from Pretty Pink Posh

I really love how the pops of black look.  Using black wasn't part of my original plan.  It pays for me to step away from projects, return to it and really look at it with different eyes.

Build a Stocking die from Pretty Pink Posh

There is no foam adhesive on this project.  The last batch of holiday cards needed a lot more in postage.  I go through this every year.

Thanks so much for stopping by!

Links to products used or recommended are listed below: 

Monday, December 11, 2023

Stretch Your Christmas Dies Further

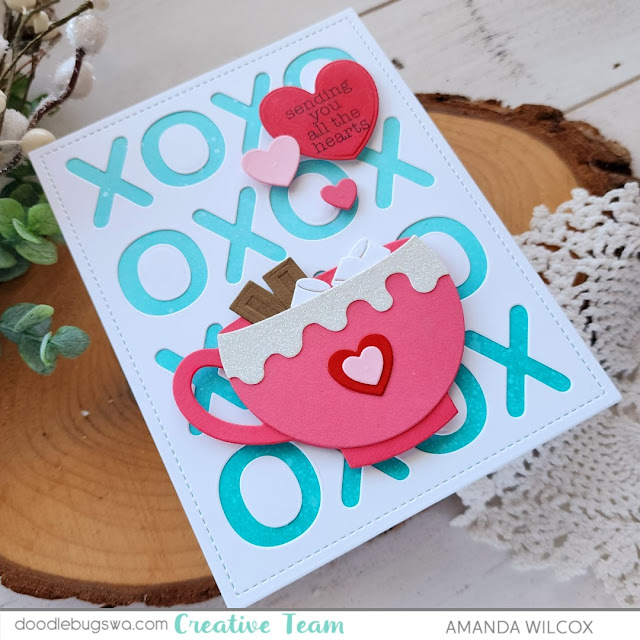
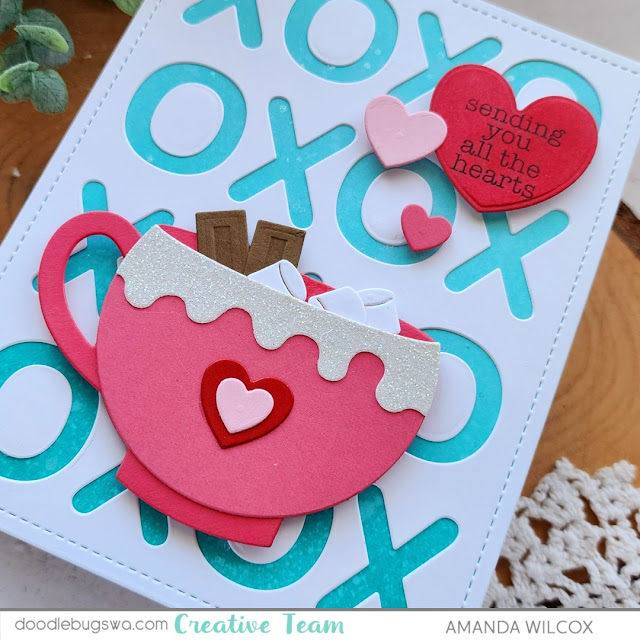
Hi friends! It's Amanda from Twiddler's Nook today stretching some fabulous Christmas dies into Valentine's Day and that gave me ideas for all year long too! It's so nice when products can be used for more than one time a year.

Merry Mug Creations from Spellbinders

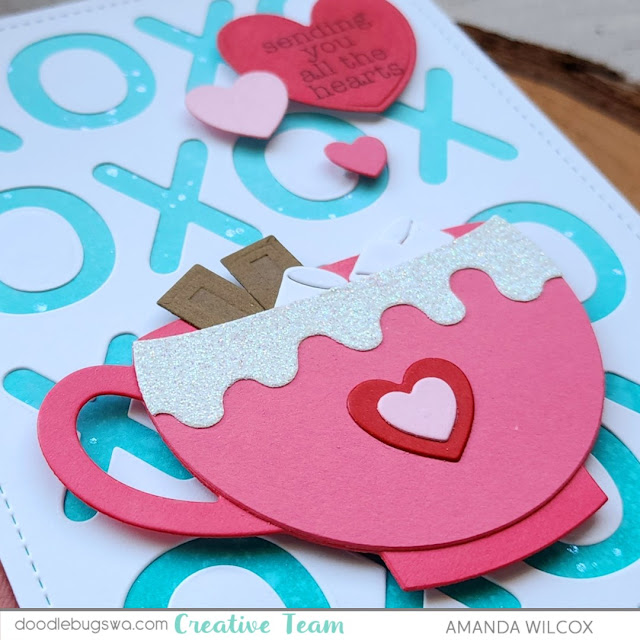
I fell in love with the latest Mama Elephant release and thought this fun mug from Spellbinders would be a great combo for some lovely hot cocoa to share. I used cardstock from my stash to die cut all of the pieces and liquid glue to adhere everything together.

Merry Mug Creations from Spellbinders

Then, I took a white panel and ink blended peacock feathers and salvaged patina distress oxide inks. I splattered it with water and pearl watercolor. Then glued my cover panel on top and inserted the centers of the Os where they belonged.

Merry Mug Creations from Spellbinders

I popped the mug up with foam squares toward the bottom of my card. Then I added some more hearts, one holding my sentiment. The smaller ones are from the mug dies and the larger one is from the new Mama Elephant Heart Pocket die set.

Merry Mug Creations from Spellbinders

I love the shimmer of the watercolor on the background and the sparkle from the glitter paper on the mug. They are simple ways to add a little extra to your card designs.

After I created this love filled mug, I was thinking that it would be easy to add snowflakes through winter and change your sentiment to a thank you. I always need extra thank you cards through the holidays.
 
I appreciate you sharing your time with me. Have a fabulous day! 

Links to products used or recommended are listed below: 

Friday, December 8, 2023

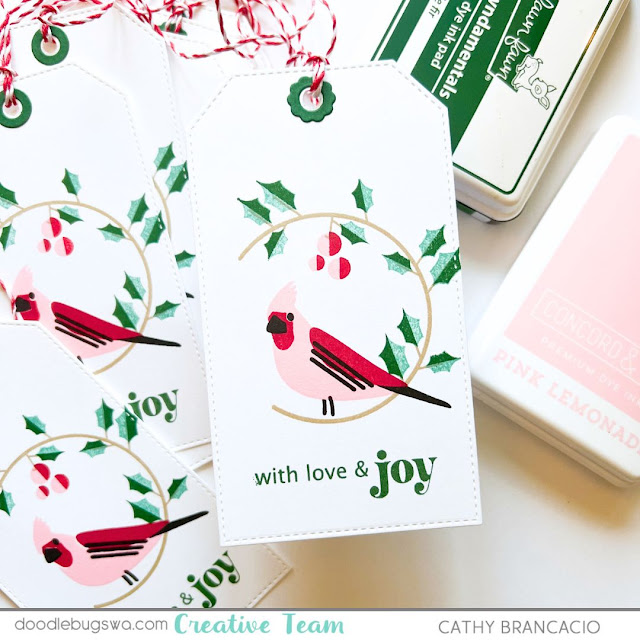
Quick and Easy Holiday Tags with Altnew Birds of the Season

Today's post is brief.  My holiday "do list" is long, but I wanted to take a quick minute to share these quick and easy gift tags I created last weekend.

Quick and Easy Christmas Tags with Altenew Birds of the Season
 

First I cut all the tags from some heavy weight, white cardstock.  Once the tags were cut I stamped the images using my stamping platform (I have the MISTI).  This makes mass producing super quick!  I stamped the wreath on all of the tags, then the leaves, and finally the bird.  The stamp comes with a layering guide making everything even easier.

Quick and Easy Christmas Tags with Altenew Birds of the Season

I hope you're enjoying the season and that you're inspired to create something today.

Thanks for stopping by!

Cathy

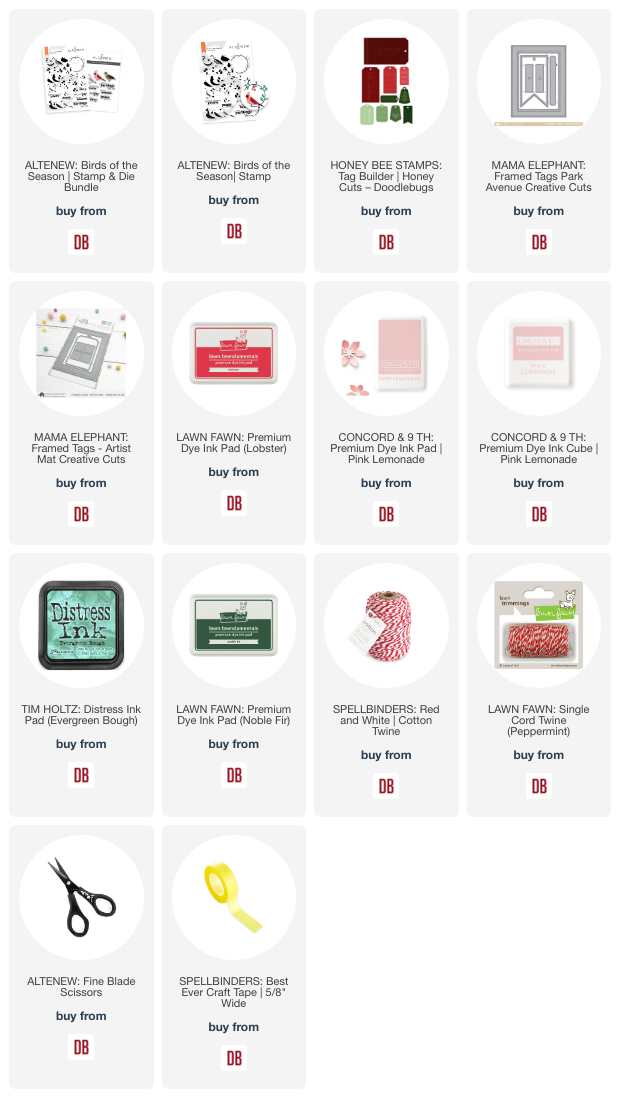
Links to products used or recommended are listed below: 
Thursday, December 7, 2023

Christmas Gift Tags with Lawn Fawn's Build a Snowman Die Set

Today I'm sharing some Christmas gift tags.  I created these winter cuties using the Build a Snowman die from Lawn Fawn.  

Christmas Gift Tags using the Build a Snowman die from Lawn Fawn
 

First I cut the tags from soft blue cardstock using a tag die I had in my die collection. (I've linked a few tag die options below if you are in need of a tag die).  I wanted the background of the tags to be a bit more interesting, but didn't want to add a lot more steps to the creative process.  So, I placed them all in a cardboard box and splattered them with white and silver paint.  Super quick and easy.


While the paint was drying, I cut and assembled my snowmen and sentiments.

Christmas Gift Tags using the Build a Snowman die from Lawn Fawn

The final step was to add the snowmen and sentiments to the tags.

Christmas Gift Tags using the Build a Snowman die from Lawn Fawn

Aren't they cute?  I made extra snowmen to add to a few bag toppers I'm creating.  I hope to share them with you next week.  These tags were added to some holiday cookies and added to my front porch basket for the delivery drivers who work so hard to get us our packages.

Christmas Gift Tags using the Build a Snowman die from Lawn Fawn

Thanks so much for stopping by. 

I hope I've inspired you to create your own holiday tags this year.

Links to products used or recommended are listed below: