- Mama Elephant - A Capybara Christmas | stamp + creative cuts
- Pretty Pink Posh - Eyelet Rectangles | dies
- Pretty Pink Posh - Merry Christmas Shadow | dies
- Pretty Pink Posh - Winter Words | stencil

Hey there everyone, this is Amanda from Twiddler's Nook. We're gearing up for gift giving with this week's Mix it up Monday. As our family has gotten older we give more gift cards for the holidays than we used to. It's fun to make them a little extra by putting them in something fun and cute instead of those sleeves they all come with.
Today I've got a pair of adorable gift card holders using the awesome Pretty Pink Posh Gift Card Bag dies and some Mama Elephant images and sentiment banners. I can't wait to see these hanging on our Christmas tree!

I recently created a set of holiday cards using the Pretty Sweet stamp set from Concord & 9th. I love how versatile this set is. The set includes floral and ice cream images making it great for so many occasions and seasons. It's a great budget friendly option because it works for so many occasions. I thought the cone image from the ice cream cones would make adorable Christmas trees. So, I got out my stamping tool, and stamped a bunch of these images on card bases creating some quick and easy cards. This is a great design to mass produce.
I die cut a simple frame to place around each tree and added some glitter glue to the heart. Super easy and budget friendly. I'm giving these as a gift so I added the envelopes and enclosed them in these wonderful window boxes I added to the shop last month.
I used the floral and ice cream images to create a few spring and summer sets for gifts. I'll share those next week.
Thank you so much for stopping by! I hope you found some inspiration.
-Cathy
Links to products used or recommended are listed below:
I like to mix up my Christmas cards so I don't get bored making the same thing. I enjoy the process of creating cards. Making sure I continue to enjoy it is important. However, I also can't reinvent every Christmas card I send out. I would never get finished (that has happened in years past). So, I create a design I can easily mass produce. I make 8 - 10 of the same card, and then move on to something different.
I created 10 of these cards. They took me a couple of visits to my crafty space, but prepping and creating assembly style made them come together quickly. If I had to guess, I'd say it took me about 4 hours to make these.
After the embossing was complete, I finished by die cutting the additional elements and added them to the ornaments. The top and bottom of the ornament and the topper are all from the Ornaments Stamp and Stitch set from Concord & 9th. The bow is from the Build a Gift die from Pretty Pink Posh. I love that bow and used it any chance I get!
To finish the cards, I cut, scored and folded the card bases. Then, I stamped the sentiment. Since I was creating quite a few of these I chose to keep the sentiment a bit simple and put my time into the ornaments. This card would also be lovely with a die cut, glittered sentiment to match the ornament topper.
Thanks so much for stopping by. I hope I've inspired you to create something today.
- Cathy
Links to products used or recommended are listed below:

I love mixing old with new, how about you? Here's how I was inspired today:
Hey friends! This is Amanda from Twiddler's Nook. Mix it up Monday is back with ink blending and die cutting. Inlay and assembling amazing creations! Let's make it merry and get started.

This card is full of spectacular wishes for a cute kiddo on his birthday.
To create the card, I die cut and assembled the Stitched Sun Frame from Lawn Fawn and the sunglasses from the Spectacular Shades die from Concord & 9th. As always, I cut multiple pieces so I could layer them for more dimension. I also added a tiny bit of orange ink with a blending brush to the center of the sun and edge of the sun rays.
The banner sentiment was cut from Mama Elephant's Banner Greetings and the stamped image is from the Spectacular Shades stamp set. I thought this card would also be cute with the "you brighten my life" sentiment also in the same set.
Thanks so much for stopping by. Hope you have a spectacular day!
-Cathy
Links to products used or recommended are listed below:

I have been loving the latest release by Sunny Studio Stamps. Here's how I was inspired today:
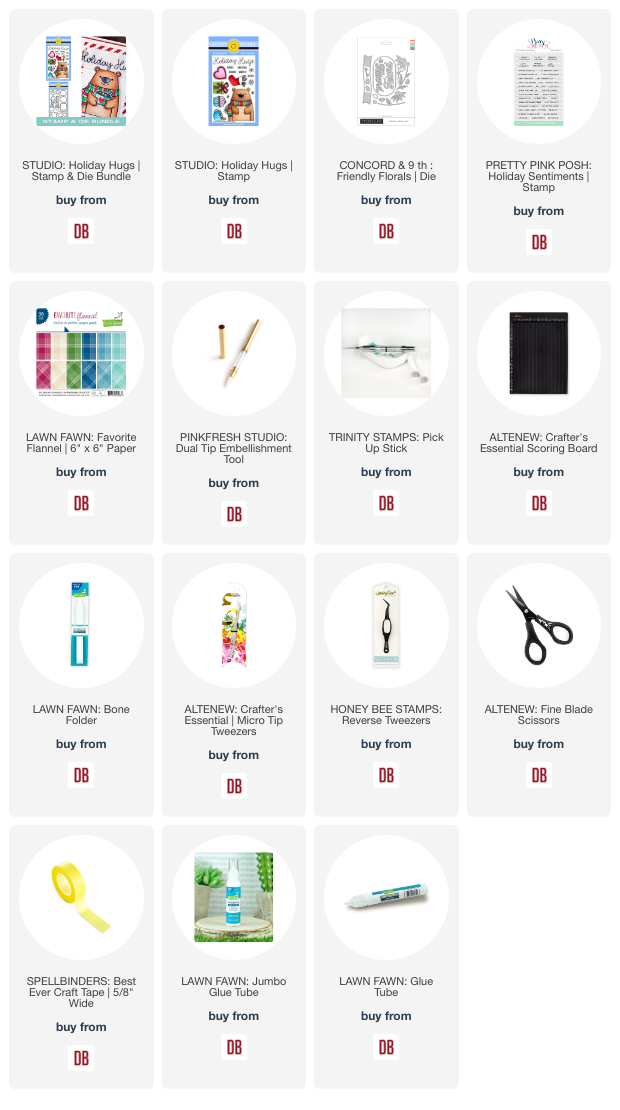
Hey friends! This is Amanda from Twiddler's Nook today mixing things up with glitter for all things holiday sparkly! Sparkle and shine are some of my favorite things to add to a card so today I'm sharing a few different ways to achieve that.
I'm in love with these sweet new Mama Elephant critters from the new Holiday Huggers set and just had to use them as soon as possible. So I went digging to see what I could have them hang on to and when I found this Spellbinders sentiment I knew I didn't need to look any further. So I stamped all three critters and colored them with copic markers. Then I used the coordinating dies to cut them out.
Next, I cut the sentiment shadow from black cardstock. Then I cut a piece of Spellbinders die cutting foam and also cut a piece of double-sided adhesive sheet to match. I removed the liner and attached the foam to the adhesive sheet. Now my foam is essentially a giant sticker. Then I die cut the sentiment. The die cutting foam tends to stay in your die which is fabulous for this because I removed the release paper and lined the die up with my shadow adhering the sentiment down and pulling my die off. It worked perfectly!
Sparkly sentiment? Yes, please! It grabs your attention and the foam gives instant dimension too!
Next, I inked up the Pretty Pink Posh Holly stencil with Lawn Fawn inks - cilantro and noble fir - before spreading Thermoweb Glitz Gel through the berry layer.
Sparkly stenciling in your background? Fabulous way to add some glam and take things to the next level.
I added my critters to the sentiment and used liquid glue to adhere them to the stenciled panel once the glitz was dry. Then I decided to trim the edges off the stenciled panel - just 1/8 inch off each side. Then I added strips of black cardstock to my card front and finally glued my panel on top of that. I liked how this sets off the shadow on the sentiment.
Then, for finishing touches we add some shine. Black glaze pen to the critter eyes and glossy accents to their noses and the white parts of their hats.
Shine to go with sparkle is fabulous! It's not as bold as glitter but the shine definitely adds a big piece and catches your eye when you're looking at the card.
I appreciate you sharing your time with me. Have a fabulous day!

The Autumn Wonder die from Spellbinders is full of so many wonderful fall images. I decided to die cut and assemble a bunch of the images and then create some cards with them. When I create cards, I usually start with the components and figure out the actual card later in the process. I enjoy assembling the pieces. Also, having the assembled pieces makes the step of designing the card easier for me.
I decided to use the images with the Terrarium die from Pinkfresh Studio. This die would be wonderful filled with spring flowers, Christmas images or a winter scene. I cut the terrarium die with some very light gray cardstock so it would stand out from my white background. I also cut two of the bases and stacked them to create a thicker or wider base.
The pierced background was created using the Fall Flourish Pierced background from Honey Bee stamps and the sentiment is from Spellbinder's Envelope of Wonder stamp set. I love that old script font!
Thanks so much taking a peek. I hope you enjoyed the cards and you're inspired to get creative today.
-Cathy
Links to products used or recommended are listed below:

I have a quick post for you today. I had a few ghosts left from my Ghost Shaker Candy Wrap post and wanted to put them to good use.
This time I skipped the shaker part of the project and secured the ghost to the front of the Gift Card Bag. I'll be mailing this Halloween treat so the bag was the perfect way to dress up a gift card. If you'd like more details for creating the ghost or the bag, check out these two posts:
Thanks so much for stopping by. I hope I've inspired you to get creative today.
-Cathy
Links to products used or recommended are listed below:
