Happy Thanksgiving!
I'm so grateful for you and for your continued support of my blog and small business. I hope that as you reflect back on this past year you find that you have much to be grateful for.
Wishing you all a beautiful day!
Happy Thanksgiving!
I'm so grateful for you and for your continued support of my blog and small business. I hope that as you reflect back on this past year you find that you have much to be grateful for.
Wishing you all a beautiful day!
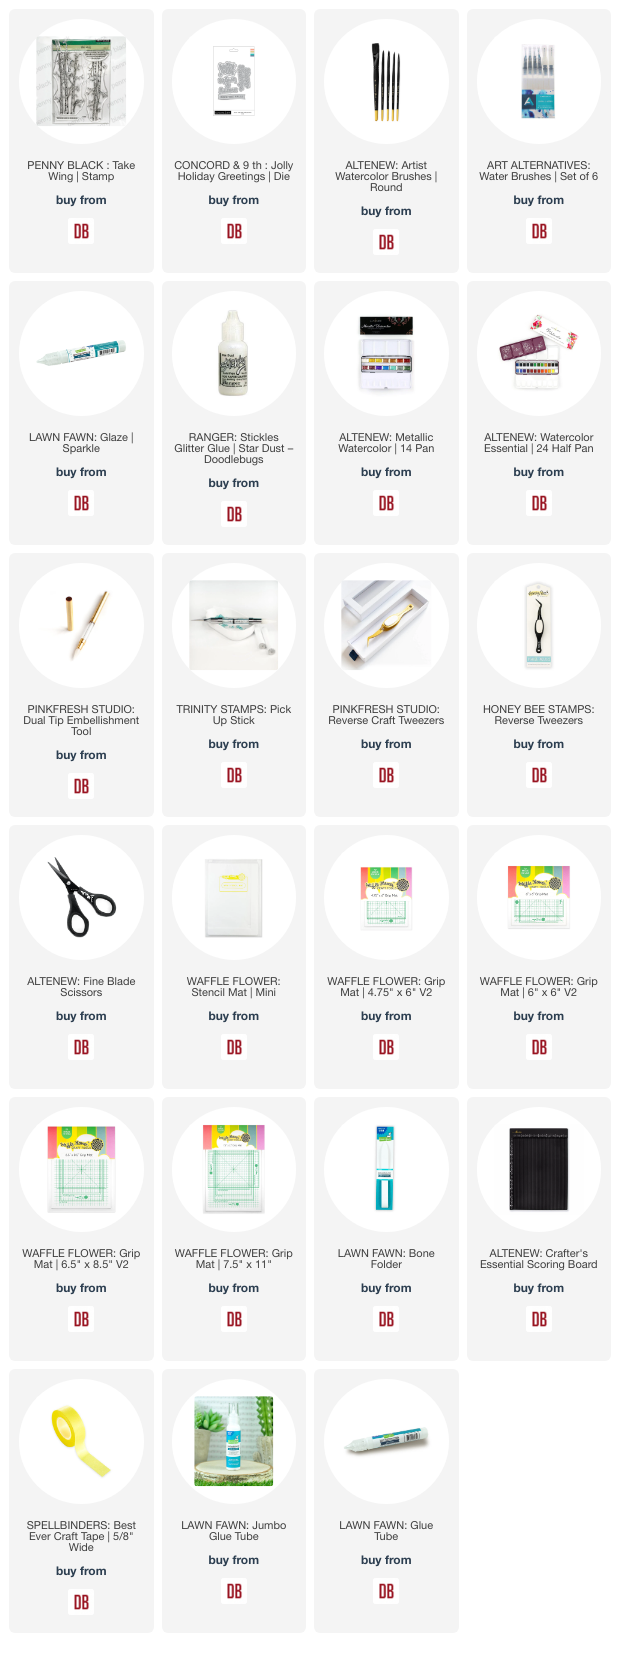
Today I'm sharing an easy watercolor card using the lovely Take Wing stamp set from Penny Black. I love to watercolor and this image seemed perfect for that medium.
I framed the image using the Bella Frame die set from Mama Elephant and then added a die cut greeting. For the final touch [although it is not visible in the photos] I added some glitter glue to the branches of the trees.
Thanks so much for stopping by. I hope you were inspired.
-Cathy
Links to products used or recommended are listed below:
Where does your inspiration come from? I'm so excited to share my project for today. Some of you might recognize my inspiration.


Now that we're on our way to holiday, I pulled out the Pretty Pink Posh Layered Christmas Trees stencil set and inked it up on a piece of light green cardstock. For the final layer I skipped inking and got a little messy with texture paste though. OMG do I love this stuff! It's the perfect texture add-on if you ask me.

When that was dry, I trimmed it to fit an A2 card base and glued it on the front. I popped up the piggy and gifts and added a Mama Elephant Winter Banner Greeting. The array of options in these sentiment sets is amazing! Highly recommend!

I digress. Back to the card. For finishing touches today I added black glaze pen to the piggy's eyes and nostrils. Then I added stardust Stickles to the heart he's holding and white gel pen highlights to all the gifts.
I appreciate you sharing your time with me. Have a fabulous day!
Links to products used or recommended are listed below:

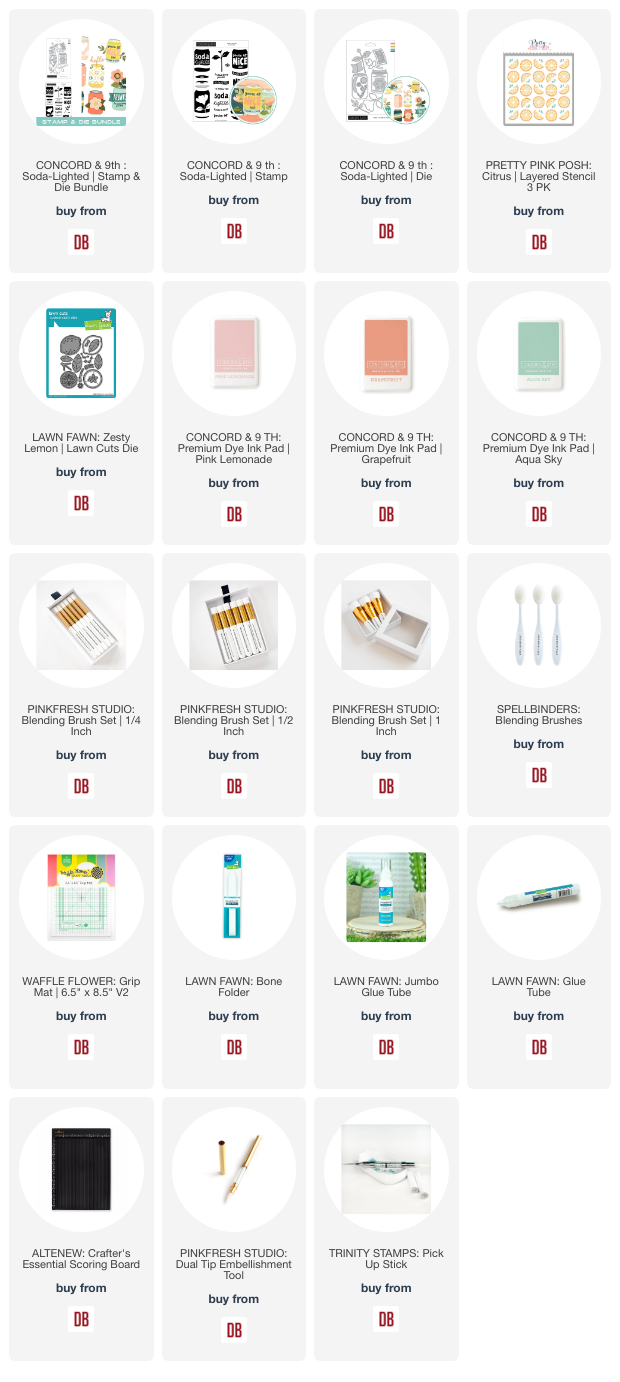
I couldn't resist coloring up these adorable, cozy critters for some Christmas cards from me and the hubby. Aren't they the cutest?
As usual, when I create multiple cards, I create them in steps. First I stamped and colored all my images. I colored four of each image, so I'd have plenty of critters for making cards.
Once I finished the cute critters, I die cut the holly jolly sentiment. I used some silver glitter cardstock and stacked the sentiment onto several pieces I cut using white cardstock. I like the dimension this creates.
The final step before assembling was to cut and ink my backgrounds. To do this, I taped off the right and left side of my cardstock covering approximately 3/4 of an inch from the edges. I applied some Pink Lemonade ink to the exposed area of the cardstock using a blending brush. After applying a light layer of ink, I layered the Winter Words stencil over the top and applied a second layer of ink through the stencil.
Once all these steps were complete, I assembled the card and added a few embellishments.
I love how these turned out and can't wait to mail them off to friends and family.Thanks for stopping by! I hope you were inspired.
-Cathy
Links to products used or recommended are listed below:

I love when a project turns out even if it isn't how I originally envisioned it.
This is Amanda from Twiddler's Nook and welcome to this week's Mix it up Monday for the Doodlebugs blog! Today I'm pulling out some cuteness from last year that did not get enough love! Spellbinders mugs and Mama Elephant critters, could it get any cuter? I think not!

These adorable Mama Elephant Holiday Huggers were just asking to hang out of something fun and when I came across my Spellbinders Merry Mugs I knew it was a match made in heaven! I really tried to make all 3 huggers fit in one mug but it wasn't happening so I gave in and have that sweet bunny saved for another occasion. *Spoiler alert, gift tag to match!*

So I stamped and colored my images, die cut all the things and then assembled it all with a combination of liquid glue, reverse tweezers and foam tape. I added a double snowflake to the front of the mug with an enamel dot in the center which I really can't get over is so pretty!

Then I cut a Mama Elephant Shimmer Lights cover from pink cardstock and glued it to a white card base. I added my filled mug to that with liquid glue and found the sweetest sentiment in the Mama Elephant Deliver Lots of Cheer stamp set to add to a banner. I stamped that with Lawn Fawn mermaid ink so it matched the mug and popped it up with foam tape.

For finishing touches I added white gel pen highlights, black glaze pen to the critter eyes and glossy accents to their noses. To finish it all off I added stardust Stickles to the Santa hats.
Oh my goodness, I really can't get over the cuteness of this card. I love how it turned out so much!!!
I appreciate you sharing your time with me. Have a fabulous day!
Links to products used or recommended are listed below:

Today's card is surprisingly easy thanks to the coordinating coloring stencils. In my opinion, it would be a great candidate to mass produce.
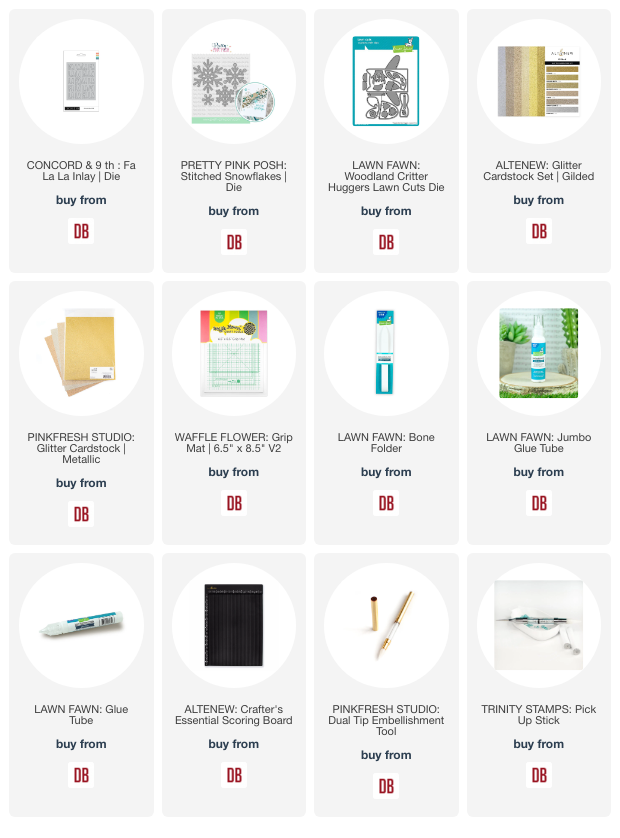
I started by stamping the tree image on white cardstock using water-proof ink. After stamping my trees, I used the layering stencils to add color. I think it's faster to complete the same layer on each stamped image before moving on to the next layer / color. For the final step, I used some Stickles Glitter glue to paint in the stencil openings for the smaller leaves. This would also be lovely on the berries instead of the leaves.
My final step...I cut scalloped frames before assembling my cards.
Thanks so much for stopping by and taking a peek. I hope you were inspired to create something today.
-Cathy
Links to products used or recommended are listed below:

I've been gravitating towards wreaths lately. I realize that I don't have very many in my stash. Here's how I was inspired today:
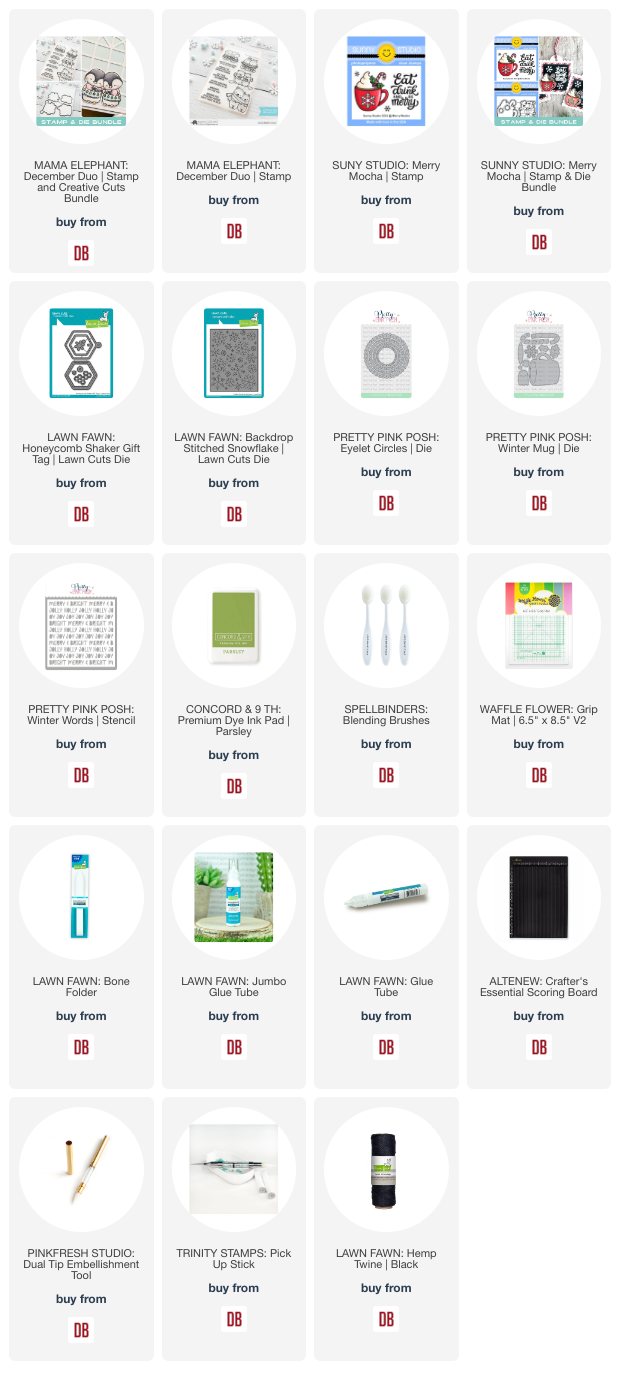
Happy Monday friends! This is Amanda from Twiddler's Nook with your weekly dose of Mix it up Monday. Today I added a fun mini shaker to the mix with all of the wintry cuteness.

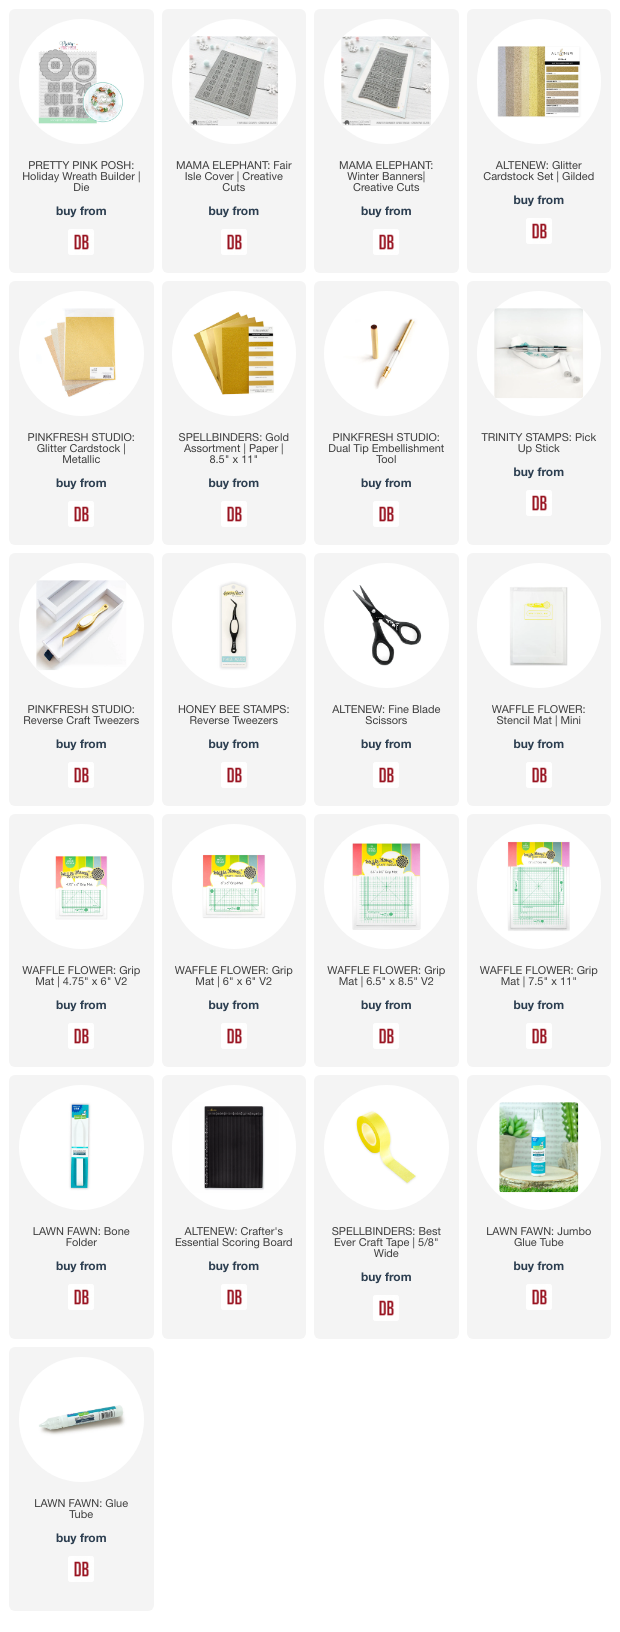
I started by using some shimmer watercolor powders on a piece of watercolor paper, once that was dry I die cut my Pretty Pink Posh Snowflake Shaker from it. I lined the back with acetate and foam strips, a sprinkle of clay embellishments and sealed it up with a piece of white cardstock.

Next, I stamped and colored some sweet penguins from the Sunny Studios Roly Poly Penguins stamp set. I used the coordinating dies to cut them out and set it all aside. I couldn't decide how I wanted my background - ink blended or solid and then I came across the Lawn Fawn Stitched Snowflake cover die and all my questions were answered. It's the perfect backdrop!

I ink blended the snowflake panel with pink ink to help the stitching stand out and then glued it to a white card base. Next I added the snowflake and penguins with foam squares and liquid glue. Finally, I stamped and heat embossed a sentiment on a banner die cut, all from Pretty Pink Posh. I also popped it up and trimmed the excess off.

For finishing touches I added black glaze pen to penguin eyes, glossy accents to their beaks and feet, and white gel pen highlights to all of the images.
I appreciate you sharing your time with me. Have a fabulous day!
Links to products used or recommended are listed below:
Have you been enjoying the Fall Winter Coffee Lovers blog hop? Doodlebugs is a Super Sponsor of the event. Read all the details over on the main hop post HERE. I wanted to share another caffeinated themed project today:
Today's project features:
Happy Monday! This is Amanda from Twiddler's Nook for another Mix it up Monday. Today I'm sharing a fun mushroom filled gnome card. I had fun with all of my favorite techniques on this card - ink blending, messy with texture paste, coloring and die cutting. It's all there!

After getting the new Mushroom stencil from Pretty Pink Posh, I immediately went to my stash to gather other mushroomy things to play with! Eventually I landed on the Lawn Fawn Mushroom border and Oh Gnome stamps and dies.

I ink blended the background stencils, finishing the detail layer off with texture paste. I cleaned up my space and got to die cutting my fun mushroom border. I love that this border has a grass layer so you can have fun dimension with little effort. I used liquid glue to add my mushroom caps and then adhere the layers together. With the texture paste dry at this point, I trimmed everything down to A2 size and popped the ground layer up with foam tape on the stenciled panel.

Next, I stamped images from Lawn Fawn Oh Gnome and colored them with copic markers. After cutting them out with the coordinating dies, I added them to the scene with liquid glue and foam squares. I also went it with some white gel pen highlights and glossy accents on the mushroom dots.

The Oh Gnome stamp set has great sentiments and a speech bubble with mini sentiments to use but in the end I landed on a fabulous Mama Elephant Banner Greetings die cut. It was more generic which is what I was looking for and fits so perfect up there.
I appreciate you sharing your time with me. Have a fabulous day!
Links to products used or recommended are listed below:
