Pages

Pages

Tuesday, May 28, 2024

Hello Friend

 So many cute new products have been dropping into the shop lately.  Here's how I was inspired today:


If you've been following me for a bit, you know that I love all things citrus.  Today's project features:

  • Concord & 9th - Citrus Crush | Stamp and Die Bundle
  • Concord & 9th - H2Hello | Stamp and Die Bundle
  • Pretty Pink Posh - Friend Shadow | Die

I love how the sentiments coordinate with each other and have similar fonts.


Thanks for stopping by!

Monday, May 27, 2024

Strawberry Shake-It-Up

Hey friends, it's Amanda from Twiddler's Nook! Let's shake it up for mix it up Monday! I'm on the Doodlebugs blog today with this ADORABLE strawberry shaker card. Isn't it the cutest thing?!?

Mama Elephant Boxed Drinks

I had a general design in mind so I pulled out my Mama Elephant Boxed Drinks stamps and dies. I really wanted to make a strawberry milk carton so naturally I reached for the sweet cow and hammy holding strawberries to go with it. I colored everything with copic markers and used the coordinating dies to cut them out.

Mama Elephant Boxed Drinks

Next, I used the Mama Elephant Grid Window cover die to cut a green front panel. I lined the back with acetate and then each window with foam strips. I wanted to make sure the shaker bits stayed in each window and didn't fall all the way to the bottom. Then I took a piece of white cardstock and ink blended pink fading to nothing for each row of windows. I filled each window well with Pretty Pink Posh Strawberry Shortcake embellishments, removed the release paper and sealed it up with the ink blended panel.

Mama Elephant Boxed Drinks

I added my images with foam squares. Then stamped and die cut a sentiment strip with the Pretty Pink Posh Sentiment Strip dies. I ink blended the bottom of that with the same pink for a little interest from the stark white too.

Mama Elephant Boxed Drinks

For finishing touches I added glossy accents to all the strawberries, the straw and noses on both critters. It's fun and adds a little something but doesn't take away from the awesome shaker happening in the background!
 
I appreciate you sharing your time with me. Have a fabulous day!
 
 Links to products used or recommended are listed below:  

Mama Elephant Boxed Drinks stamps and dies
Mama Elephant Grid Window cover die
Pretty Pink Posh Sentiment Strip dies
Pretty Pink Posh Strawberry Shortcake embellishments
Blending brushes
Lawn Fawn ballet slippers ink
Foam strips and squares
Glossy accents

Tuesday, May 21, 2024

Wild Flower Friend

I love it when a company comes out with products that make cardmaking fun and quick.  One of those is the entire Waffle Flower Crafters Postage Collage Collection.  


My project today features the following products:
  • Waffle Flower Crafts - Postage Collage Wild Flower | Stencil
  • Waffle Flower Crafts - Postage Collage | stamp
  • Waffle Flower Crafts - Postage Collage | Die
  • Concord & 9th - Friendly Florals | Dies

I love how this one turned out.  If you didn't know, green is my favorite color. I had a ton of help with Distress Oxides, the Waffle Flower Grip Mat and the Shader Brushes:
  • Tattered Rose | Kitsch Flamingo | Picked Raspberry
  • Squeezed Lemonade | Wild Honey
  • Mowed Lawn
  • Tumbled Glass | Mermaid Lagoon
  • Walnut Stain
  • Black Soot

I love how the Concord & 9th Friend die works beautifully with the Forever stamp.

Thanks for stopping by!

 Links to products used or recommended are listed below: 

Monday, May 20, 2024

Butterfly Pop Up Inside Surprise

Hello friends! It's Amanda from Twiddler's Nook. For this week's Mix It Up Monday, I'm combining dies from Pretty Pink Posh and Mama Elephant to create a fairly fun and quick card with an awesome surprise inside! Let's get inky!
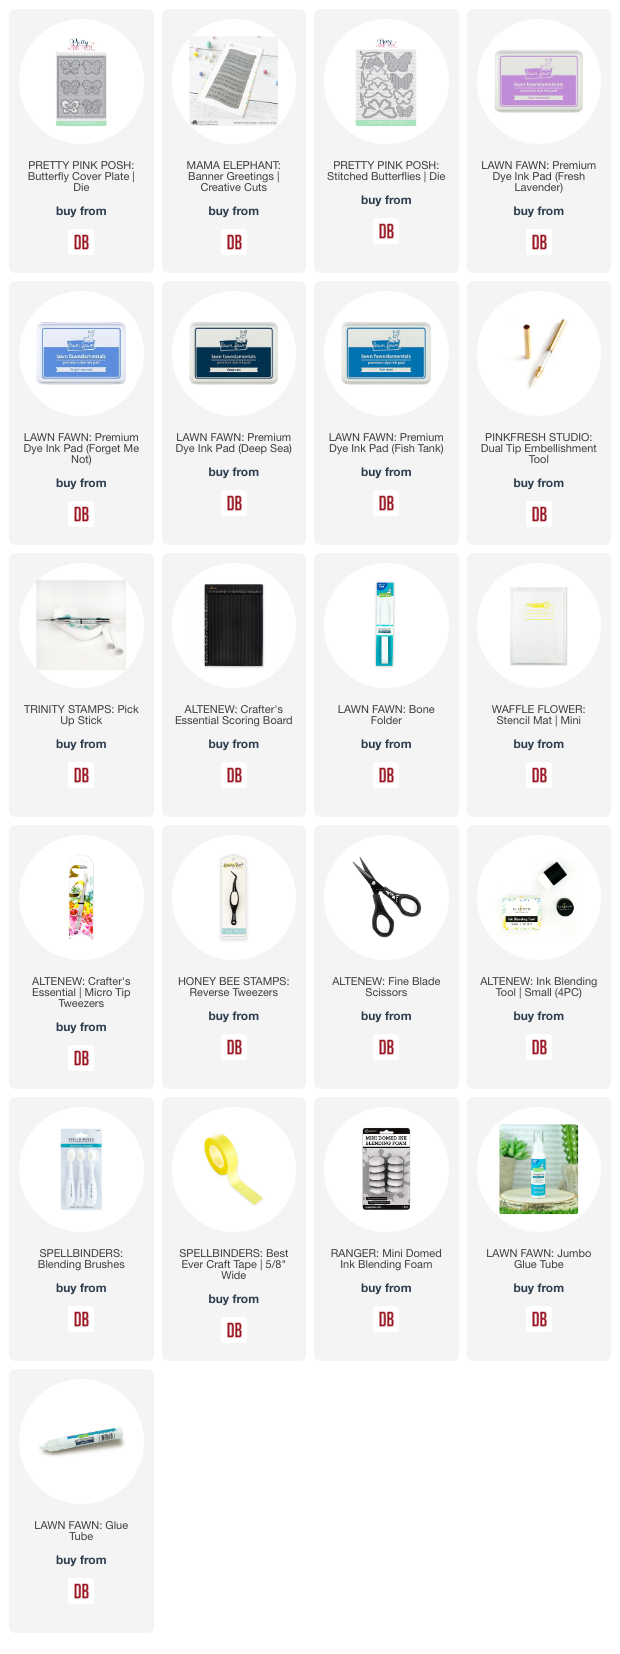
Pretty Pink Posh Butterfly Cover Plate

I started with a piece of white cardstock and ink blended it with Lawn Fawn inks randomly. My color palette today was forget me not, fish tank and fresh lavender. I spritzed the panel with water and blotted it dry. Then I squished my Lawn Fawn deep sea ink pad on an acrylic block, spritzed it with water and flicked the darker color all over the panel. Once that was dry I went it with white paint splatters too. Once the whole panel was dry, I die cut it with the Pretty Pink Posh Butterfly cover plate.

Pretty Pink Posh Butterfly Cover Plate

I removed and saved all of the butterflies. Die cutting the smallest body from the Pretty Pink Posh Stitched Butterflies set, I glued it to the solid butterfly and set it side. Keeping with my typical love for splatter, I used black paint to splatter the front of my card and then glued the panel over top of that.

I chose a sentiment from Mama Elephant Banner Greetings dies, using liquid glue to adhere the layers together and foam strips to pop it up on the card front. Finally, I added foam squares to the edges of the butterfly wings and liquid glue to the center. Once it was in place I used reverse tweezers to hold the butterfly body down while the glue dries.

Pretty Pink Posh Butterfly Cover Plate

For the inside surprise! I took the remaining five butterflies from the plate and folded them in half. I glued the tips of the wings together with liquid glue. Once they were dry I glued the right butterfly inside the card, added glue to the left one and closed the card securing both end in place. I made sure to let this dry with heavy blocks on top for a while before trying to open it.

Pretty Pink Posh Butterfly Cover Plate

I had to much fun pulling this card together and love the extra element of the inside fun when the recipient opens it.

FYI - that many layers of butterflies in the inside makes it pretty thick so I think I'll save these cards for hand delivery or those going in a box of other goodies to mail. I don't think the USPS machines will like it very much.
 
I appreciate you sharing your time with me. Have a fabulous day! 

Links to products used or recommended are listed below: 
 

Tuesday, May 14, 2024

Happy Capy-Birthday!

Recently I shared a capybara card on my social media.  My cousin caught it and wanted me to design one for her to give to her friend.  Here's how I was inspired:


These are the products I'm featuring today:

The sweet images have stamped on watercolor paper with Versafine Onyx.  They have been colored with Zig Clean Color Real Brush Markers.

Don't you love those shaker beads? I can tell you that they sound fabulous!


Thanks so much for stopping by!


Monday, May 13, 2024

Die Cutting and Stenciling Cute Scenes

Hey friends! This is Amanda from Twiddler's Nook. Once again for mix-it-up Monday we're combining dies from different companies to create adorable scenes! This one is for a birthday but changing the background and sentiment could easily lend itself to lots of other happy occasions too.


For this card, I created my Mama Elephant Favor Bag Add On Monkey first with the intention he would hold the balloons. I ink blended parts for depth and used liquid glue to assemble him as much as possible ahead of time. Then I cut some balloons from the Pretty Pink Posh Party Balloons die set and assembled them with liquid glue as well.


Next I took a piece of white cardstock and inked it up with the Pretty Pink Posh Birthday Wreath stencil set. This set has 3 layers so I used the 3 colors in my balloon bouquet so everything coordinates. I trimmed the panel down and glued it on a card base before adhering the monkey head and body. I glued my strings behind the balloons and brought them down to the monkey's paws before popping both parts up with foam squares.


Last, I cut a sentiment banner using the Mama Elephant Banner Greetings die set. After adhering the layers together I added it to my card with foam squares. Moving on to finishing touches I added glossy accents to the monkey's nose and eyes, let it dry and finished the design off with white gel pen highlights all over.

Isn't this just too cute for words?!? I had fun creating it and think it would be fun to make a set with different favor bag add on critters from Mama Elephant.
 
I appreciate you sharing your time with me. Have a fabulous day! 

Products used:
Mama Elephant Favor Bag Add On Monkey
Mama Elephant Banner Greetings dies
Pretty Pink Posh Party Balloons dies
Pretty Pink Posh Birthday Wreath stencils
Liquid glue
Blending brushes
Lawn Fawn ink - mermaid, guava and ballet slippers
Foam squares
Sakura gelly roll pen
Glossy accents

Tuesday, May 7, 2024

Live Life In Full Bloom

 Hello Hello! I'm sharing a quick card today that would be perfect for any occasion.


My card features:
  • Waffle Flower - Lovely Tulip Duo | stencil
  • Waffle  Flower - Small Sentiments Bloom | stamp


Did you know that Doodlebugs carries the Concord & 9th 2024 Color Collection? Be sure to sign up for Restock Notifications so that you're the first to know when it gets restocked in the shop.

Here's how I used the cardstock:
  • Base = Watermelon
  • Top panel = Creamsicle
  • Sentiment strip = Watermelon

I used the Waffle Flower Grip Mat to do my stenciling.  I used Watermelon ink for the blooms and Eucalyptus for the leaves.  I trimmed down the stenciled panel and adhered it to the Watermelon base.

The sentiment has been heat embossed in white on a Watermelon cardstock strip.


Thanks so much for stopping by!

 Links to products used or recommended are listed below: 

Monday, May 6, 2024

Combining Dies for a Fun Ocean Scene

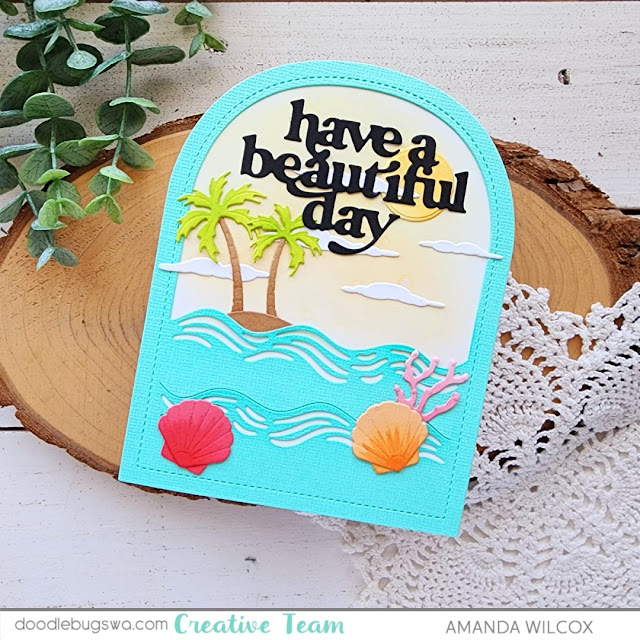
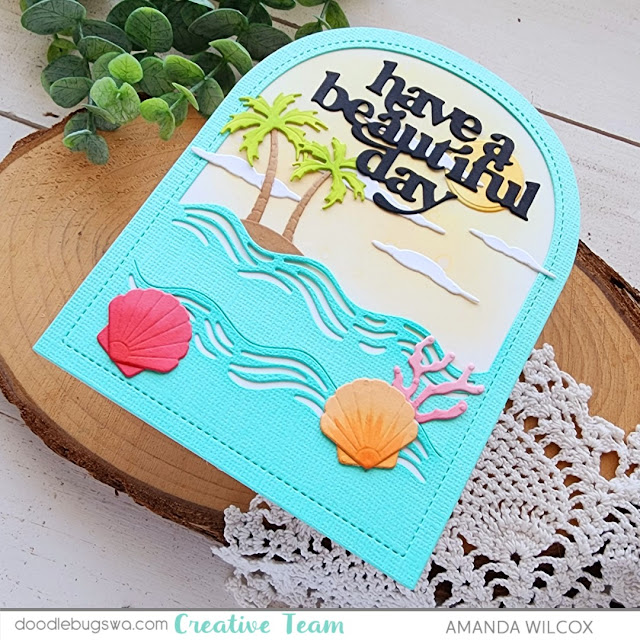
Hey friends! This is Amanda from Twiddler's Nook. Is anyone else just searching for all the sunshine they can get? I really feel like I am, which is seeping into the craft room. I'm so excited and happy for all of these summer themed releases starting to come out.

Mama Elephant Seaside Vibes

Today we're creating and all die cut card combining fun products from Spellbinders and Mama Elephant. I love the new Seaside Vibes die set from Mama Elephant so I had to create with it as soon as it hit my mailbox. And when I ordered it, I thought the new Spellbinders Coastal Escape View dies would go perfectly so I snagged it at the same time. And I wasn't wrong!

Mama Elephant Seaside Vibes

I used all of the dies from the Seaside Vibes set and pulled in the coral, seashells and palm tree island from Coast Escape View. I cut everything from colored cardstock and gave them some ink blending shadows, with a little copic detail on the seashells and palm trees too.

Mama Elephant Seaside Vibes

For once, this is a one-layer card, with no foam tape in sight. Trust me, this was difficult but I do love how it turned out. I also held back on sparkly and shiny because it felt complete once I finished gluing everything in place.

To create the card base, I traced the outer arch on white cardstock and cut it out by hand. Then I scored it on the left side 3/8" in and adhered the flap to the back of my scene panel with tear tape. *Remember, you can use this technique on pretty much any shape to create a shaped card.*
 
I appreciate you sharing your time with me. Have a fabulous day! 

 Links to products used or recommended are listed below: